You are using an out of date browser. It may not display this or other websites correctly.
You should upgrade or use an alternative browser.
You should upgrade or use an alternative browser.
Saab engined Audi S4 (page 18)
- Thread starter Andy P
- Start date
Turbo Gav
Member
That's it, yeah. I'm guessing you've seen this video, then?
I love these engines - I've been through five NG900/9-3s and one 9-5. Always loved the thought of a RWD 9-5.
Yeah that one I made it even quicker haha

Andy P
Member
have you got a plate designed for the getrag yet ?
Ive been looking for strong box to put behind a saab engine ( going to use an aero engine and T5 suite to tune one) but none ive seen so far cope.
The gearbox / bellhousing adaptor plate I made from 16mm alu. I had to disassemble the saab gearbox to steal the bellhousing from it.
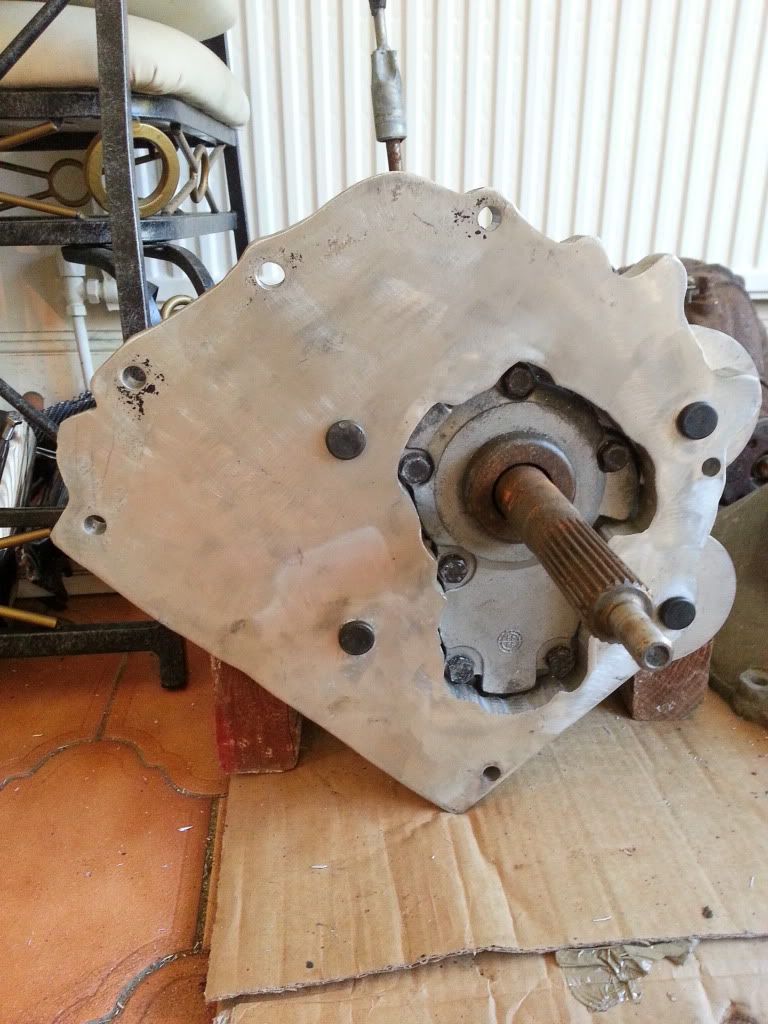
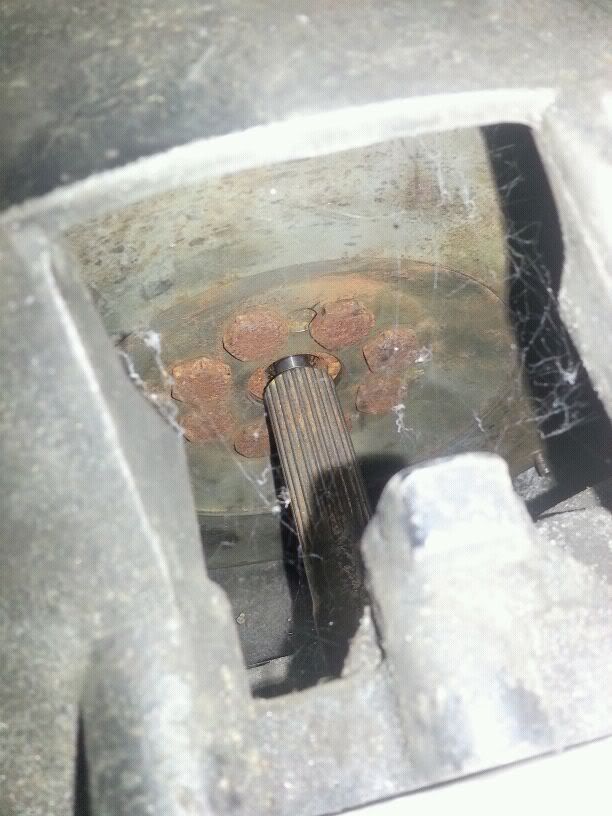
Excuse the rust and spiders web - this is a shot to confirm clearance for the input shaft in the crank. Need to get an oilite bush made (anyone here with a lathe??)
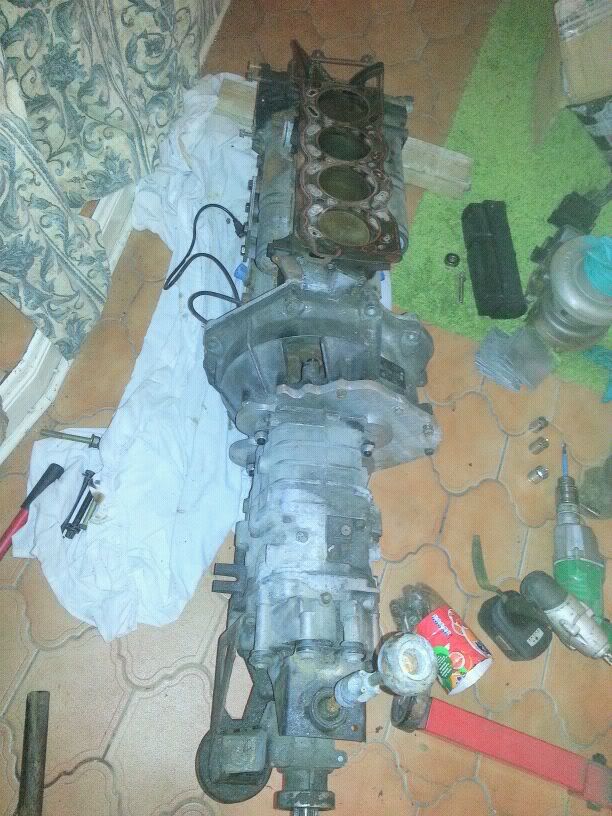
Assembled -

Andy P
Member
Haha, it wasn't too easy to miss! You're right, the 265's have gone up in value big time. Used to be able to pick them up at £50 a pop, or even buy complete Jags for £150 odd. They've become sought after since it was found they're pretty bullet proof with the 2wd Cosworth boys using them with 600-700hp with no problems and the Cobra kit car crew quite like them too.how the hell did i miss that :S
was going to ask you if you fancied making a copy but after checking prices on 265's i dont think il bother !
Keep up the good work though mate
I picked mine up as they were on the rise for about £225 on ebay from a local breaker.
That adaptor plate, with saab bellhousing is huge piece of metal, in your case it does not matter, but i dont think it will fit any normal transmission tunel..
Yeah, I had my concerns about it fitting but fortunately goes under the S4 without a problem

Andy P
Member
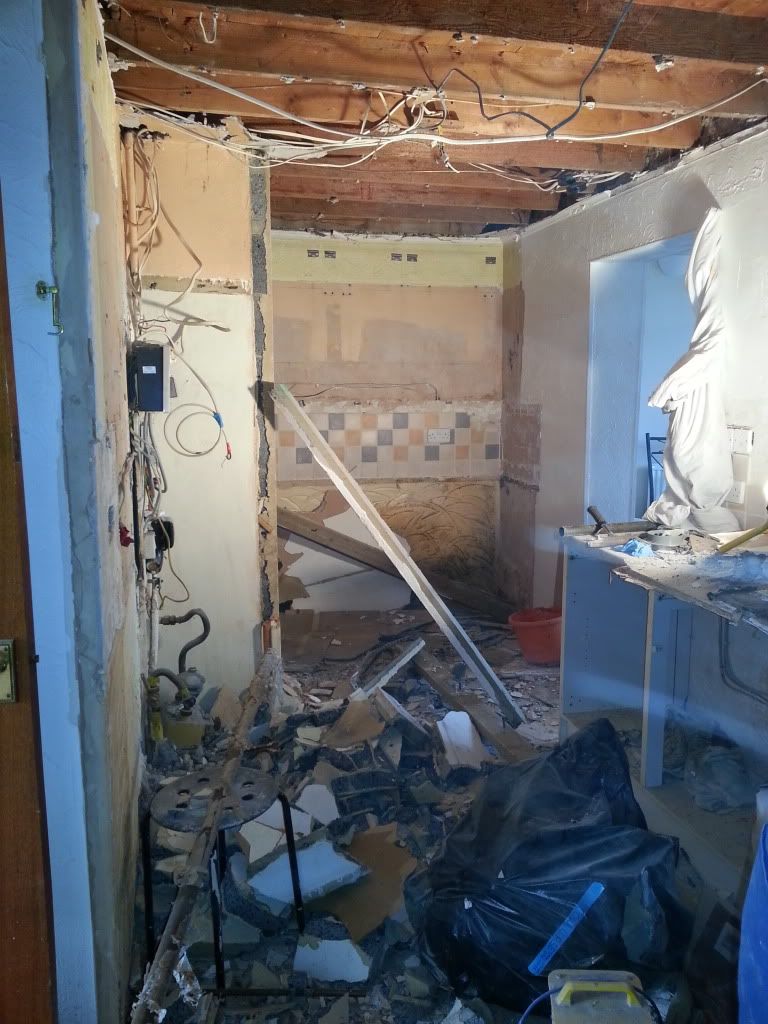
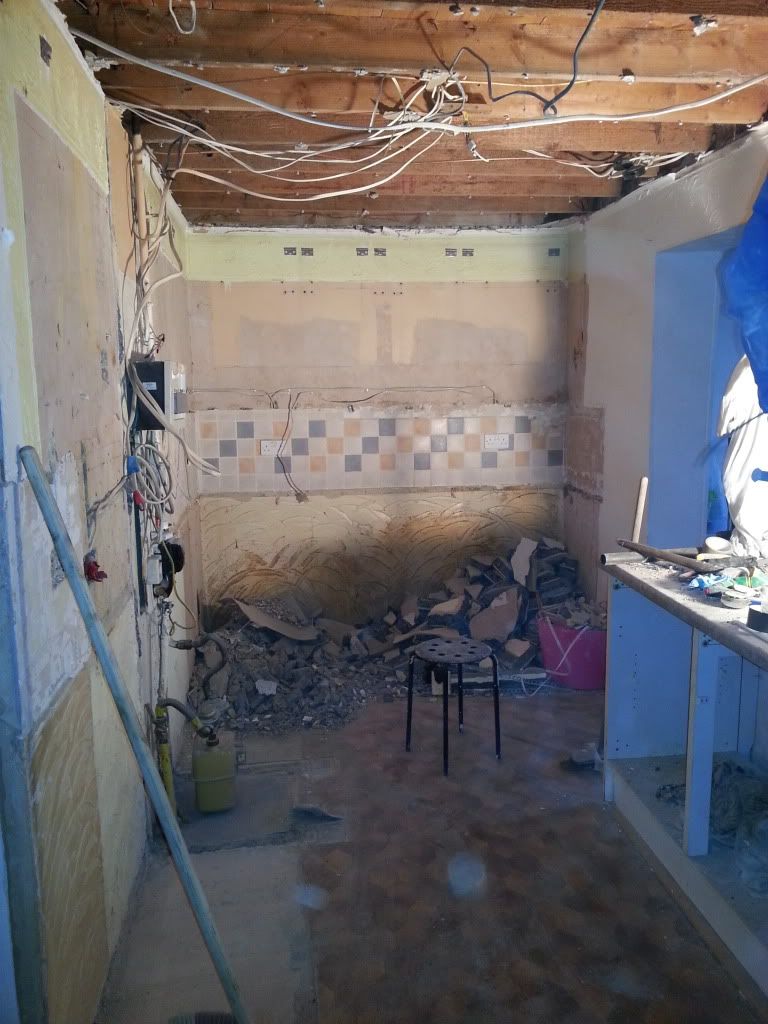
Not updated this for a little while because there hasn't really been anything to report on. I've been spending my weekends making my kitchen look like this 
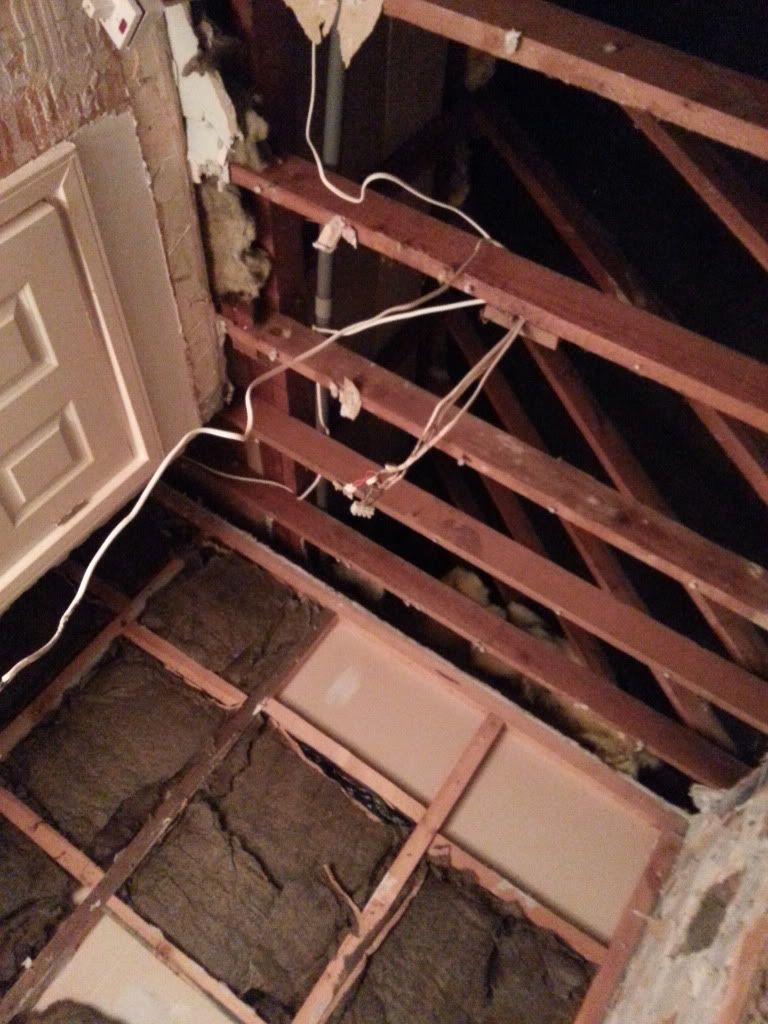
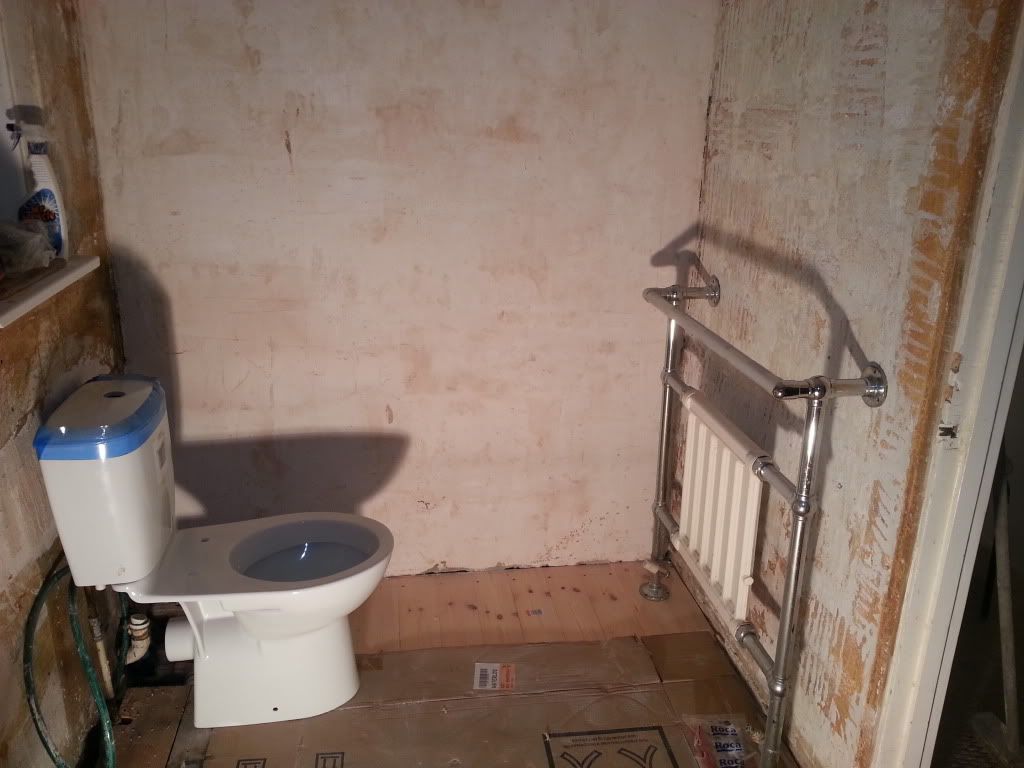
And my bathroom look a bit like this -
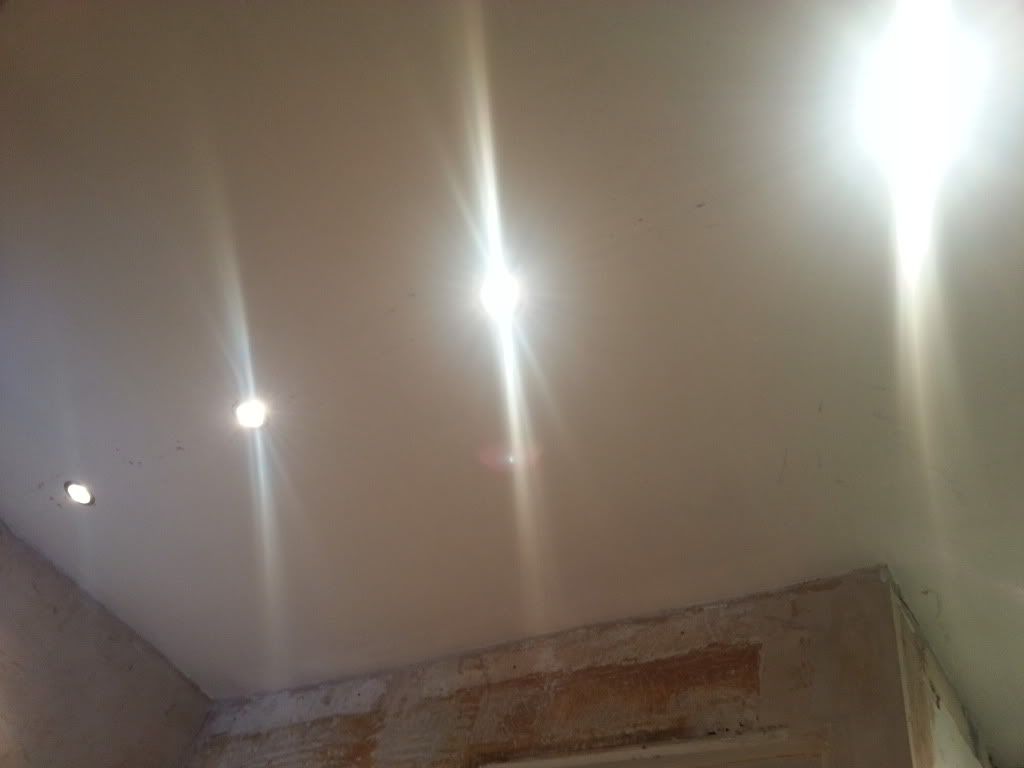
But its getting there slowly....
Anyhow, I've got a set of stiffer valve springs so I can finally rebuild the head. They're actually for an 8v volvo engine however their dimensions are identical to the origianl Saab ones and are a bit stiffer which reportedly allows 7.5k odd before the hydro lifters stops you going further.
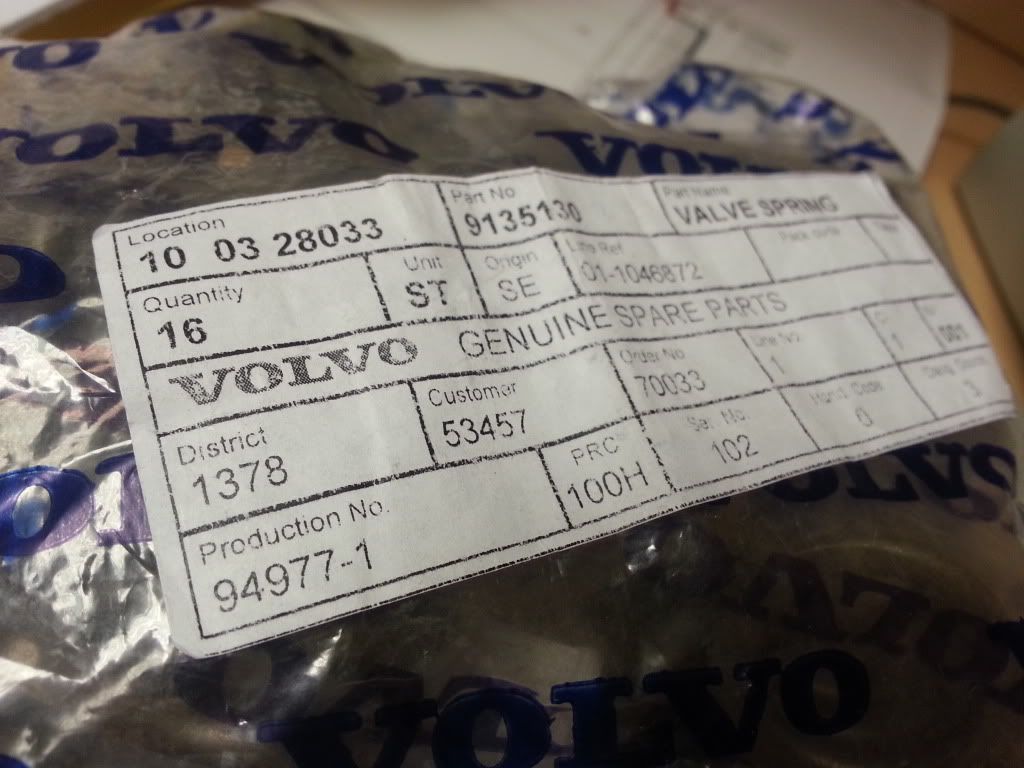
Got this set off a Saab forum member for £75 delivered.
I've also picked up a distributor which bolts to the head and spins off the end of the exhaust cam. I'll need to use this as a cam position sensor as I'm running VEMS and the OEM management uses some sort of electronic magic that doesn't require one. Not got a pic, but it looks quite like a distributor :lol:
I finally got my PCD adapter / spacers in the post this week too, I actually paid for them in the middle of December and posted shortly after from the US. Got to the UK quite quickly and then sat in customs for almost 3 weeks and charged £35 for the privilege. Cheers.
I allowed myself (read: got permission from SWMBO) an hour to test fit them. They actually came with a short stud kit that are m14>m12 which hold on the adapter 112>114.3. I was originally using wobble bolts but I hate bolts with a passion. Lining everything up with a disc wobbling about and then the hub rotating behind it is a pain in the arse at the best of time, let alone with a wobble.
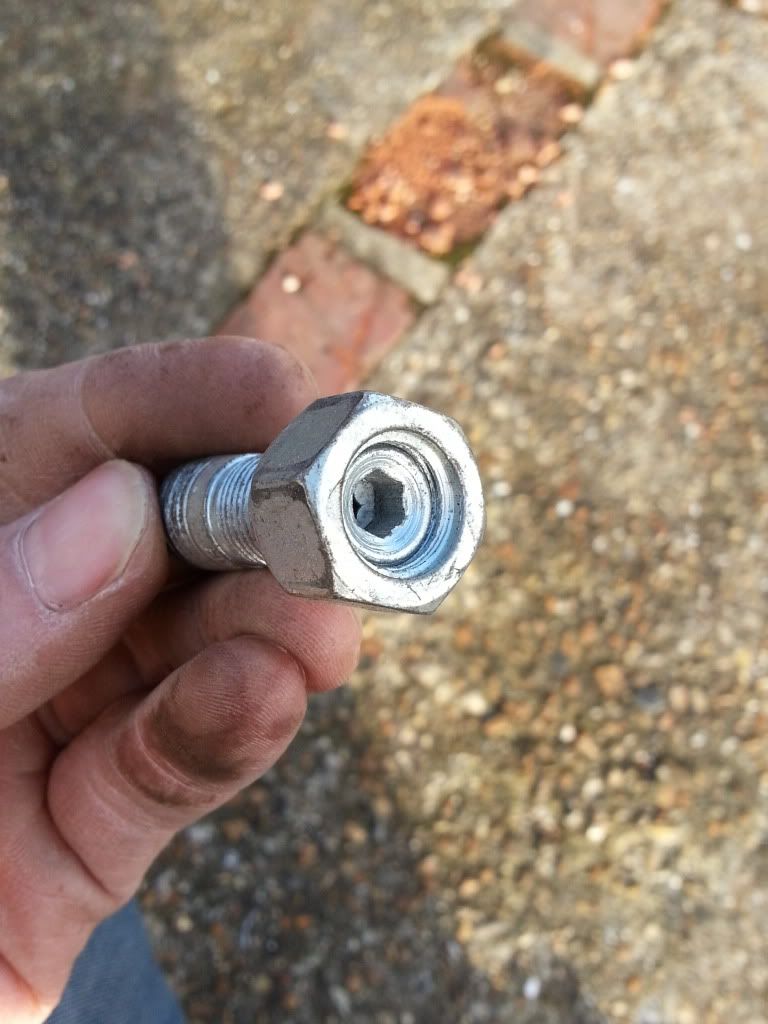
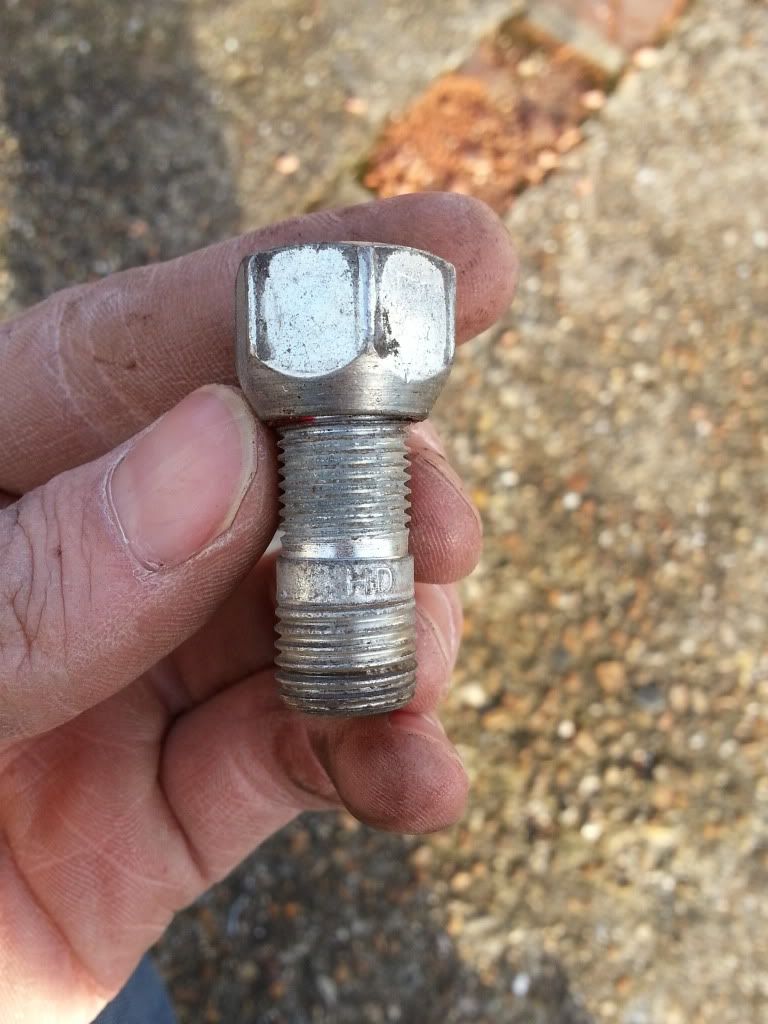
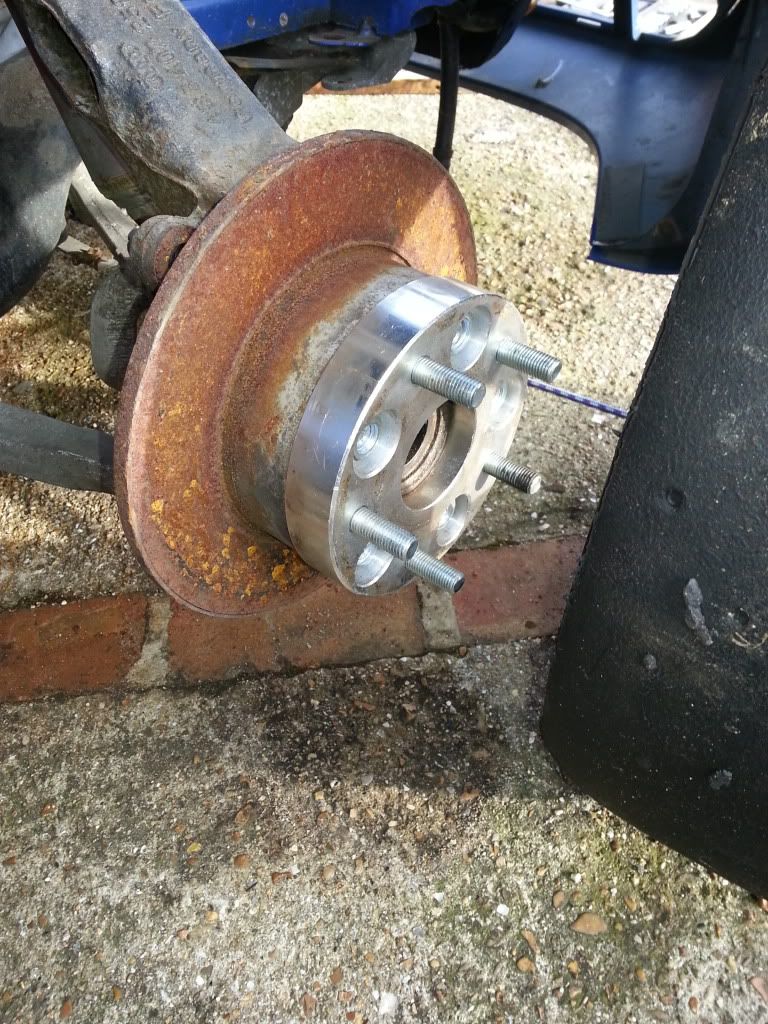
Take no notice of the tiny disc! Its an old rear one being used as a spacer for when the proper discs go on.
Might have to get the arch pulled a bit, depends on how much the negative camber will effect it.
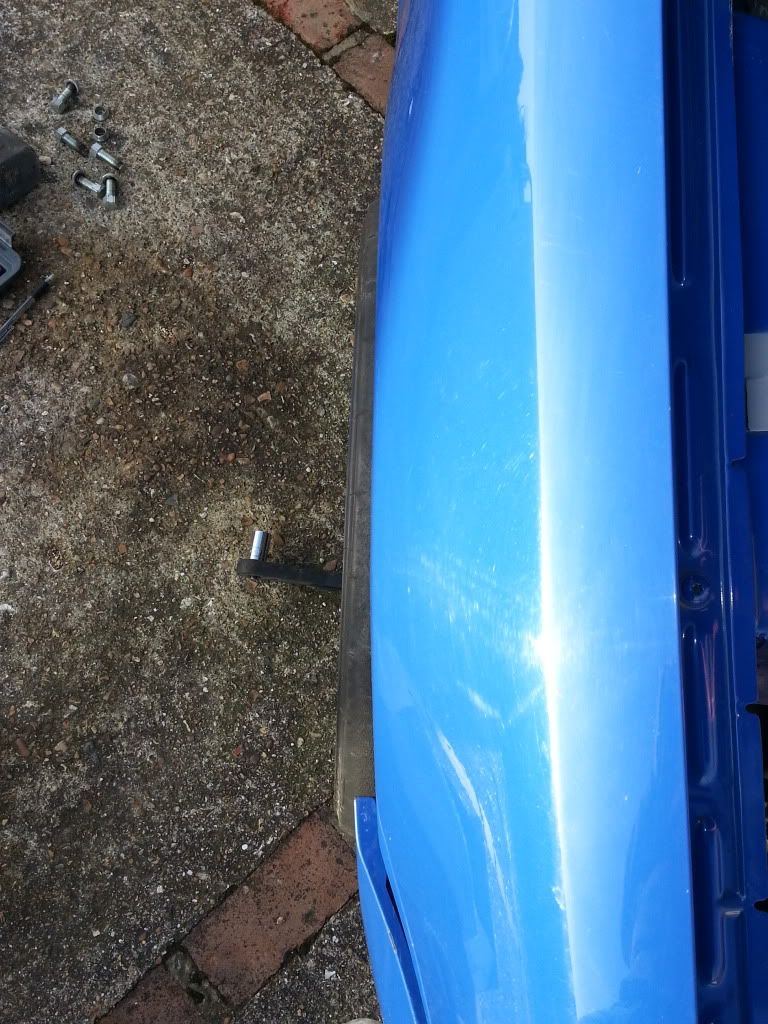
Fitted the spacers on both sides and then thought I'd check to see how it might sit once its got the full weight of the car on it and the suspension sorted and how badly it fouls the arches
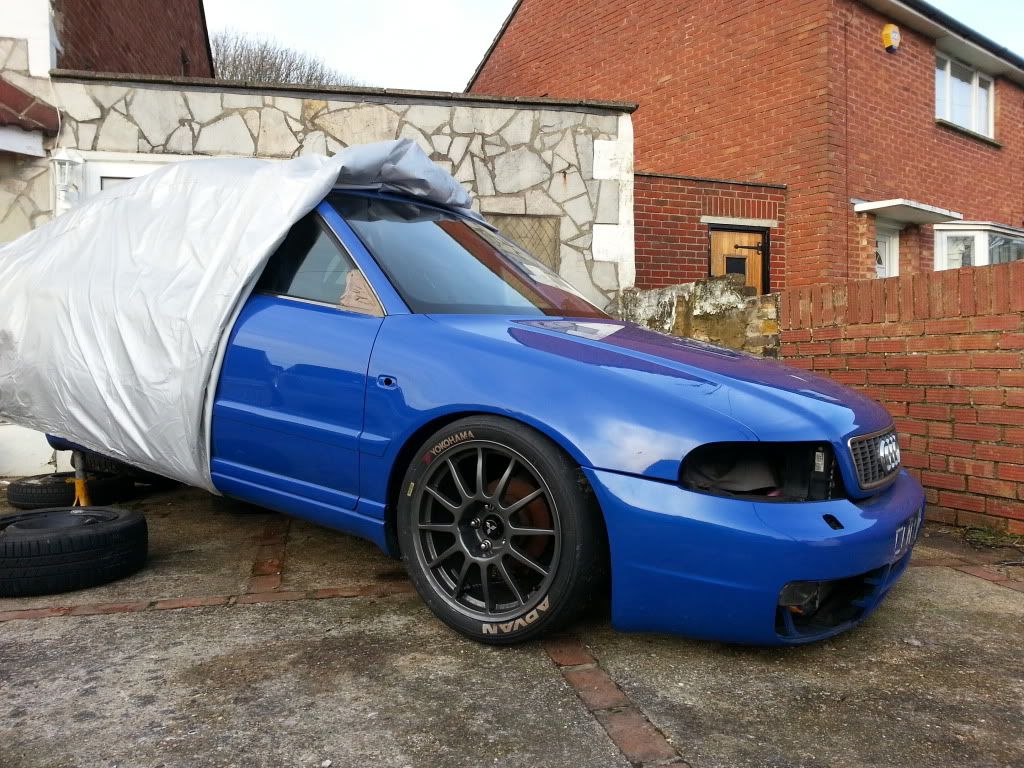
Looking rather decked lol
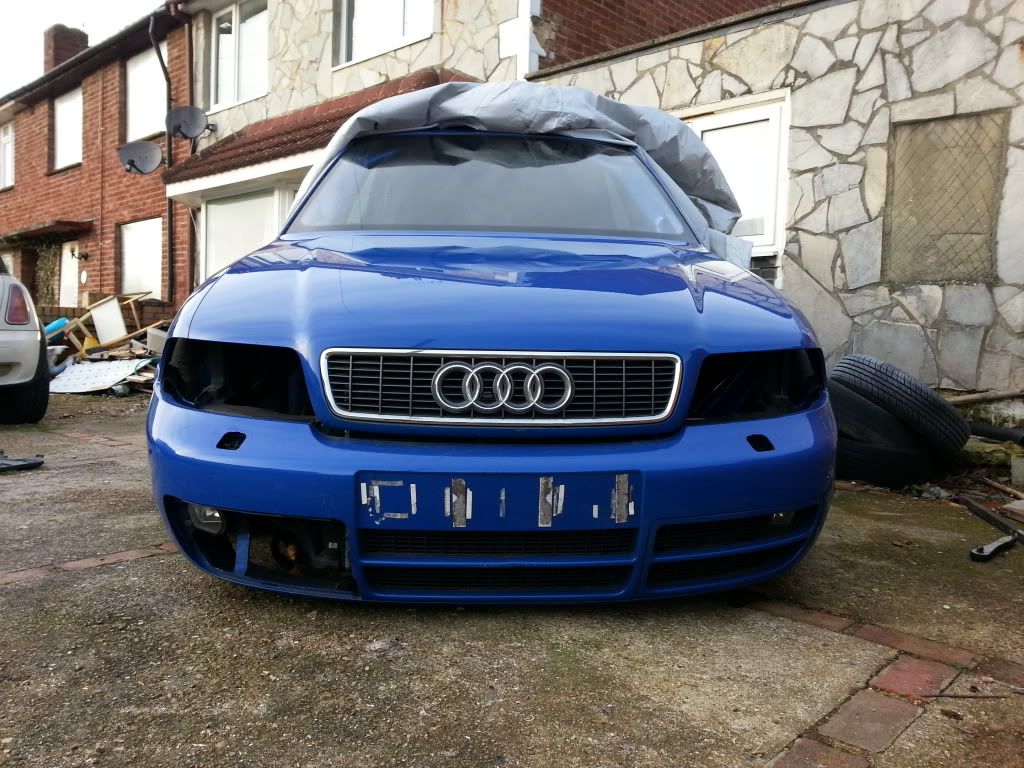
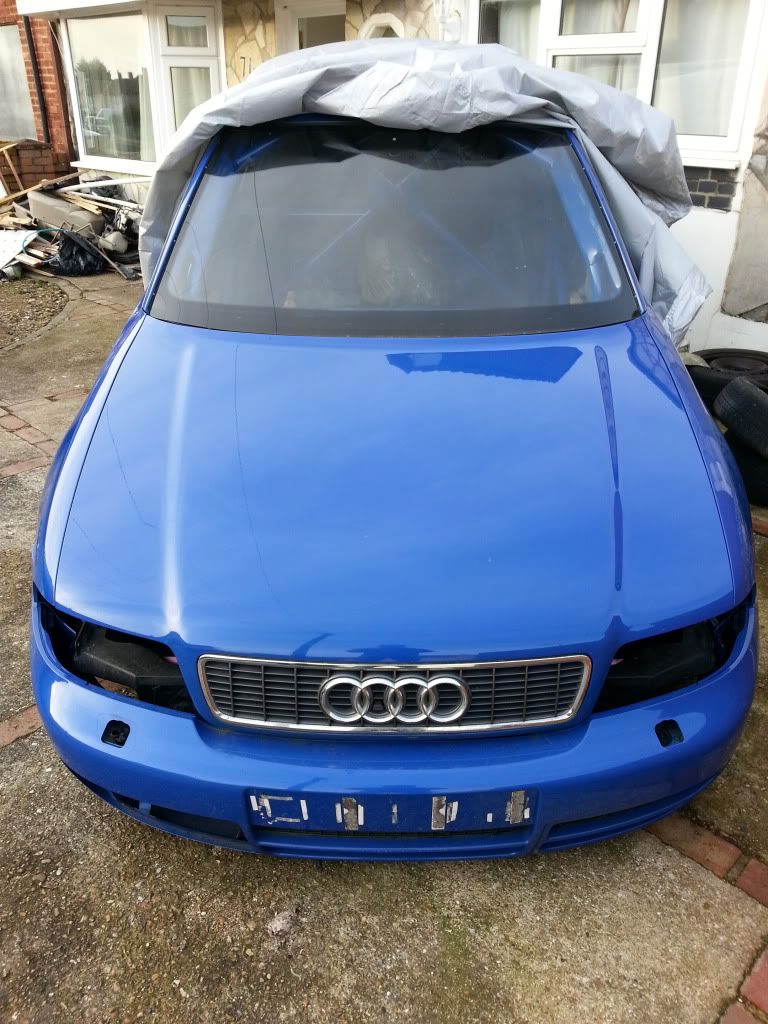
And finally, slightly unrelated - The Audi will soon be joined by another car under cover on my driveway. My friends car last night went from this

To this..

Something else for me to fix


And my bathroom look a bit like this -

But its getting there slowly....


Anyhow, I've got a set of stiffer valve springs so I can finally rebuild the head. They're actually for an 8v volvo engine however their dimensions are identical to the origianl Saab ones and are a bit stiffer which reportedly allows 7.5k odd before the hydro lifters stops you going further.

Got this set off a Saab forum member for £75 delivered.
I've also picked up a distributor which bolts to the head and spins off the end of the exhaust cam. I'll need to use this as a cam position sensor as I'm running VEMS and the OEM management uses some sort of electronic magic that doesn't require one. Not got a pic, but it looks quite like a distributor :lol:
I finally got my PCD adapter / spacers in the post this week too, I actually paid for them in the middle of December and posted shortly after from the US. Got to the UK quite quickly and then sat in customs for almost 3 weeks and charged £35 for the privilege. Cheers.
I allowed myself (read: got permission from SWMBO) an hour to test fit them. They actually came with a short stud kit that are m14>m12 which hold on the adapter 112>114.3. I was originally using wobble bolts but I hate bolts with a passion. Lining everything up with a disc wobbling about and then the hub rotating behind it is a pain in the arse at the best of time, let alone with a wobble.


Take no notice of the tiny disc! Its an old rear one being used as a spacer for when the proper discs go on.
Might have to get the arch pulled a bit, depends on how much the negative camber will effect it.

Fitted the spacers on both sides and then thought I'd check to see how it might sit once its got the full weight of the car on it and the suspension sorted and how badly it fouls the arches

Looking rather decked lol


And finally, slightly unrelated - The Audi will soon be joined by another car under cover on my driveway. My friends car last night went from this

To this..

Something else for me to fix

alex_200sx
Active Member
Awesome build! Btw, if you need a donor car for lights, interior and other random bits I've got a '99 A4 1.8t sport saloon that needs to go
Andy P
Member
Ok, this is proving tricky because photobucket has been blocked at work for some reason - I've had to upload via mobile and post the links on there and now I'm editing this post from the PC :lol:
It's been quite a while since I've had the opportunity to work on the track S4 (which I'll refer to as R4 to differentiate between the S4 avant daily..) because I've been flat out on the house and the weather hasn't really lent itself to working outside. So on the Sunday the sun was out (briefly) and I thought I'd "treat" myself by getting the grinder out. The car has been on axle stands pretty much the whole of winter because the rear end has been sitting in the workshop. I've ordered a powerflex bush kit to get things underway. The plan will eventually be to fabricate tubular arms with adjustable rose joints and spherical bearings but I need to get things moving. In preparation for their arrival I thought I'd make a start on fabricating new diff mounts as I'll be using a 200SX diff and not the original.
This is the un-molested subframe..
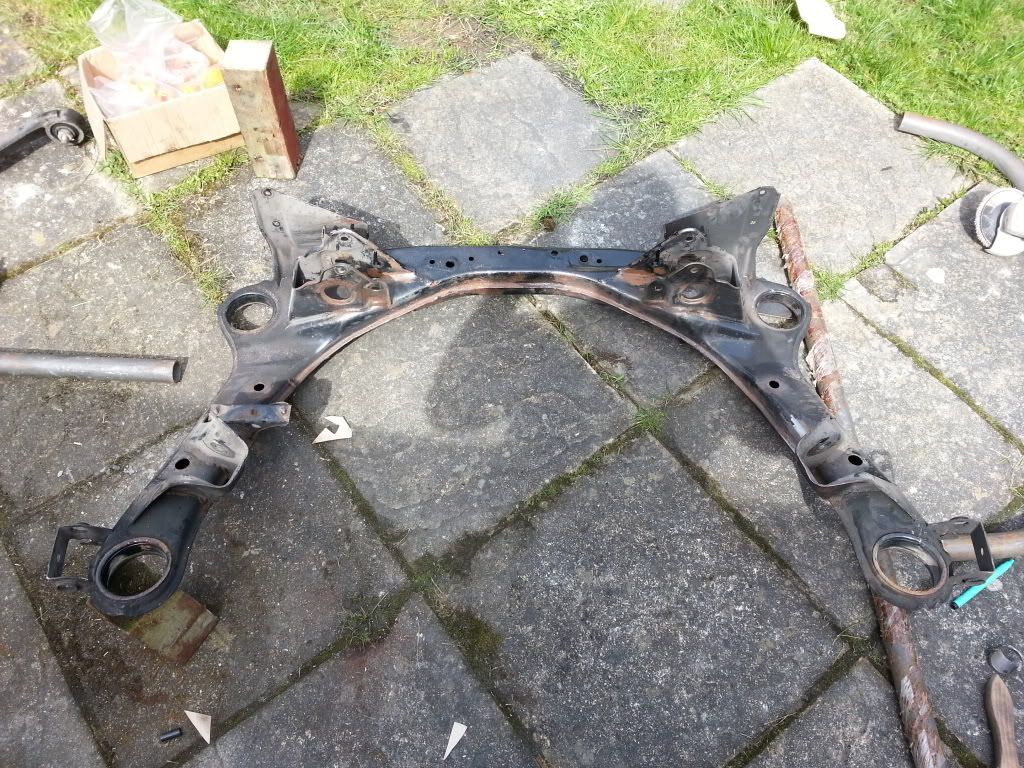
I was undecided for a while how to approach this. I was originally going to cut and shut the S14 subframe and graft it to the S4 but decided to go tubular.
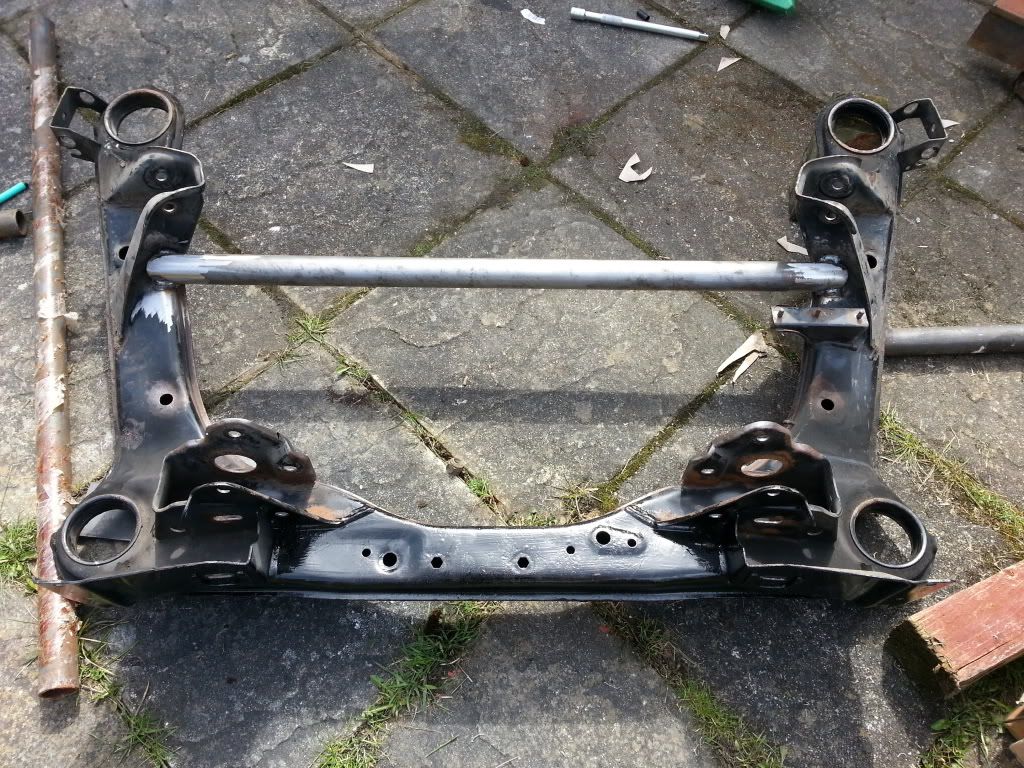
With the diff sat roughly in place
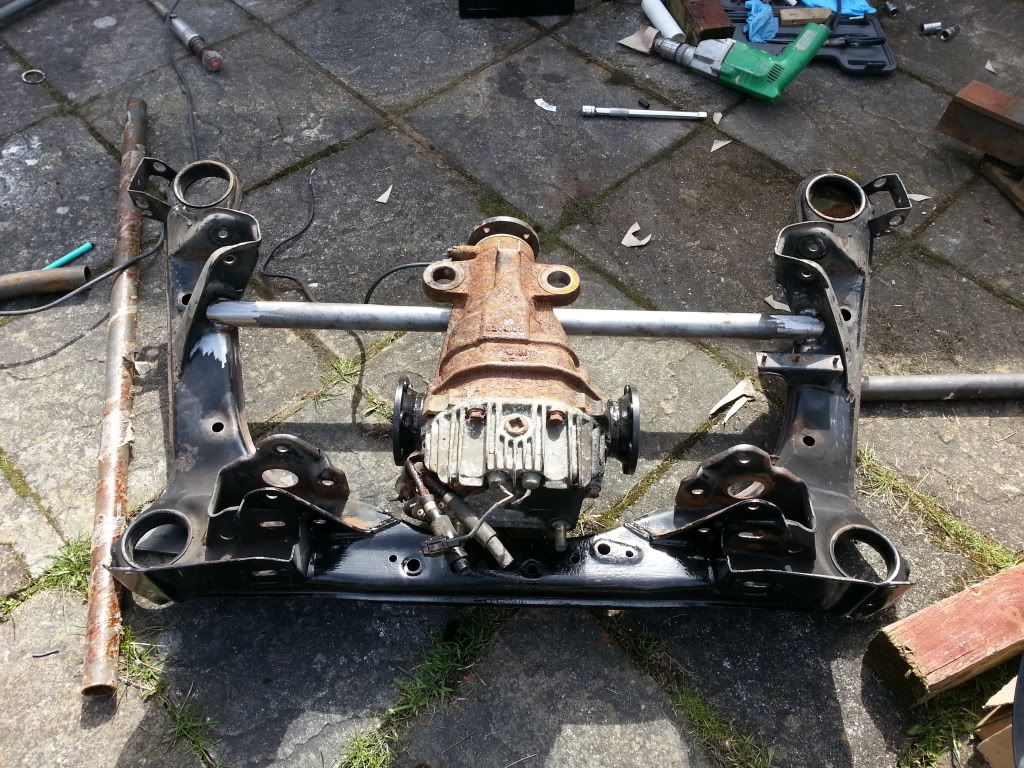
Starting on the pick up points. (These would have been MUCH easier to scallop if I had my holesaws.... Which I've lent out )
)
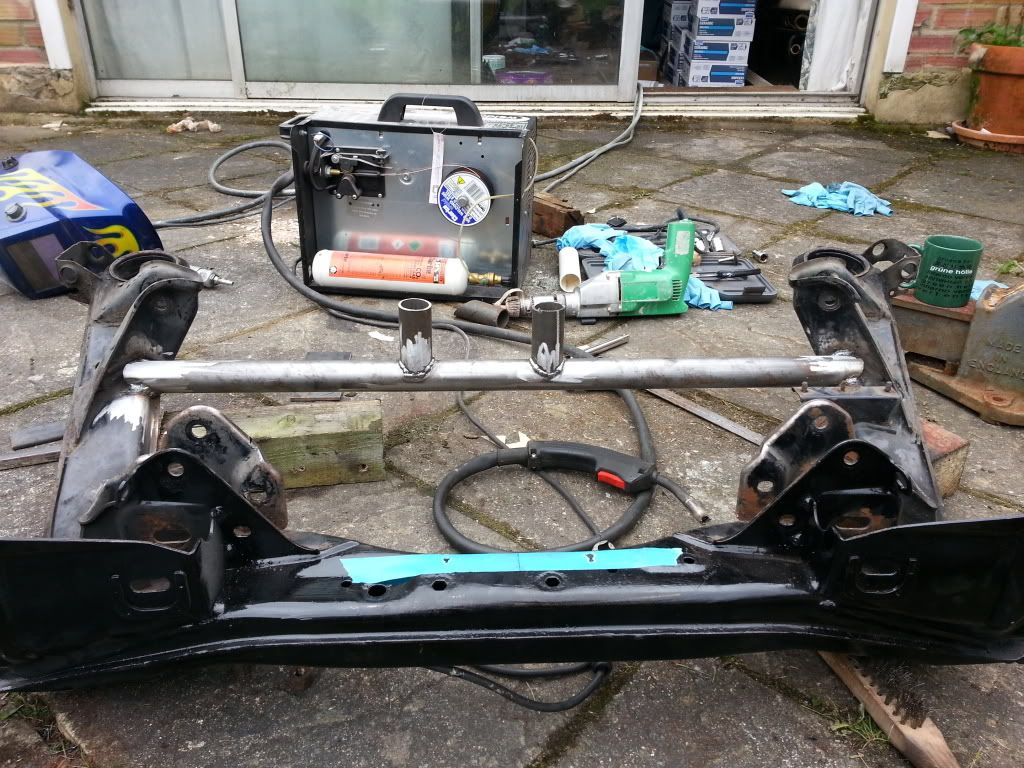
Some round plates with captive nuts (Again, labour intensive with a grinder...)
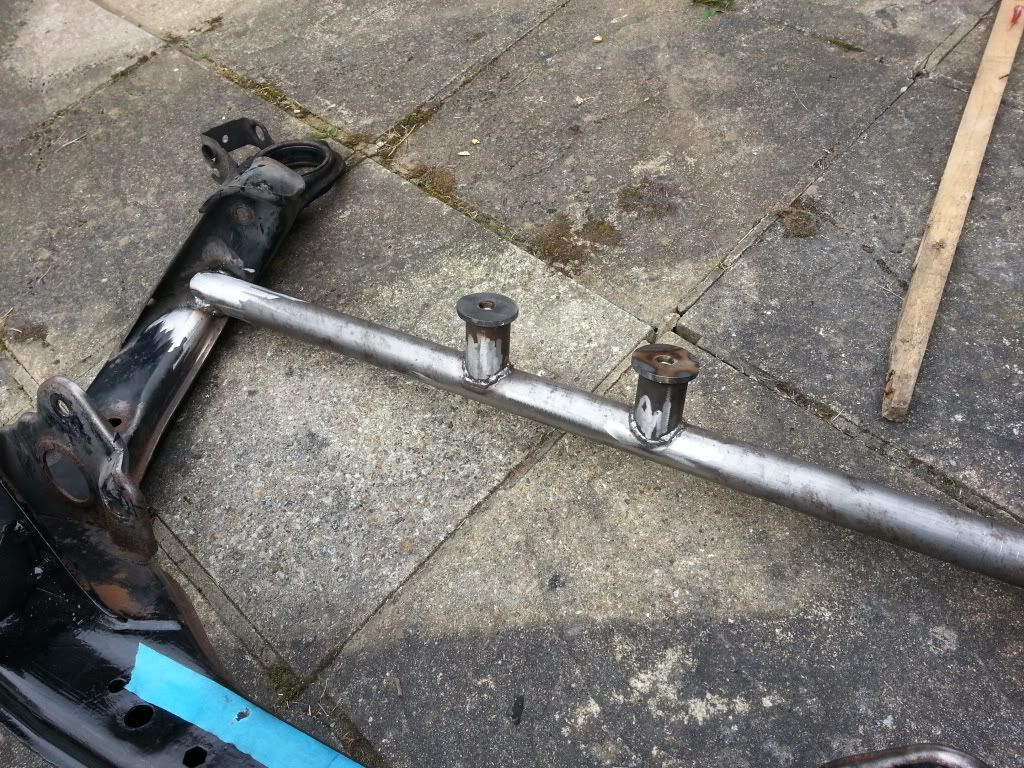
Starting to take shape.
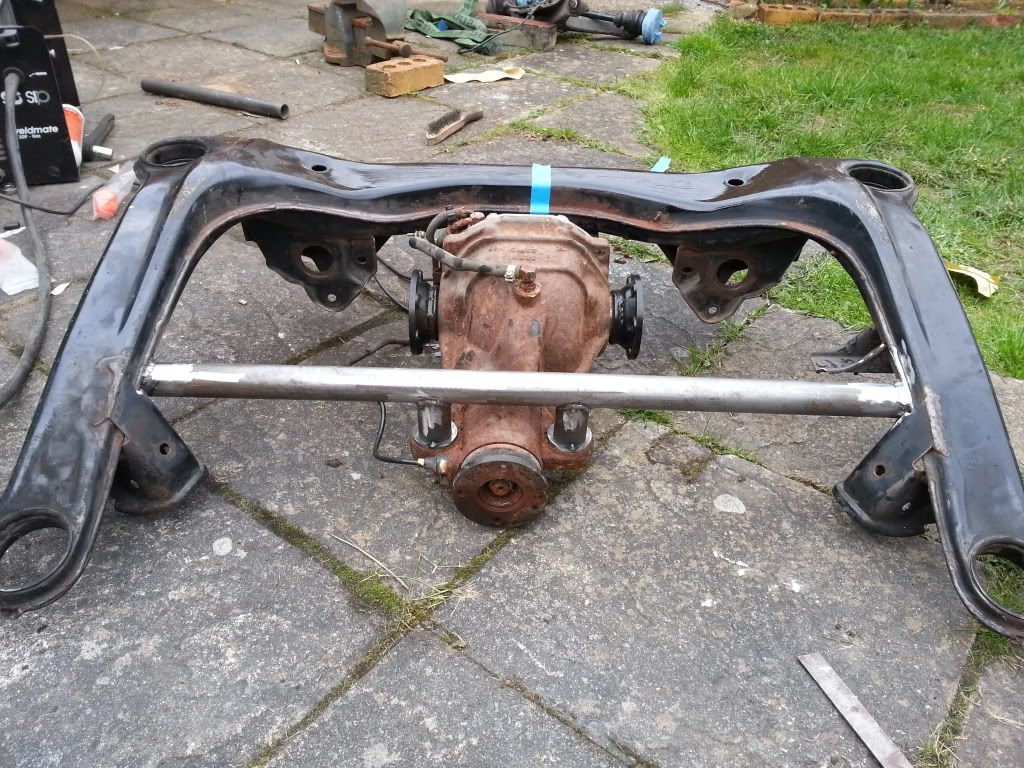
As everything is going to be solid mounted, I didn't want to fuss about with solid alu bushes etc. I found some tube that was a nice press fit into the diff and came up with this
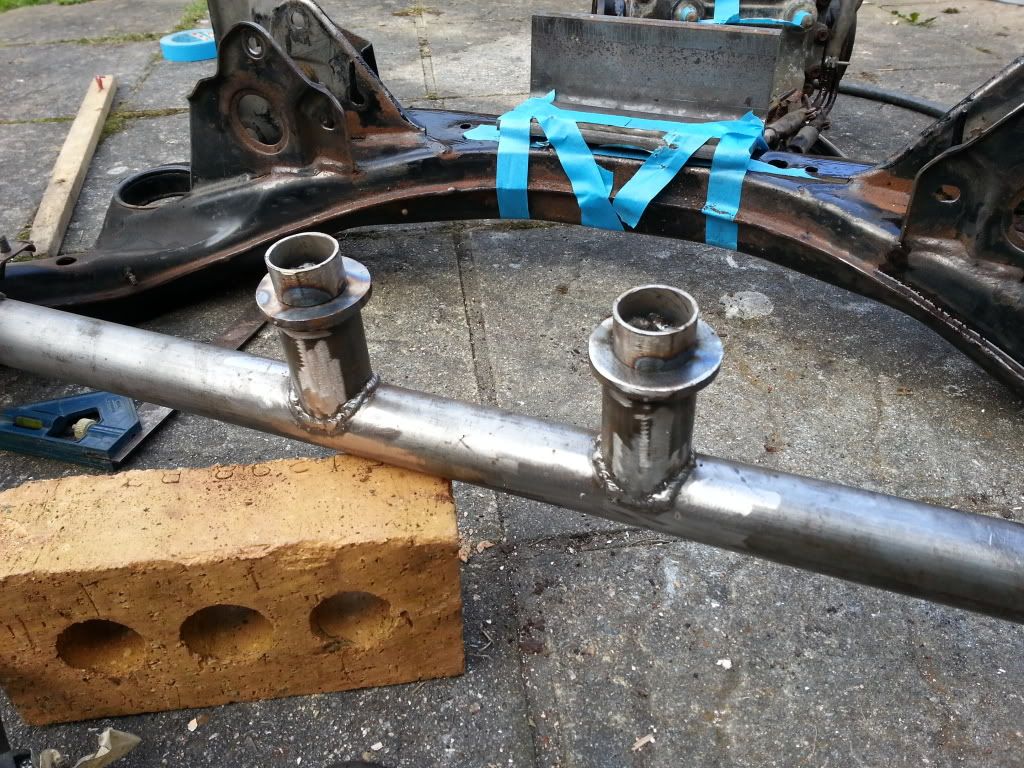
Next weekend I'll get the rear bracket made up and then triangulate / brace it up
Oh, I was also able to check the roundness of the DIY fabricated halfshafts - They appear spot on!
It's been quite a while since I've had the opportunity to work on the track S4 (which I'll refer to as R4 to differentiate between the S4 avant daily..) because I've been flat out on the house and the weather hasn't really lent itself to working outside. So on the Sunday the sun was out (briefly) and I thought I'd "treat" myself by getting the grinder out. The car has been on axle stands pretty much the whole of winter because the rear end has been sitting in the workshop. I've ordered a powerflex bush kit to get things underway. The plan will eventually be to fabricate tubular arms with adjustable rose joints and spherical bearings but I need to get things moving. In preparation for their arrival I thought I'd make a start on fabricating new diff mounts as I'll be using a 200SX diff and not the original.
This is the un-molested subframe..

I was undecided for a while how to approach this. I was originally going to cut and shut the S14 subframe and graft it to the S4 but decided to go tubular.

With the diff sat roughly in place

Starting on the pick up points. (These would have been MUCH easier to scallop if I had my holesaws.... Which I've lent out
 )
)
Some round plates with captive nuts (Again, labour intensive with a grinder...)

Starting to take shape.

As everything is going to be solid mounted, I didn't want to fuss about with solid alu bushes etc. I found some tube that was a nice press fit into the diff and came up with this


Next weekend I'll get the rear bracket made up and then triangulate / brace it up

Oh, I was also able to check the roundness of the DIY fabricated halfshafts - They appear spot on!

Last edited:
Andy P
Member
Andy P
Member
Super thread bump!!! 
Lot's has been going on, life generally, changing jobs a few times, renovating a house, selling it, buying and moving to a new area and getting married (almost, that's next month!)
With all this going on, the car still isn't finished, and if you look at the shell on the drive, you'd be forgiven if you thought nothing has progressed at all.
Loads of photos, which I'll dump here for your amusement and try to throw some words so it makes sense. Maybe.
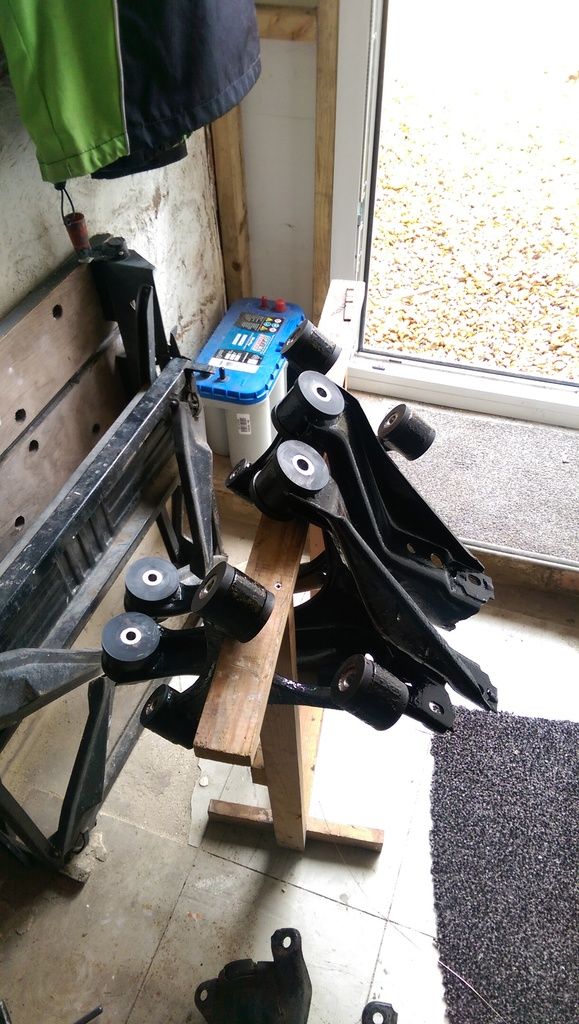
Laid out all the rear suspension components for a clean up
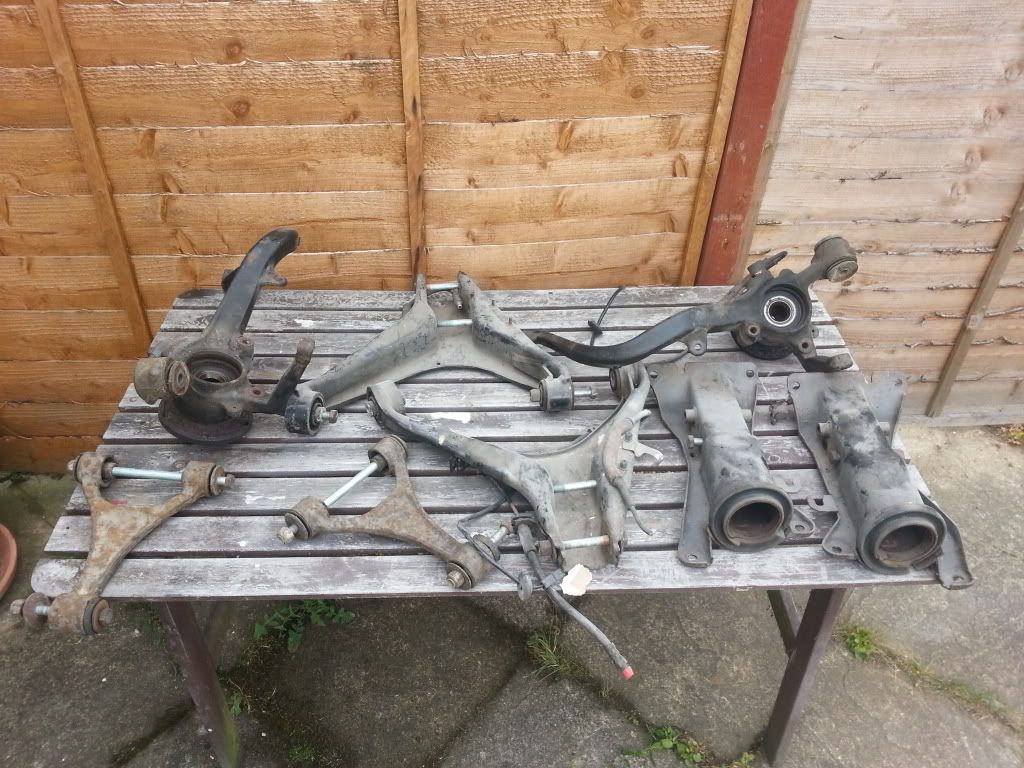
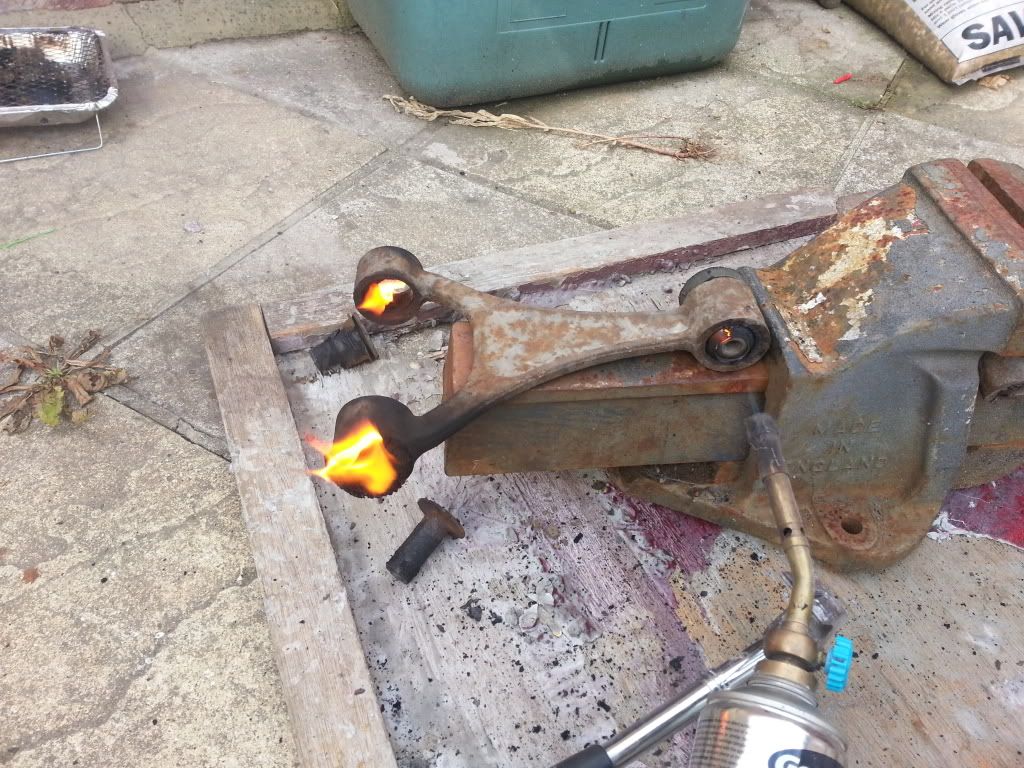
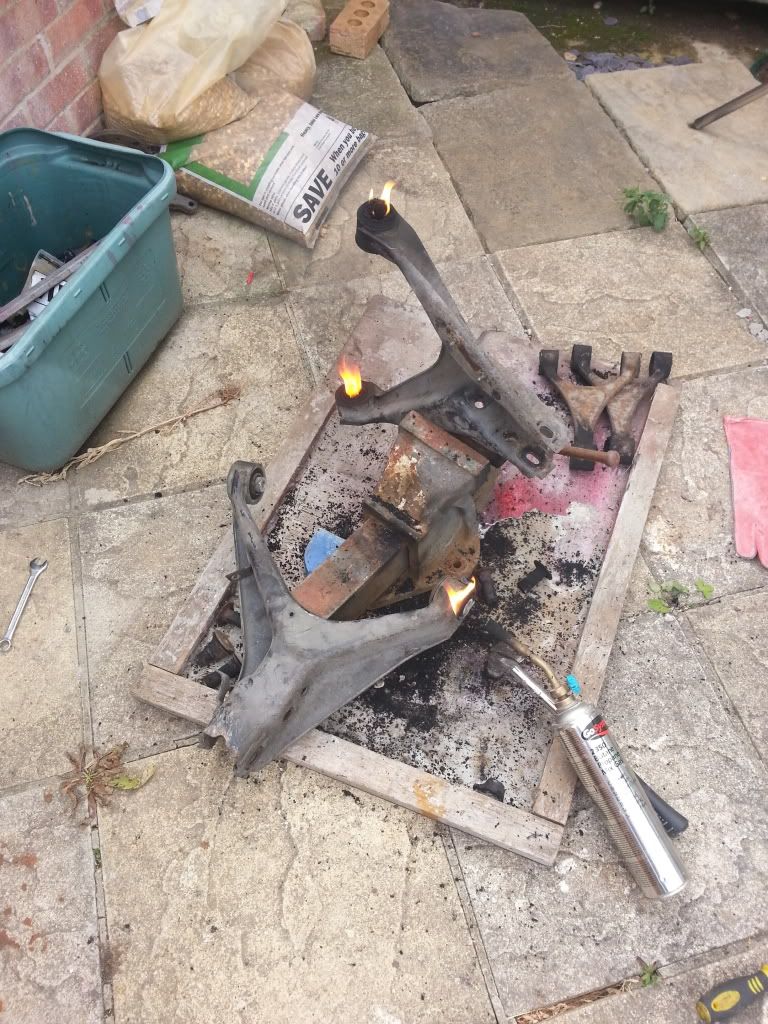
Burnt out the old bushes
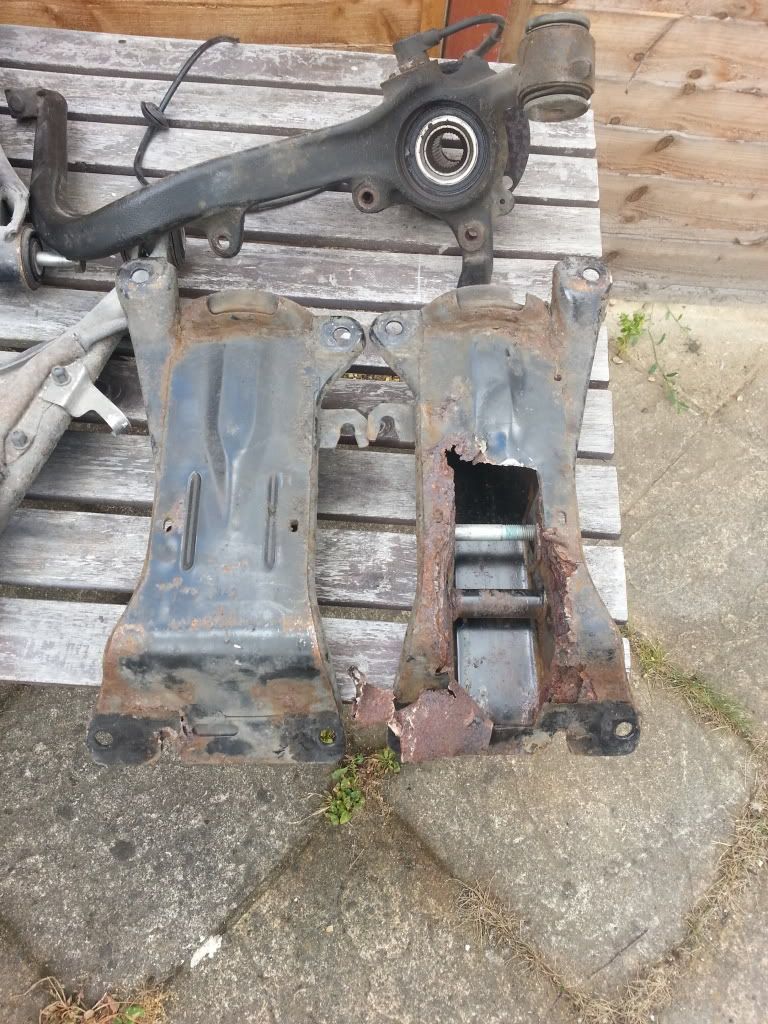
These shock towers are going to need a little attention!
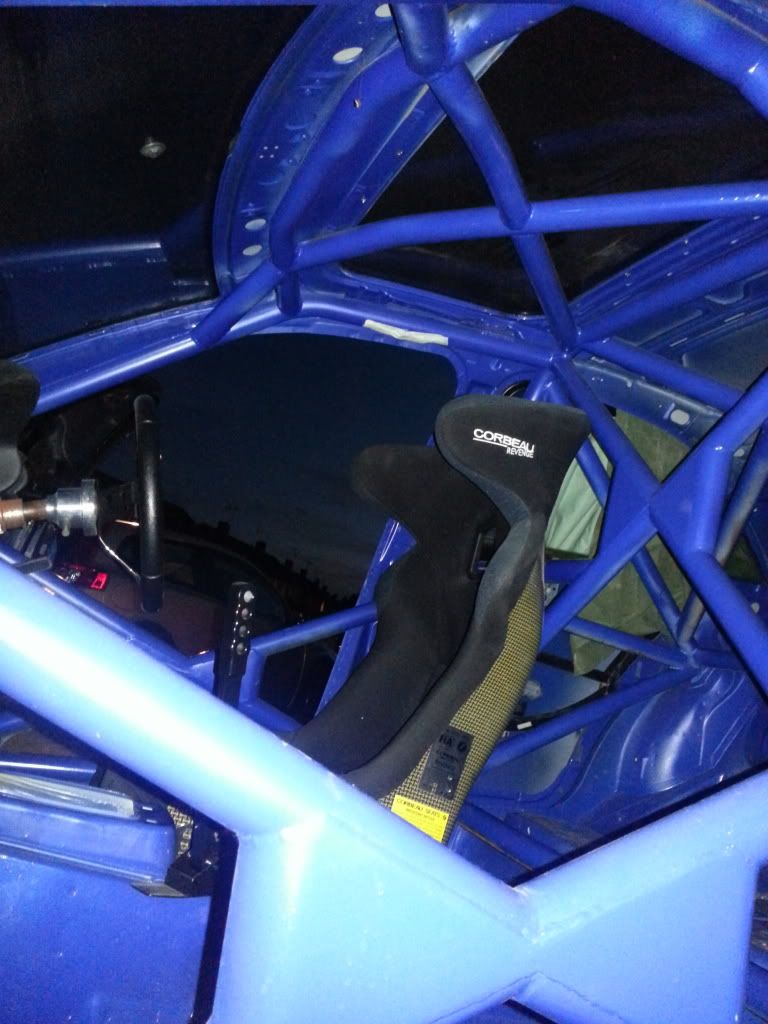
A few random interior shots whilst I set out a few positions for handbrake and oil tank etc
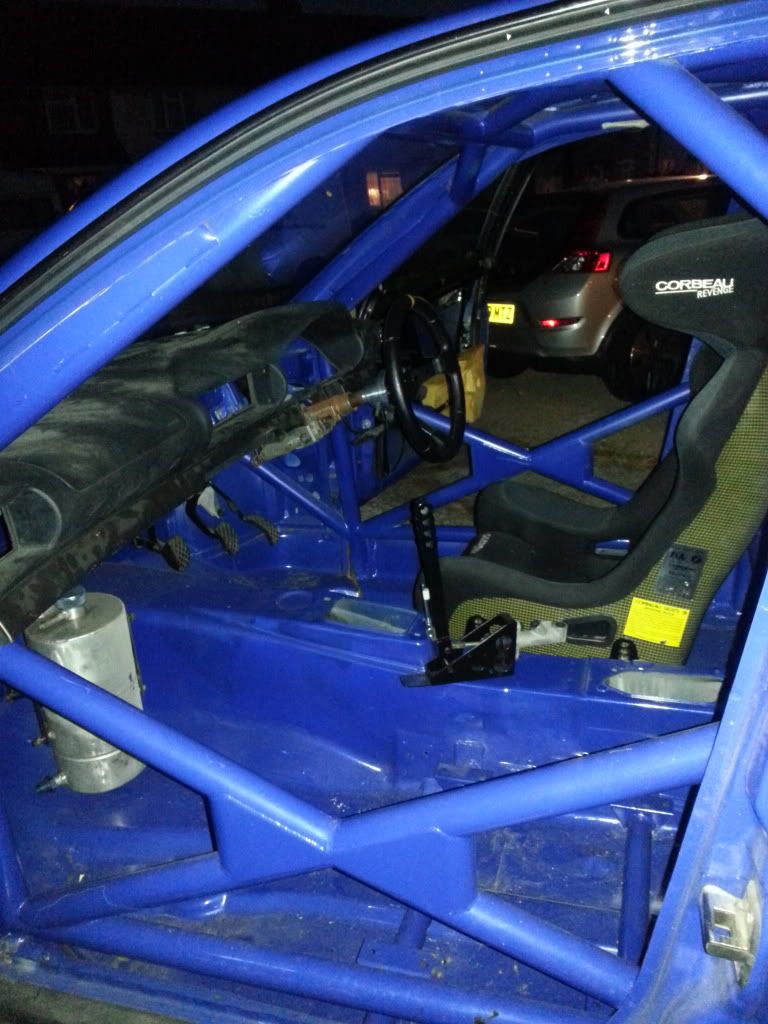
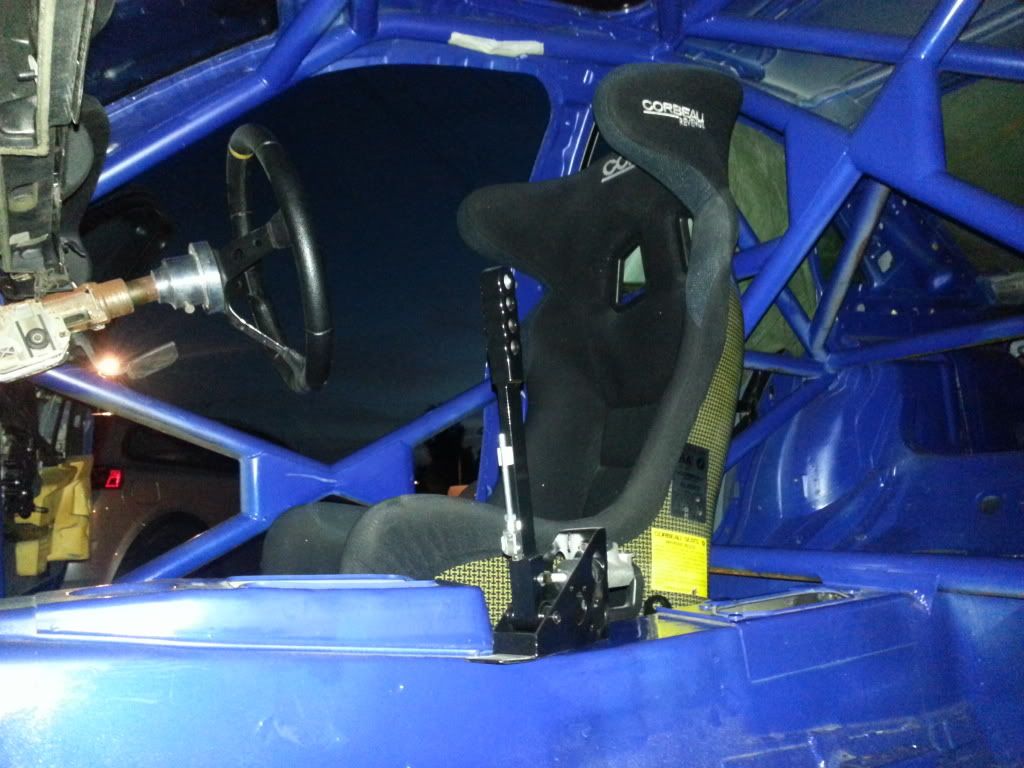
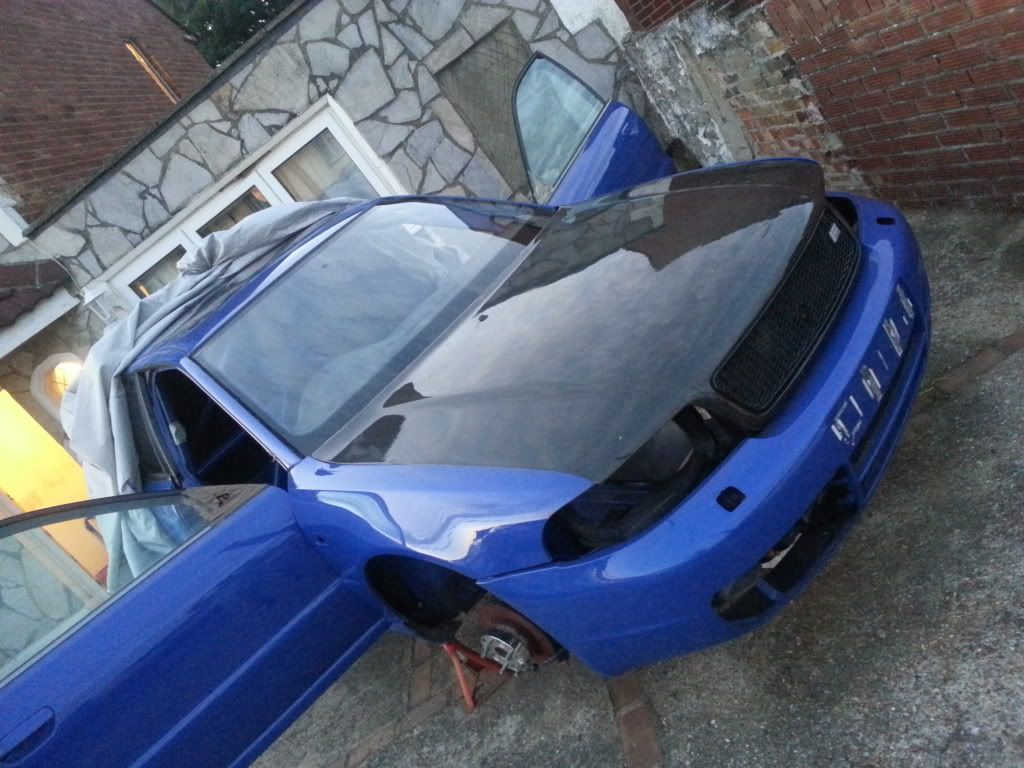
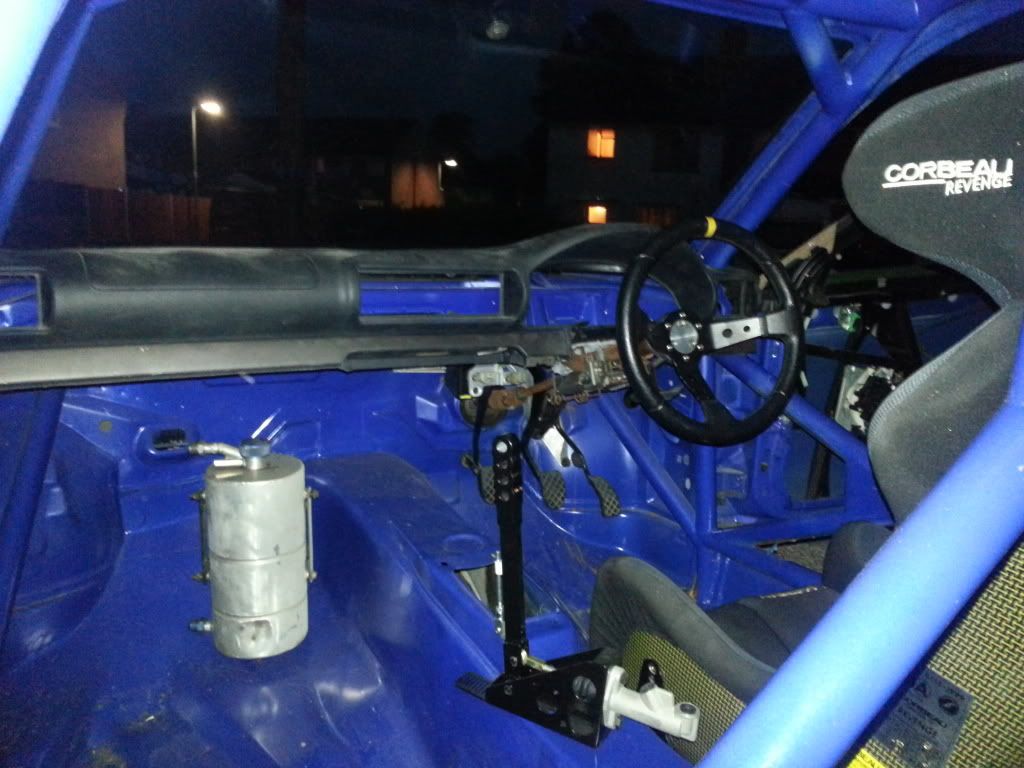
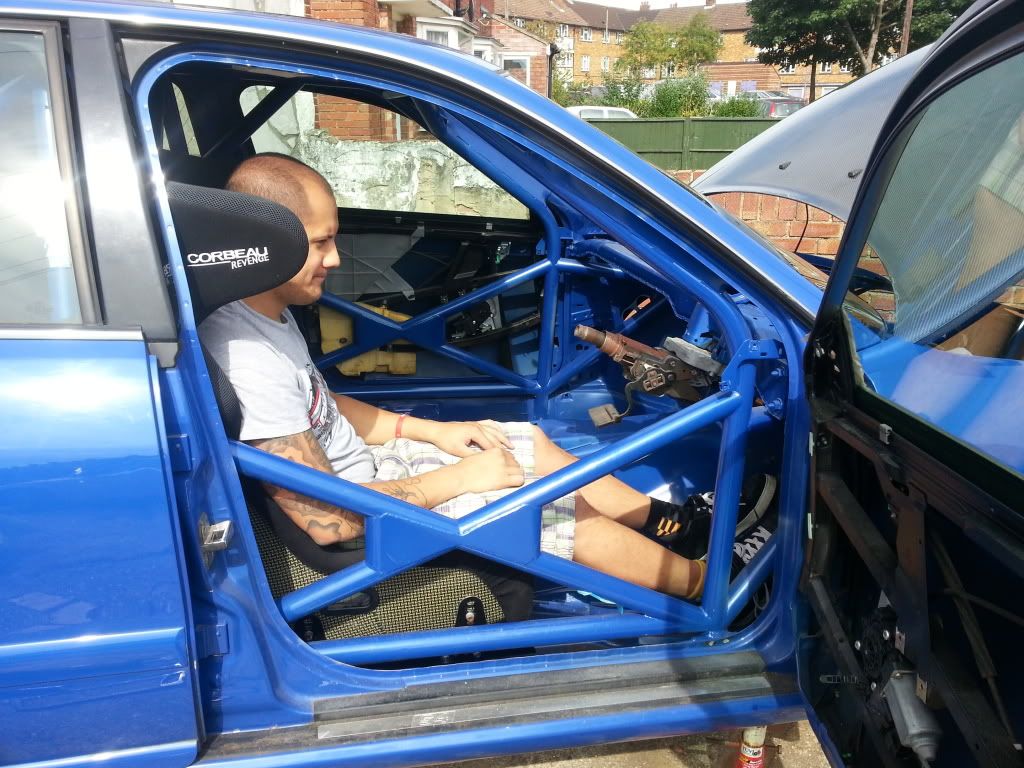
Burning out more bushes..
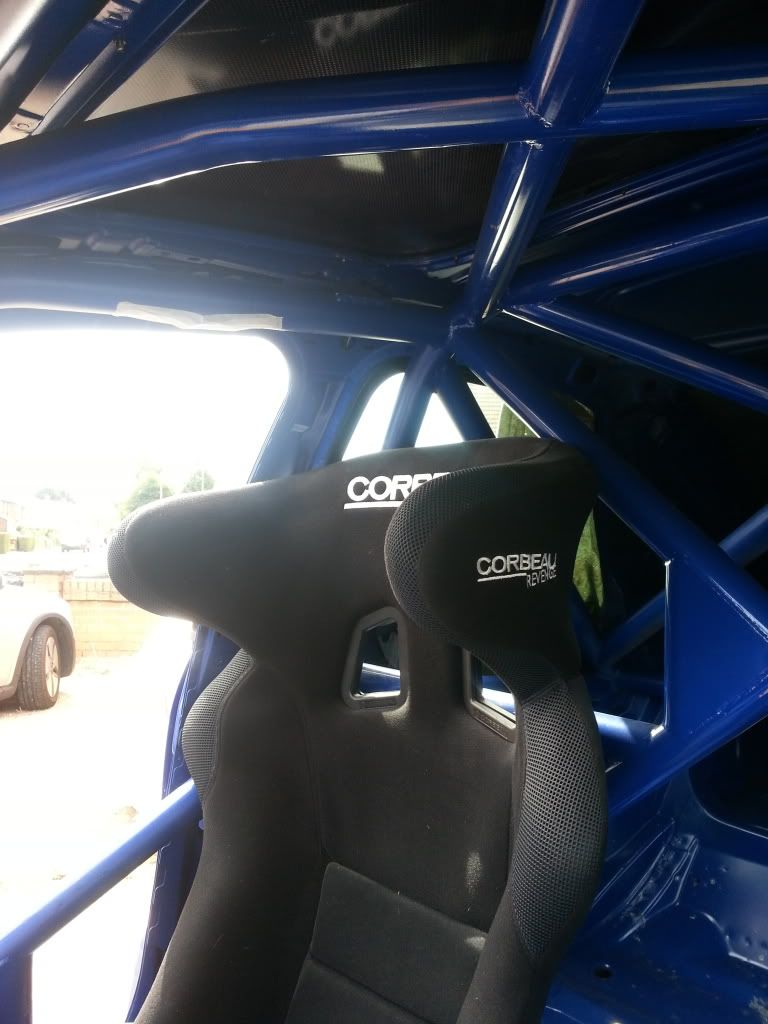
Another interior shot (oh, none of these pics are in any particular order it seems!)
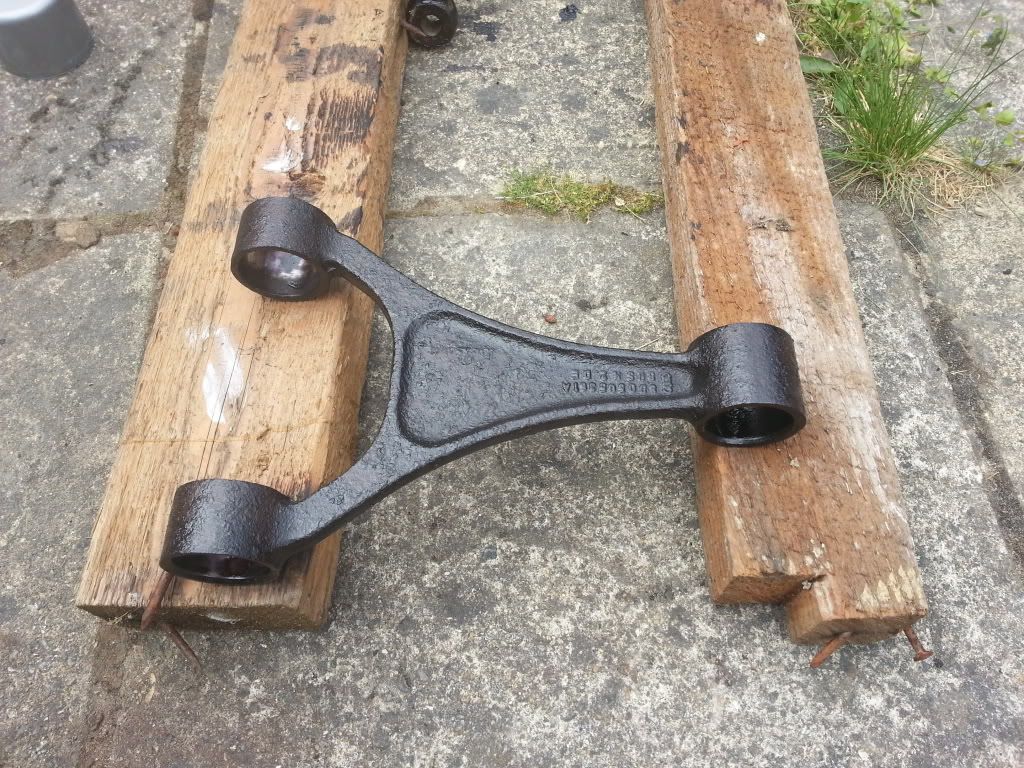
Prepped rear wishbone
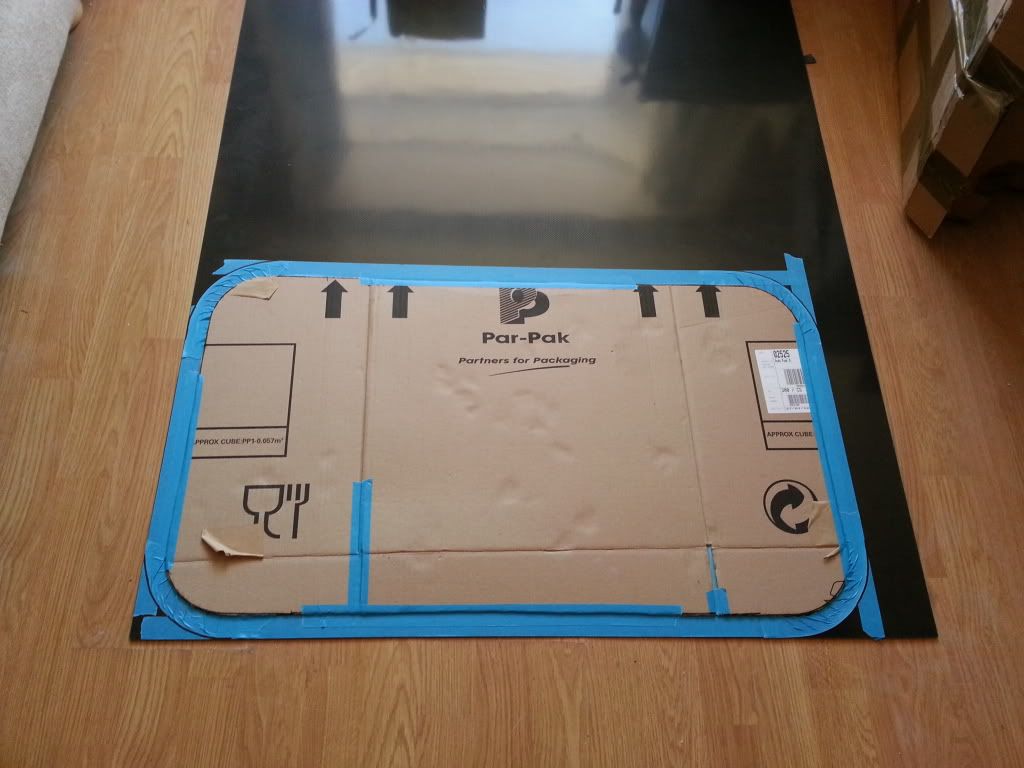
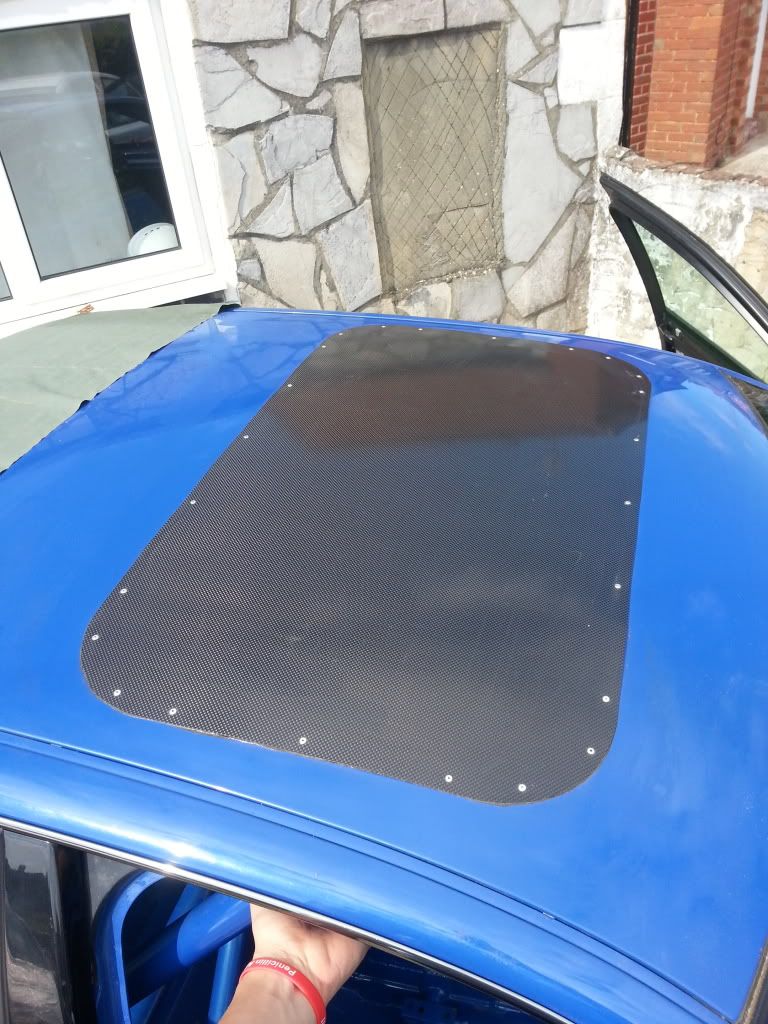
Carbon sheet marked up for cutting
...to fill a hole
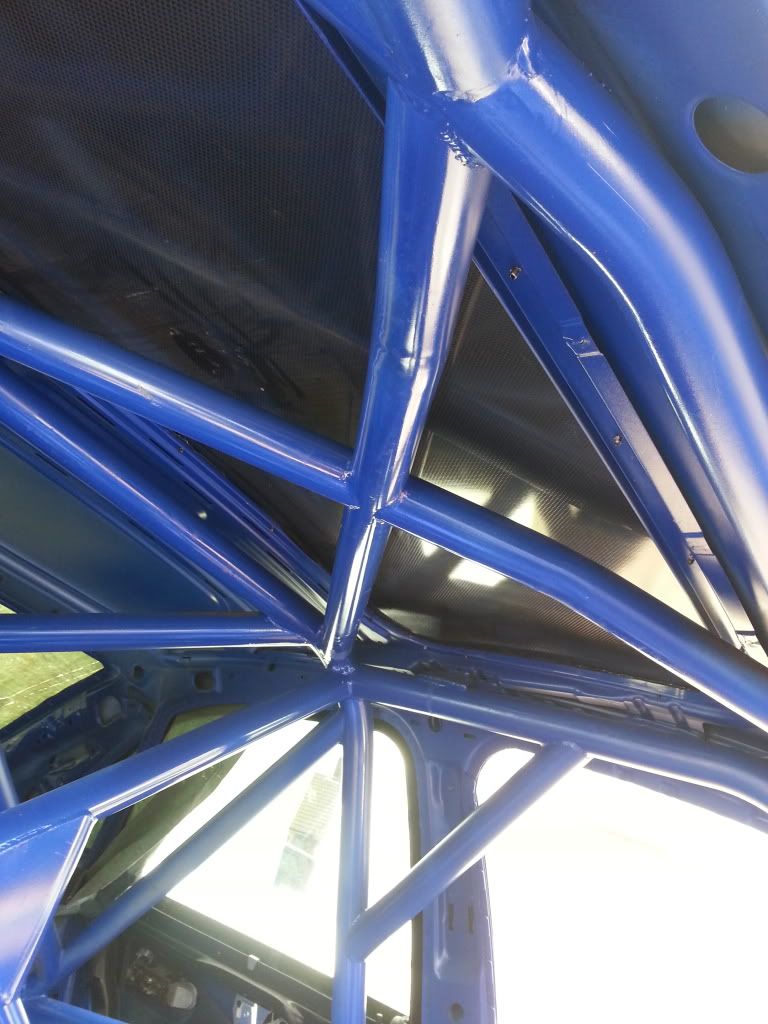
View from the top..
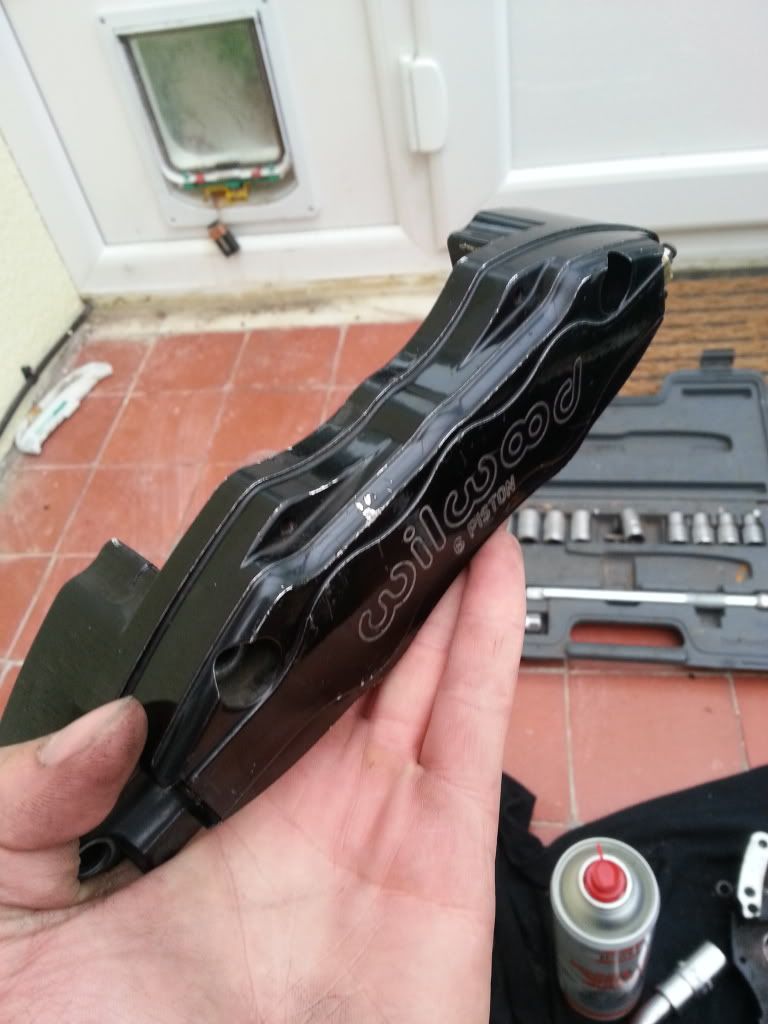
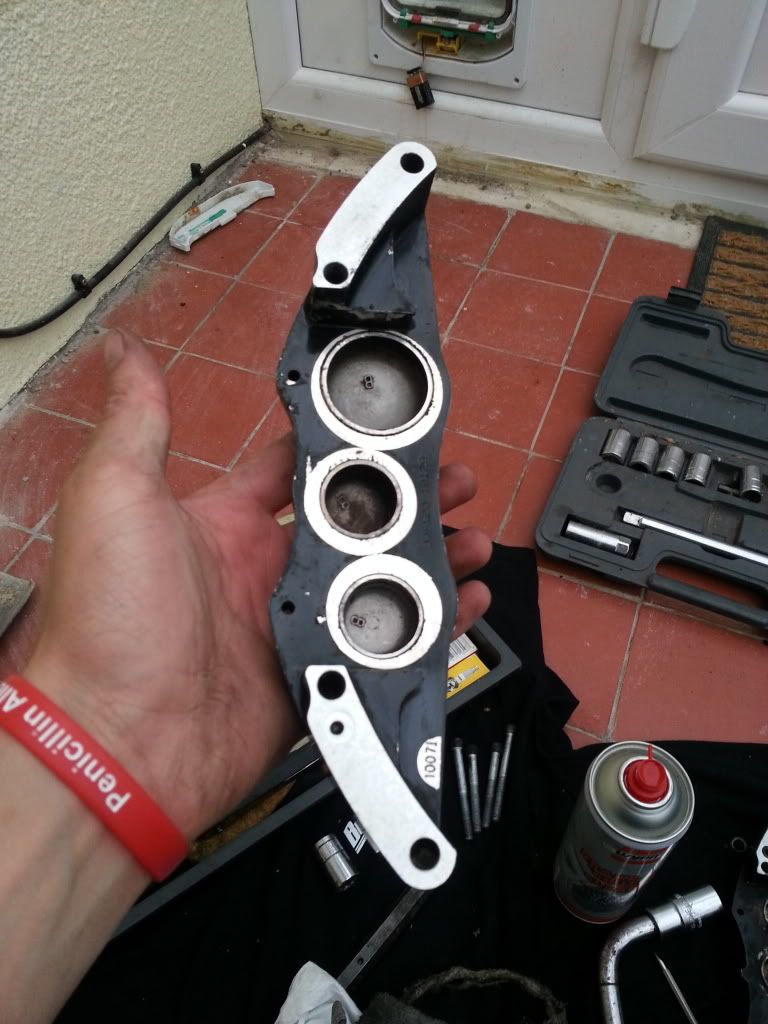
Half a 6 pot caliper. These were used briefly on my red S40, and will now reside on the rear of the S4.
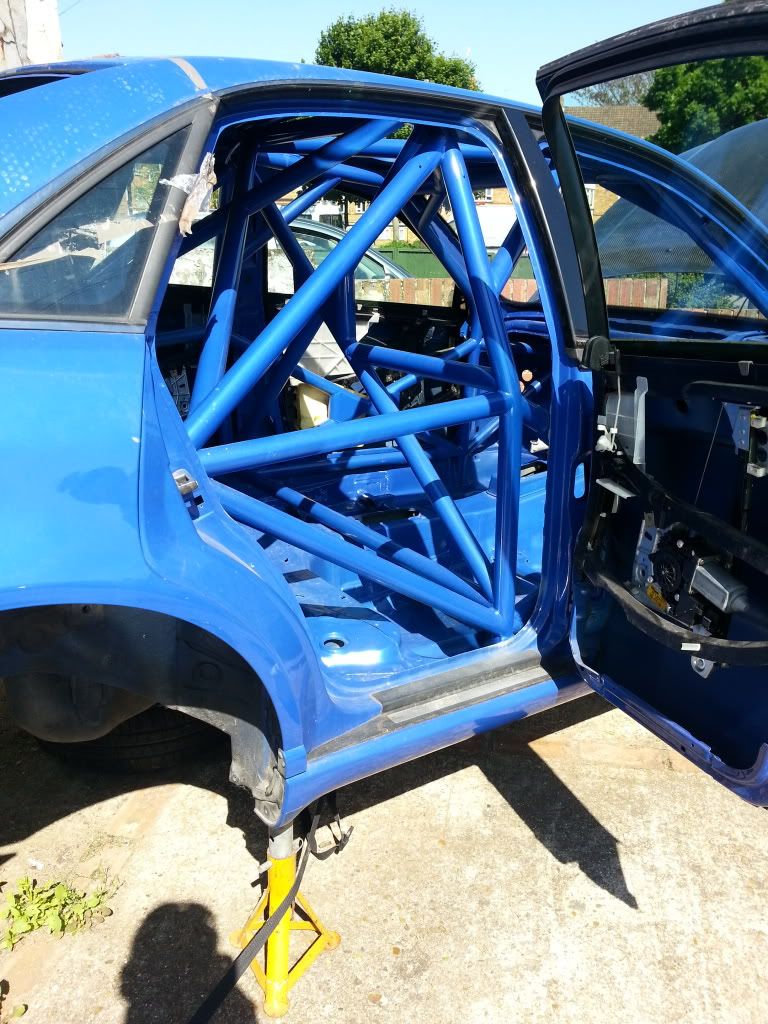
Random cage shot
Carbon cutout (again , wrong order)
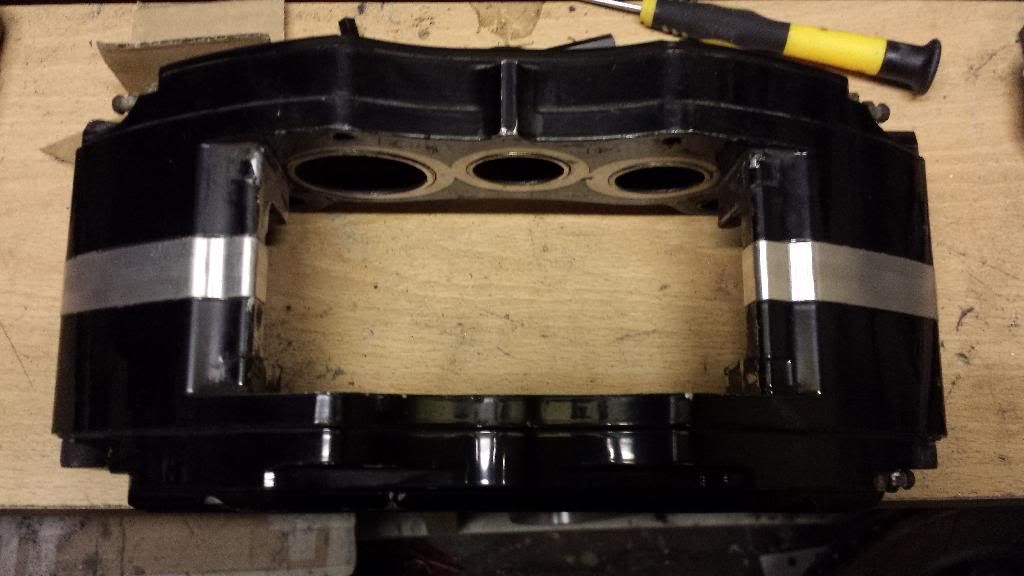
The other half of the caliper. This shot was taken to show the internal fluid gallery rather than having a crossover pipe.
lots more pics coming....

Lot's has been going on, life generally, changing jobs a few times, renovating a house, selling it, buying and moving to a new area and getting married (almost, that's next month!)
With all this going on, the car still isn't finished, and if you look at the shell on the drive, you'd be forgiven if you thought nothing has progressed at all.
Loads of photos, which I'll dump here for your amusement and try to throw some words so it makes sense. Maybe.
Laid out all the rear suspension components for a clean up

Burnt out the old bushes

These shock towers are going to need a little attention!

A few random interior shots whilst I set out a few positions for handbrake and oil tank etc


Burning out more bushes..

Another interior shot (oh, none of these pics are in any particular order it seems!)

Prepped rear wishbone

Carbon sheet marked up for cutting

...to fill a hole

View from the top..

Half a 6 pot caliper. These were used briefly on my red S40, and will now reside on the rear of the S4.

Random cage shot

Carbon cutout (again , wrong order)

The other half of the caliper. This shot was taken to show the internal fluid gallery rather than having a crossover pipe.

lots more pics coming....
Last edited:
Andy P
Member
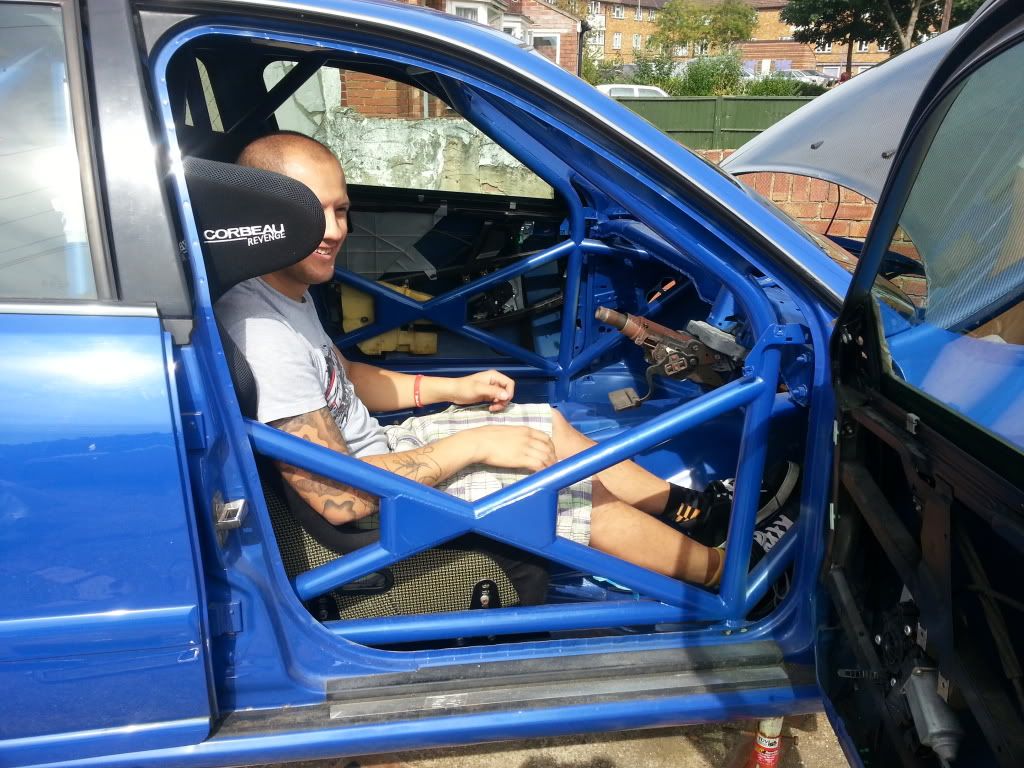
Twat in a car 
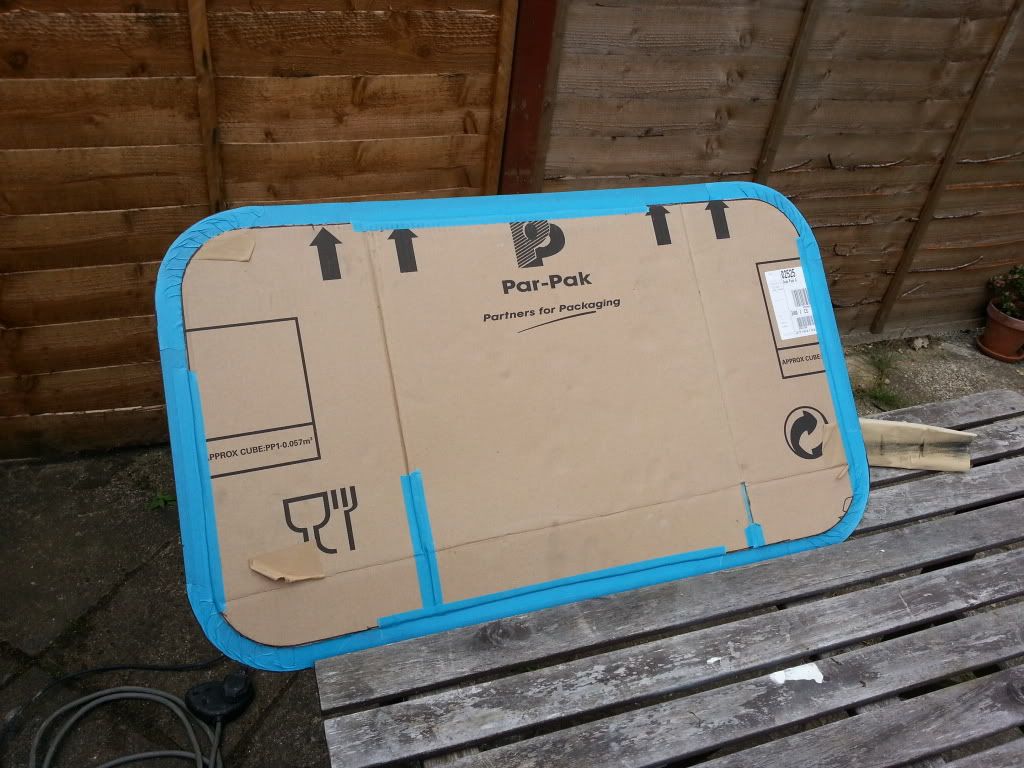
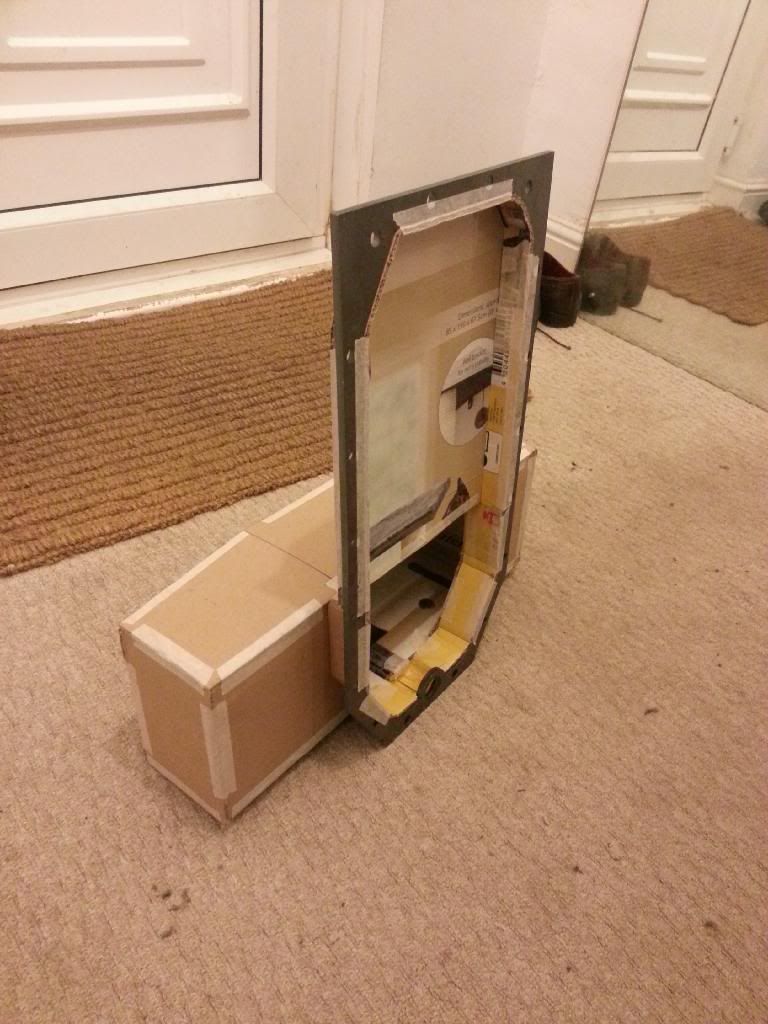
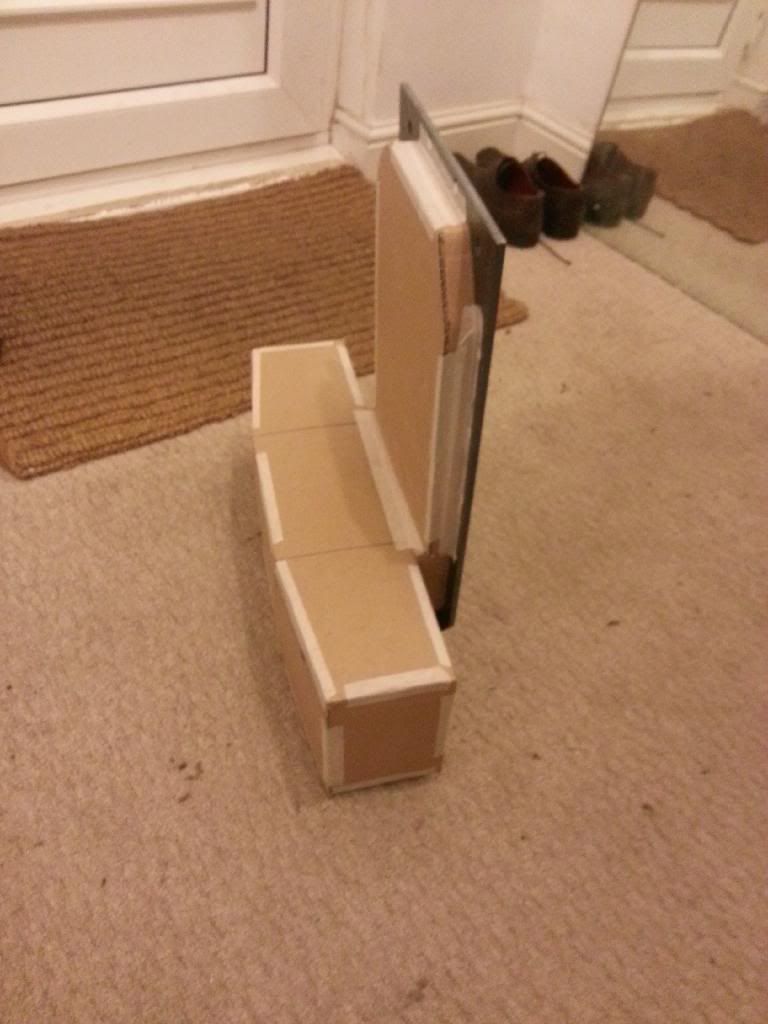
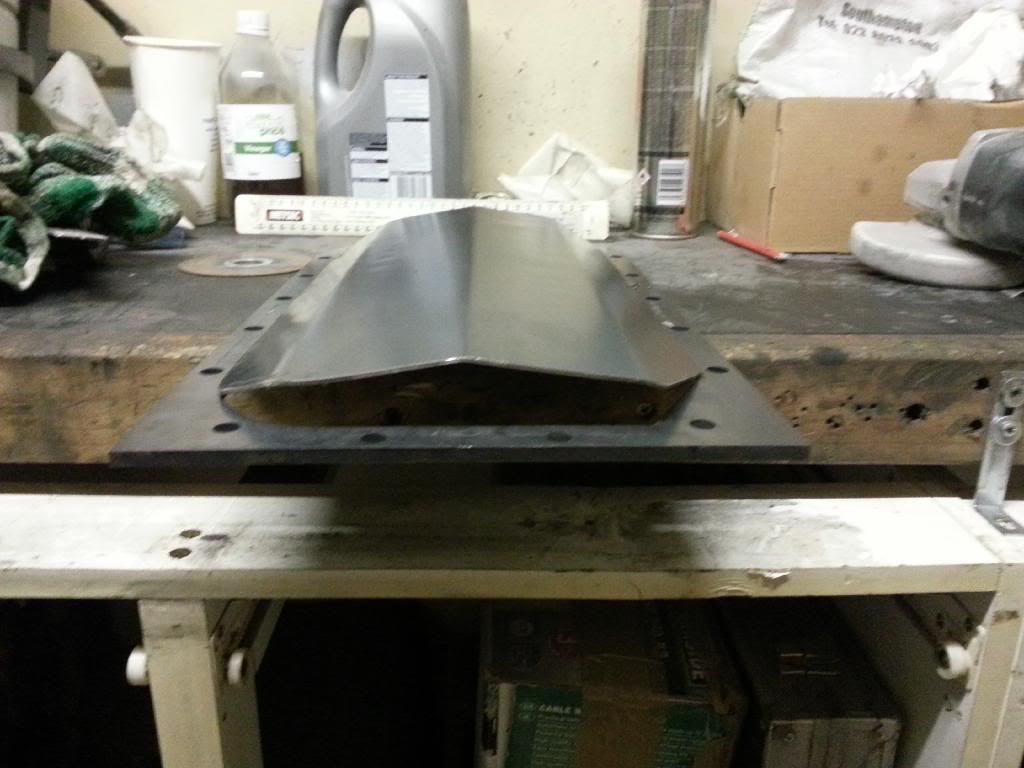
Mocked up a nice new big wing sump out of cardboard
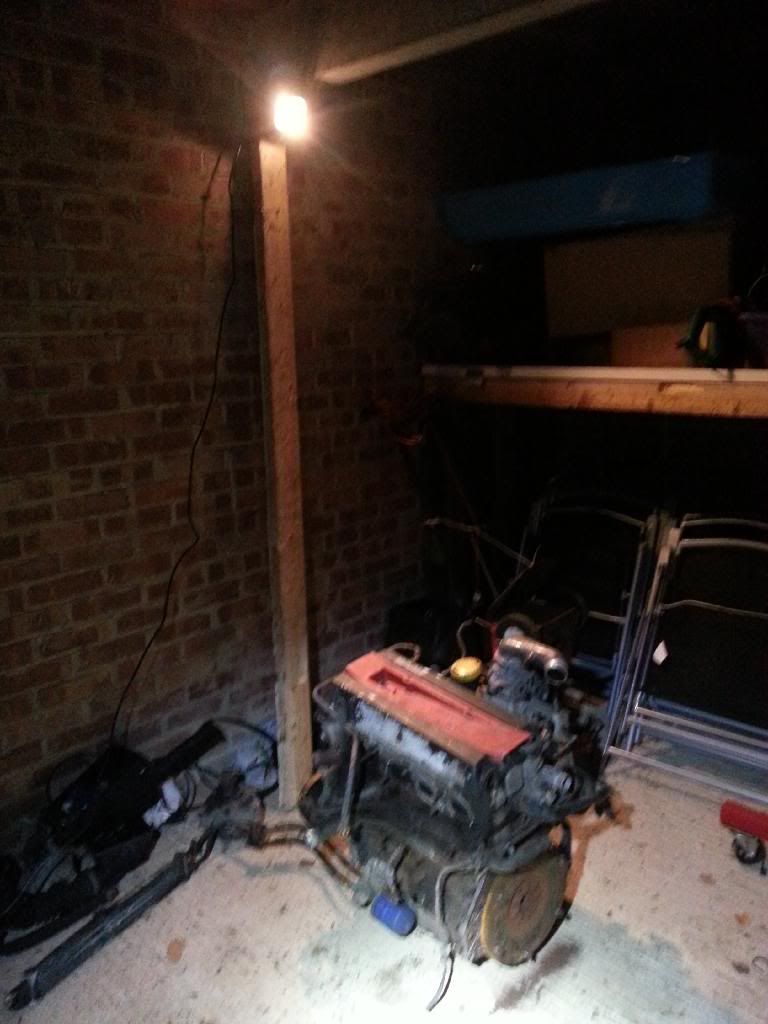
And I bought another engine. Same as last time but in 2L guise from a 900. These rev better than the 2.3's. The plan was to keep it complete and bang it in on std management....
Started on making the sump
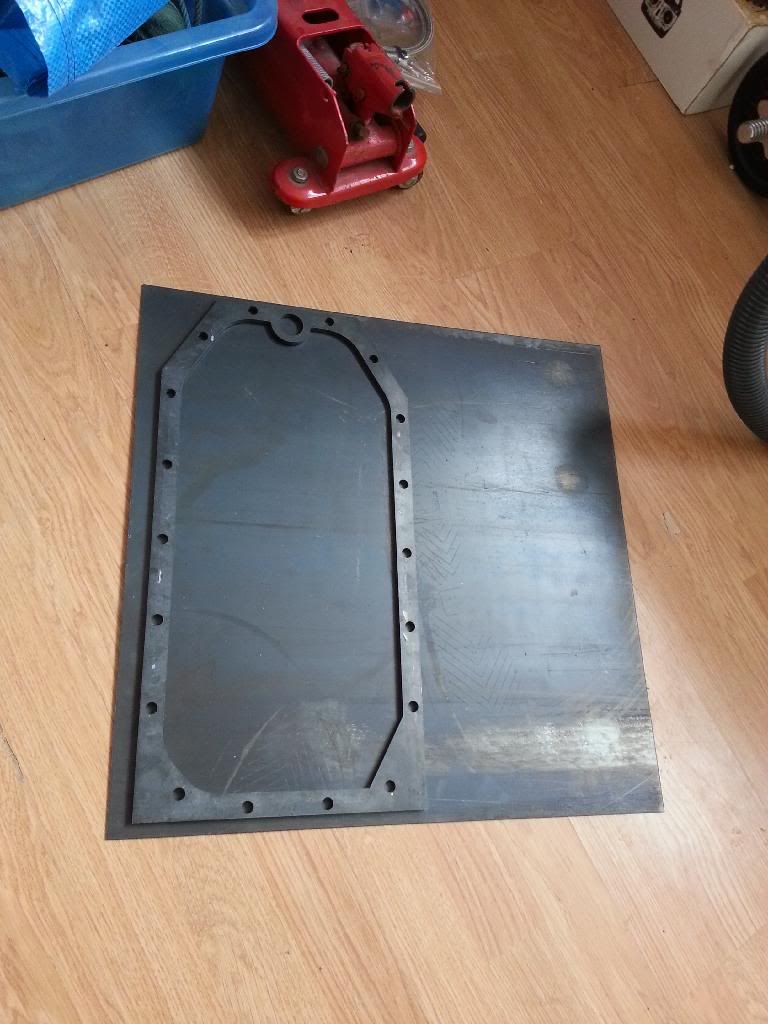
Which isn't a big wing wet sump!
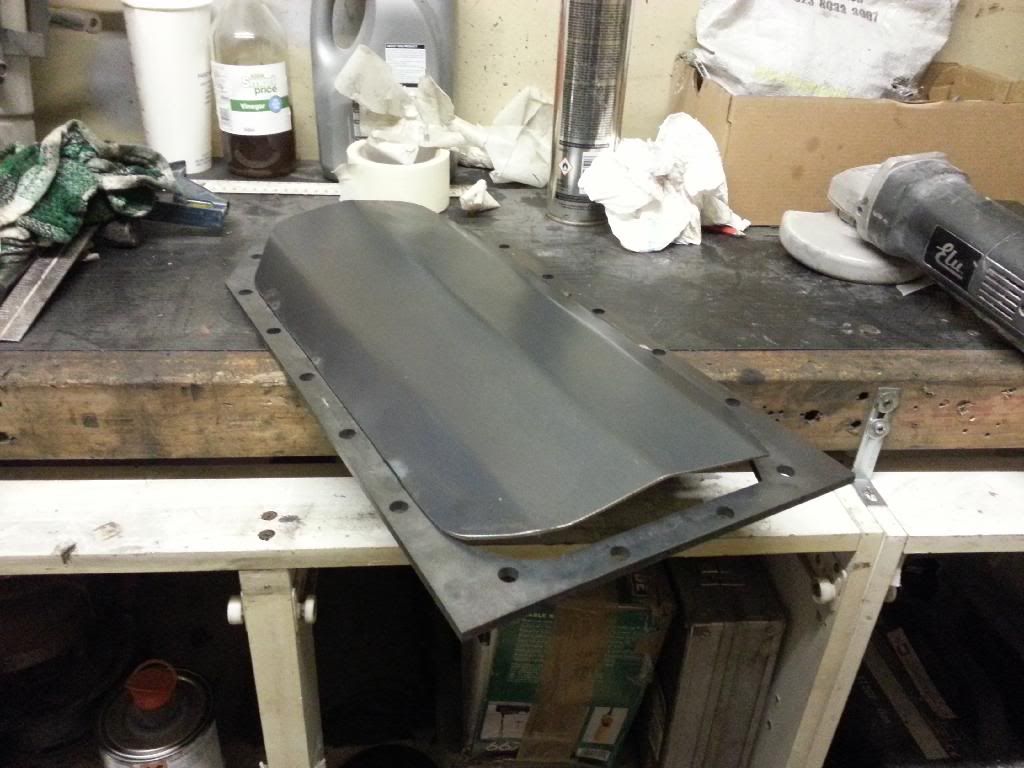
Quite shallow in fact.
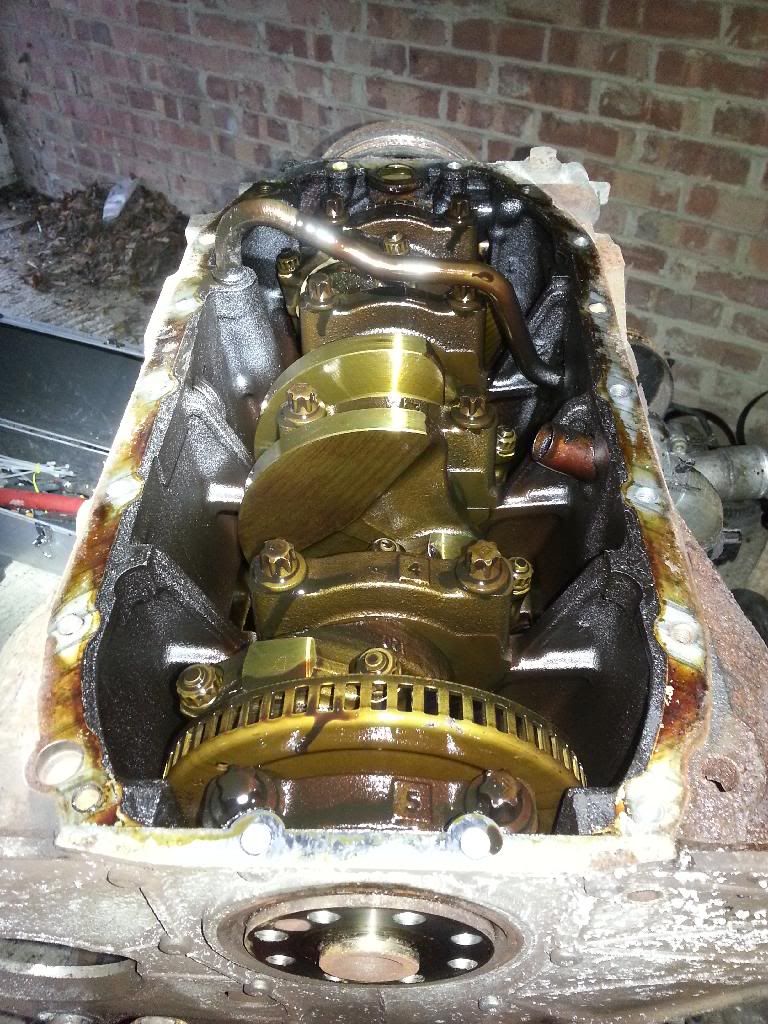
This shows the crossover pipe from the OEM oil pump to the main gallery. Which gets in the way of the shallow sump... Something I'll have to get around with an external route.
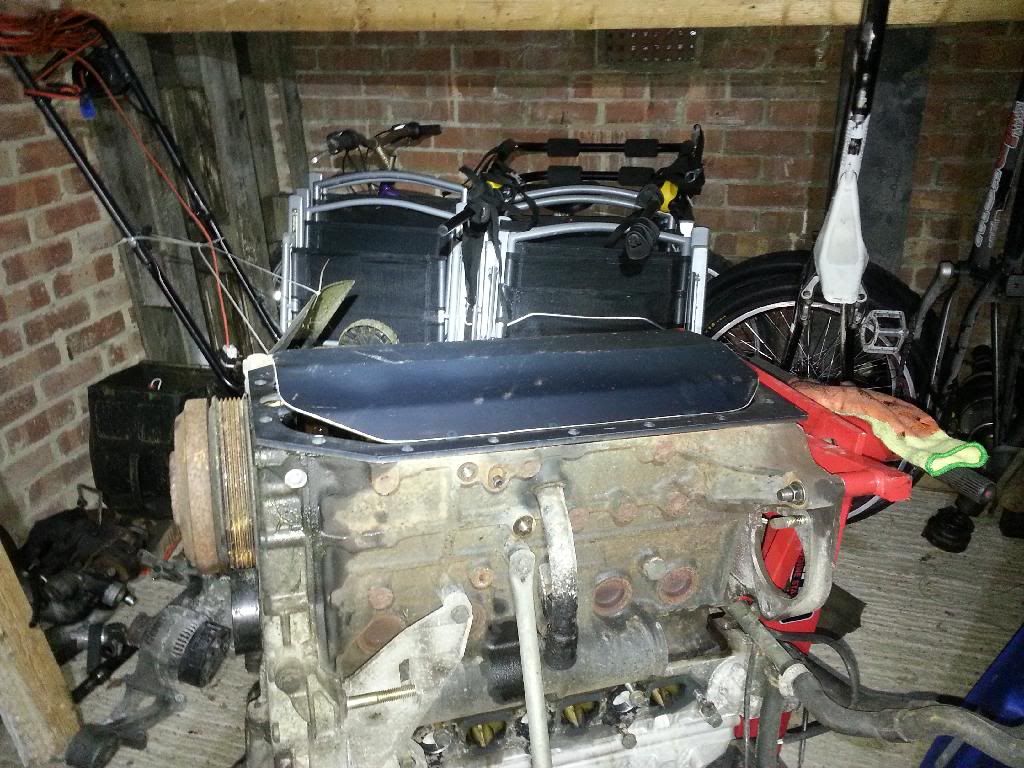
Sump on for size, making sure its got the clearance for the crank!
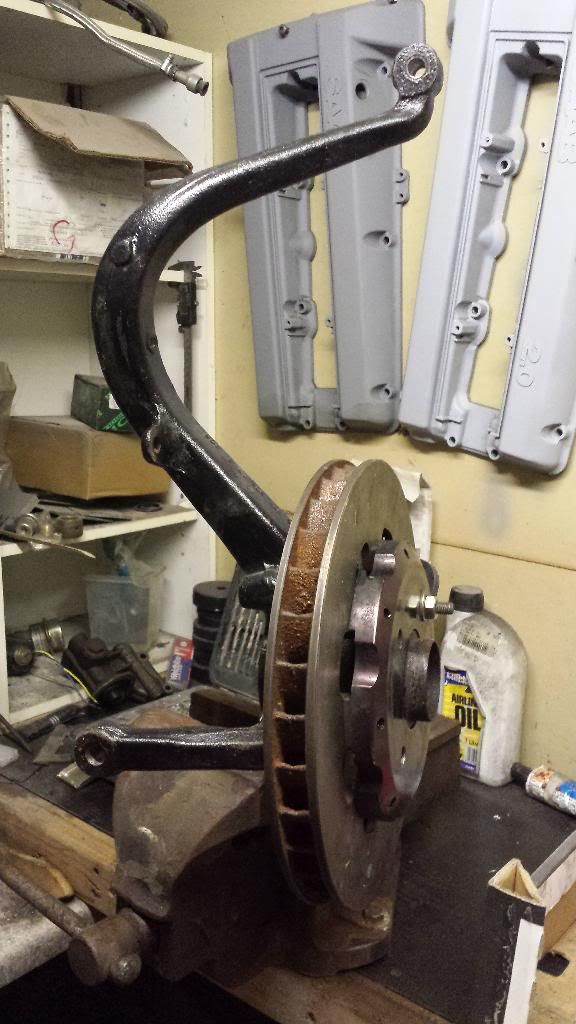
Test fit the S40 front discs on the rear S4 hubs. Centre bore is the same, just needs PCD drilling out. Also these discs are 32mm thick, considerably thicker than they were before, which means i need to space the calipers out.
A spaced out caliper sat on top in position
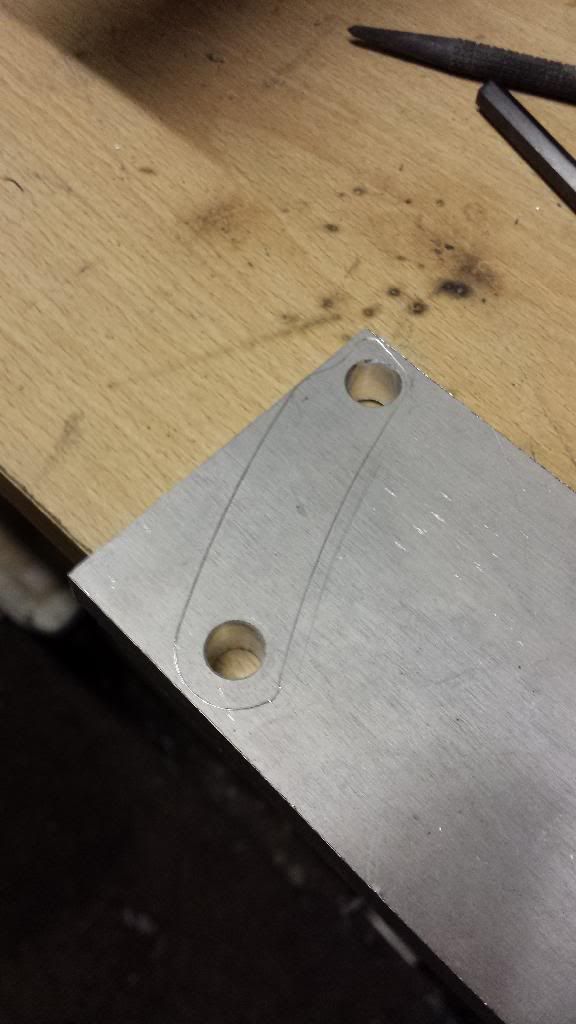
And the beginning of making the spacers
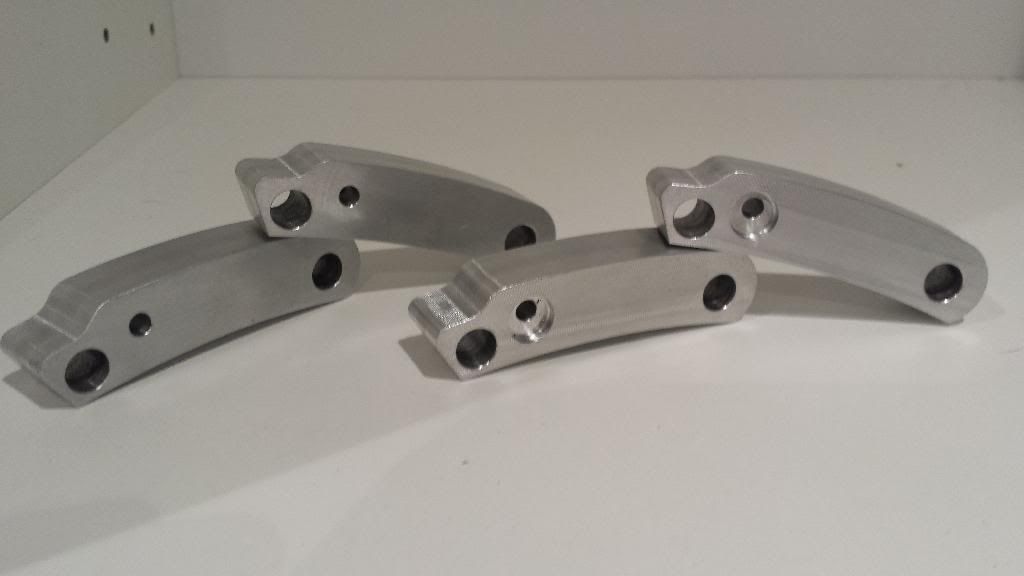
Which I actually got milled anyway!
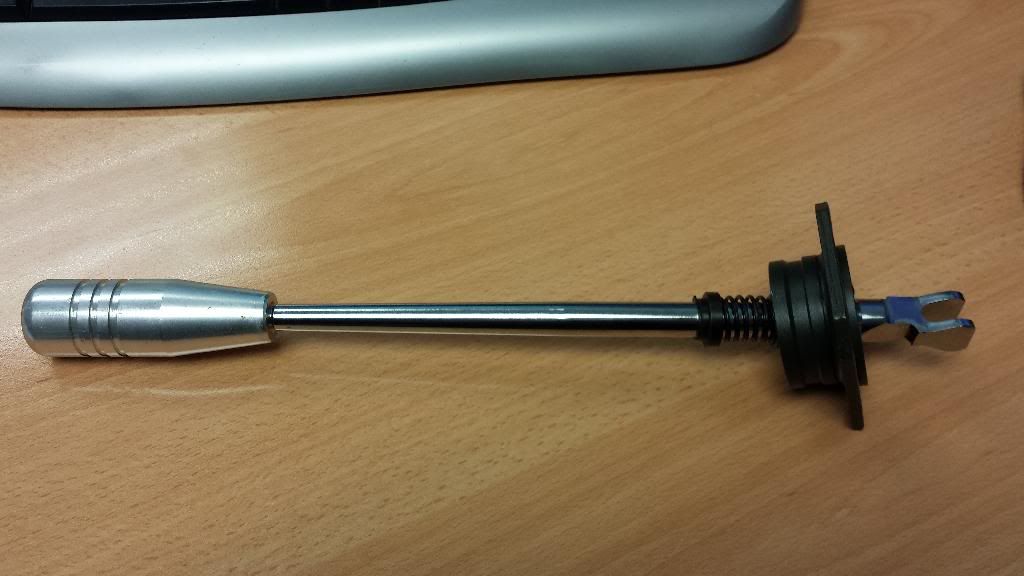
5 speed mk2 gear shifter. Obviously doesn't fit anything I have - yet.
New spacers in the rear calipers
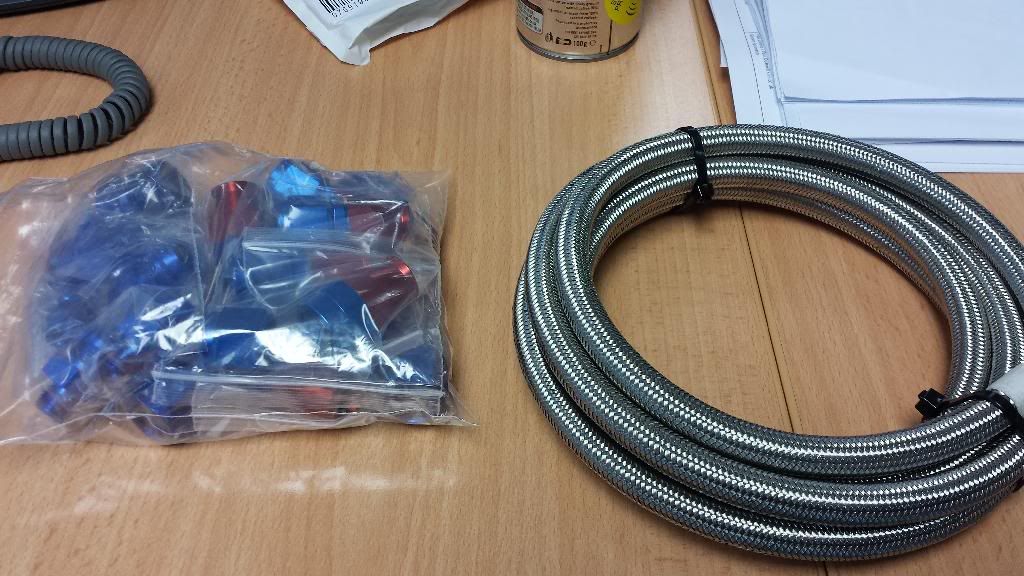
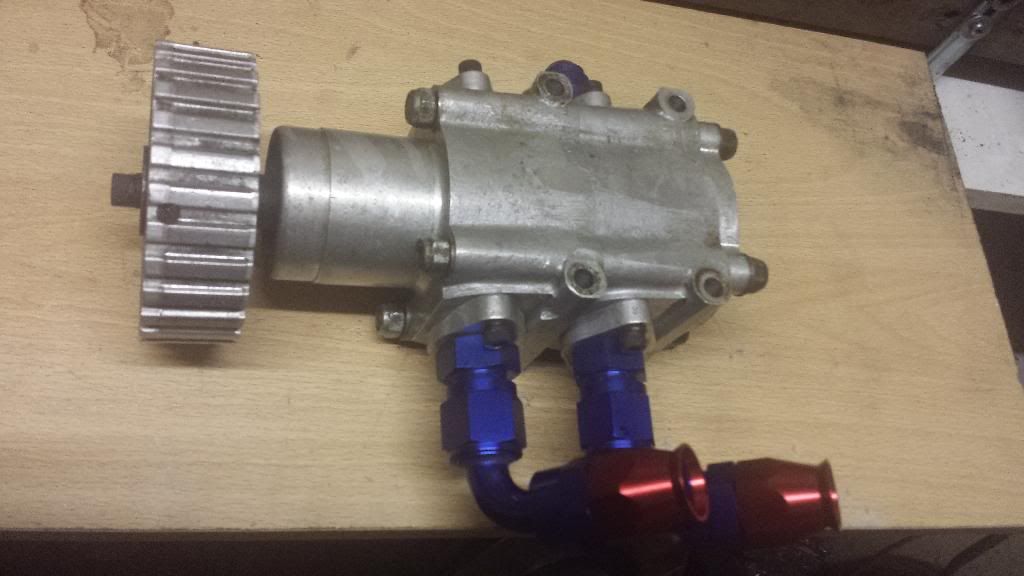
Spent a fuck ton on some fittings. Went for proper PTFE hose with correct fittings. This lot was for the scavenge part of the dry sump system I've decided to make.
Picked up a 2 stage PACE pump off ebay with push on fittings
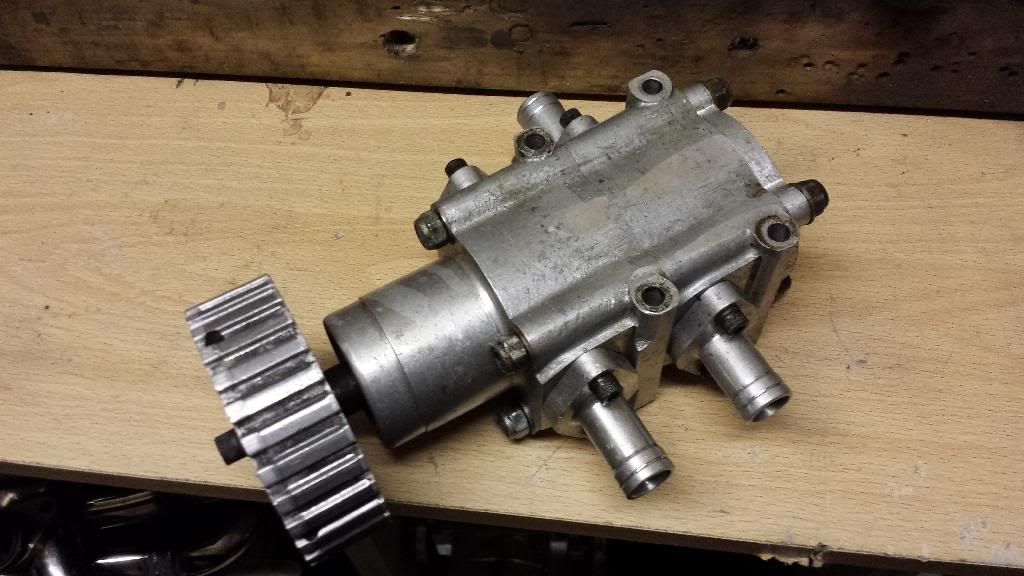
Cut off the tails and tapped the plate
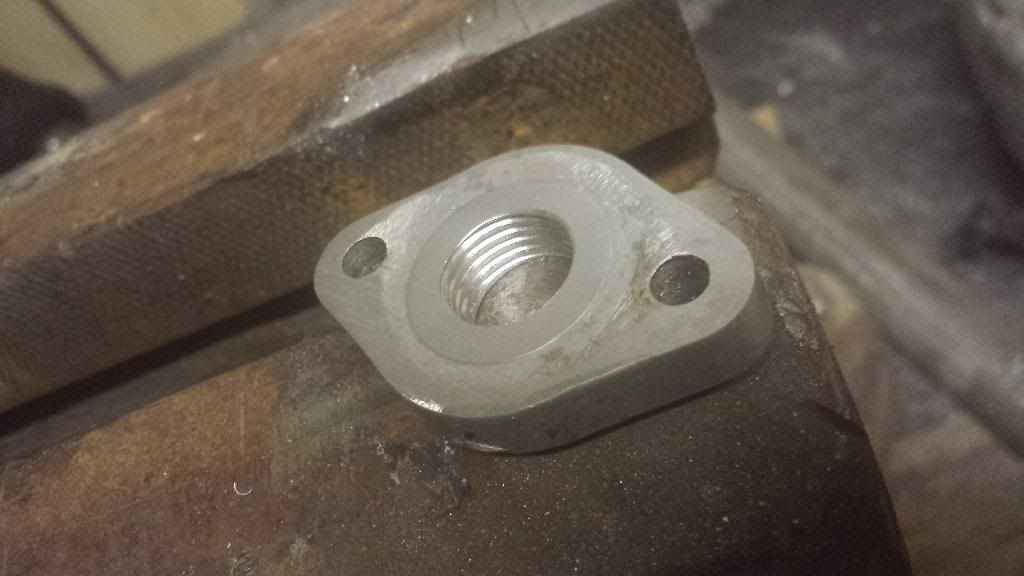
et, voilà
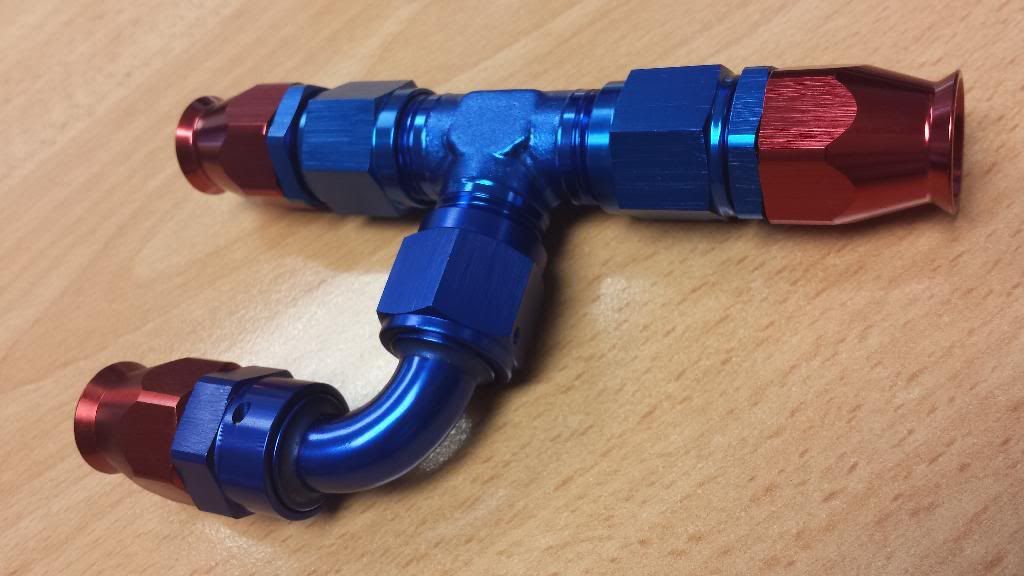
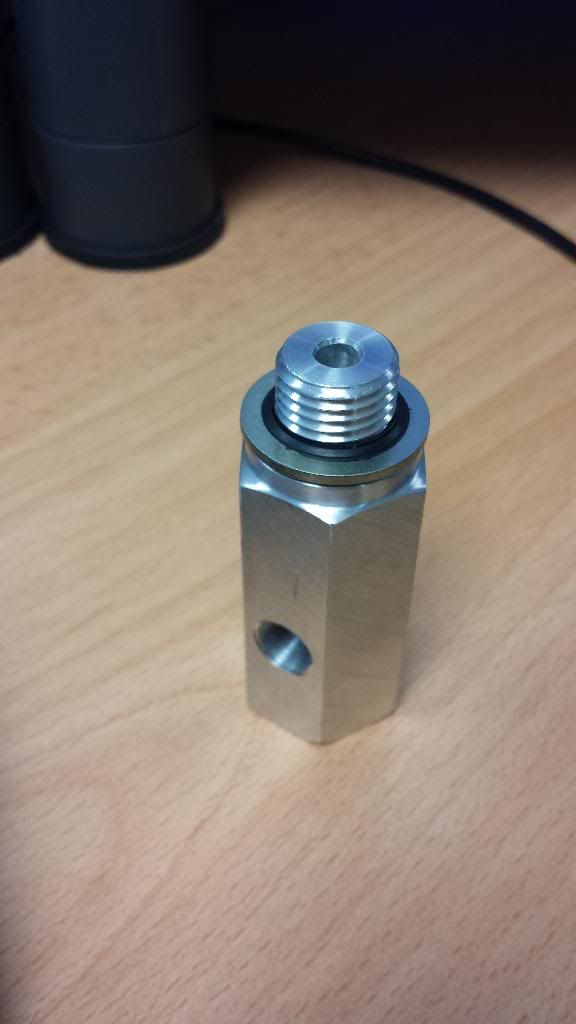
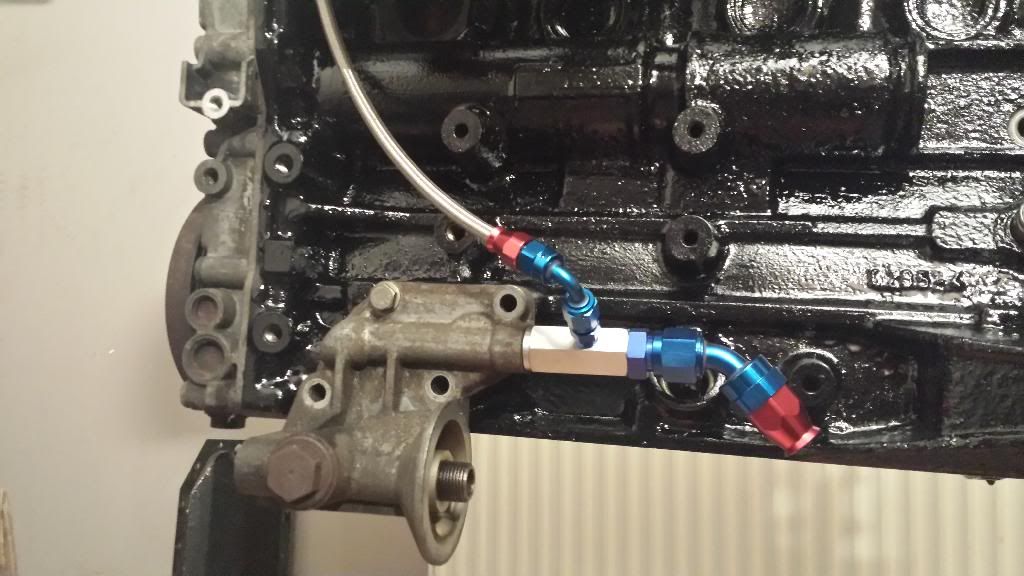
Got this to tee into the oil filter housing block to feed the main oil gallery externally. Has 1/4 NPT for oil feed to turbo. Drilled it out to increase capacity, took a pic but I've not posted it.
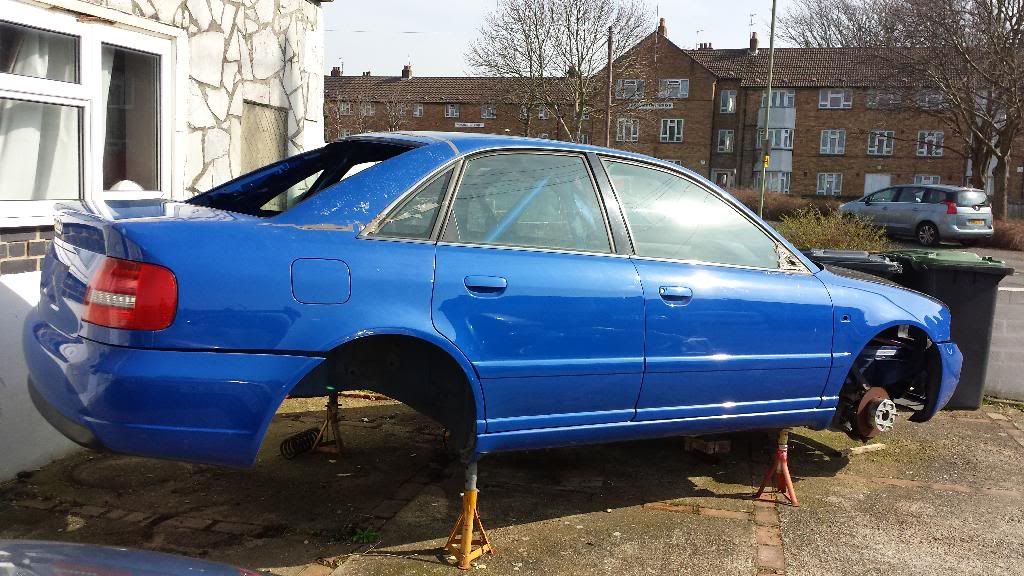
Don't think I've got a pic of this car on 4 wheels. I don't think I've ever had it on 4 wheels?
And that engine I was going to keep in one piece and just bang in.... Part stripped ready for cleaning!


Mocked up a nice new big wing sump out of cardboard


And I bought another engine. Same as last time but in 2L guise from a 900. These rev better than the 2.3's. The plan was to keep it complete and bang it in on std management....

Started on making the sump

Which isn't a big wing wet sump!


Quite shallow in fact.

This shows the crossover pipe from the OEM oil pump to the main gallery. Which gets in the way of the shallow sump... Something I'll have to get around with an external route.

Sump on for size, making sure its got the clearance for the crank!

Test fit the S40 front discs on the rear S4 hubs. Centre bore is the same, just needs PCD drilling out. Also these discs are 32mm thick, considerably thicker than they were before, which means i need to space the calipers out.

A spaced out caliper sat on top in position

And the beginning of making the spacers

Which I actually got milled anyway!

5 speed mk2 gear shifter. Obviously doesn't fit anything I have - yet.

New spacers in the rear calipers

Spent a fuck ton on some fittings. Went for proper PTFE hose with correct fittings. This lot was for the scavenge part of the dry sump system I've decided to make.


Picked up a 2 stage PACE pump off ebay with push on fittings

Cut off the tails and tapped the plate

et, voilà

Got this to tee into the oil filter housing block to feed the main oil gallery externally. Has 1/4 NPT for oil feed to turbo. Drilled it out to increase capacity, took a pic but I've not posted it.

Don't think I've got a pic of this car on 4 wheels. I don't think I've ever had it on 4 wheels?

And that engine I was going to keep in one piece and just bang in.... Part stripped ready for cleaning!

Last edited:
Andy P
Member
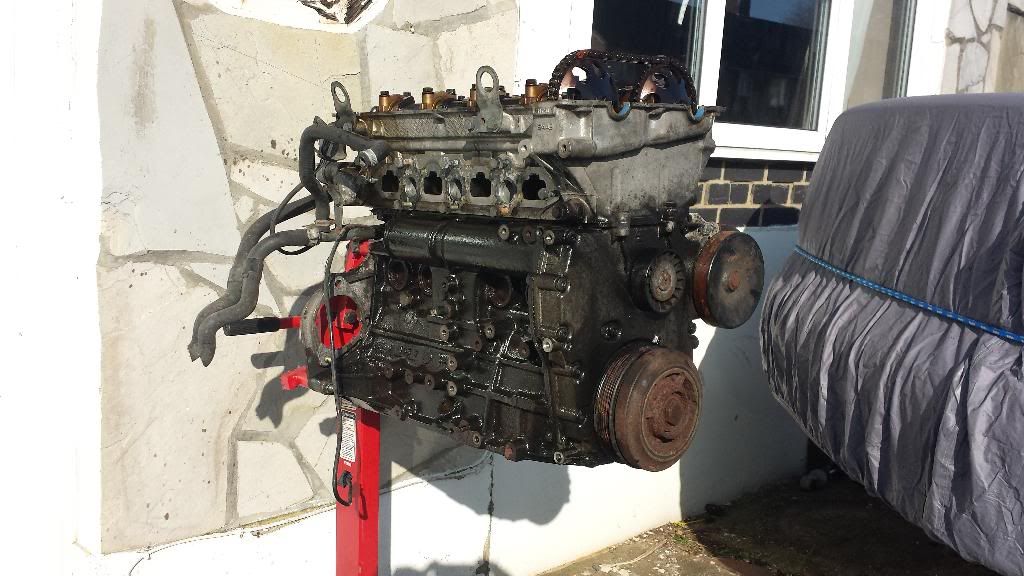
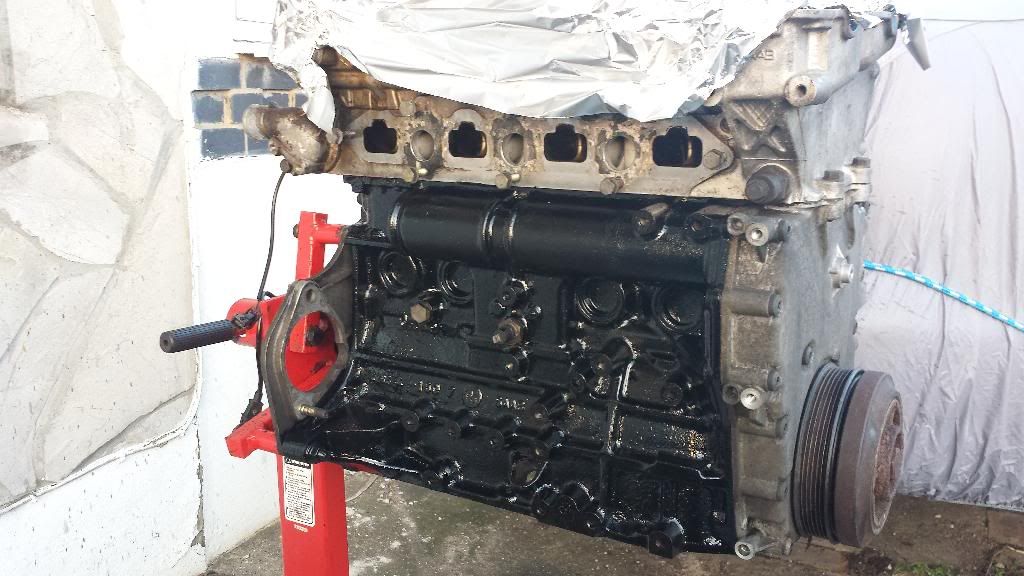
Started to give the "new" engine a bit of a spruce up
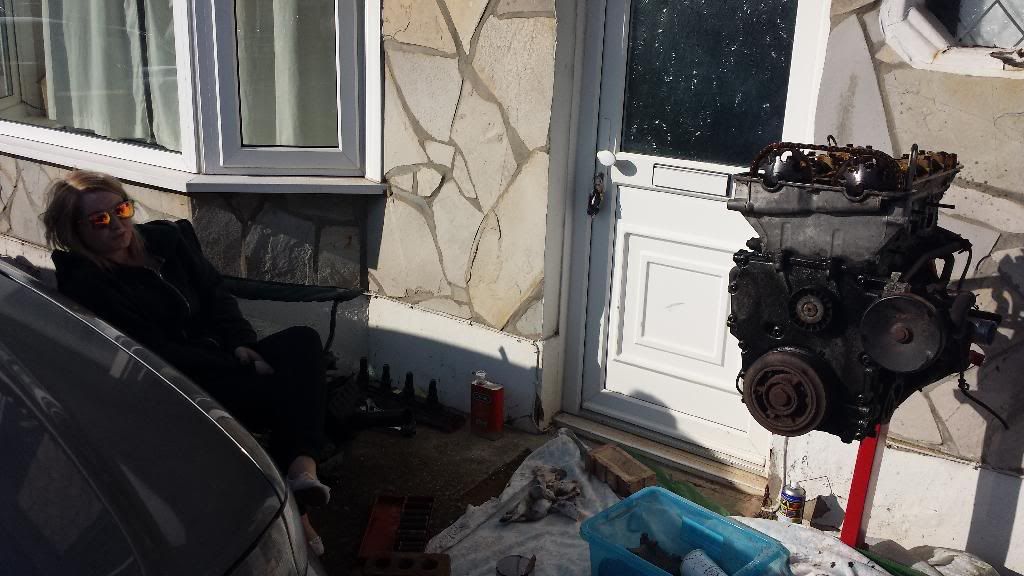
The Mrs was bored enough to watch...
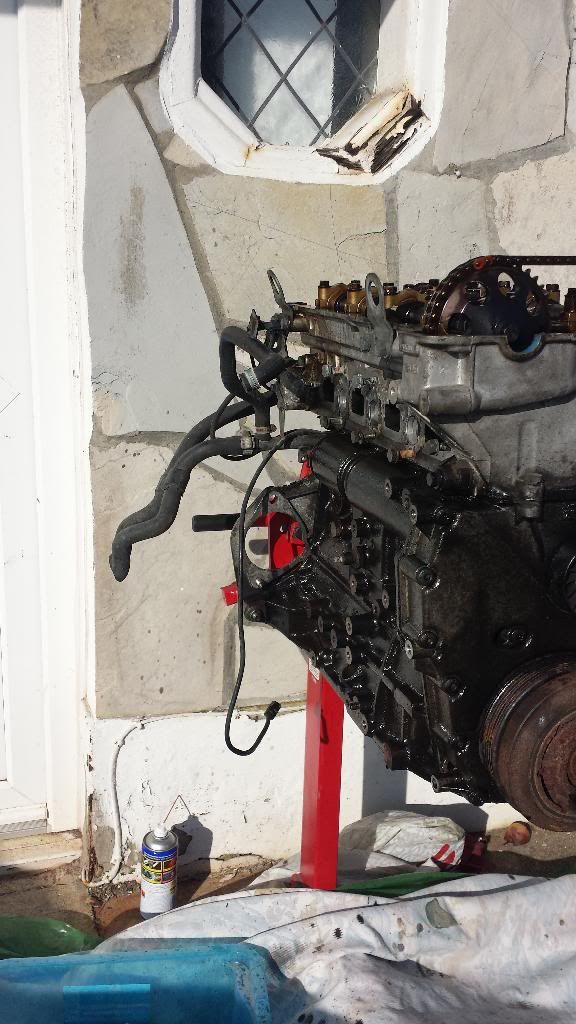
Looking semi respectable. Will probably do a full build on the 2.3 at some point in the future so I wasn't after a mint finish
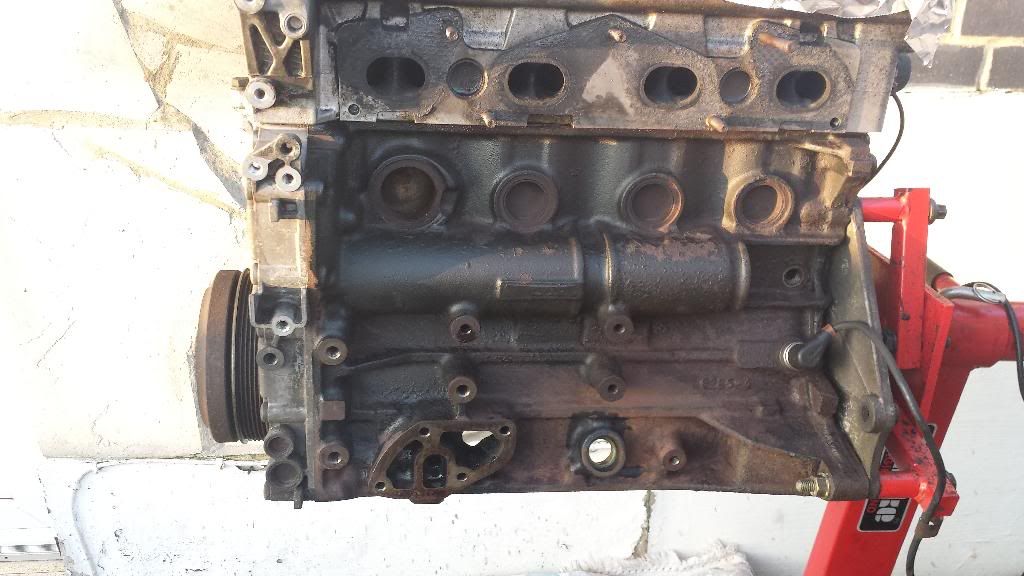
Lick of paint
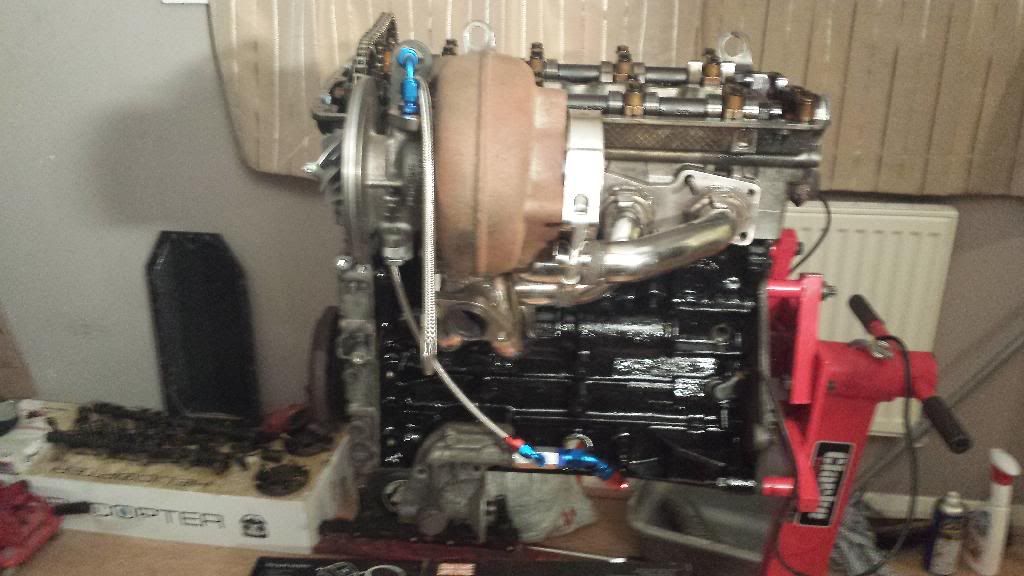
Yes that's indoors. started mocking up the Holset on the tubular manifold
This is the T point mentioned earlier, I go a different route to this later...
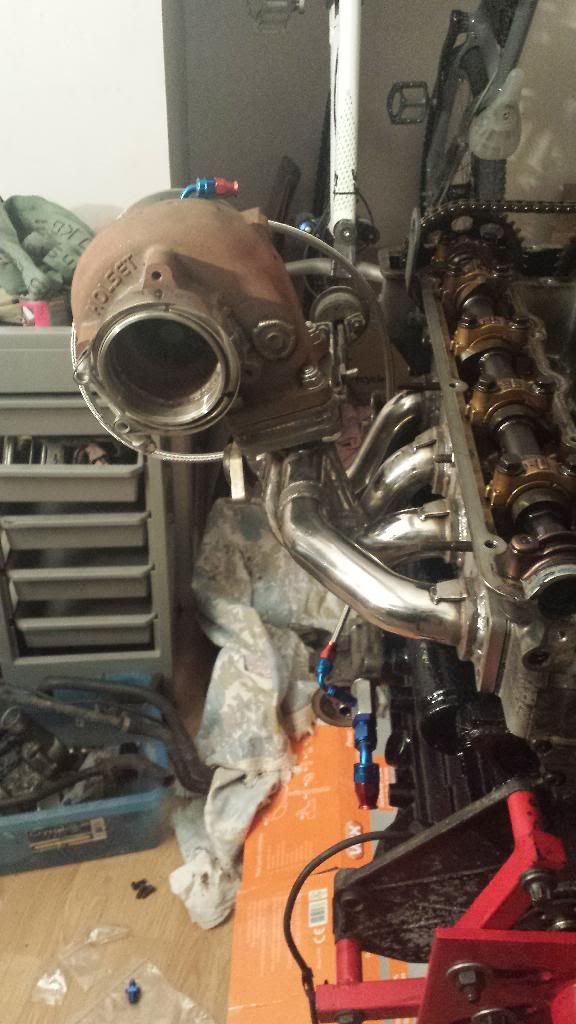
Another pic of the Holset on
Tried fitting the water pump, prevents fitment of manifold. Arse....
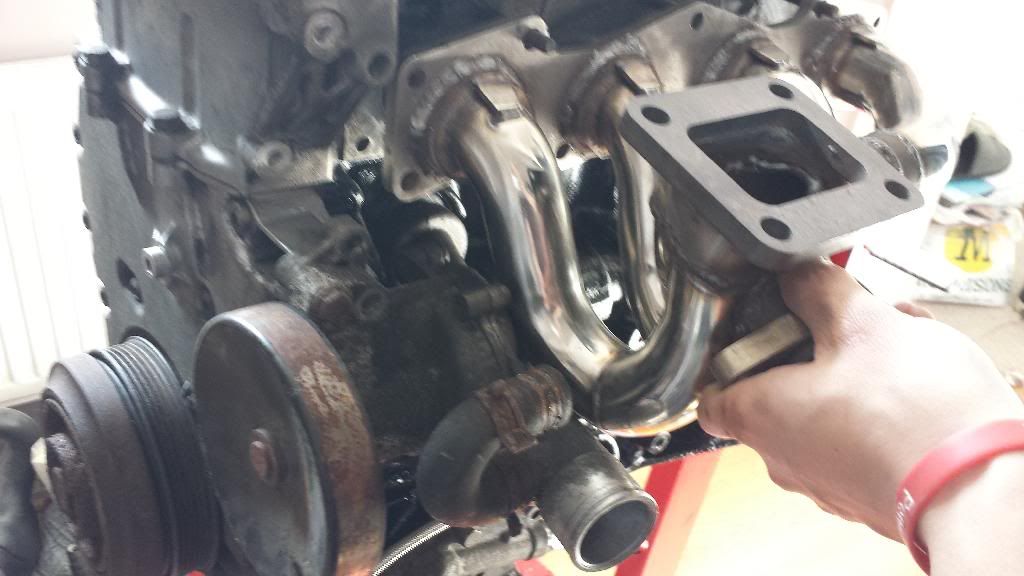
I've had to steal the front plate off the 2.3 (from a 9000) because its different to the 2.0 I've got (from a 900) and fits a different water pump and various ancillaries.
I had an ice cream?
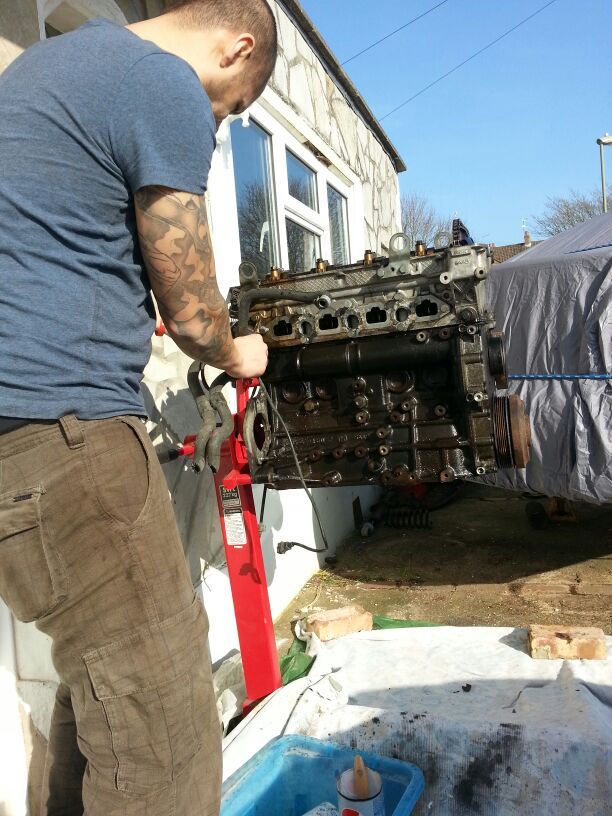
Another out of sequence shot, from the Mrs view.
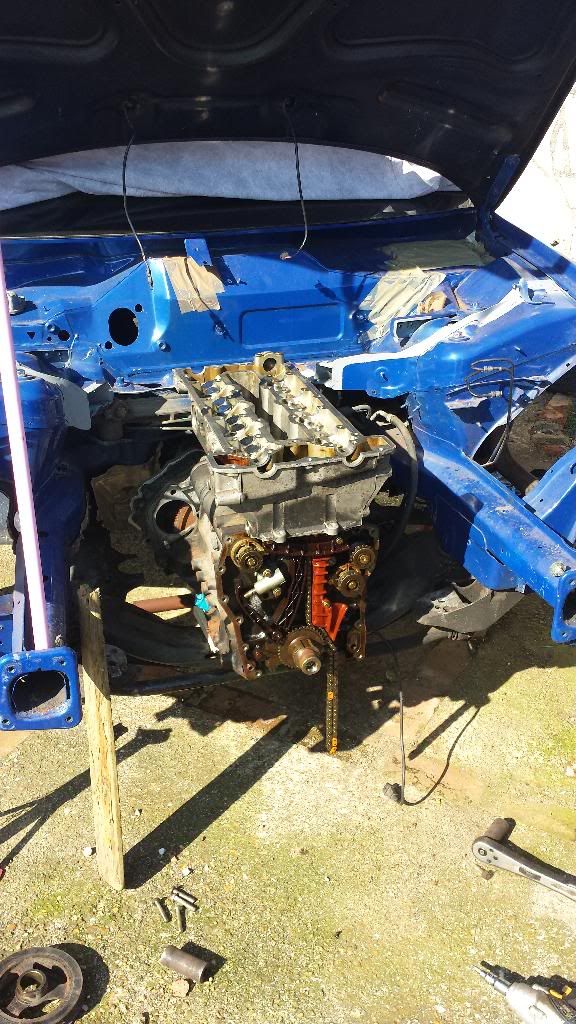
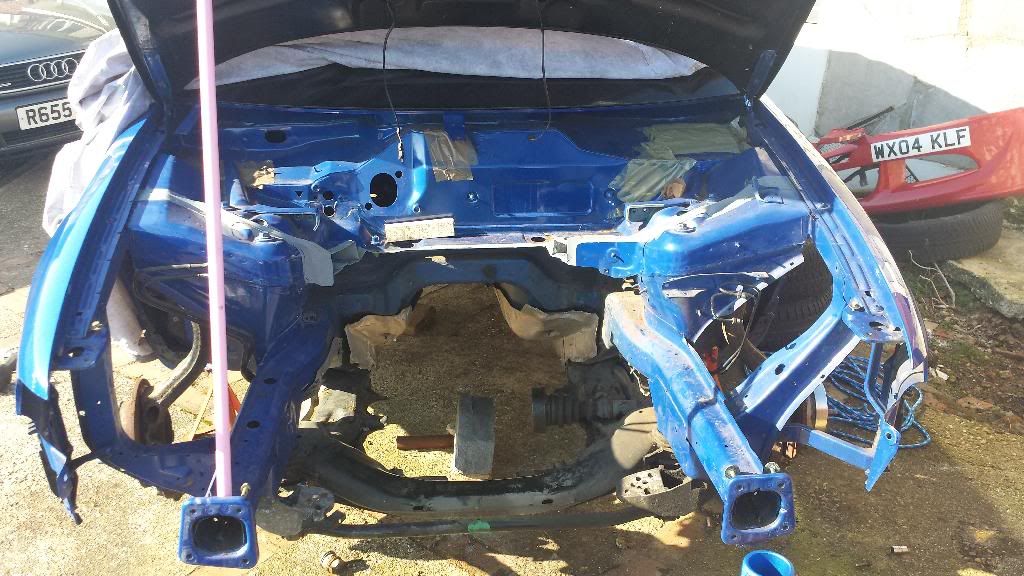
Another empty bay pic.
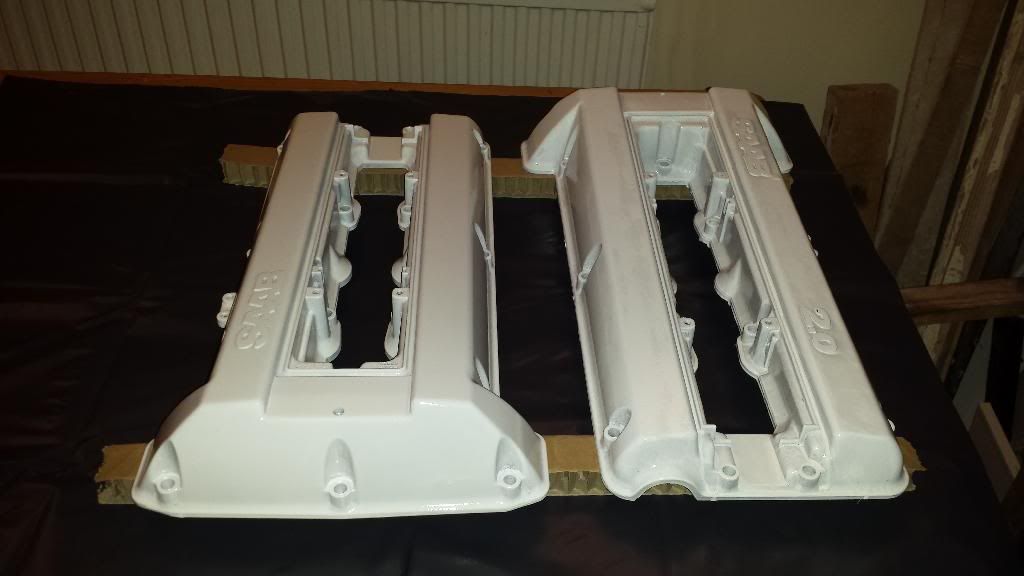
Threw some paint on the cam covers with some surplus 2k I've got from when I was planning on spraying the Volvo white. Came out shockingly bad. Will need redoing but will do for now.
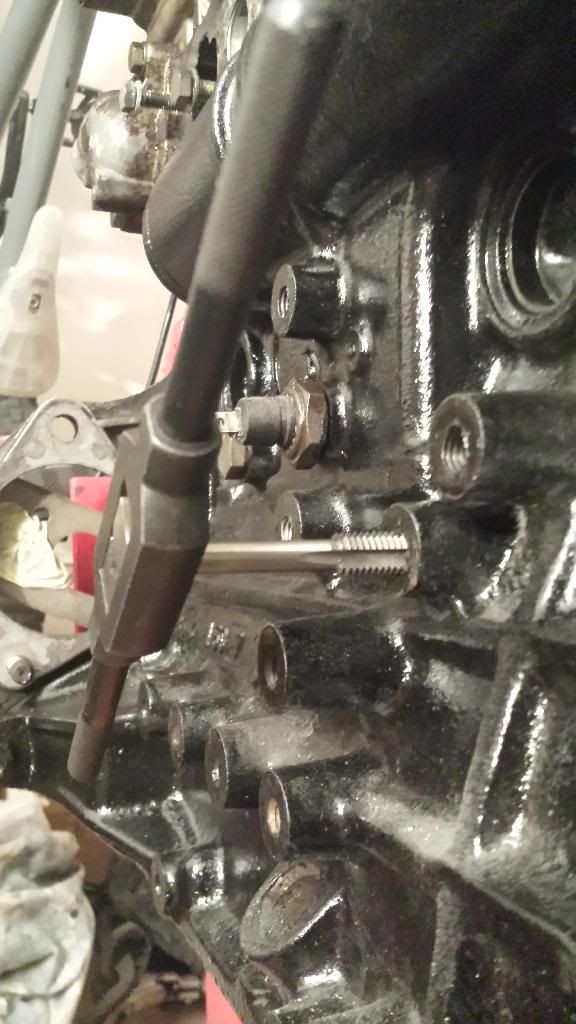
Drill and tap out to M10 for the engine mounts
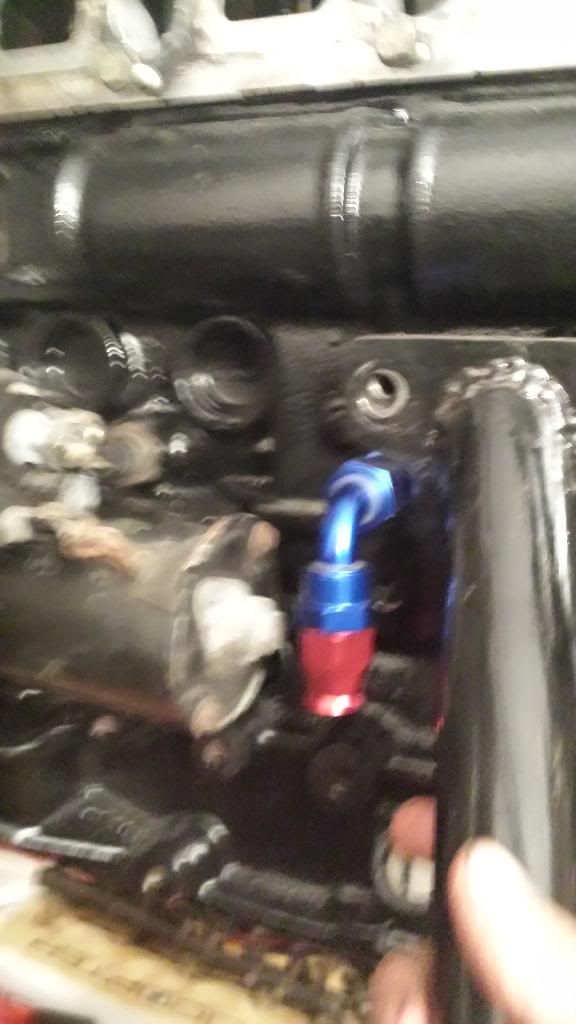
Had to notch out the mount to fit an AN fitting to feed the oil gallery now the crossover pipe in the sump is gone.
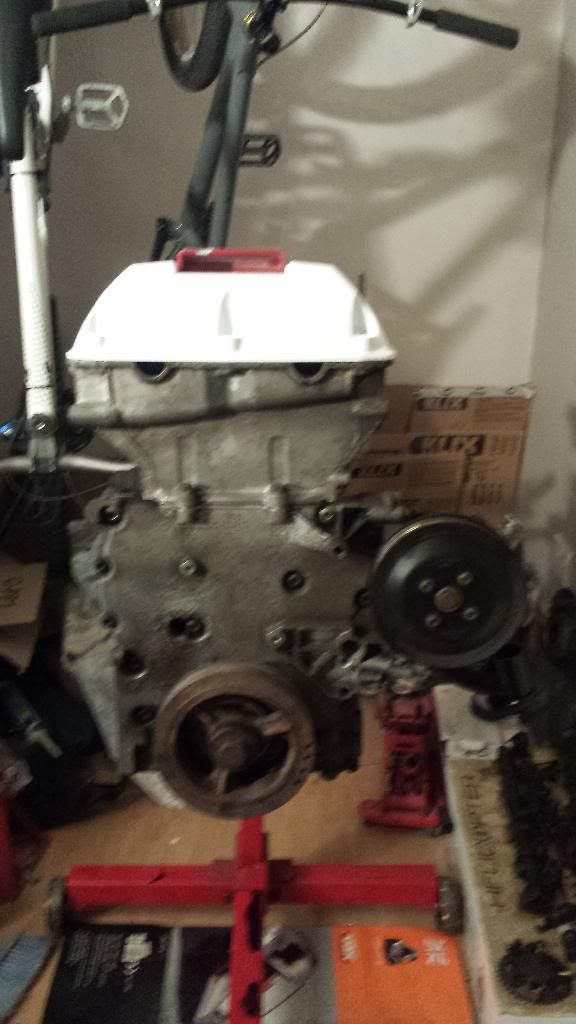
The 2.0L lump with the 2.3 front panel, 2.3 water pump and crank pulley.
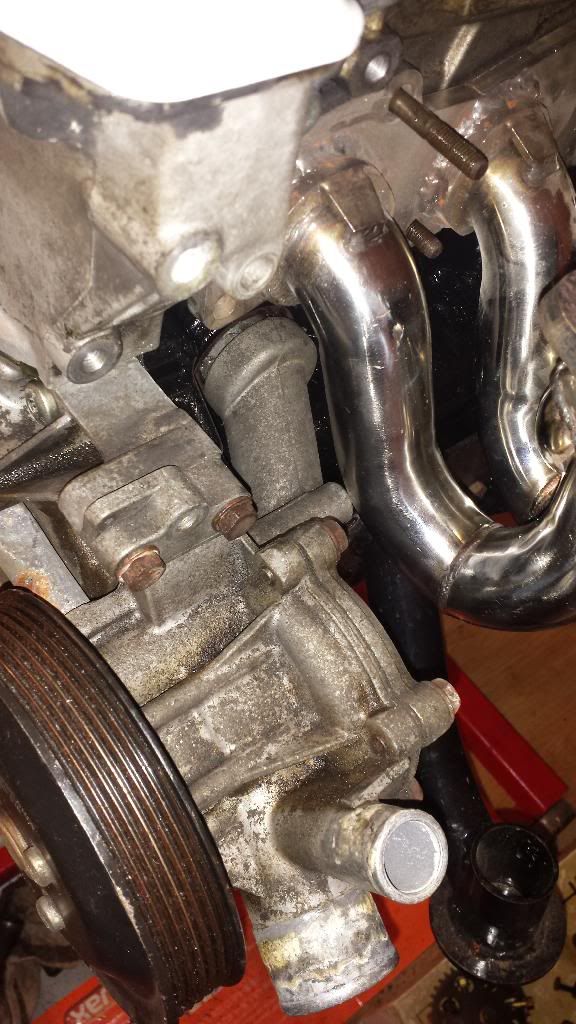
Still some interference with the 2.3 pump but much closer.
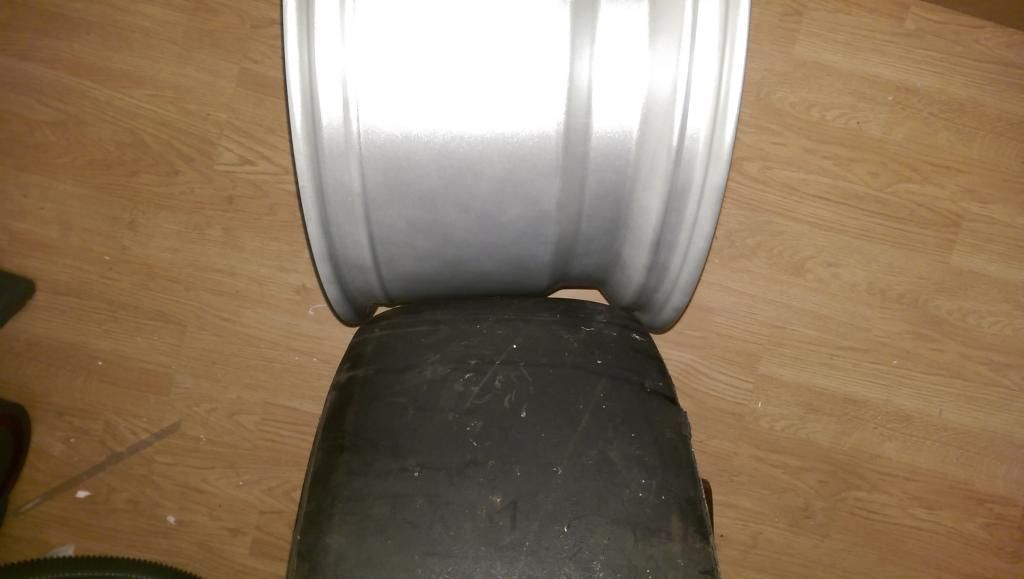
For Christmas (this would be 2014!) the Mrs got me some awesome rims. I want to run 17's as they feel better to drive on track rather than 18+ which tends to be the usual route because of brake clearance. These rims are 17x10 ET15 which is very strong fitment for an S4. Will require some body widening....
Here is the rim up against some WTCC slicks. Might be a bit wide (the rim), Can't really tell unless I get them fitted.
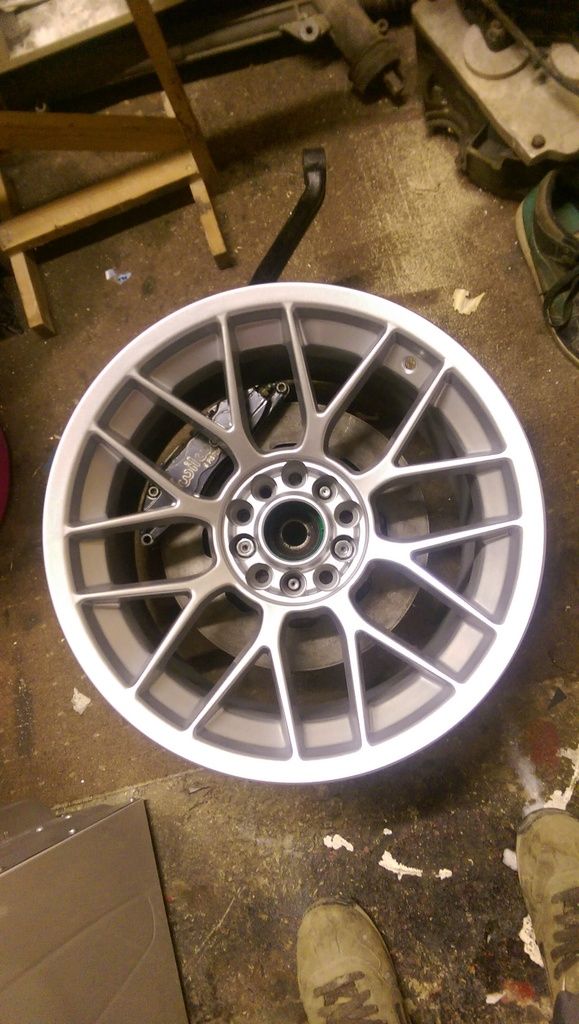
The style of the rim by the way is BBS RC (concave) similar to E46 CSL's. Mine are Dare reps. Mocked up here over my rear 6 pot Wilwoods.
And front AP / TVR brakes over S3 345mm discs.
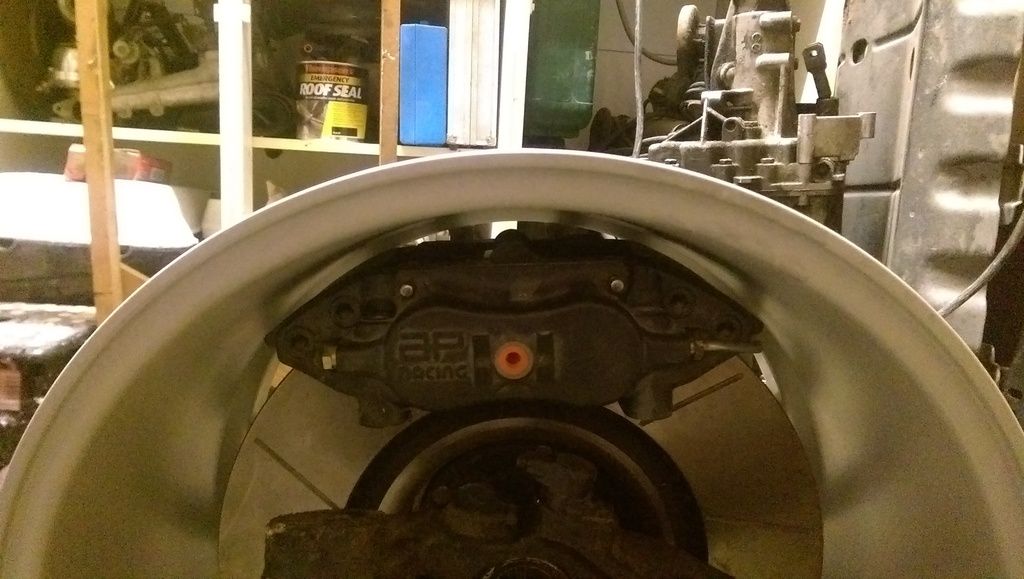
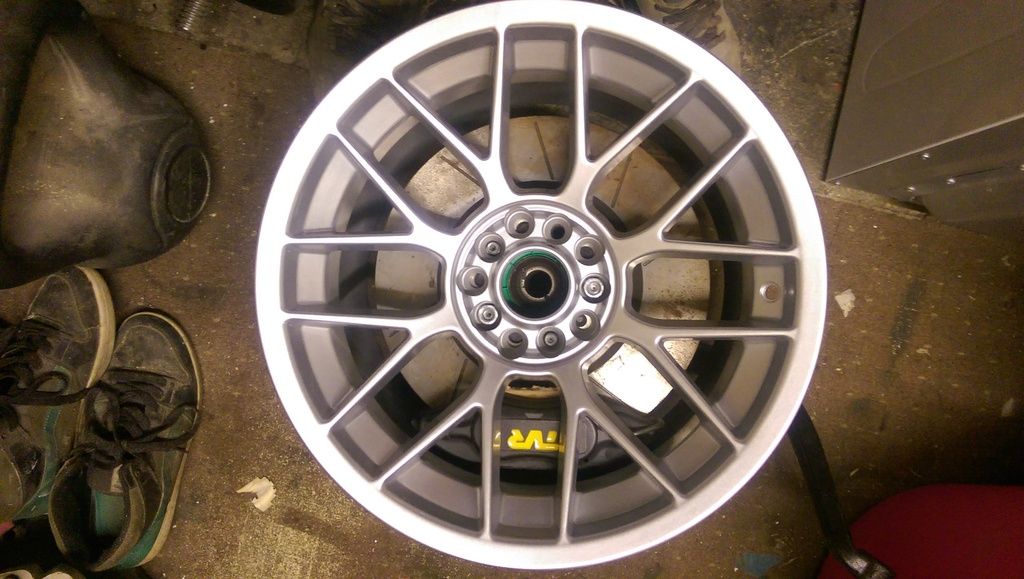
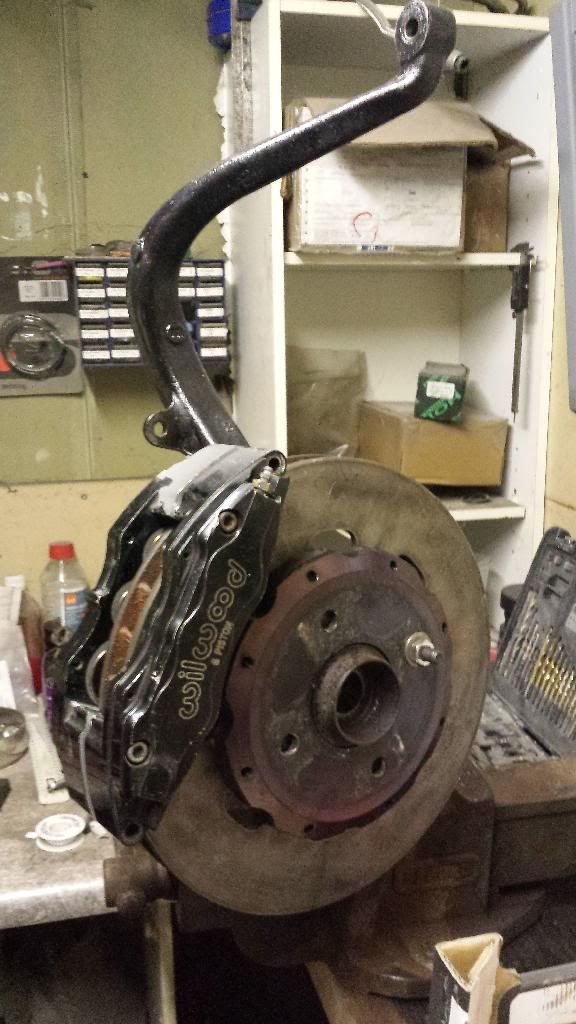
Was ball ache trying to get the Willwoods to fit correctly and fabricate bolt on adapters. Thought f'k it and just fabricated some weld on plates.
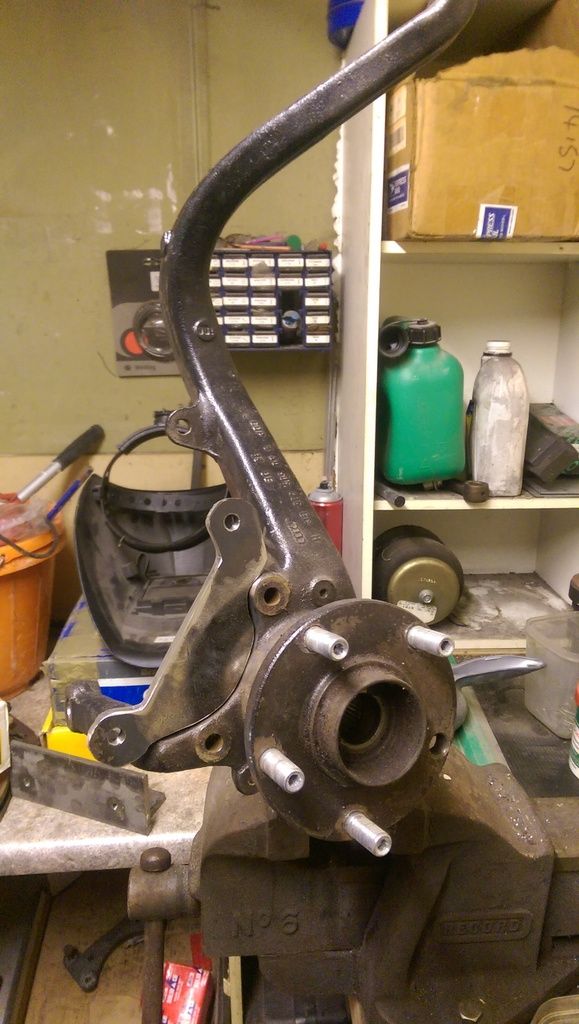
Tacked into place
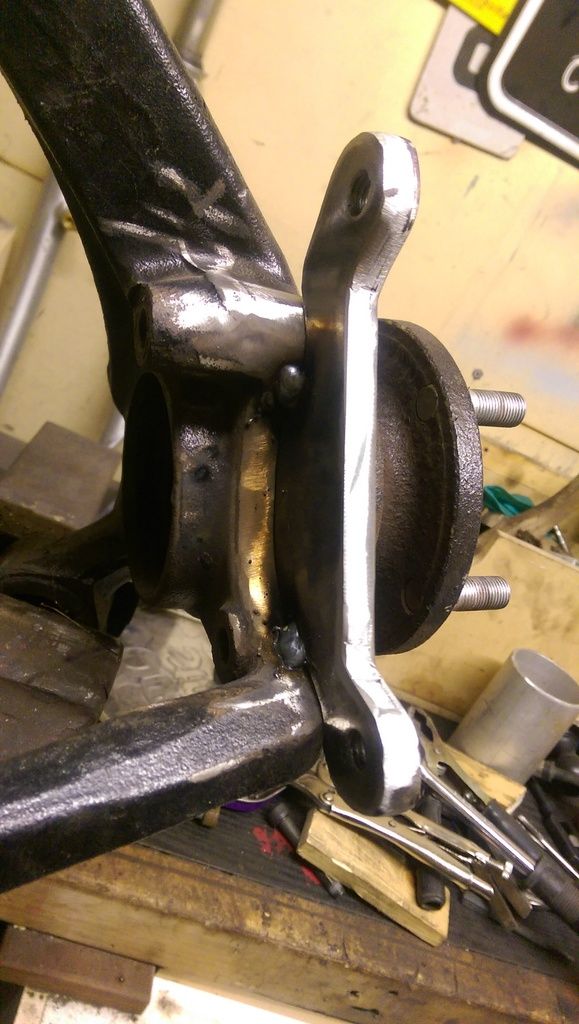
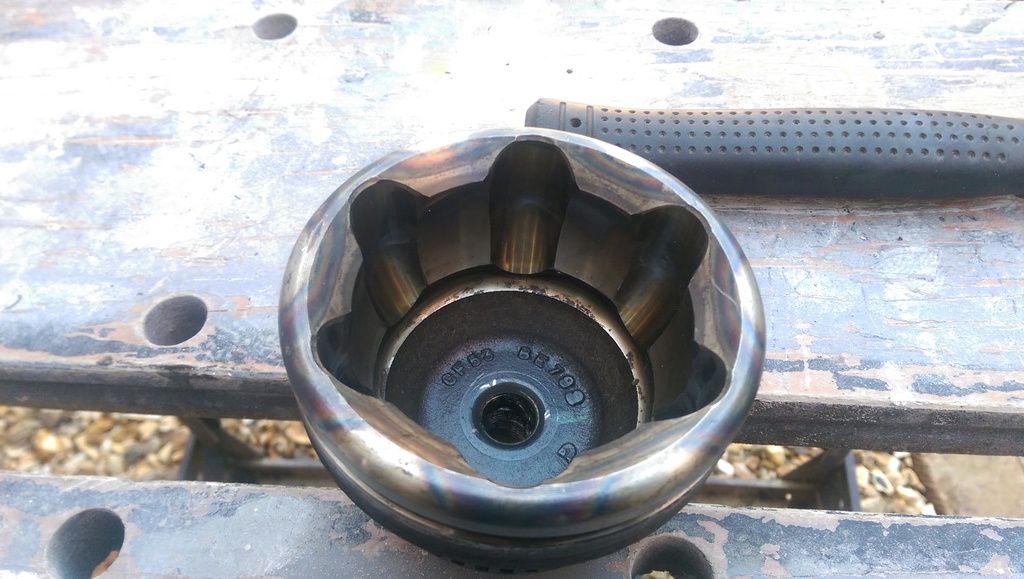
As said earlier, converting to RWD so have split the front CV to leave me with this to bolt the hub together. Its rather weighty so I'll probably trimming off some of the bowl.
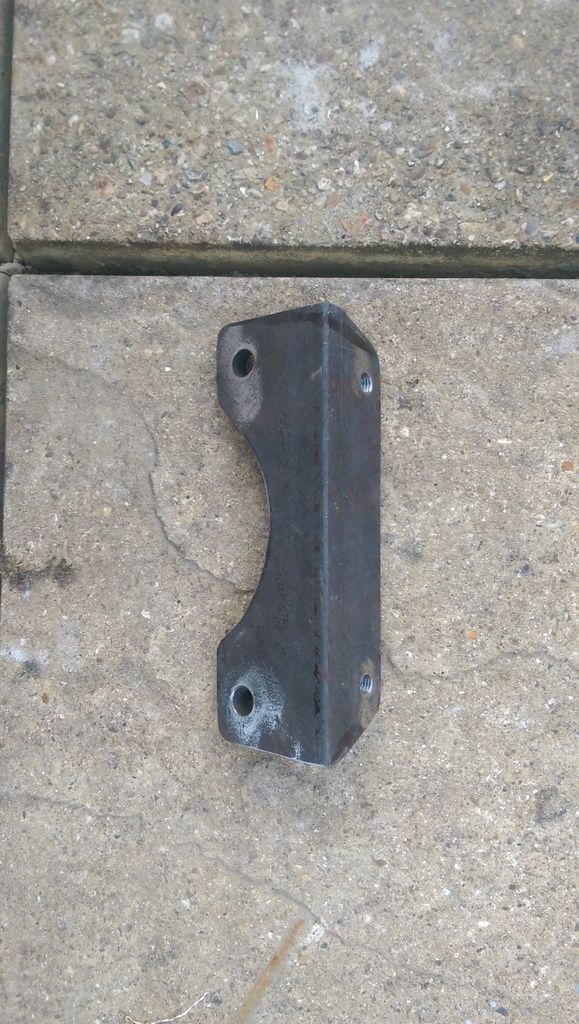
Made some brackets to mount the front TVR calipers

The Mrs was bored enough to watch...

Looking semi respectable. Will probably do a full build on the 2.3 at some point in the future so I wasn't after a mint finish

Lick of paint

Yes that's indoors. started mocking up the Holset on the tubular manifold

This is the T point mentioned earlier, I go a different route to this later...

Another pic of the Holset on

Tried fitting the water pump, prevents fitment of manifold. Arse....

I've had to steal the front plate off the 2.3 (from a 9000) because its different to the 2.0 I've got (from a 900) and fits a different water pump and various ancillaries.

I had an ice cream?

Another out of sequence shot, from the Mrs view.

Another empty bay pic.

Threw some paint on the cam covers with some surplus 2k I've got from when I was planning on spraying the Volvo white. Came out shockingly bad. Will need redoing but will do for now.

Drill and tap out to M10 for the engine mounts

Had to notch out the mount to fit an AN fitting to feed the oil gallery now the crossover pipe in the sump is gone.

The 2.0L lump with the 2.3 front panel, 2.3 water pump and crank pulley.

Still some interference with the 2.3 pump but much closer.

For Christmas (this would be 2014!) the Mrs got me some awesome rims. I want to run 17's as they feel better to drive on track rather than 18+ which tends to be the usual route because of brake clearance. These rims are 17x10 ET15 which is very strong fitment for an S4. Will require some body widening....
Here is the rim up against some WTCC slicks. Might be a bit wide (the rim), Can't really tell unless I get them fitted.

The style of the rim by the way is BBS RC (concave) similar to E46 CSL's. Mine are Dare reps. Mocked up here over my rear 6 pot Wilwoods.

And front AP / TVR brakes over S3 345mm discs.


Was ball ache trying to get the Willwoods to fit correctly and fabricate bolt on adapters. Thought f'k it and just fabricated some weld on plates.

Tacked into place

As said earlier, converting to RWD so have split the front CV to leave me with this to bolt the hub together. Its rather weighty so I'll probably trimming off some of the bowl.

Made some brackets to mount the front TVR calipers

Last edited:
Andy P
Member
Brake caliper bolted up
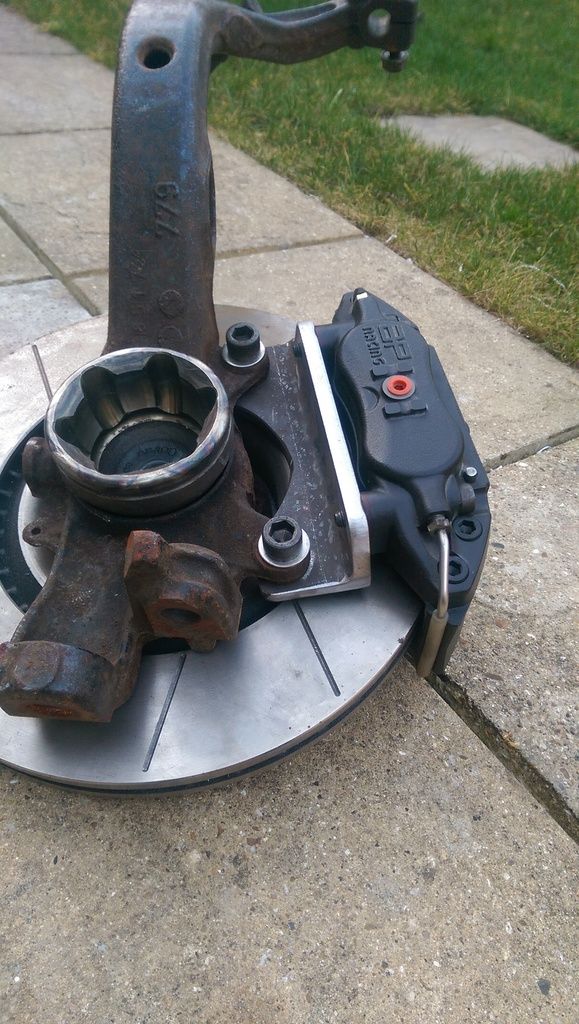
The calipers are spec'd as 330mm disc max. Managed to squeeze them over the 345mm's with no overhang at the top!
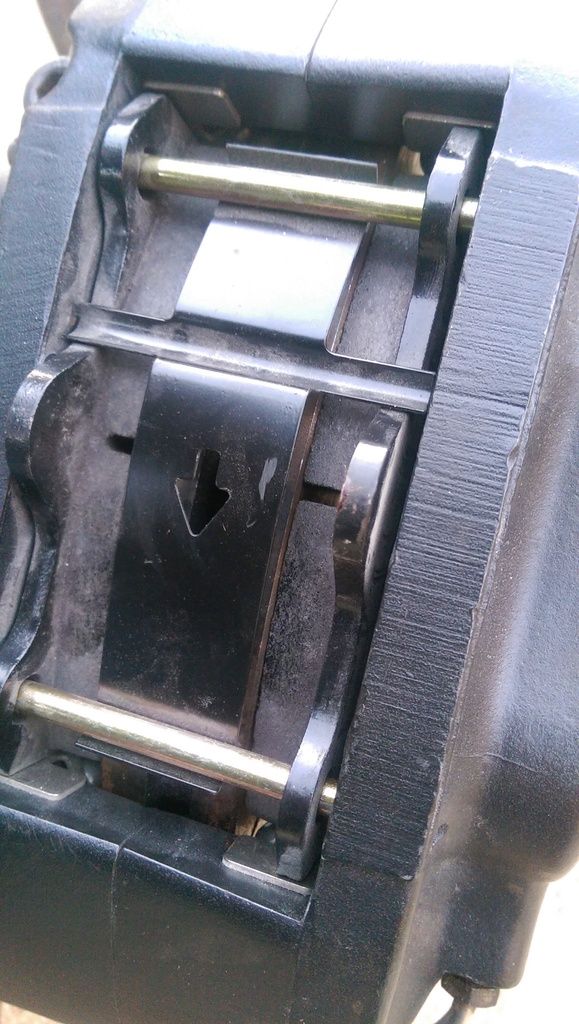
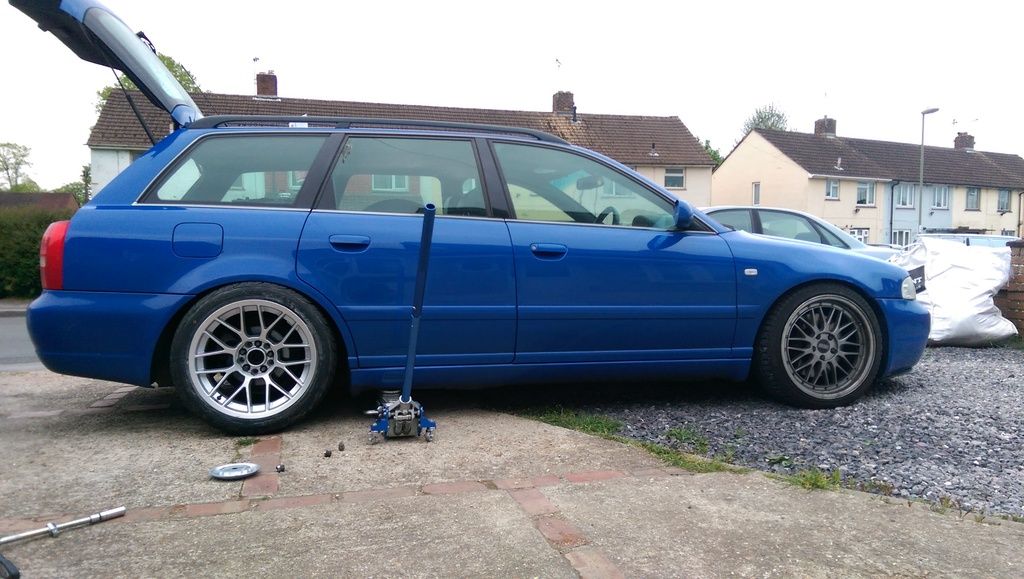
As the track car is nothing more than a shell with no hubs, I test fitted one of the rims on the rear of the daily. Oh, I shod all the wheels in Federal RS-R in 255/40/17. Remember, this isn't for drifting, the main use will be track (I may enter into time attack or similar) so unfortunately for you guys, there's no stretch going on here!
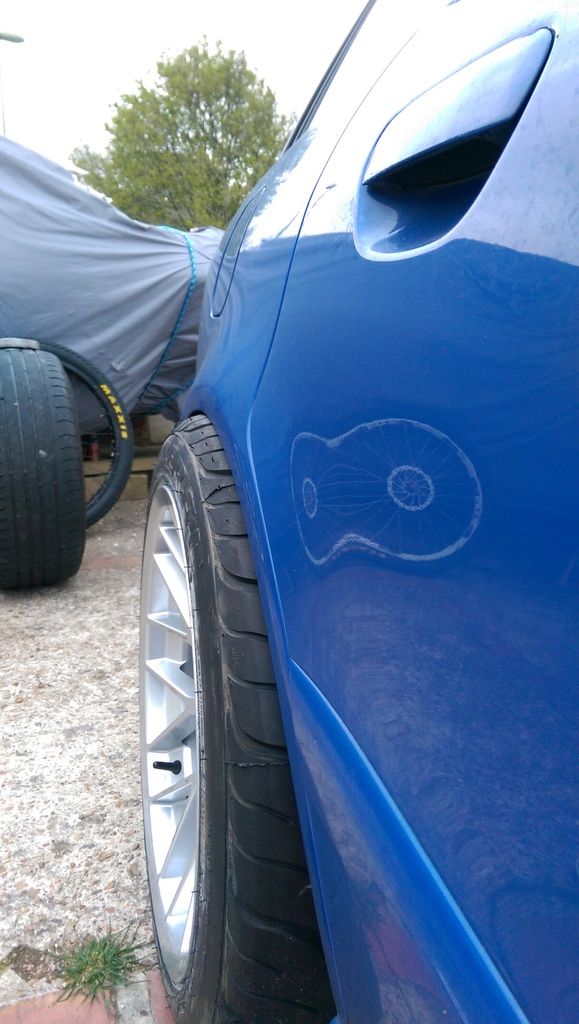
Looking forward to making this "fit"
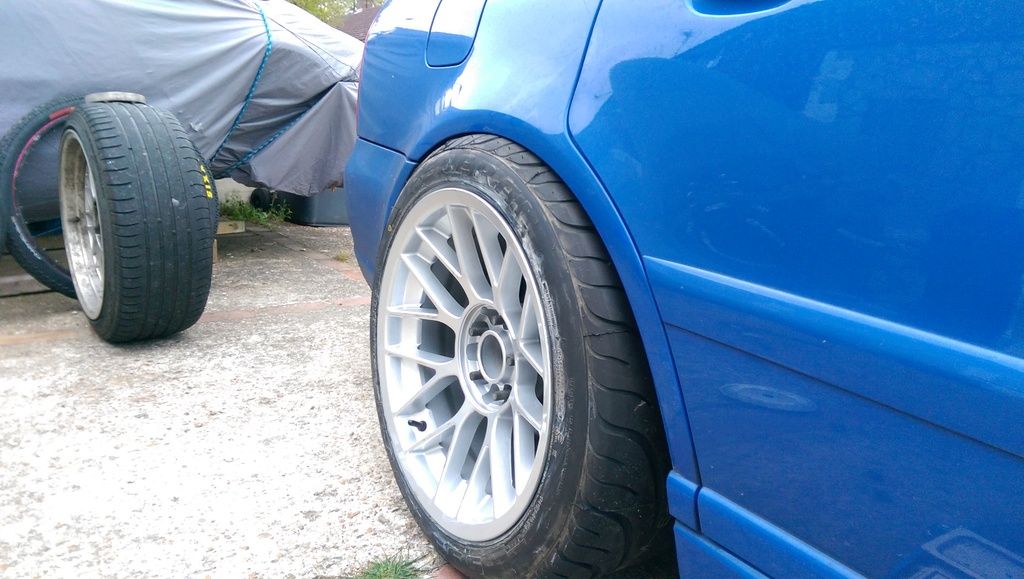
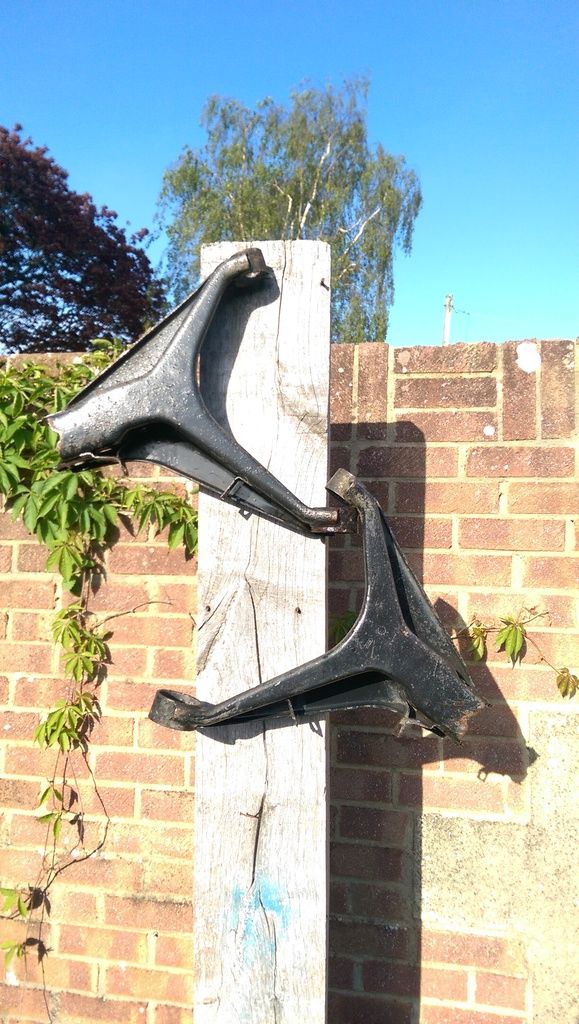
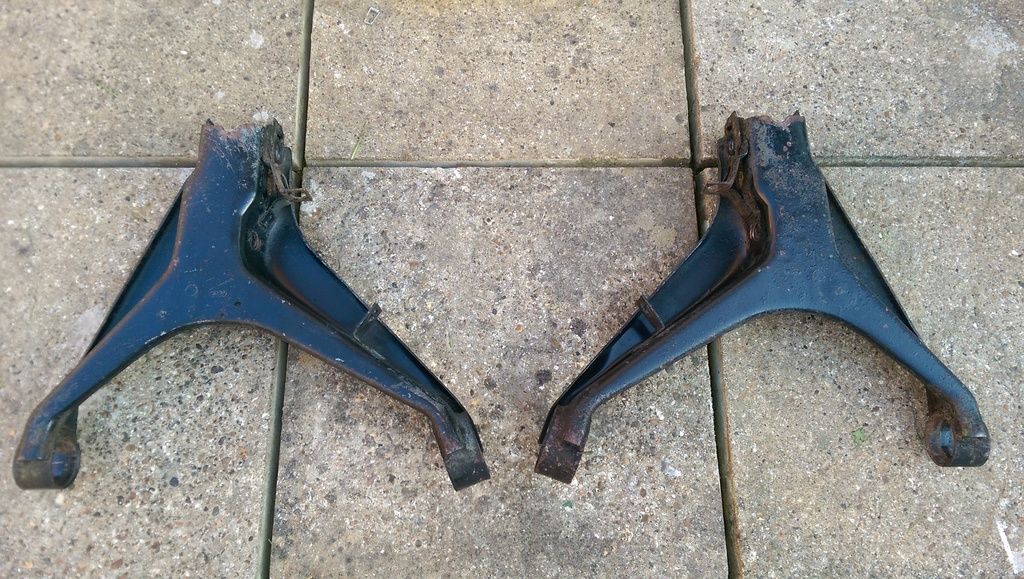
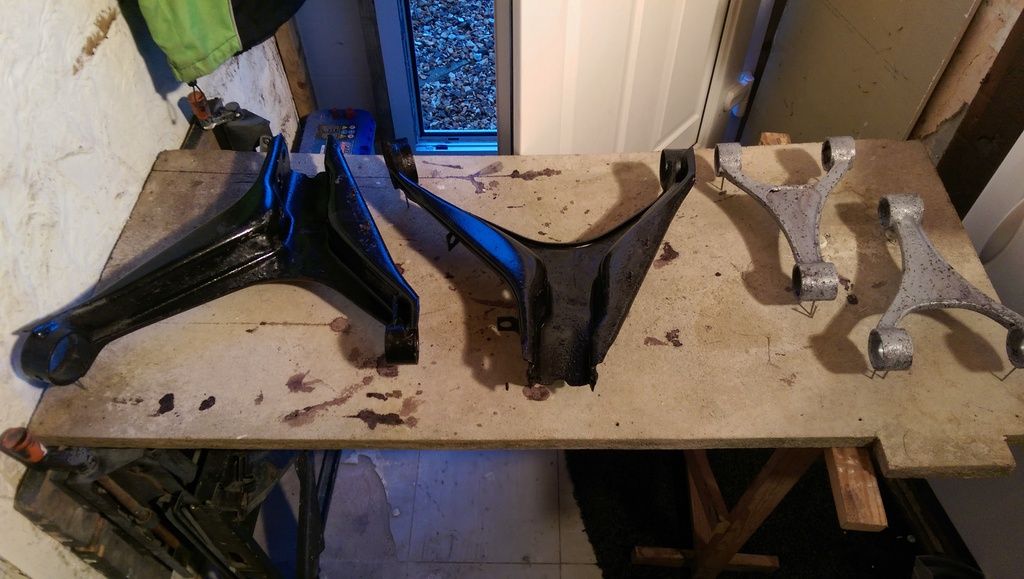
Gave the rear arms a scrub
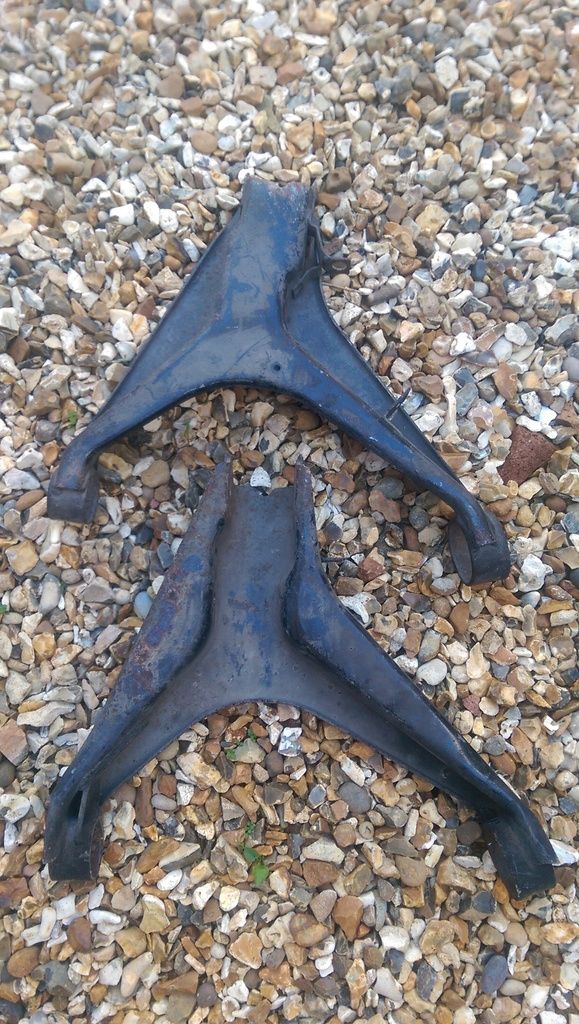
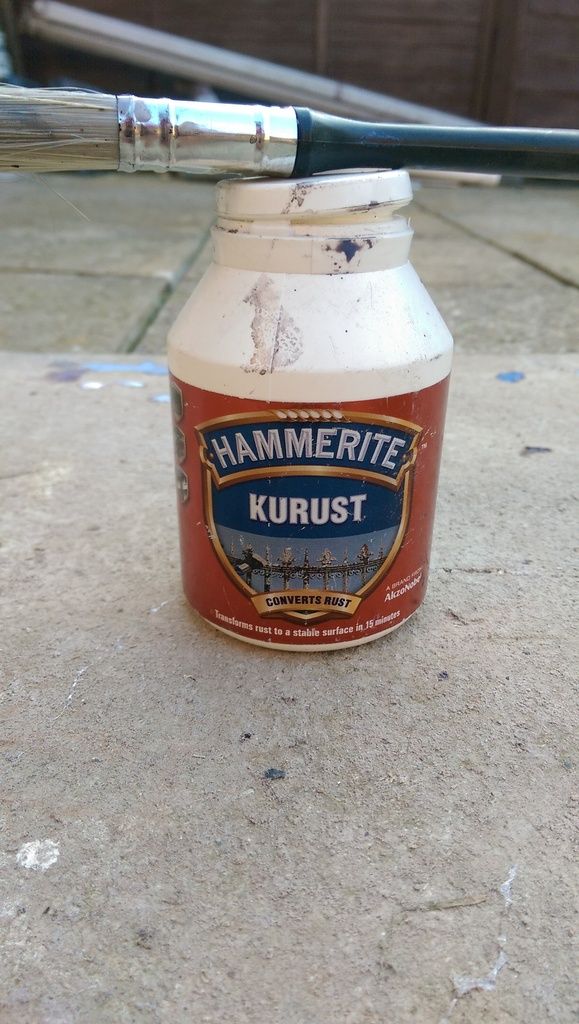
And a coating of Kurust
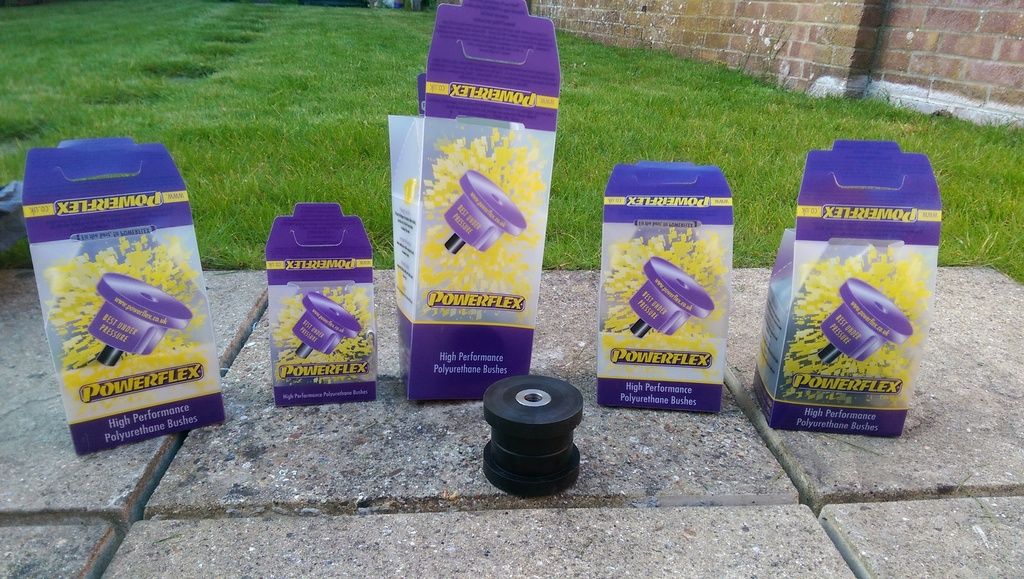
Got some black series powerflex bushes
Ready for paint
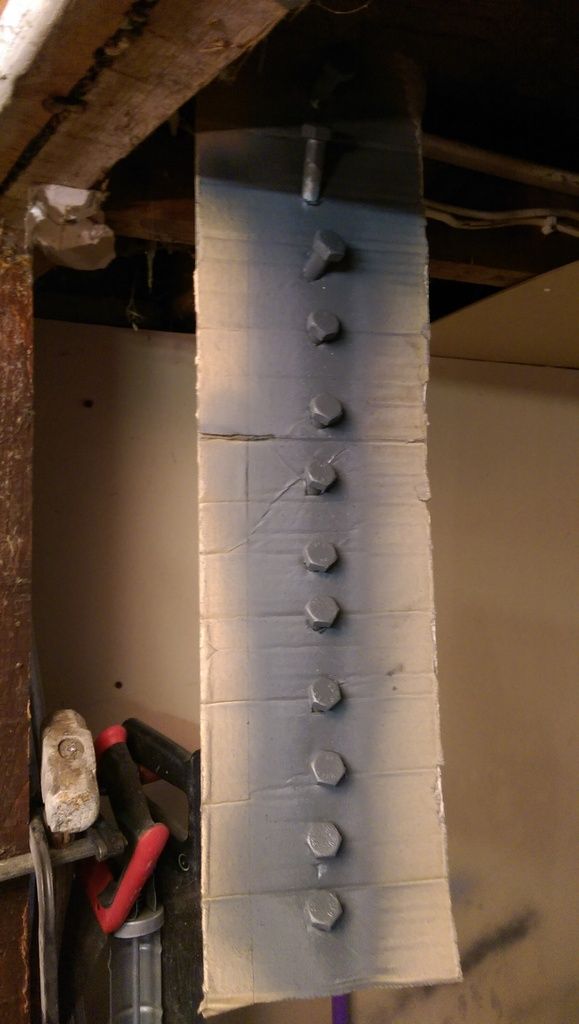
Rear bolts are dealer only and cost an absolute fortune. I'm planning on fabricating tubular arms with rose joints in future so I'll get all new bolts as and when they get done. Currently all the threads on mine are in good condition so I gave them a clean up and a coating of galv paint
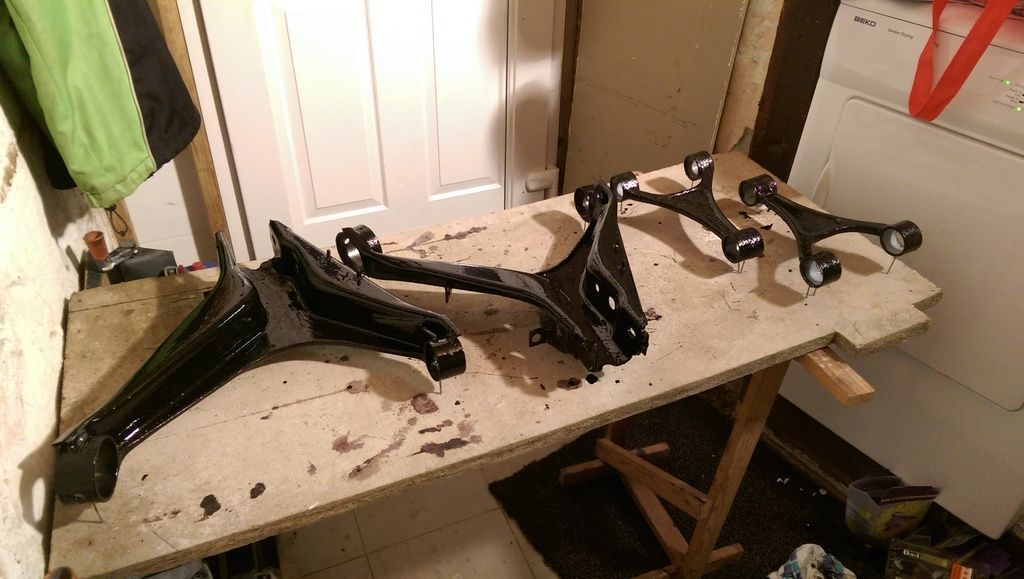
Old arms all painted up. Nothing fancy, just black hammerite
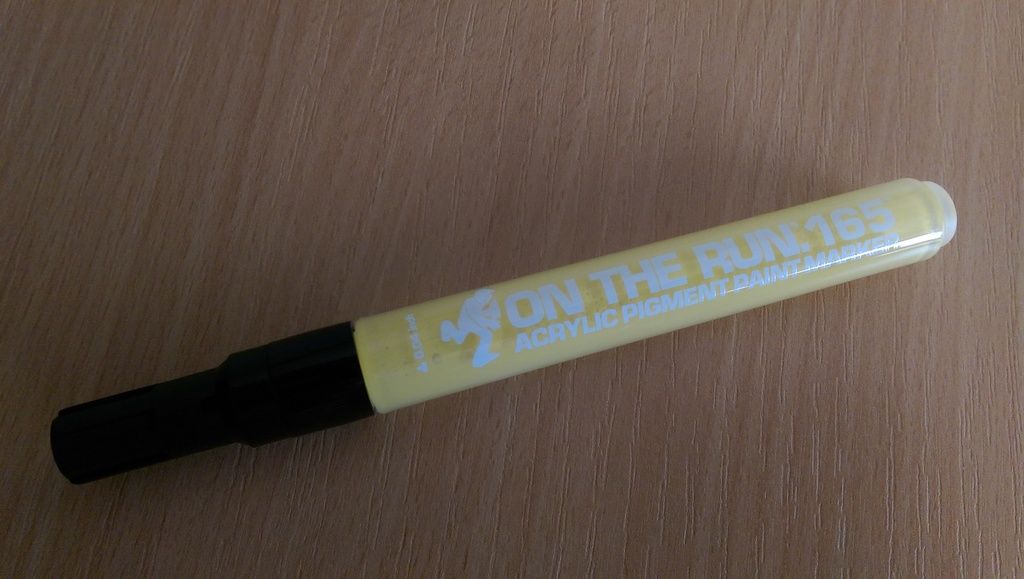
Going to get a bit anal. Yellow paint pen for marking torqued up bolts!!
Bush in
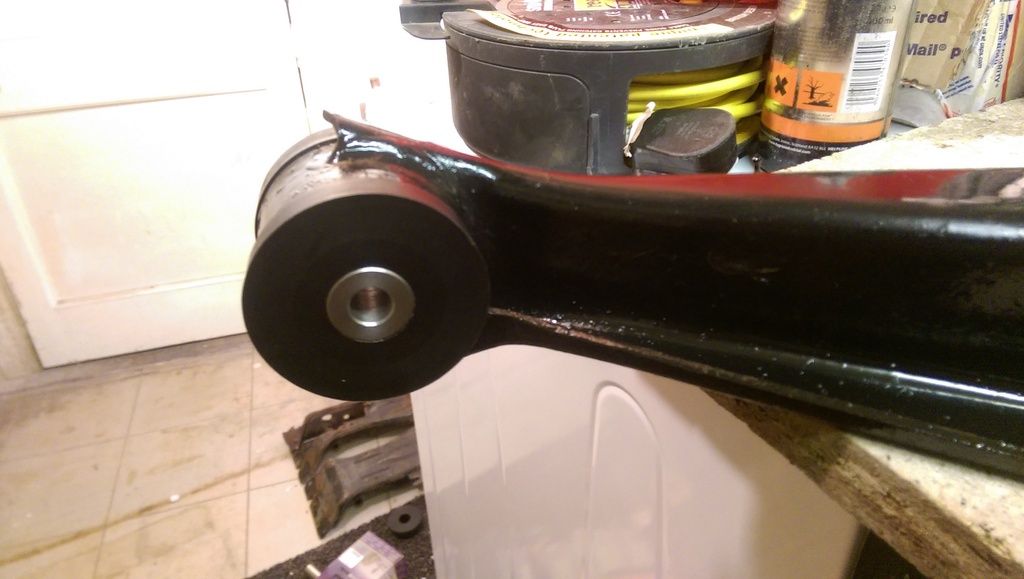
More bush in
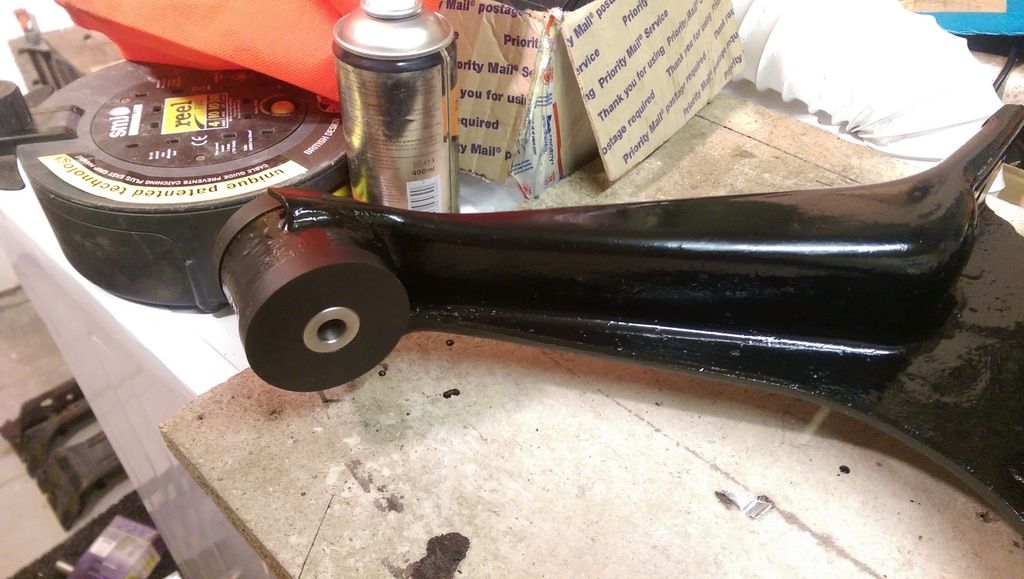
More more bush in
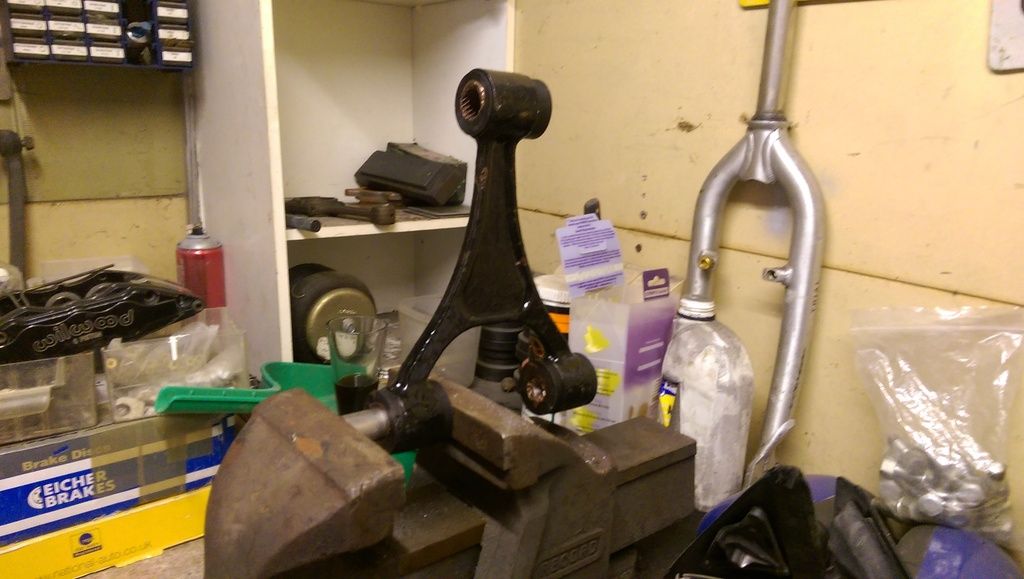
Welded up the rear brake caliper plate, oh, I also tapped out the rear toe ball joint mounting point
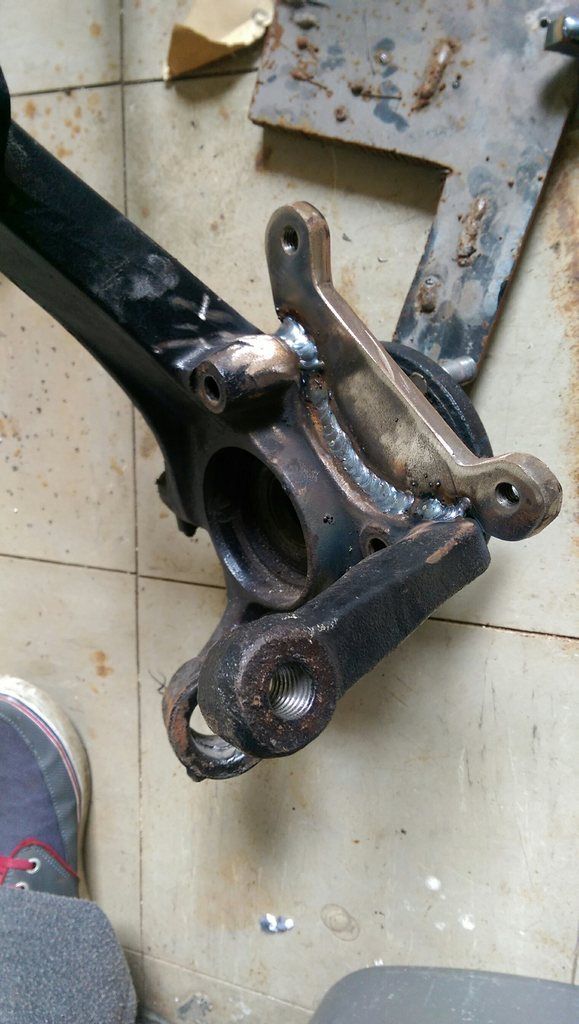
All the rear arms ready to go
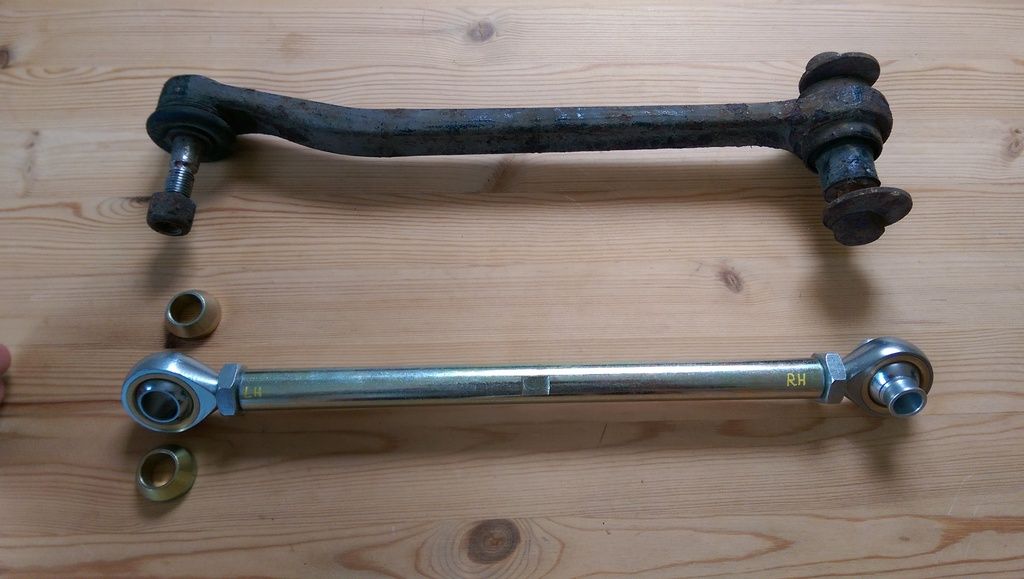
An the reason for tapping out the rear toe mounting point. Made these up
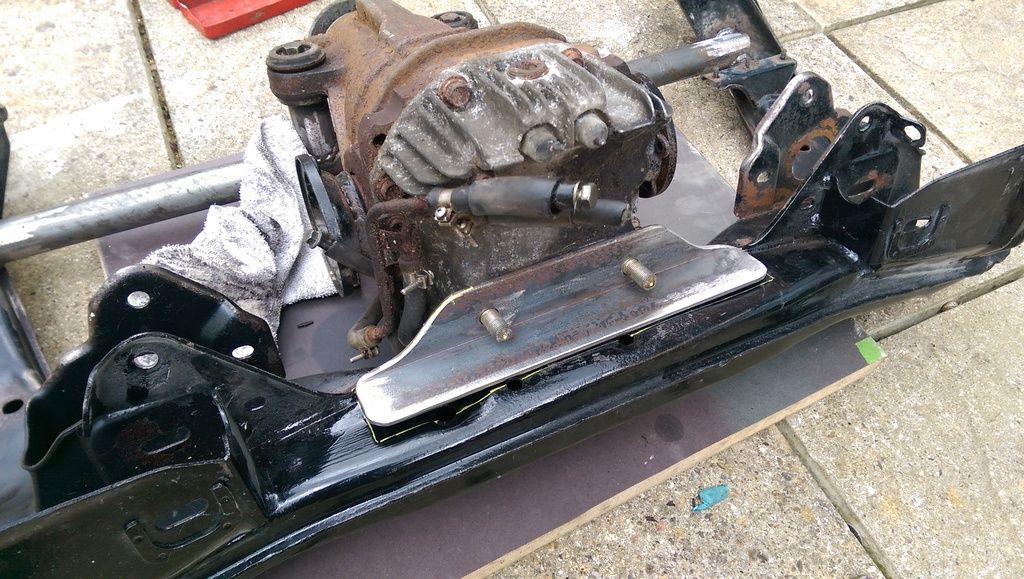
Time to finish off that rear diff mount. Take a bit of angle with some holes in it
Spray some metal at it. The holes here are existing hole in the subframe. Oh I've got a new welder at this point, I think that's fairly apparent!
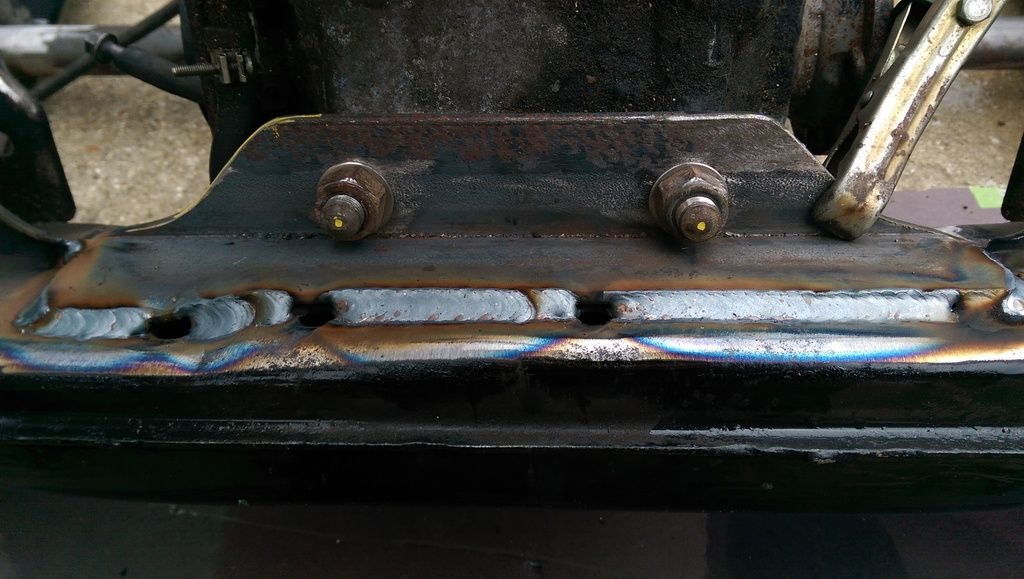
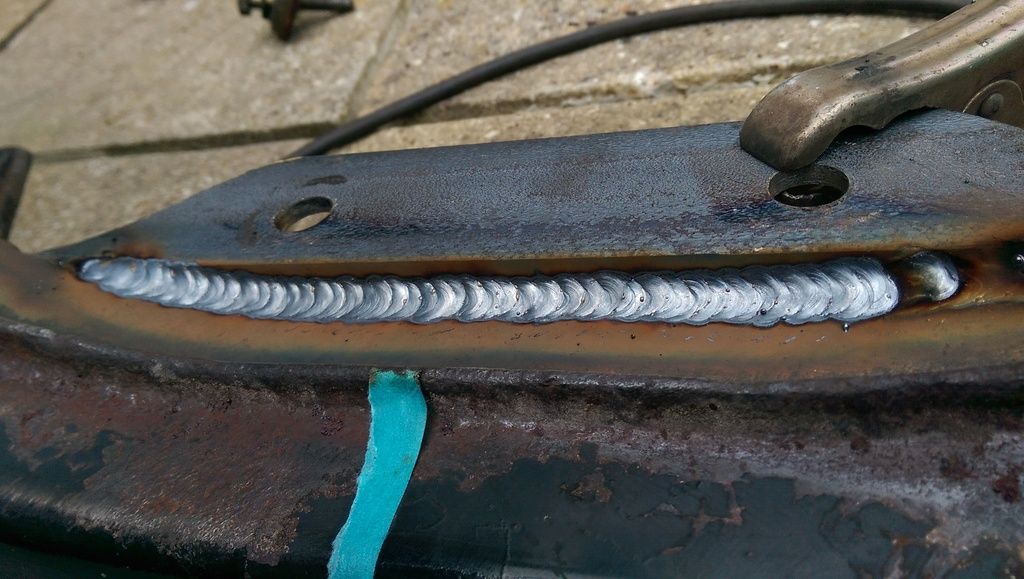
Weldage
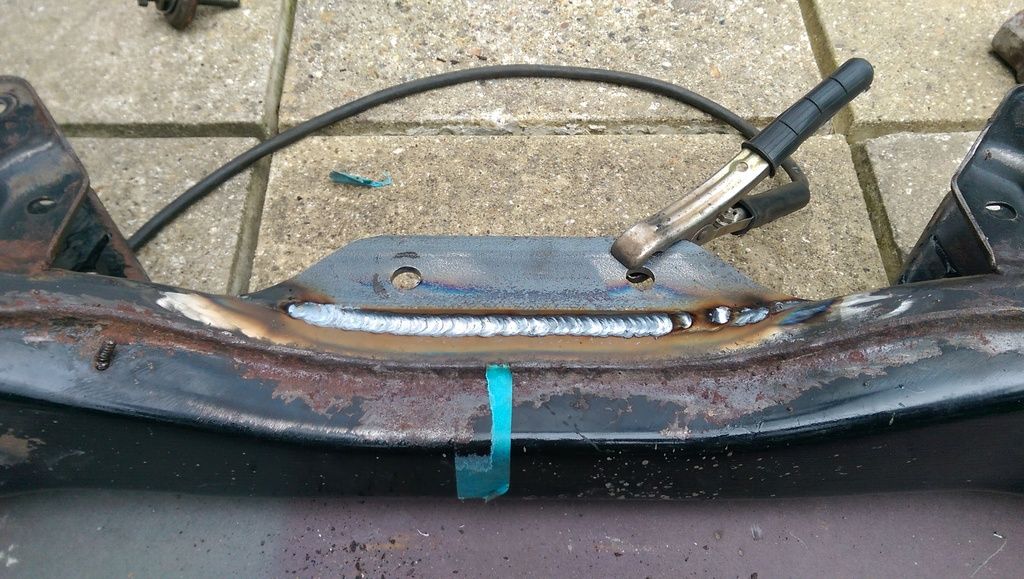
More Weldage
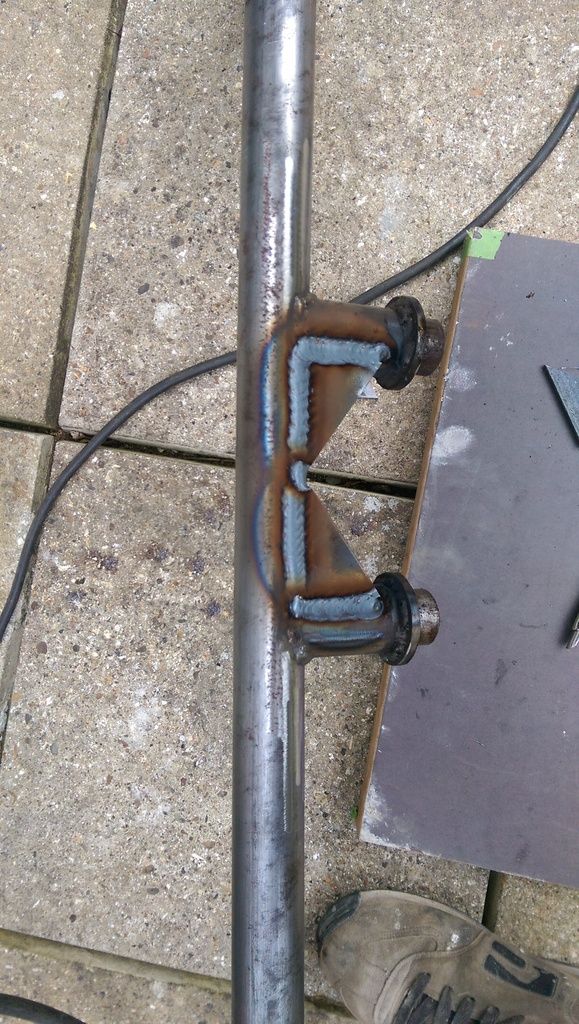
Decided to gusset the front mount

The calipers are spec'd as 330mm disc max. Managed to squeeze them over the 345mm's with no overhang at the top!

As the track car is nothing more than a shell with no hubs, I test fitted one of the rims on the rear of the daily. Oh, I shod all the wheels in Federal RS-R in 255/40/17. Remember, this isn't for drifting, the main use will be track (I may enter into time attack or similar) so unfortunately for you guys, there's no stretch going on here!

Looking forward to making this "fit"


Gave the rear arms a scrub


And a coating of Kurust

Got some black series powerflex bushes

Ready for paint

Rear bolts are dealer only and cost an absolute fortune. I'm planning on fabricating tubular arms with rose joints in future so I'll get all new bolts as and when they get done. Currently all the threads on mine are in good condition so I gave them a clean up and a coating of galv paint

Old arms all painted up. Nothing fancy, just black hammerite

Going to get a bit anal. Yellow paint pen for marking torqued up bolts!!

Bush in

More bush in

More more bush in

Welded up the rear brake caliper plate, oh, I also tapped out the rear toe ball joint mounting point

All the rear arms ready to go

An the reason for tapping out the rear toe mounting point. Made these up

Time to finish off that rear diff mount. Take a bit of angle with some holes in it

Spray some metal at it. The holes here are existing hole in the subframe. Oh I've got a new welder at this point, I think that's fairly apparent!

Weldage

More Weldage

Decided to gusset the front mount

Last edited:
