Jordan's S13 Silvia ♠️♠️

Thanks guys! I understand what you mean with the OCD haha, but its not a bad job, just a very time consuming one :(

The windows just have blue packaging on them to protect them against scratches during transit, but I may entertain the idea of blue chrome or black tints in the future though :smokin:

Good luck in your exams Fin! :thumbs:

Thanks dude! Good luck with the finishing up of the s13 :D

PS - Got to drift mine properly after a few months, best feeling ever, you're almost there! :D
 
Will do man, it seems like the end is so far away but once paint has been done, it should come together pretty sharpish! I'm jealous haha, I'm having major withdrawal symptoms of not driving at the moment, the only thing keeping me going is how insane this car should be. That alone will be worth the wait :p
 
Sny updates I'mwell eager to see it finished

this has to be one of the best builds I've read so far, cant wait for the next update. this thing is going to be the sick!!!

Thanks guys :) Its at the stage now where I just want it to be painted and mapped so I can finally drive it :(

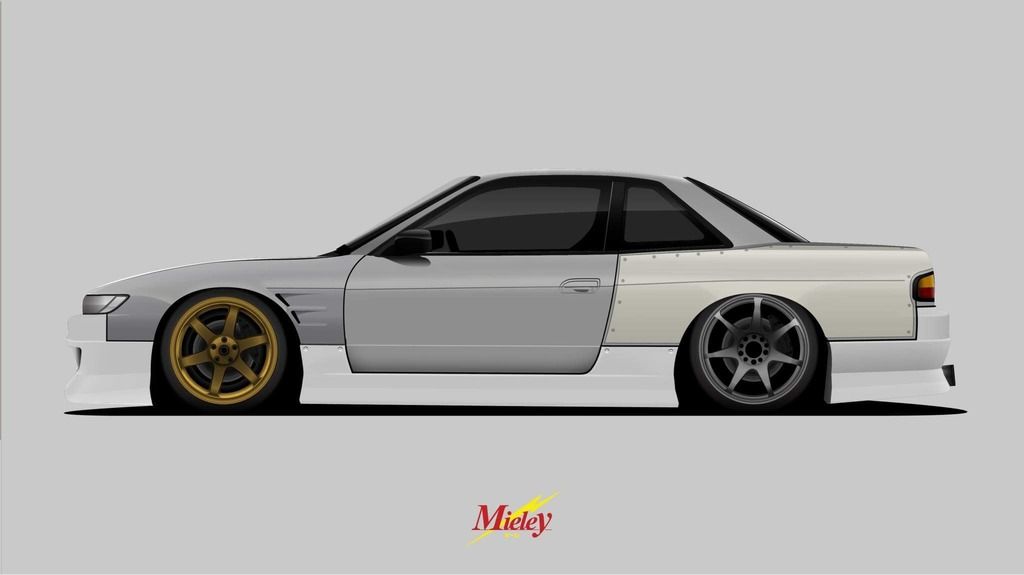
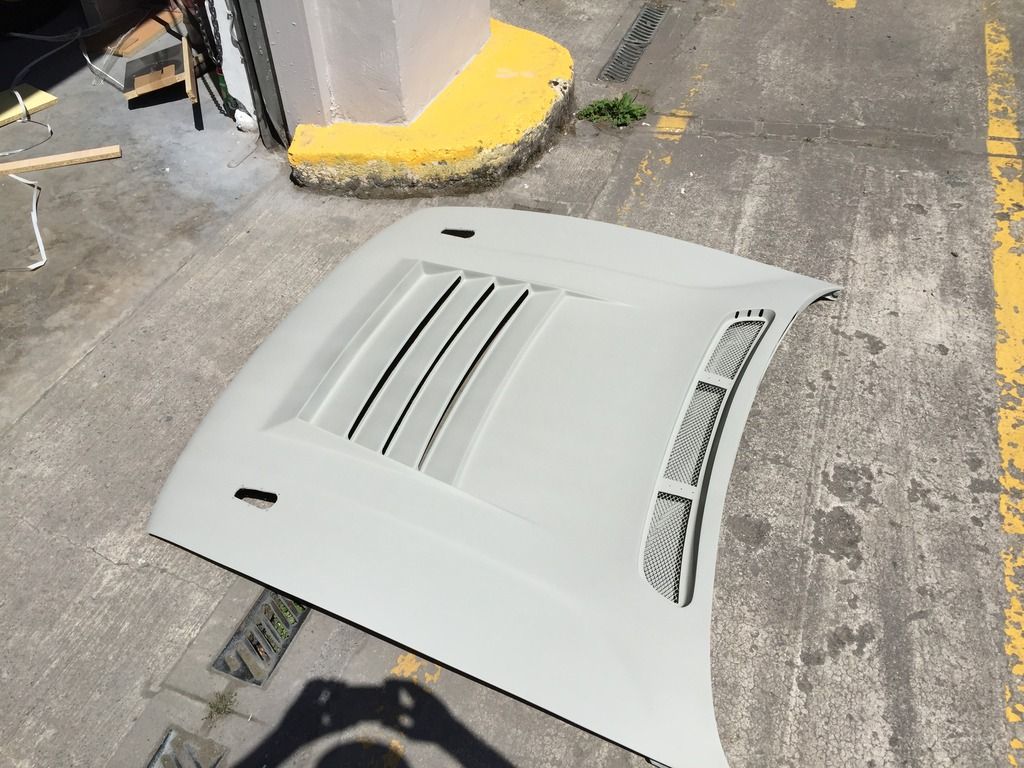
Mini update, but not alot of progress has happened as it is just constant prep work. Vincent from T Works Automotive knocked up a cool little illustration of how the car looked all mis-match


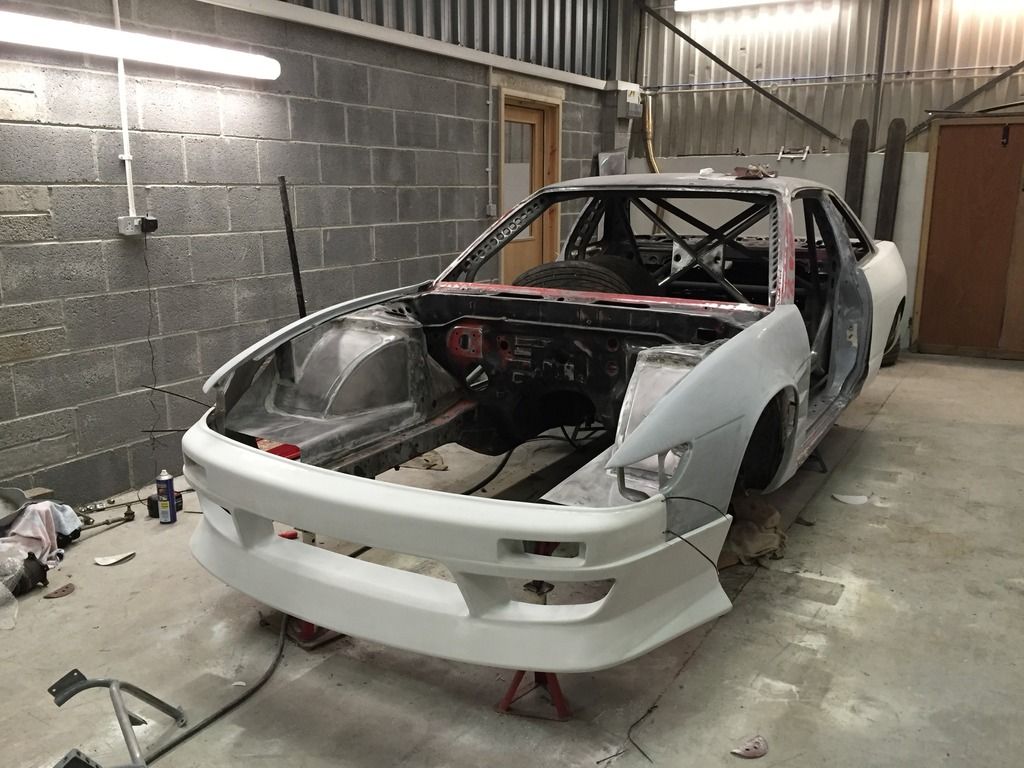
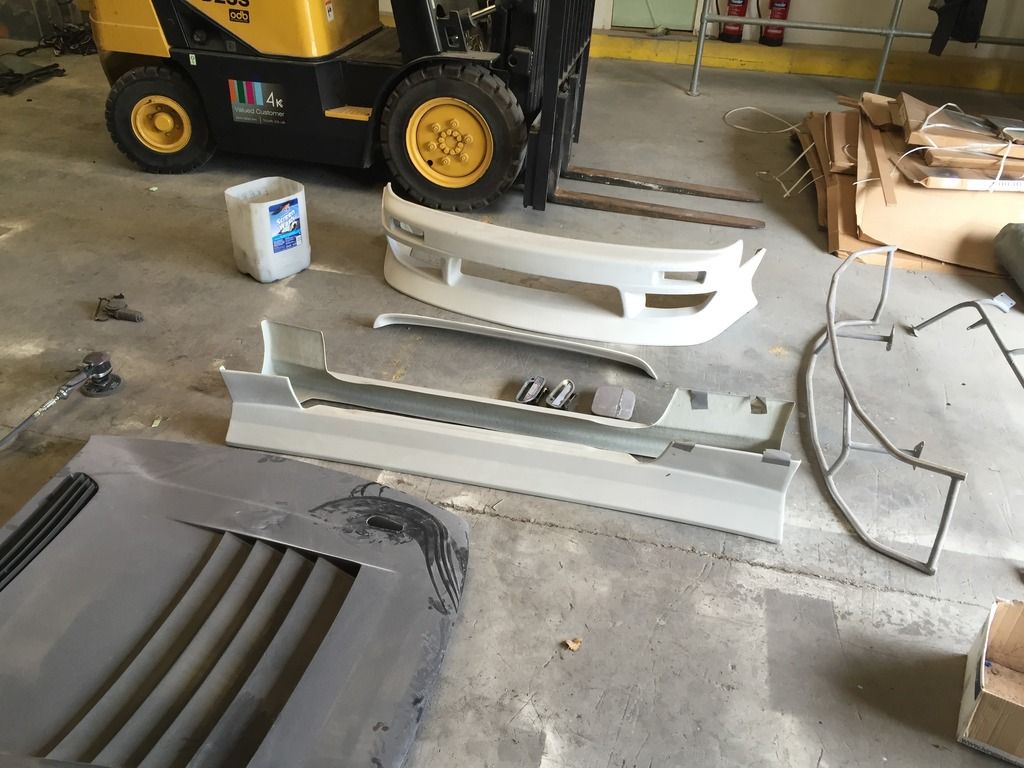
Finally got round to mounting the bumper properly with good old cable ties. Thankfully these are mainly just to hold it where it and pull the wings out a tad as the bumper bar takes all of the weight :cool:


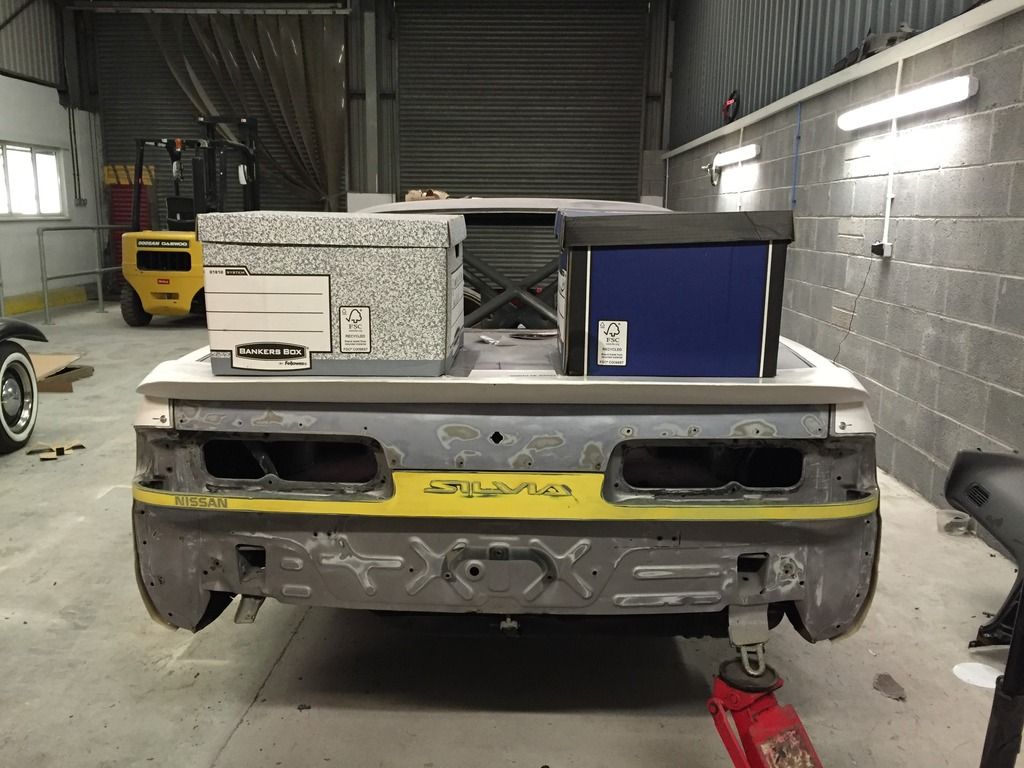
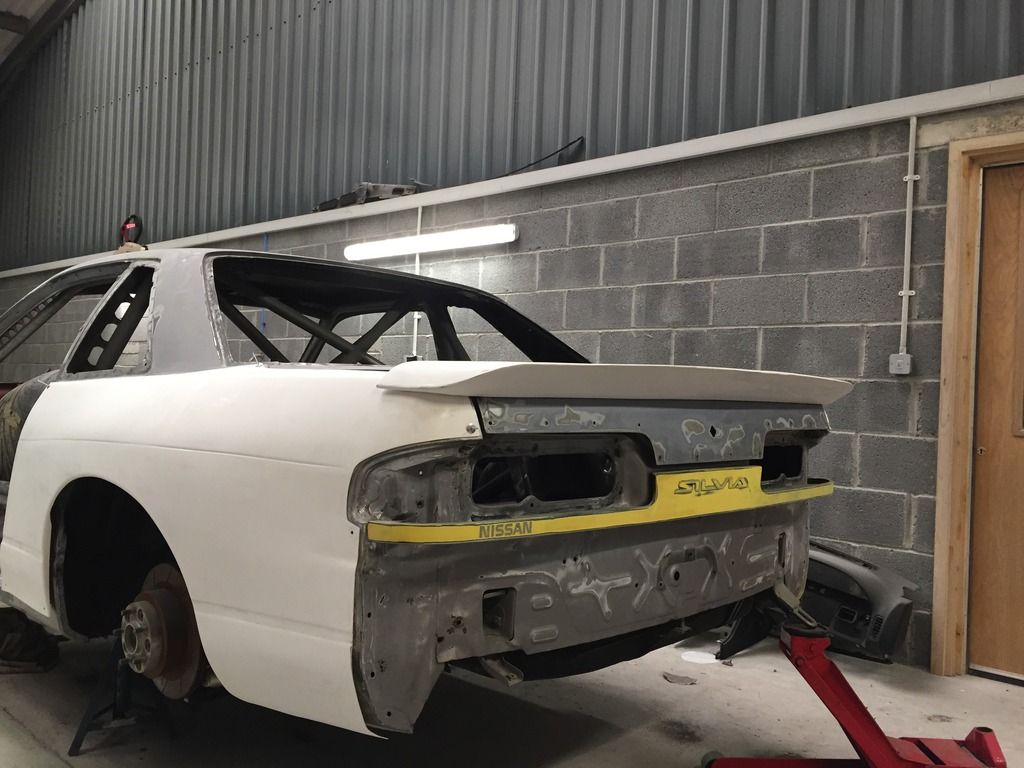
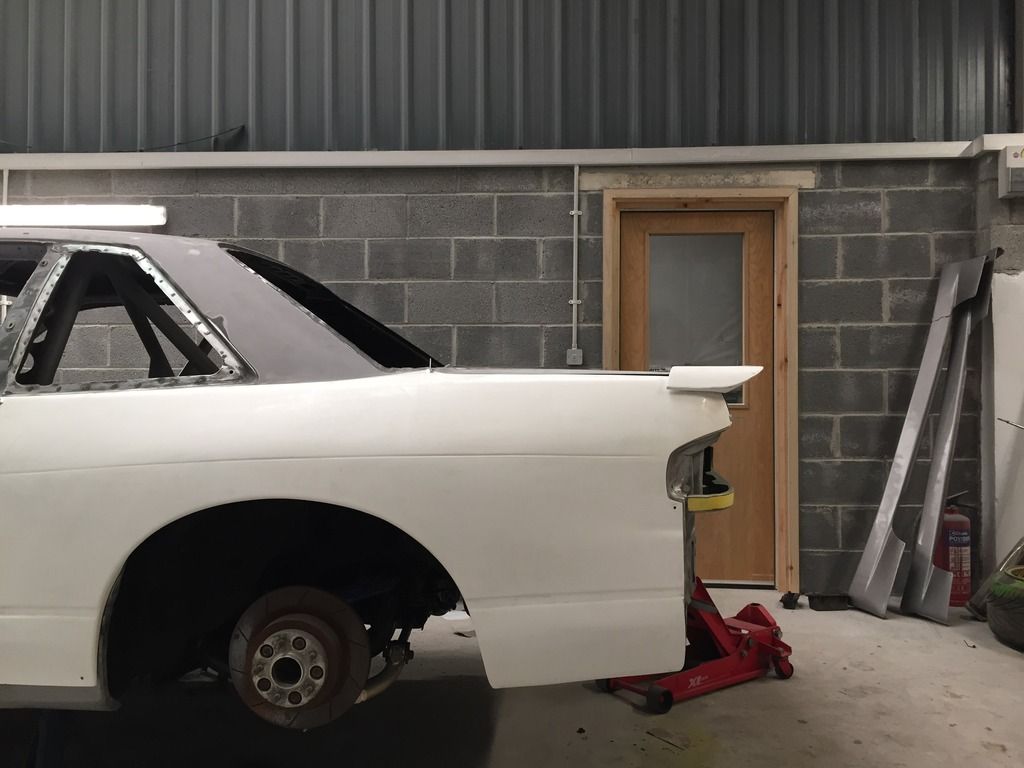
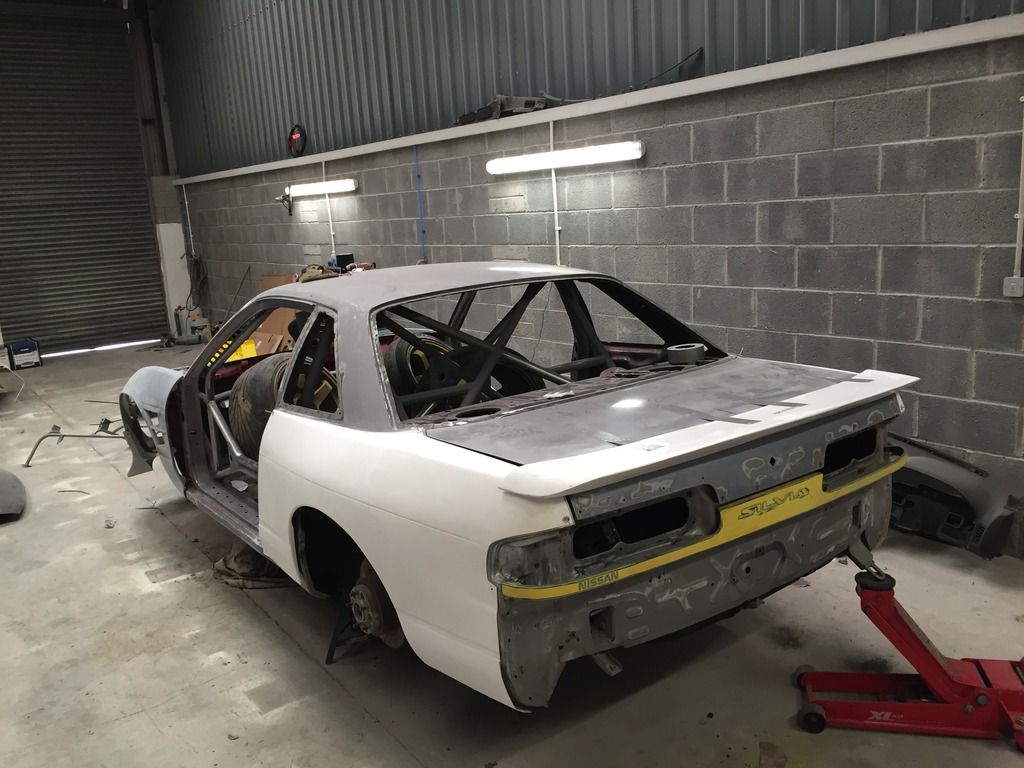
Amongst constant sanding, I mounted the D-Max rear wing earlier with Tiger Seal so I'm hoping it doesn't come flying off anytime soon as it certainly did the trick on my old S13 hatch.


The fitment is okay, but I've allowed the end to bow a little bit in order to give clearance to the over fenders, which fingers crossed will save those annoying patches of rubbed paintwork.

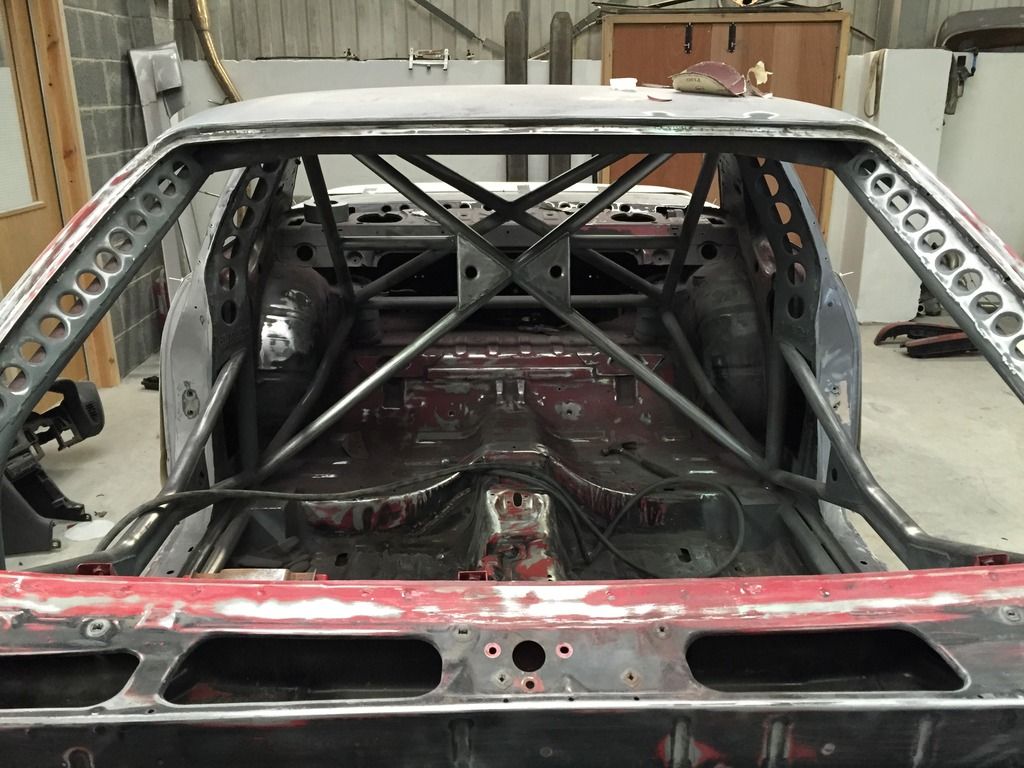
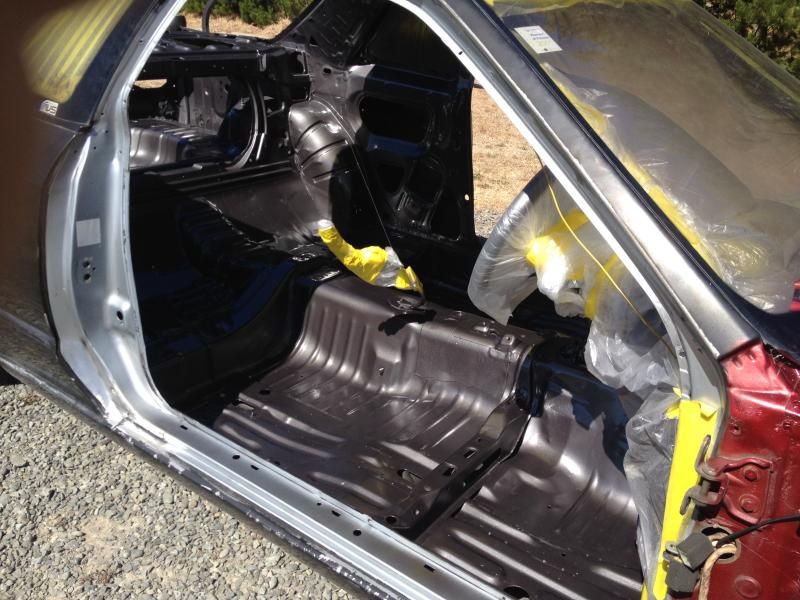
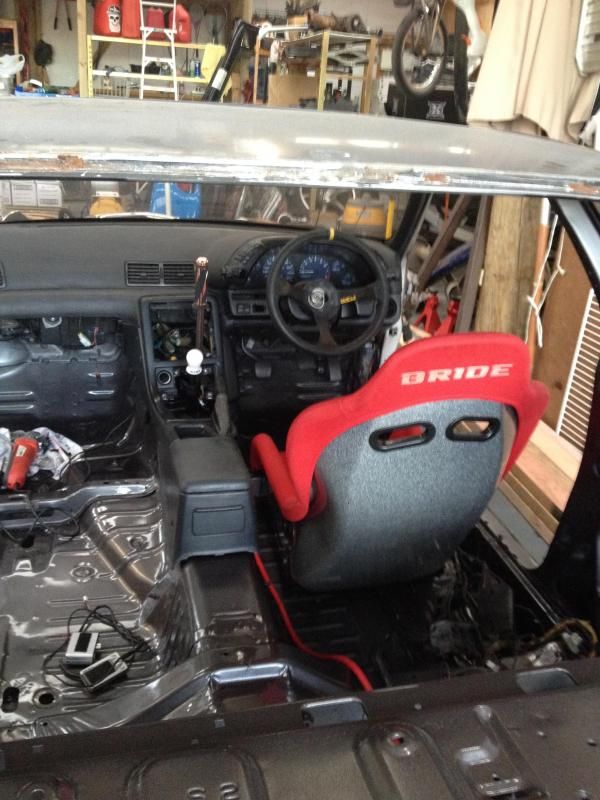
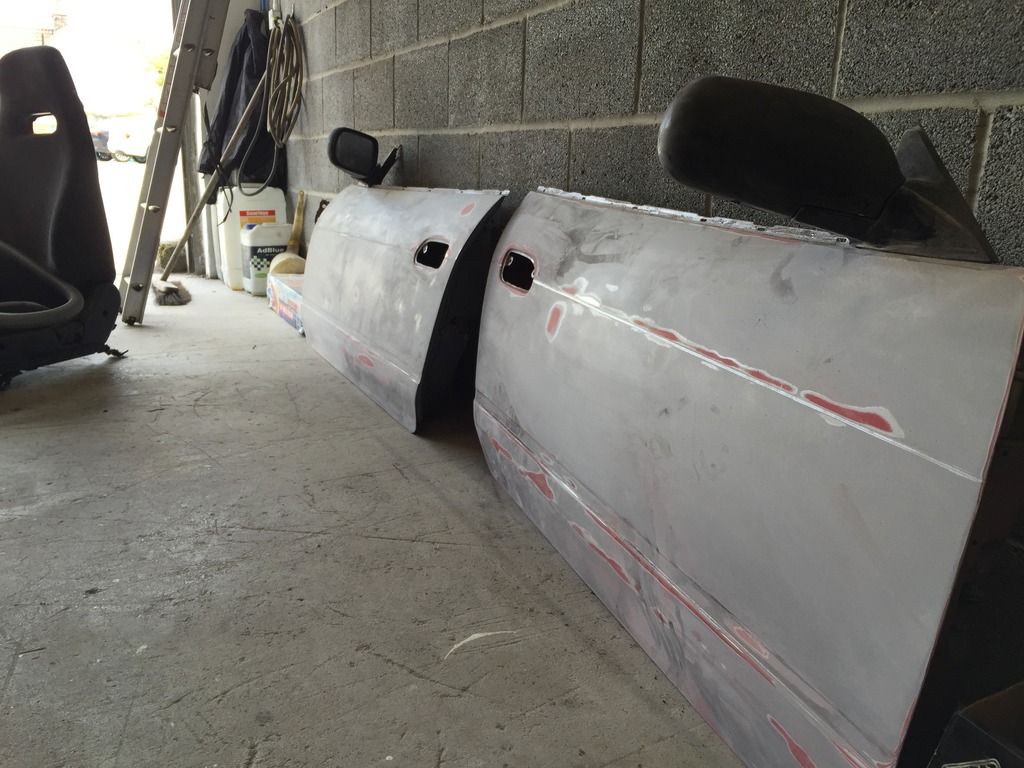
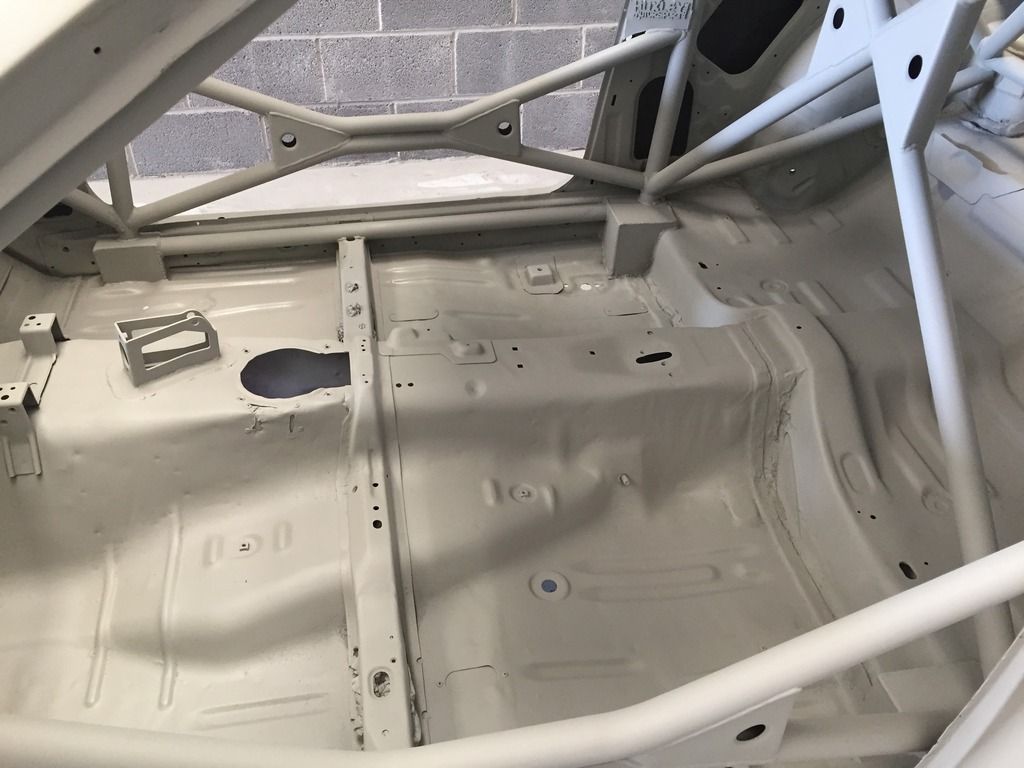
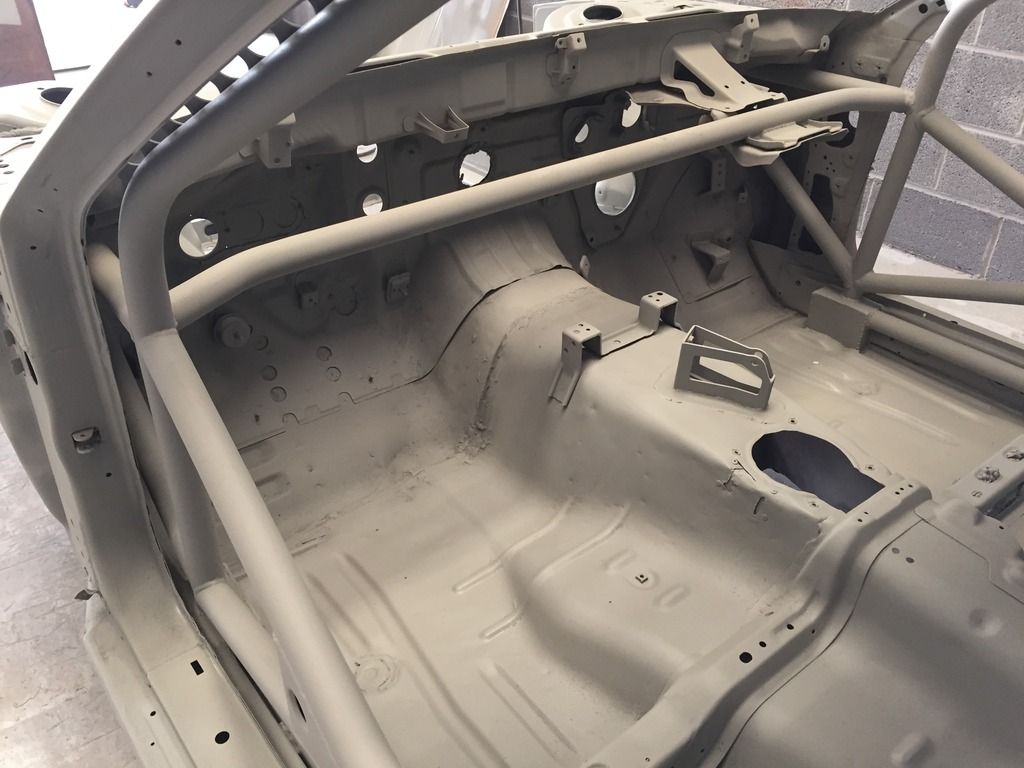
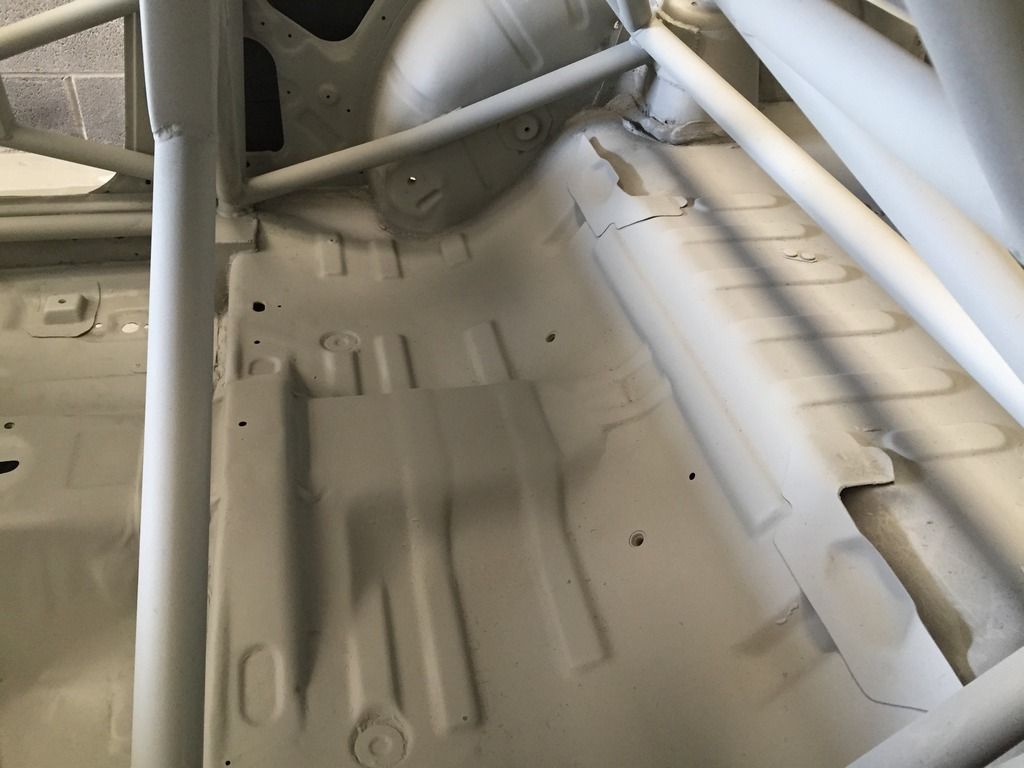
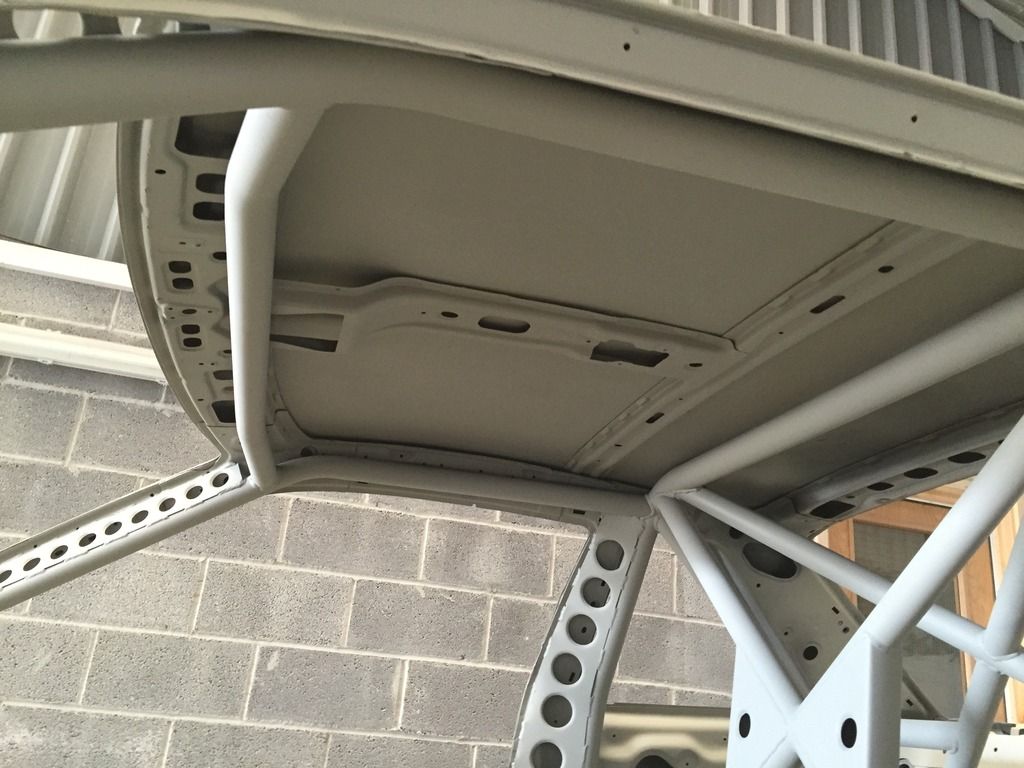
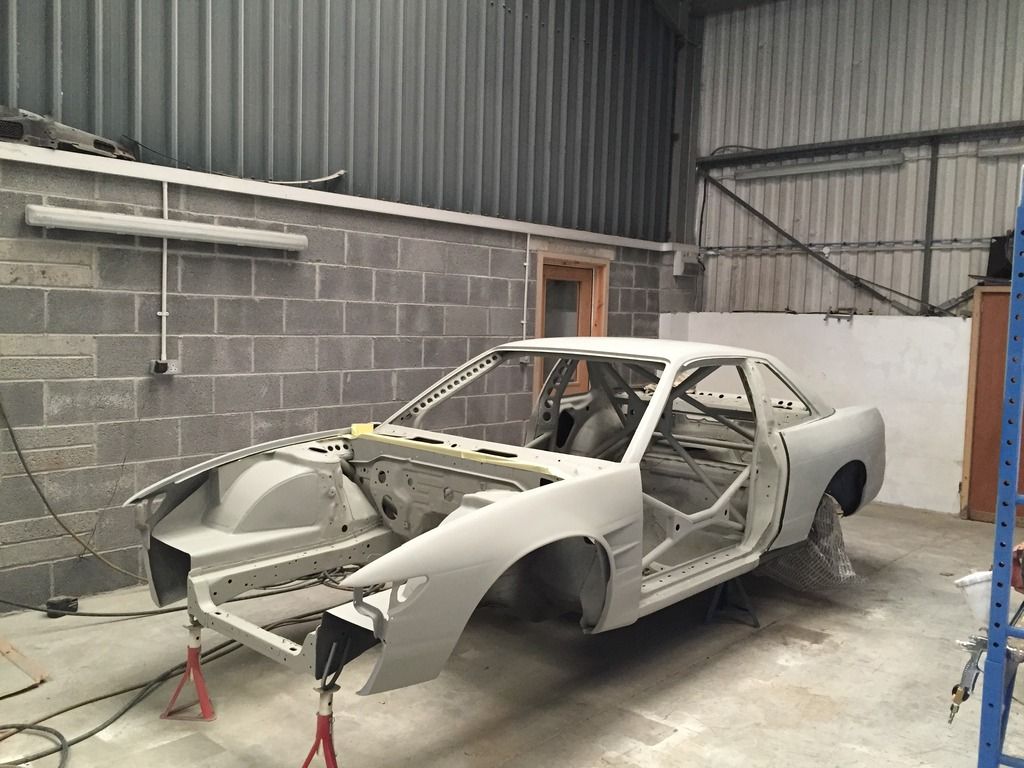
And here is how the interior is currently looking, with a few more hours required until I'm satisfied that its ready for primer and paint. Which brings me onto the point I'm not sure what colour the interior will be, I'm hoping to find a nice shade of a metallic Gun Metal Grey which will also be used for the engine bay too.


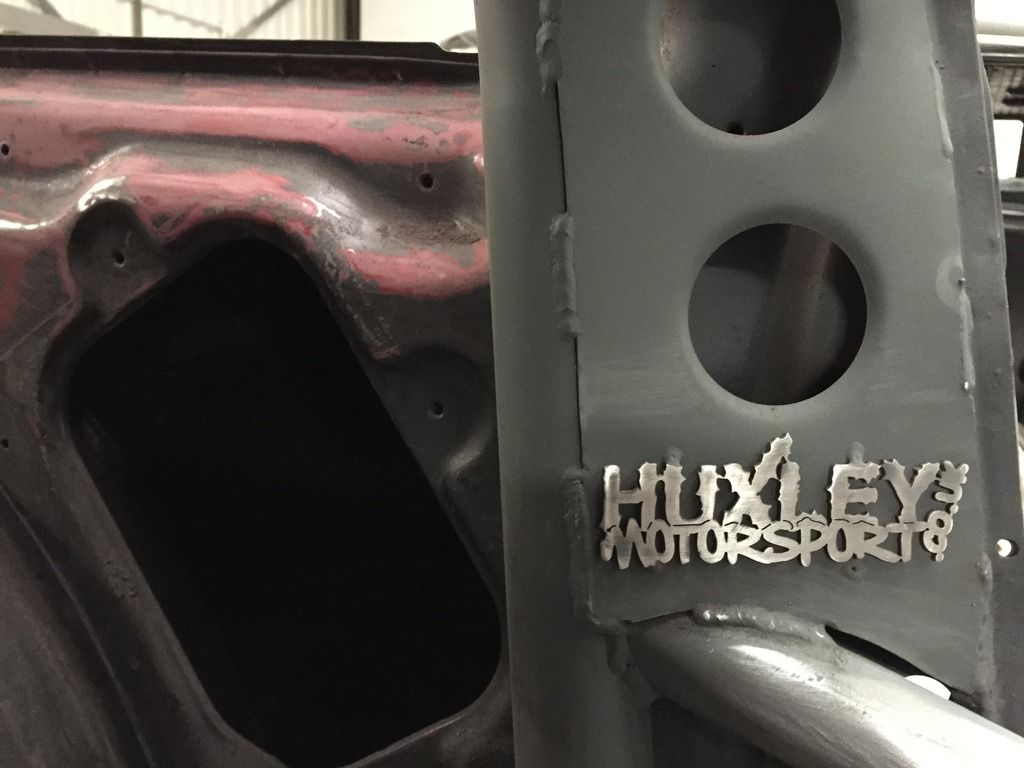
Amongst prep work I saw this and thought it was cool, if only I would sand the tags back to raw form once painted, but that does seem like alot of effort :(


Finally decided on some engine mounts too, as it was about time to ditch the god awful Japspeed mounts for something better on the fresh engine, which fingers crossed should be turning up asap. Hoping to have the paint done by the end of the month though, and then its all systems go!
 
Metallic charcoal is what you want, a buddy just used it on his interior:
IMG_01731_zps6201fa9f.jpg

IMG_01871_zps3246c541.jpg
 
Ben, that's a very close match to what I have in my head! Hoping to pop down to a local paint supply place local to me in the next week or so to try and view some paint chips so things can get moving :)

(Oh, and he runs a Red Bride Zeta III, so I'm instantly biased :p )

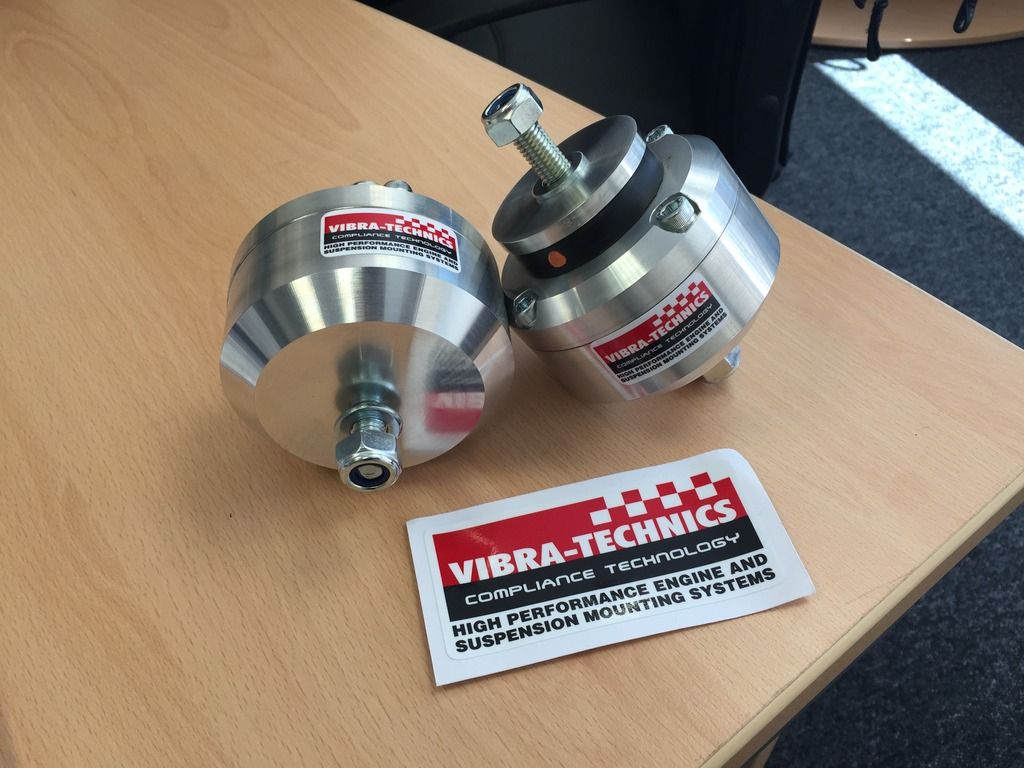
Since the last update, the Vibratechnics engine mounts turned up :p The quality of them feels unreal and unlike any other engine mounts I've seen, but time will tell whether they are any good or not. I opted to go for the "Drift Max Pro" or the Competition version as the price difference was negligible, and a friend used to run them and appeared to praise them.


The engine mount brackets on the SR were looking rather tired and quite frankly, ugly. So a quick freshen up was required; with an initial cost of Zinc primer after being rubbed down and degreased.
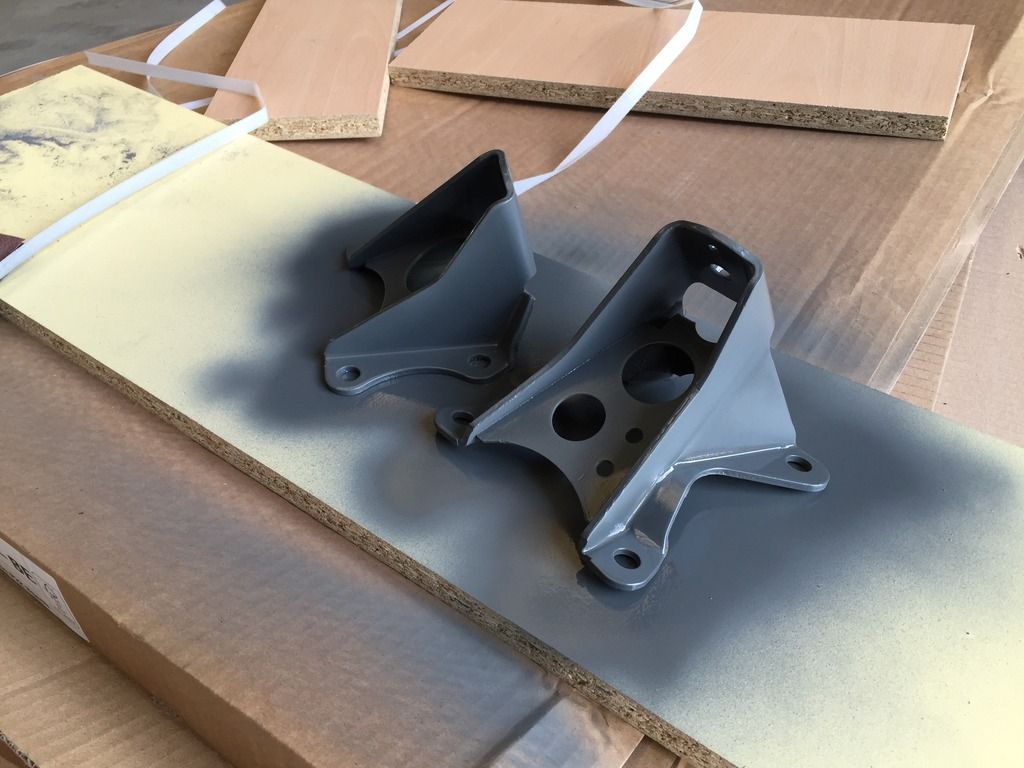


I settled for a quick coat of Satin Black as opposed to a metallic silver I had lying around, more so for that OEM look and aesthetically breaks the engine up a bit.
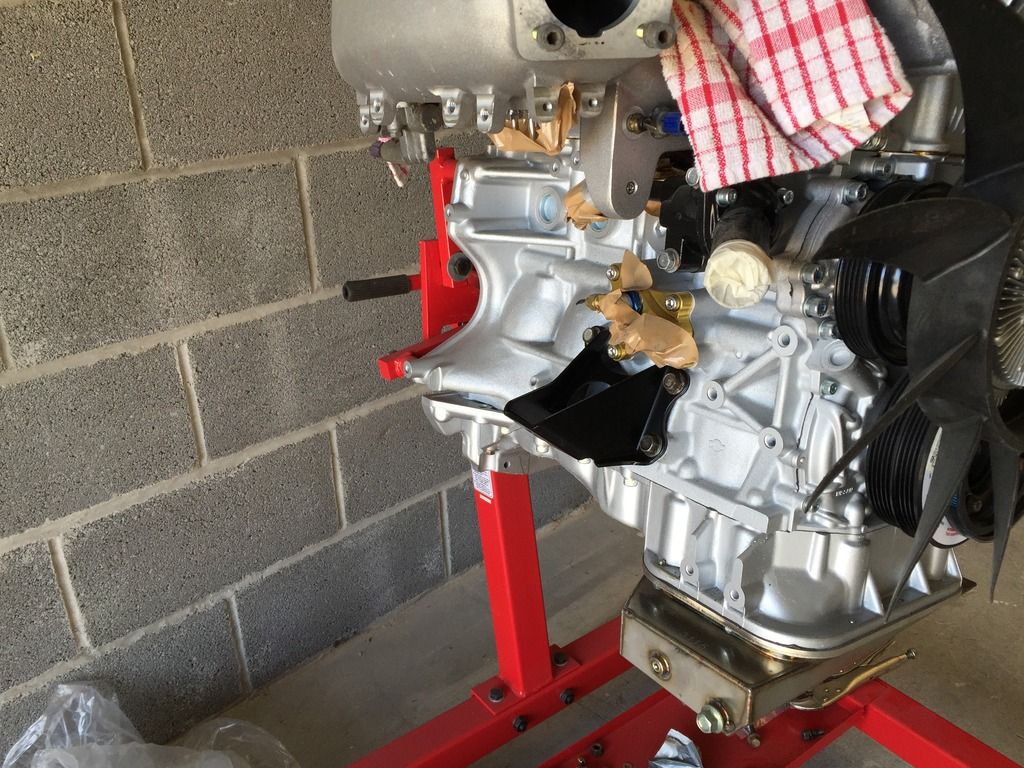
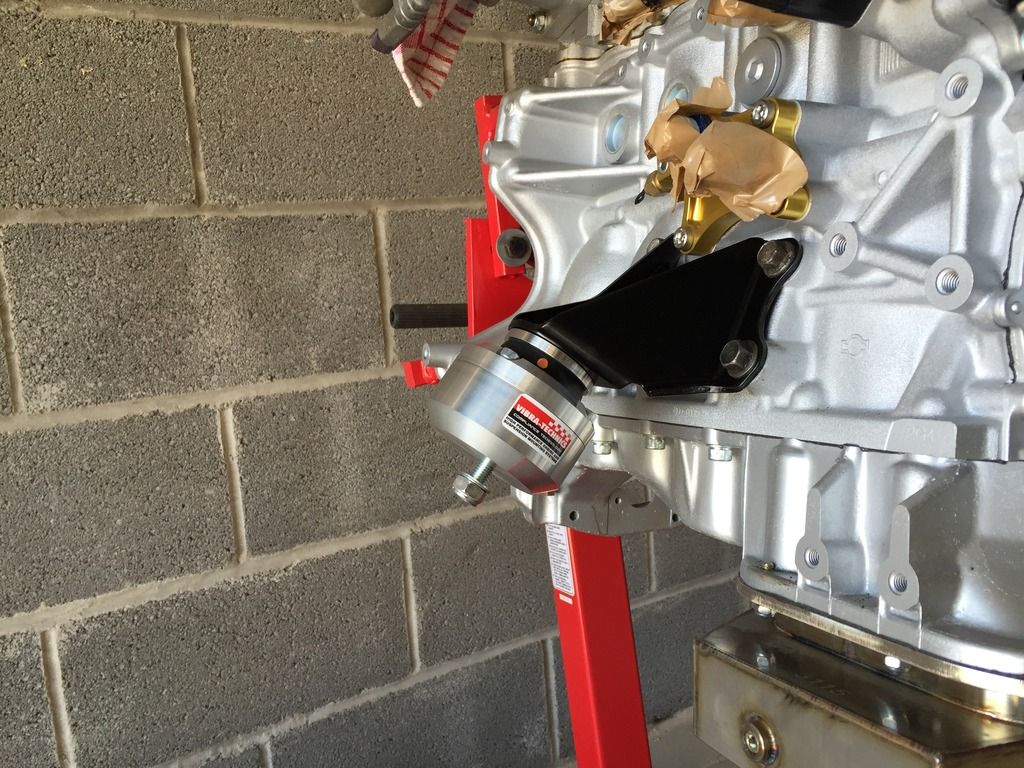


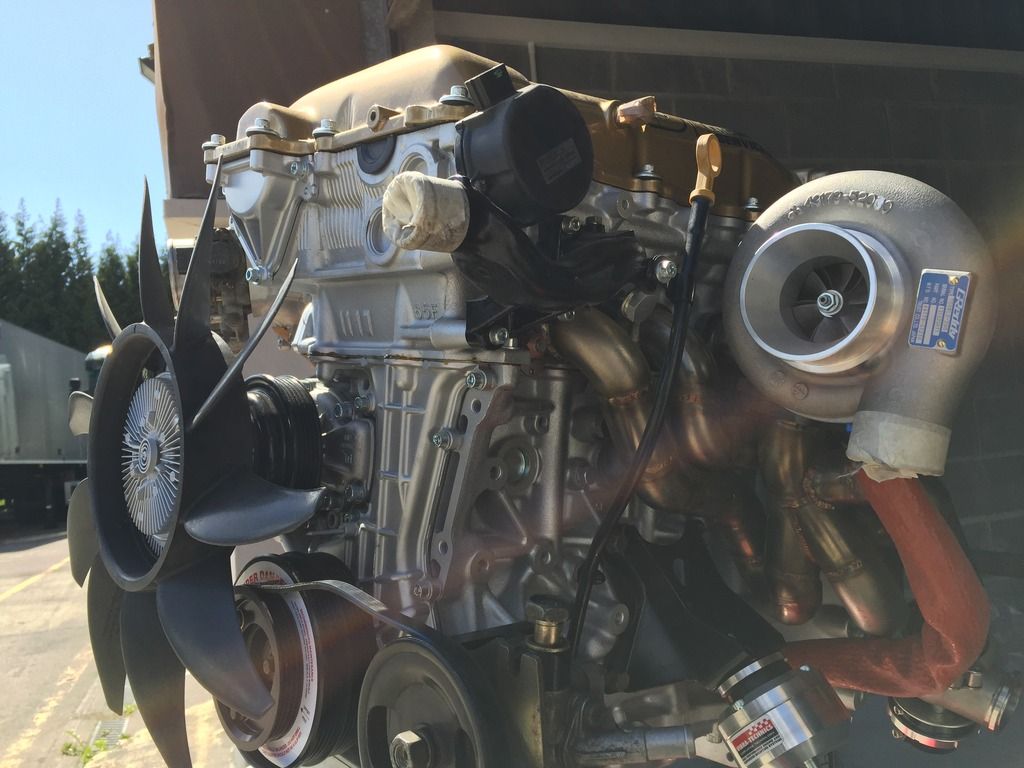
Whilst I was fitting the engine mounts, it was a lovely day so opted to grab a quick photo of the SR, it seems I can't quite get enough of it!


Before the car gets painted, I wouldn't mind getting the position of the fuel pump and swirl pot finalised, so any cutting can be done prior to painting. This will be my main task for tomorrow amongst further prep work, but from the initial looks an S13 fuel tank location and direction of the inlet/outlets makes it a bit trickier to ensure the lines are free from any kinks.

So I finally bought the fuel pump, where I have opted to run a tried and tested setup, in regards to a Bosch 044 as an external pump, where I'll run a fresh Walbro 255 or similar as a lift pump. As with most things, the difficulty with the Bosch's is the shear number of fakes floating around, and with something as important as the fuelling, this was something I really wanted to ensure a genuine part was used. Luckily, Torques UK came to the rescue being a Bosch dealer, so it was an brainer for me, considering their knowledge of AN type fittings, I'm sure I'll be place another (yet expensive!) order in the future for a number of fittings. Anyhow, this promptly arrived;
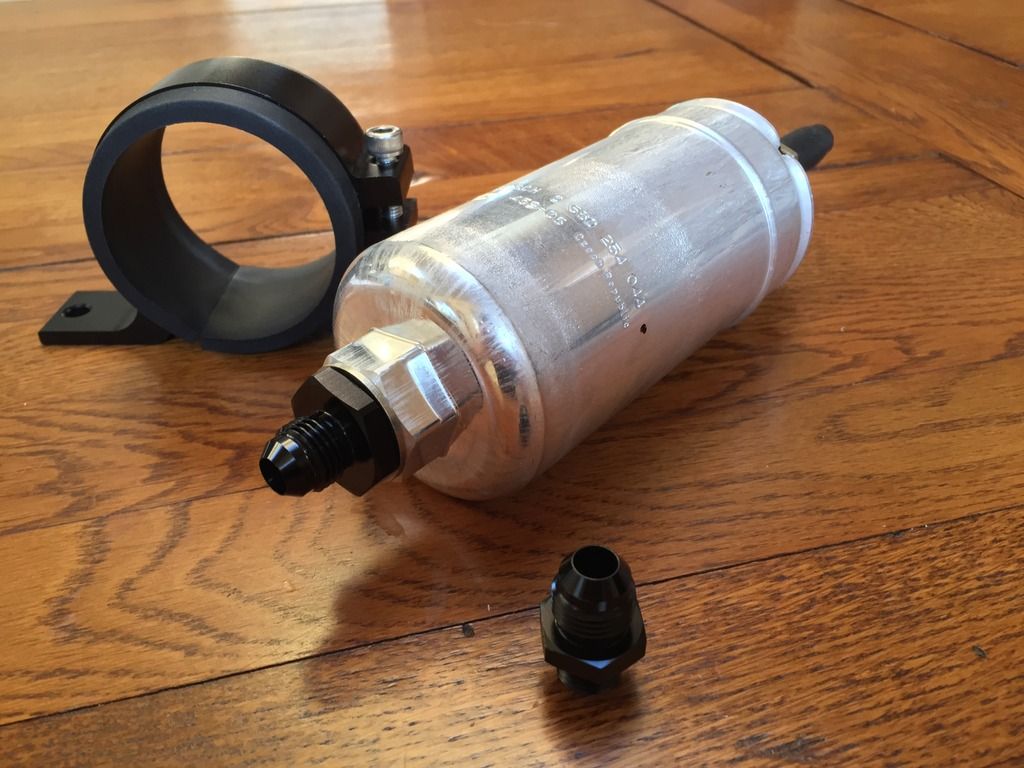


Bosch 044 with an AN -8 inlet to match the swirl pot, with an AN -6 outlet to match the SR's fuel lines, perfect! Oh, and got a snazzy cradle to hold the fuel pump :)

Updates will remain a bit slow for the next couple of weeks whilst prep continues, but I'm hoping progress will become alot quicker once paint has been laid and final fittings can occur!
 
Unfortunately not dude but I feel the prep work is almost complete, hurrah! But. The guy who was going to spray this isn't anymore which complicated things, but instead me and my dad are going to do instead as we have most of the stuff to do it anyway. So I'm off to look at paints tomorrow and hopefully pick 2 colours and maybe even purchase the paint :)
 
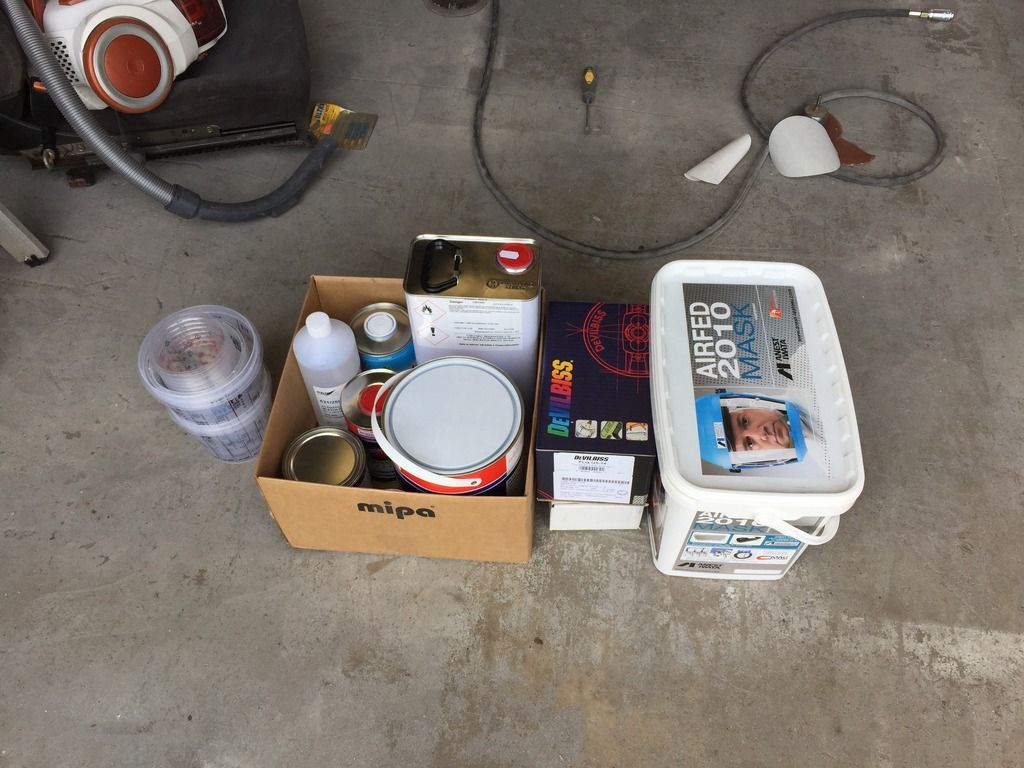
I googled them and they were along the right lines man, but I went to the paint supply place near me (Car Paint Warehouse) and after a chat the car will be getting sprayed black in 2k/2 pack paint. So today I got the primer and safety gear needed as the paint contains Cyanide :(

But early next week I will go and get the colours, the exterior and interior will not be going black for ease, whilst the engine bay will still get a different colour. I've taken inspiration off a member on here after falling in love with the colour :) I'll try and leave that as the surprise for now!
 
Quick little update!

Since the last post, I’ve officially graduated from university with a First Class degree which im stoked with considering the amount of work I put into the final exams. Anyhow, this kinda gave me some motivation to crack on with the car.

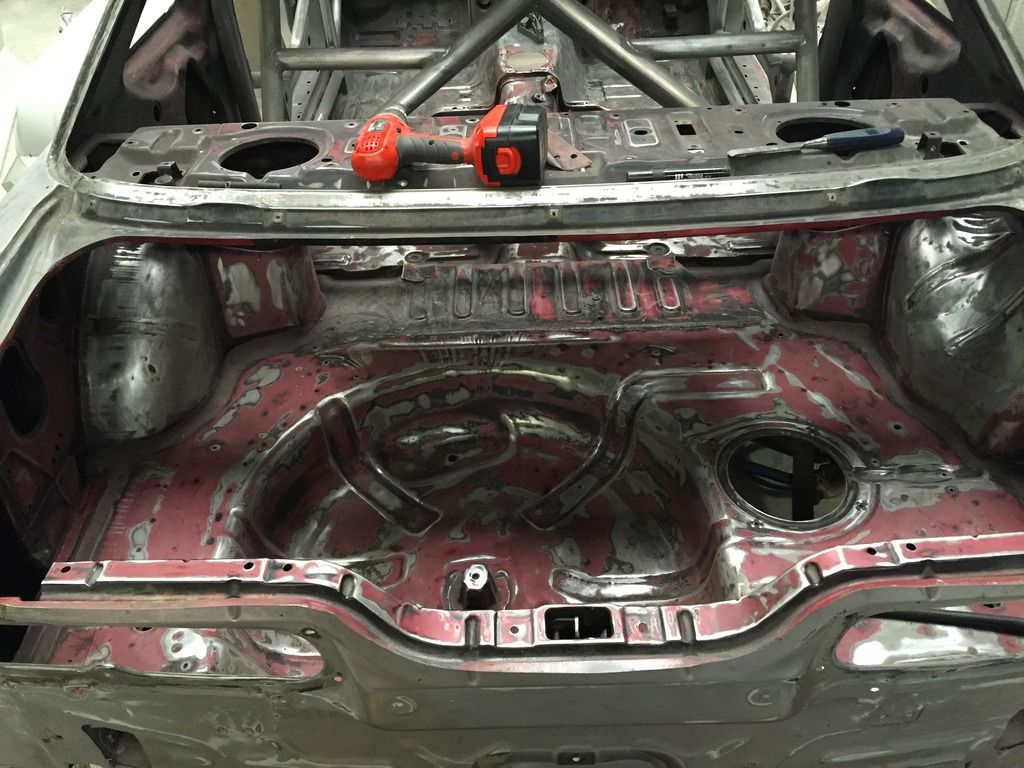
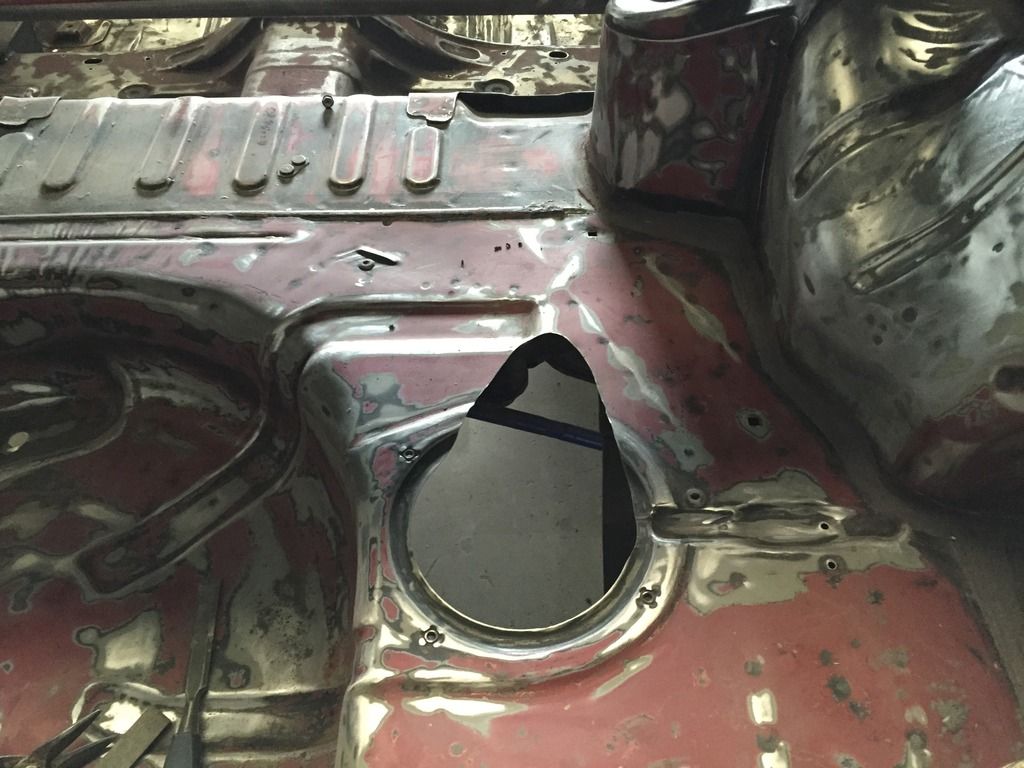
One thing I wanted to sort out before paint was the positioning of the fuel lines as they come out of the tank and enter the swirl pot. Basically, those who are familiar with the S13 setup, they sit below the opening, meaning they can’t just go upwards without creating a large kink. So, after some thinking the best thing to do was to trim the car to suit them!


After this, it was just a case of more prep work whilst I sort out the spray gun setup and purchase all of the paint.


Found a little bit of Stonechip lying around so threw it on the front arches to see how durable it is, and turns out it is quite durable so hopefully I’ll buy a couple of cans after paint as I need to reseal below the trans tunnel as the previous owner though it was a good idea to use a black aerosol!?
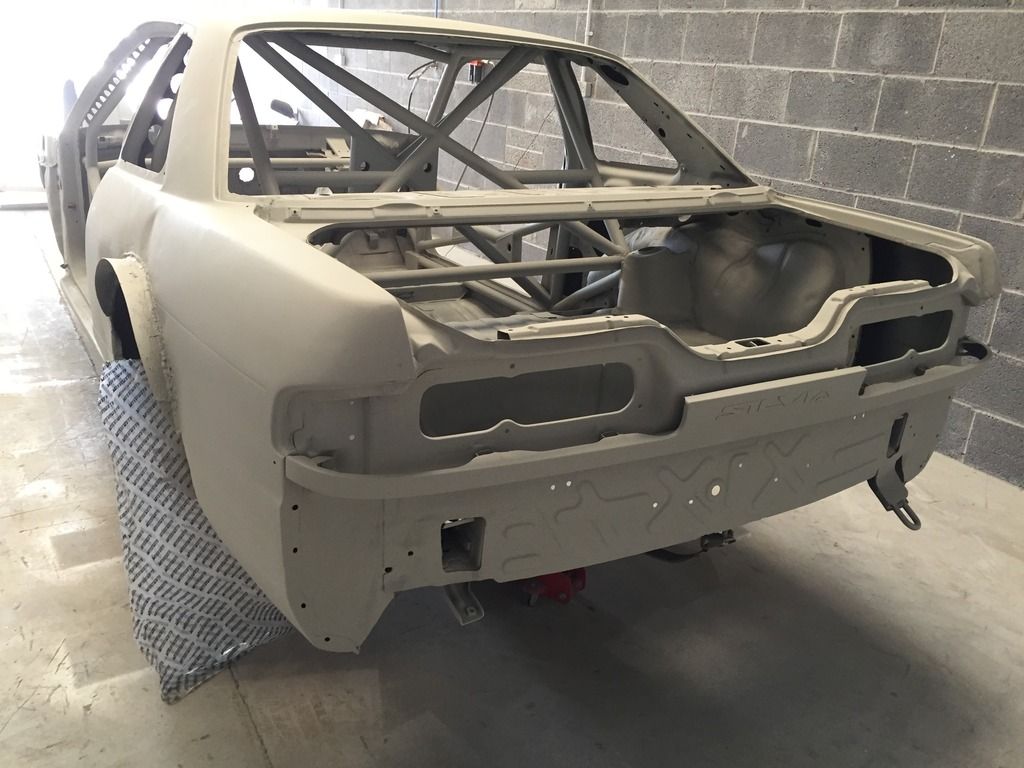
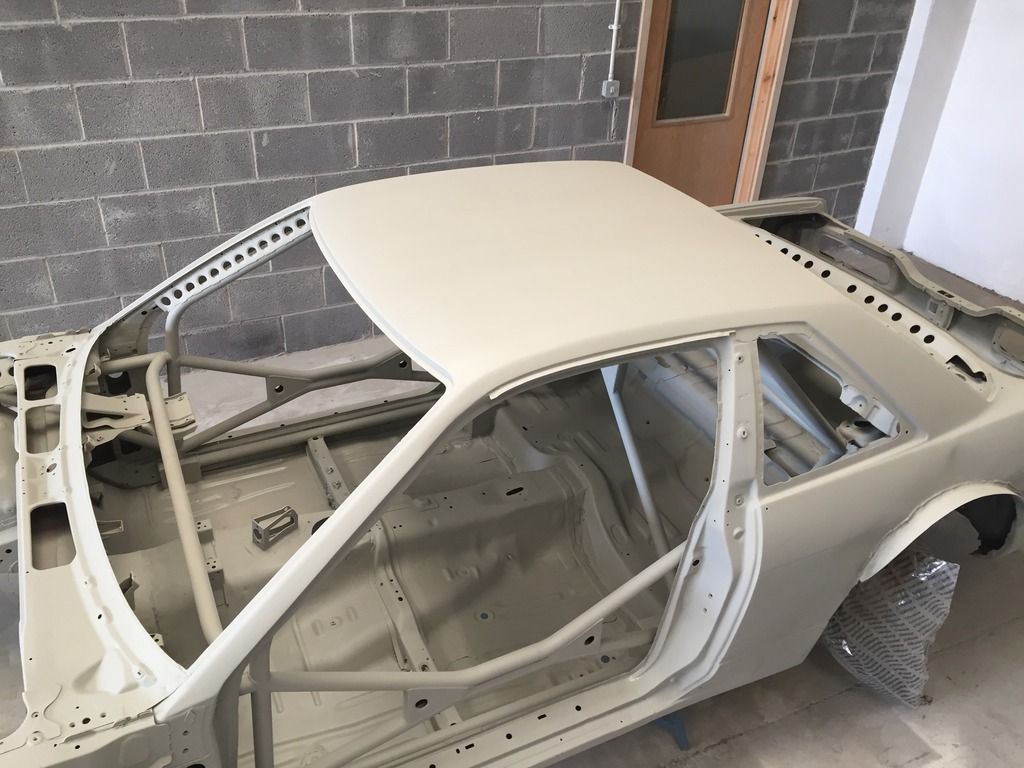
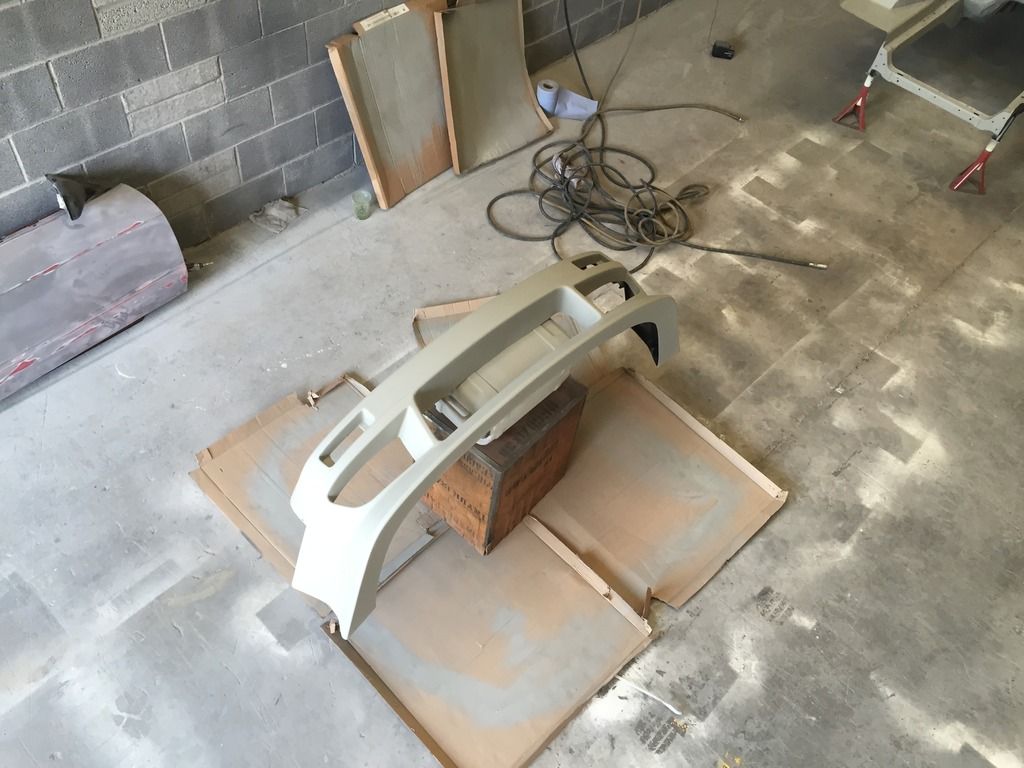
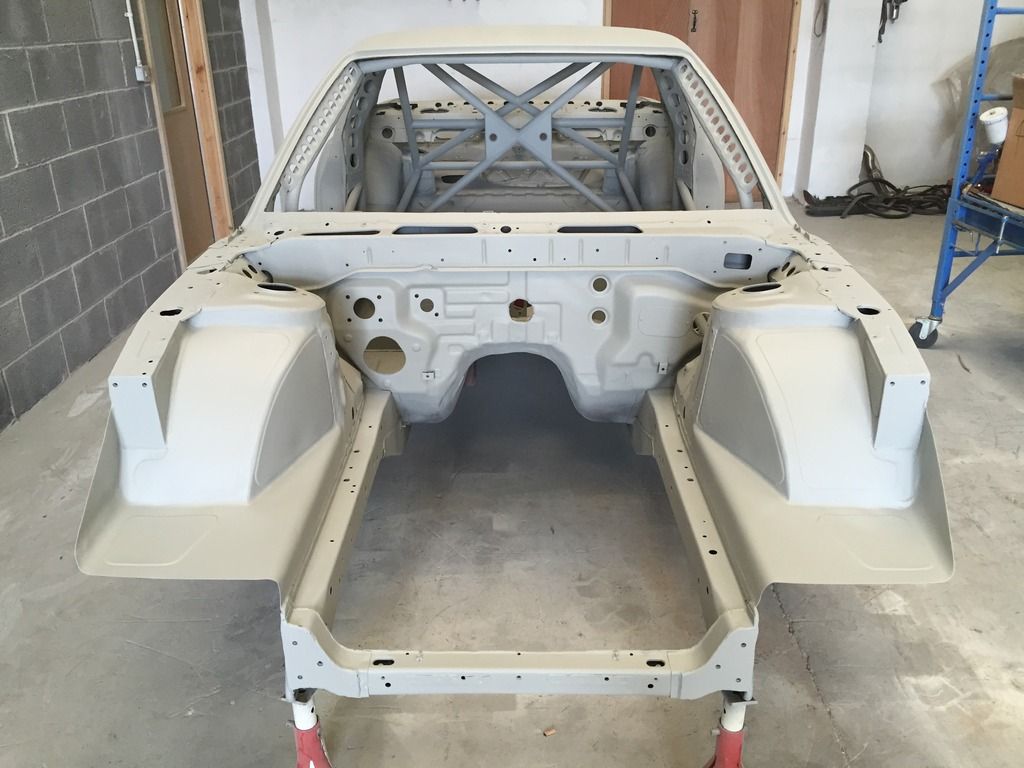
Quickly mixed up some etch primer for the area where bare metal is shown but for some reason it would spray nicely. Not sure whether it was due to a lack of experience or just the nature of the paint. So I preserved as much as I could before switching over to the 2K High Build Primer, where I aimed to give the whole care around 2 coats, which should allow me to wet sand with 1200 grit before the final top coat.
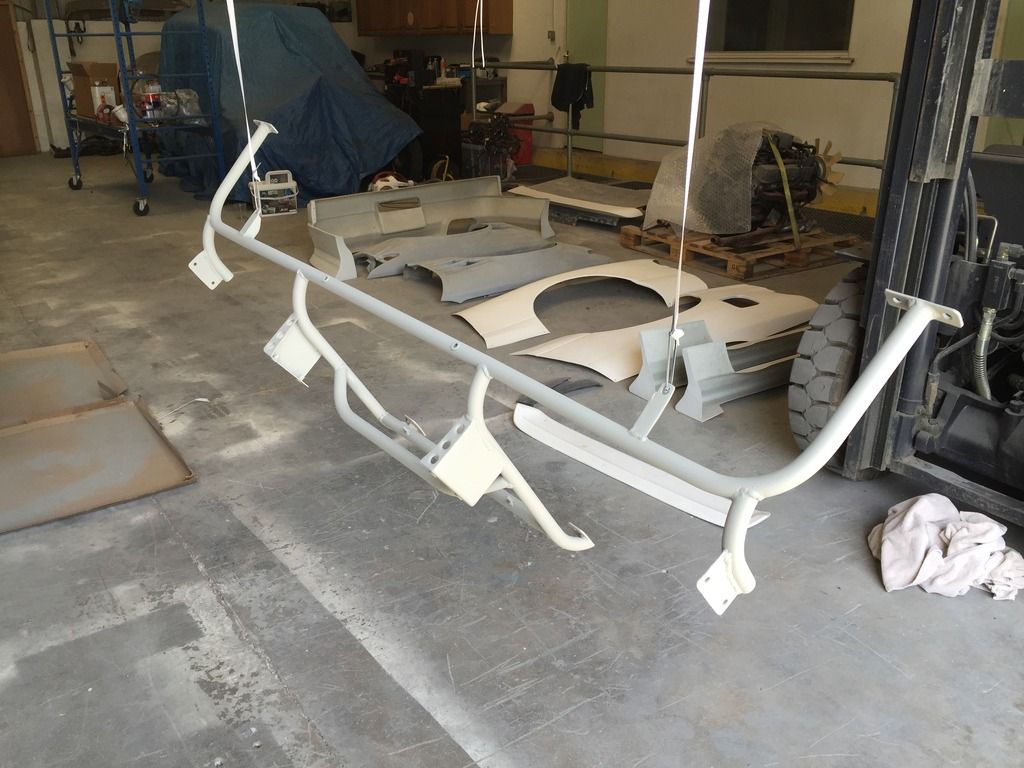
After a while of playing with the gun settings, I was able to lay down a “wet coat” which I was stoked with. Its amazing how addictive and challenging painting can be!


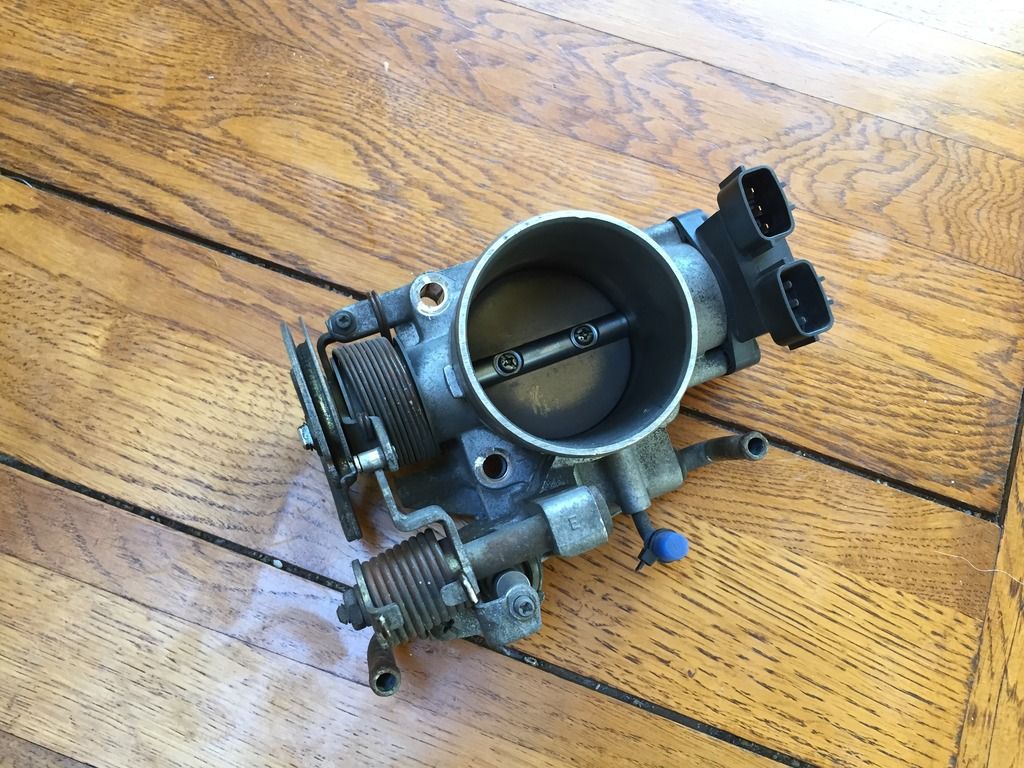
Whilst this was happening, Jesse Streeter once again become my knight in shining armour and found me an S14 N/A Throttlebody which are as rare as hens teeth! Can’t thank him enough for doing this.


S14 SR20DET Throttlebody;


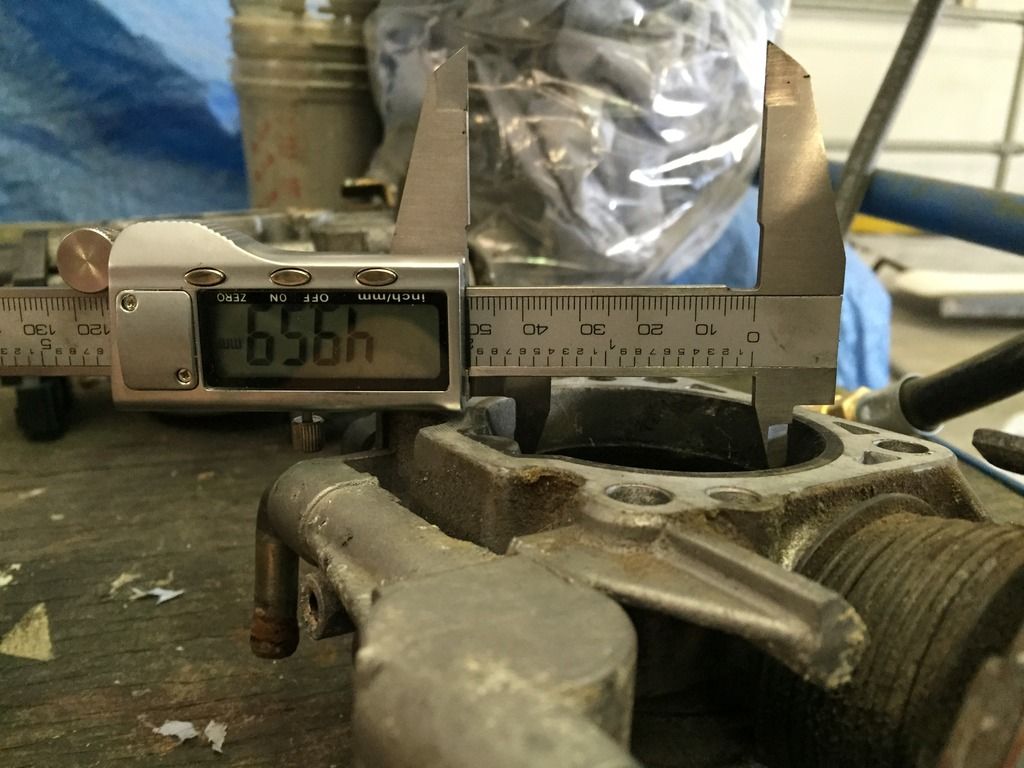
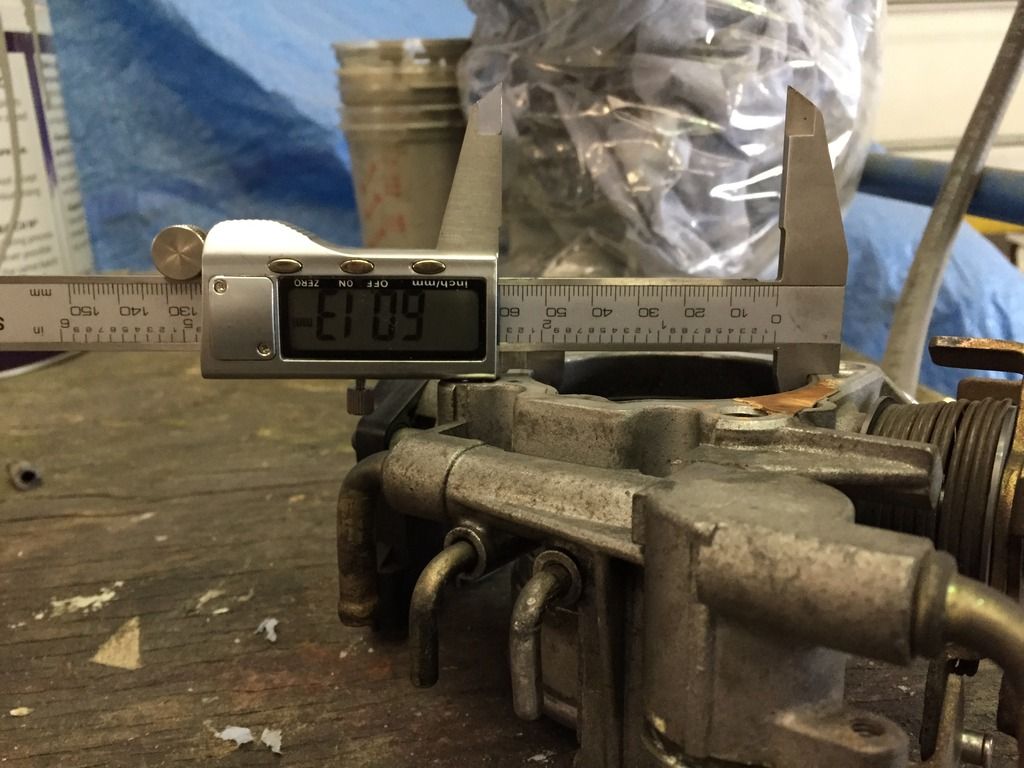
S14 SR20DE Throttlebody;


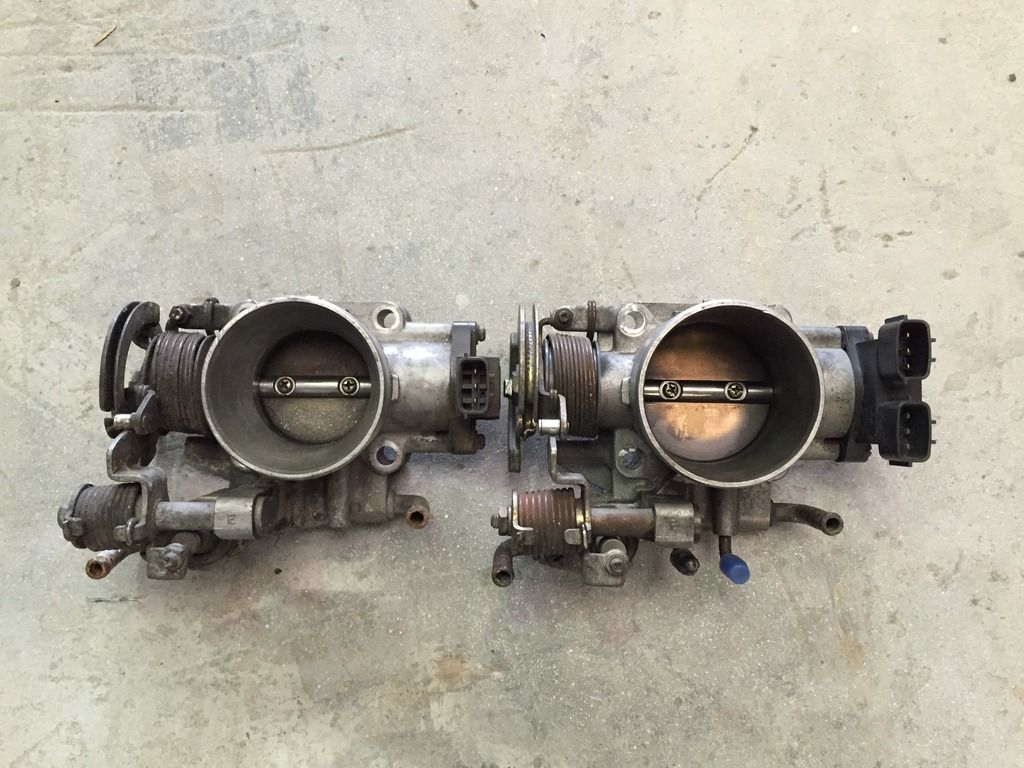
DET on the left, DE on the right;


You can visually see how tapered the DET throttlebody is in comparison. Hopefully when coupled with my 60mm Greddy Inlet, this should help things breathe a bit easier :)

(For those wondering about the TPS of the DE throttlebody. My understanding is that it came from an Auto car, hence the two plugs. But if I have gotten my facts correctly, I simply plug the loom into the top plug and hey presto, it should work!)
 
Started getting into a rhythm with the primer and made some progress, but with temperatures being solid mid-20*C it meant the paint was drying fast!


I’m overwhelmed with how the engine bay came out! Can’t wait to throw some colour down on it, but kind of nervous at the same time :(


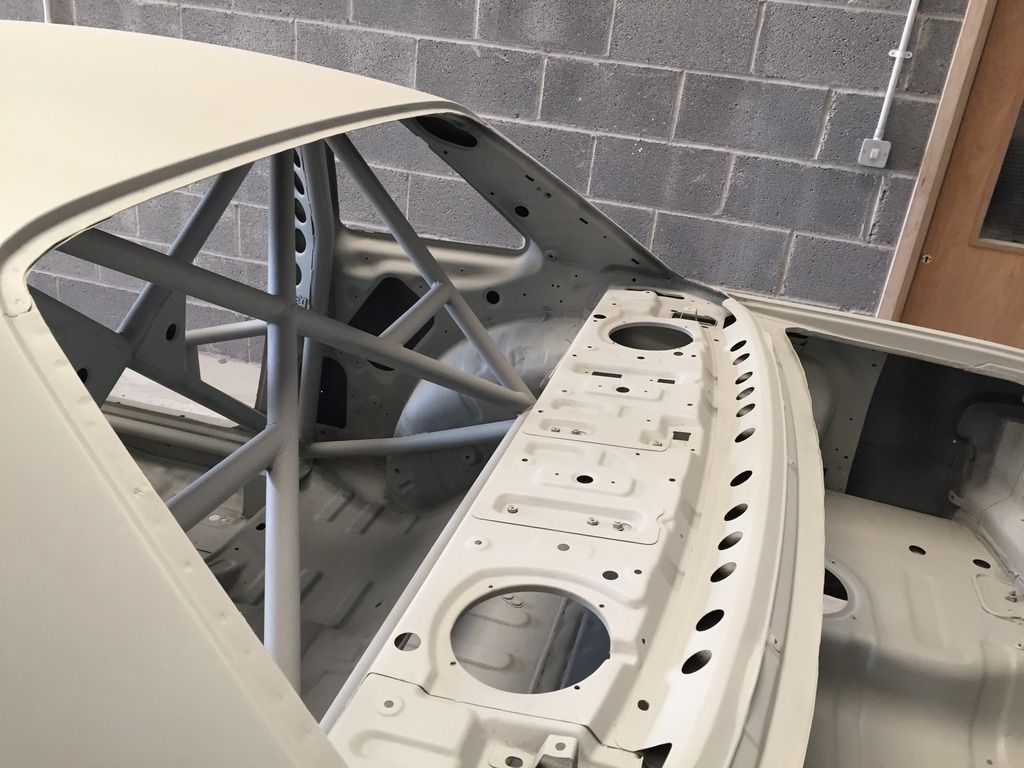
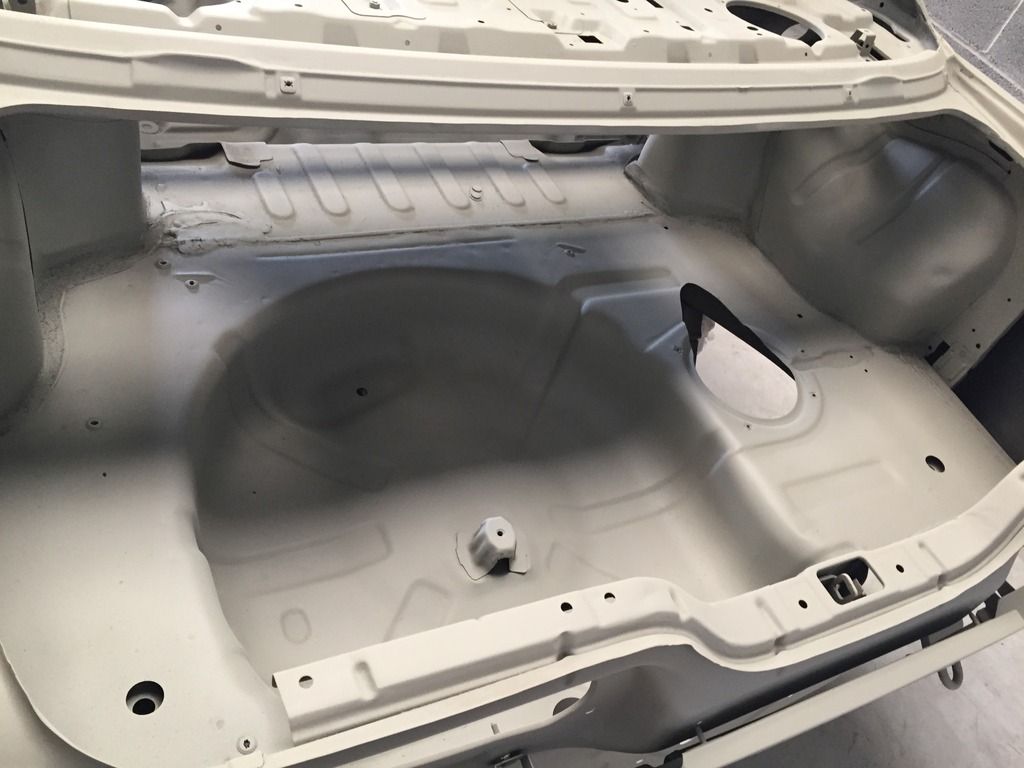
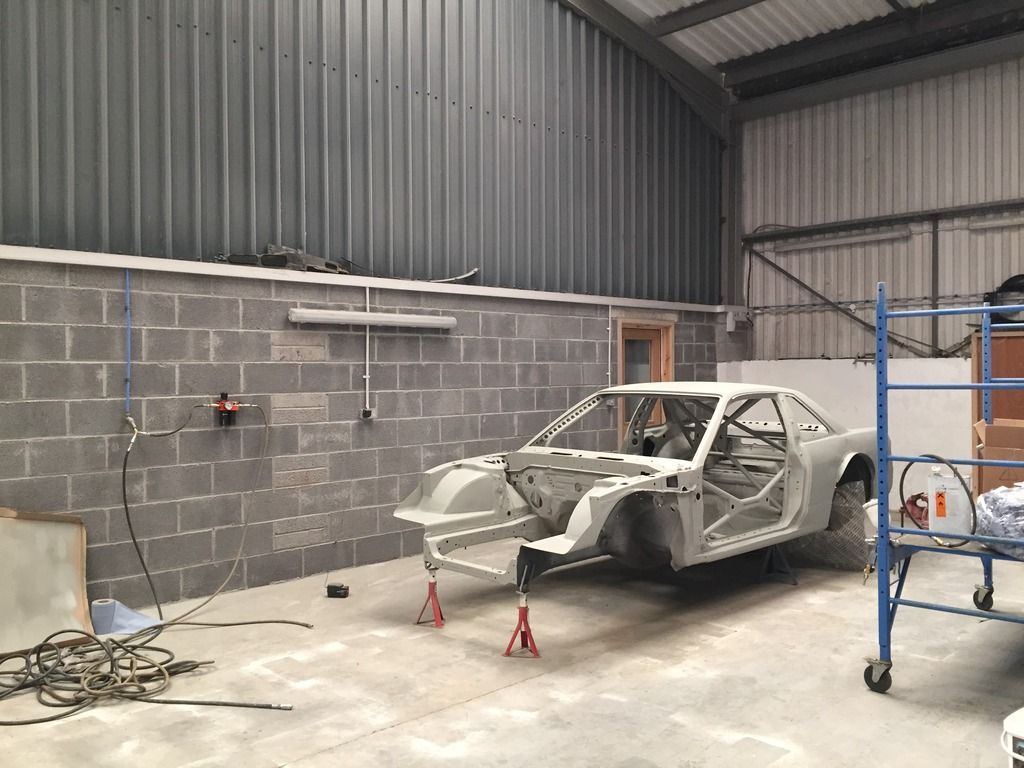
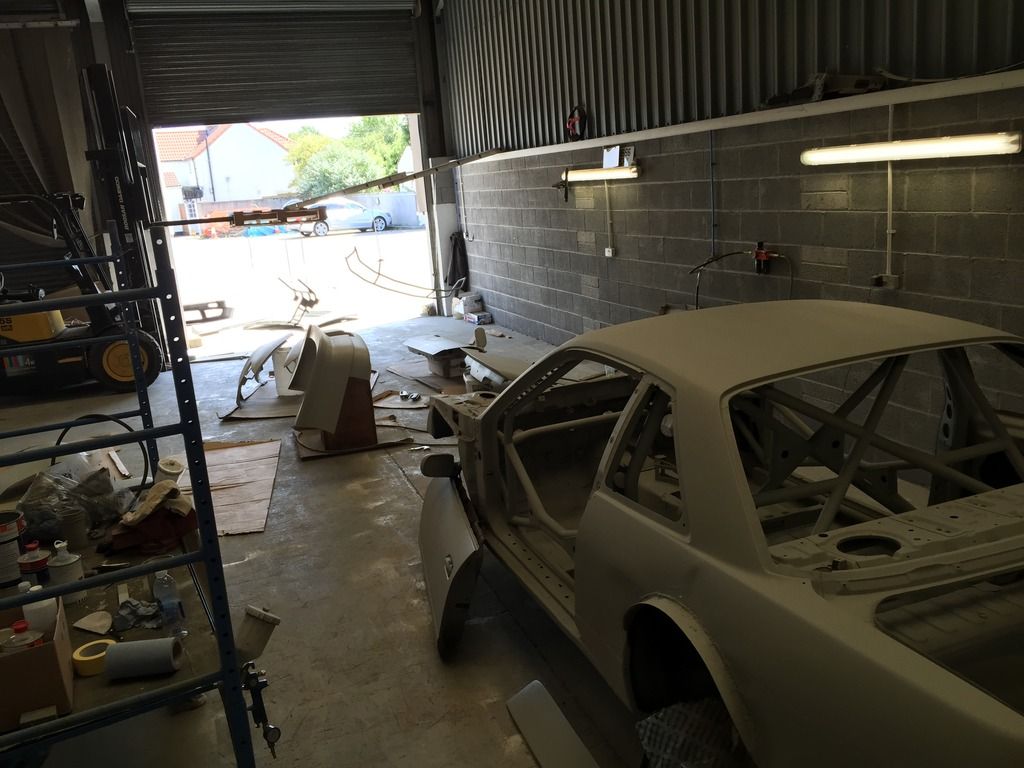
And this is how I left today, everything that should be in primer, is in primer and luckily enough as all of the primer is now gone!


My plan is to get the rear 1/4’s black tomorrow, so the rear overfender’s can be riveted on before the whole shell gets painting. This should mean even if I blow a rear fender, it’ll still be black behind it to try and make it more discreet if you can ever make that discreet haha.

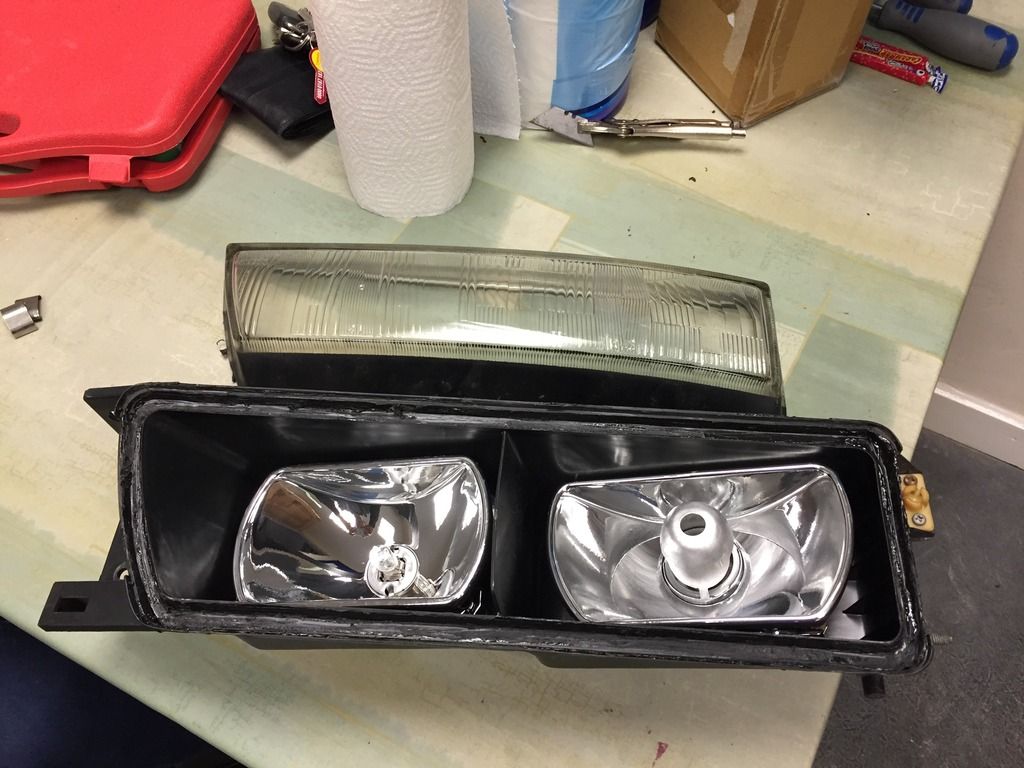
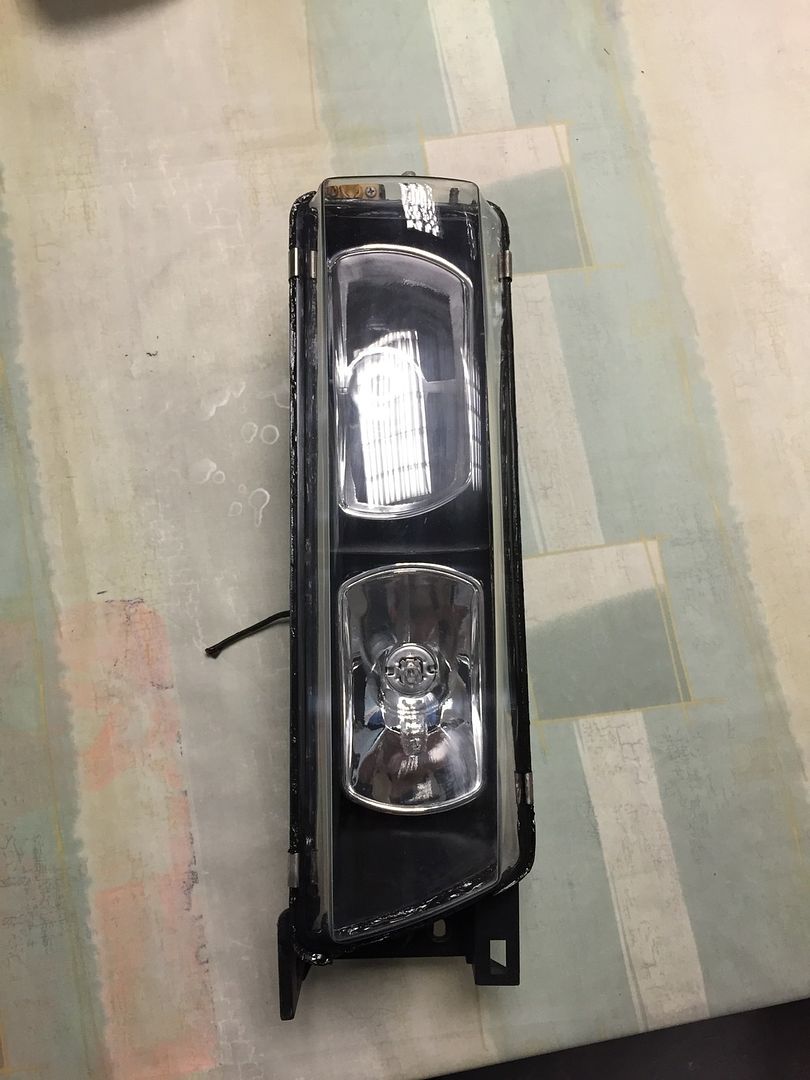
My buddy sent me my new lenses which I super excited to get on, pretty much a “must have” on the Brick headlights in my opinion, as the glass is a bit dated. I cant describe how anxious I was doing this job and these headlights are NOT cheap and were pretty mint too! :’( Went slowly with the heat gun and slowly tried to pry the glass of once the glue had softened up.


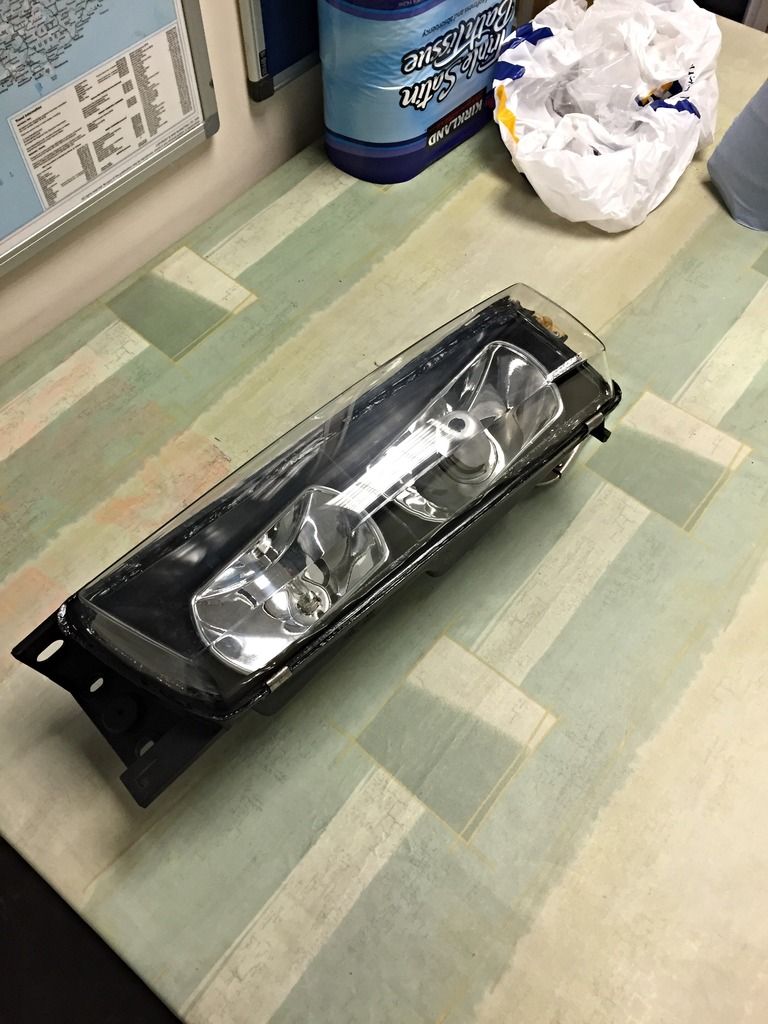
Cleaned the remaining glue out of the casing ready for some fresh Tigerseal! After a while the job was done!


Pleased with the outcome, just have the other one to do but I’ll do that next weekend or something. Im not sure whether I was just a bit heavy handed with the tigerseal or it is the nature of the lenses, but it looks a bit messy if you look closely. I’ve got some black vinyl lying around, so I’ll maybe replicate a border type ordeal similar to the OEM glass, and something Daze did with his (Albeit on S14 headlights). This should make them much neater up close, but as they are, they look so so good! So things can only get better! :)

Ordered up some fresh S14 LCA balljoints earlier (MOOG K9820) , and my fresh OEM front wheel bearings should be here anyday. I just want this car built with fresh parts, ready to go attack any track that takes my fancy!

Oh and to add to the pressure, I have my B+E test on Thursday!
 
Congrats on your uni results bro, been following this since 'take 1' and it's just beyond words [emoji108] top work
 
Congrats on your uni results bro, been following this since 'take 1' and it's just beyond words [emoji108] top work

Amazing work dude, will be savage once it's done.

What a b+e test and. Congrats on the uni work

Thanks guys, appreciate it! :)

The B&E test is more commonly known as the trailer test, so basically, this car will live as a trailer queen as intended (provided I pass of course)

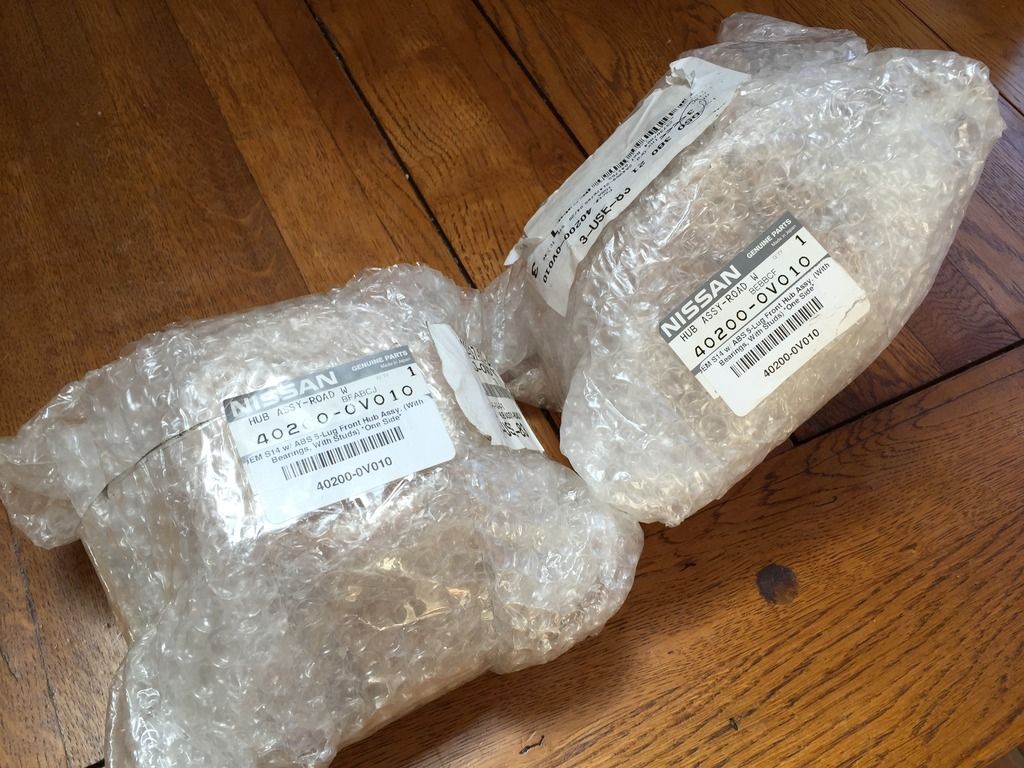
So today I had a little package turn up :)


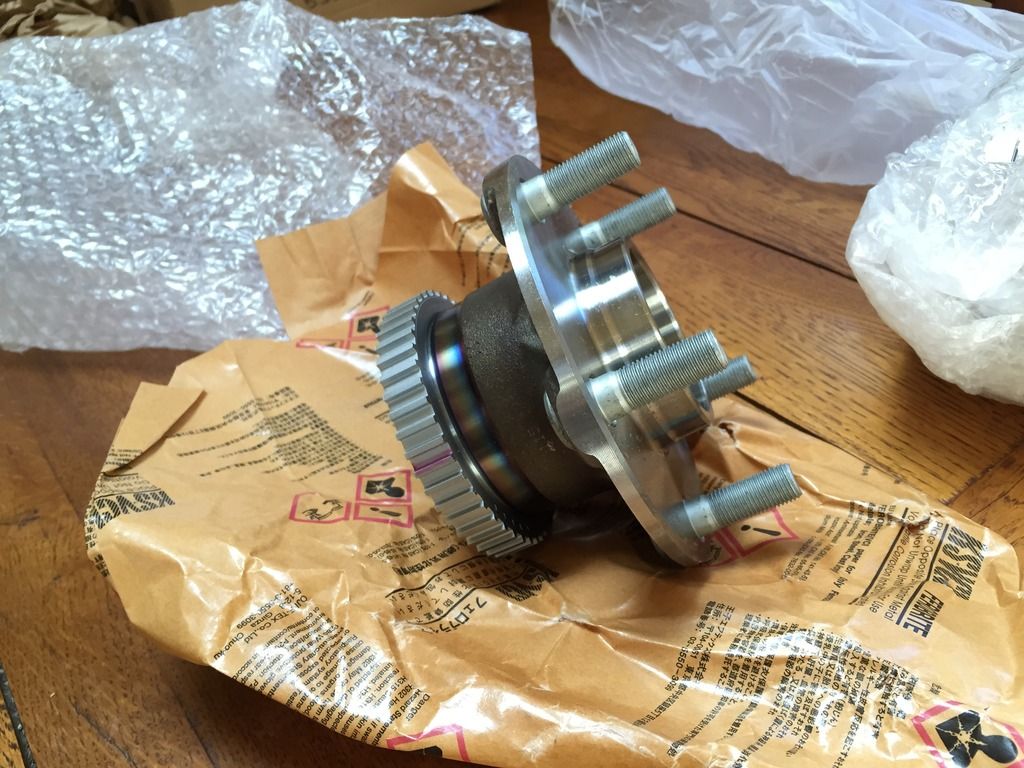
A pair of brand new OEM Nissan S14 front wheel bearings. A friend mentioned these retail around £450+ each from Nissan which is crazy! Thankfully, a buddy of mine helped me get these in at a stupidly good price. These were cheaper than the OE copies/versions I've seen for sale here in the UK.

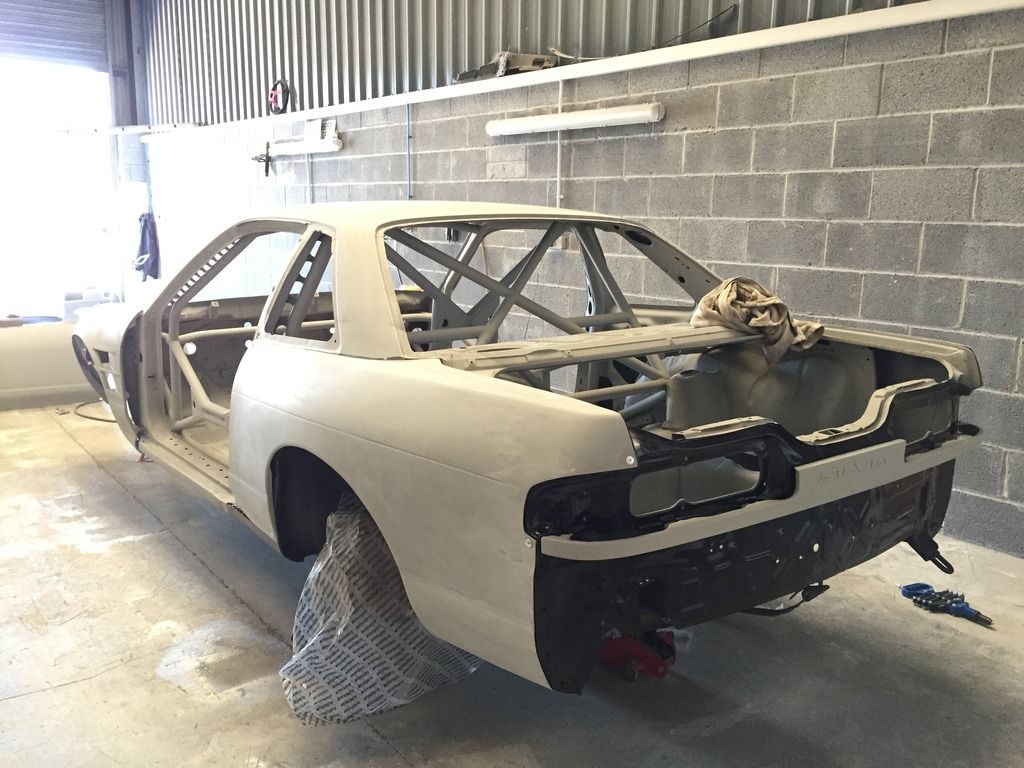
Started playing with the black paint today, and took me a while to try and adjust on how to spray it, as it seems to run alot easier. Luckily the runny rear 1/4 will be hidden anyway, but the drivers side came out quite nicely after adjusting. It appears to have some orange peel, which suggests I may need to add some thinners to the mix, or play with the pressure but that'll be my job for Thursday i'd imagine as I need to wet sand the car before I can proceed.


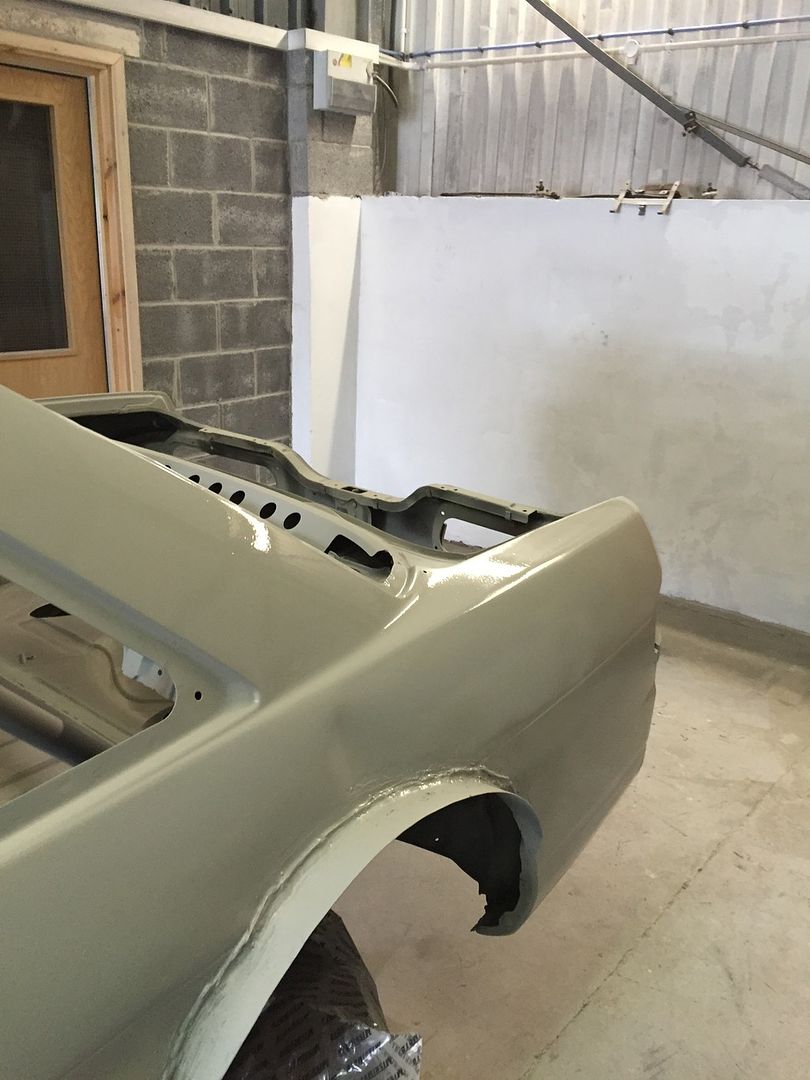
I've riveted the rear fenders on for good now, whilst the fronts are merely placed there to help make sanding them a little bit easier. Who knows, maybe this time next week it may be all black?!
 
Good work, what a difference some primer makes. You planing to paint it where it is?

Thanks man! It kind of resembles a car now, rather than something fit for the scrapyard :wack:

And yeah, it'll be getting sprayed where it currently is. It's not ideal, but as long as it's black I'm not too bothered. Im only going to be smashing bumpers and cracking wings :p I'm using a fast drying 2k hardener, which should help with avoiding any dust getting in, but I'll give the place another big clean before the final coats go on.

I'll message you soon mate, still need my bell housing machined if you're still game?
 
pour water on the floor to avoid dust flying around, if you can.

B + E is for driving license? And congratulations for your Uni!
 
Back
Top