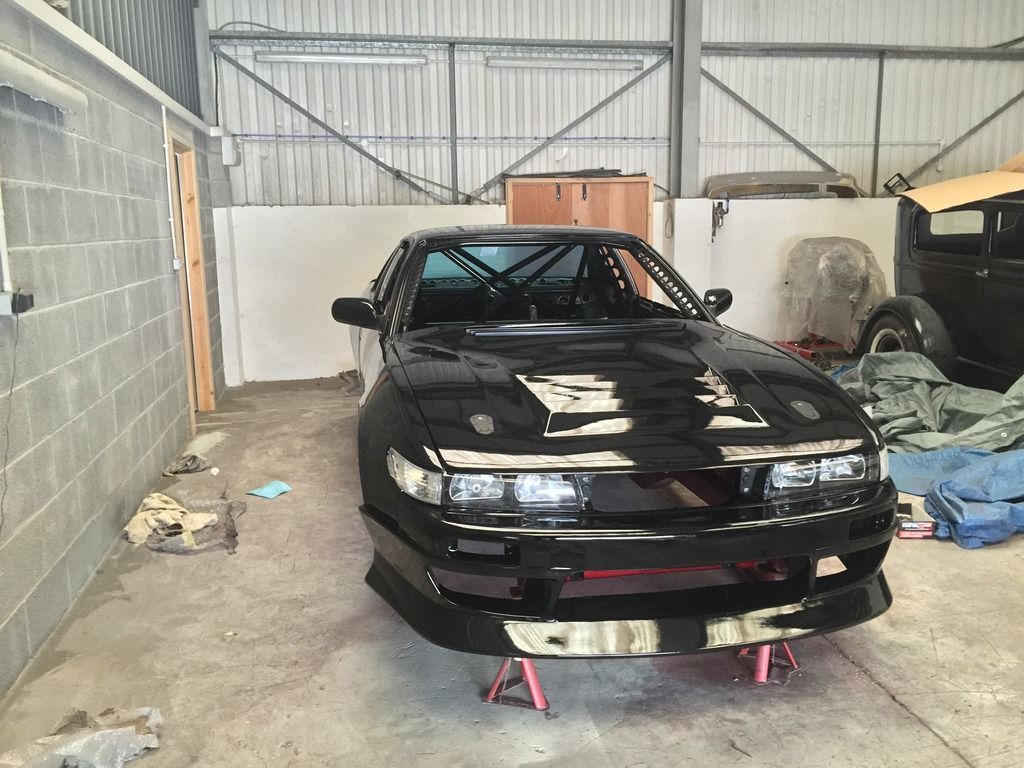
Jordan's S13 Silvia ♠️♠️

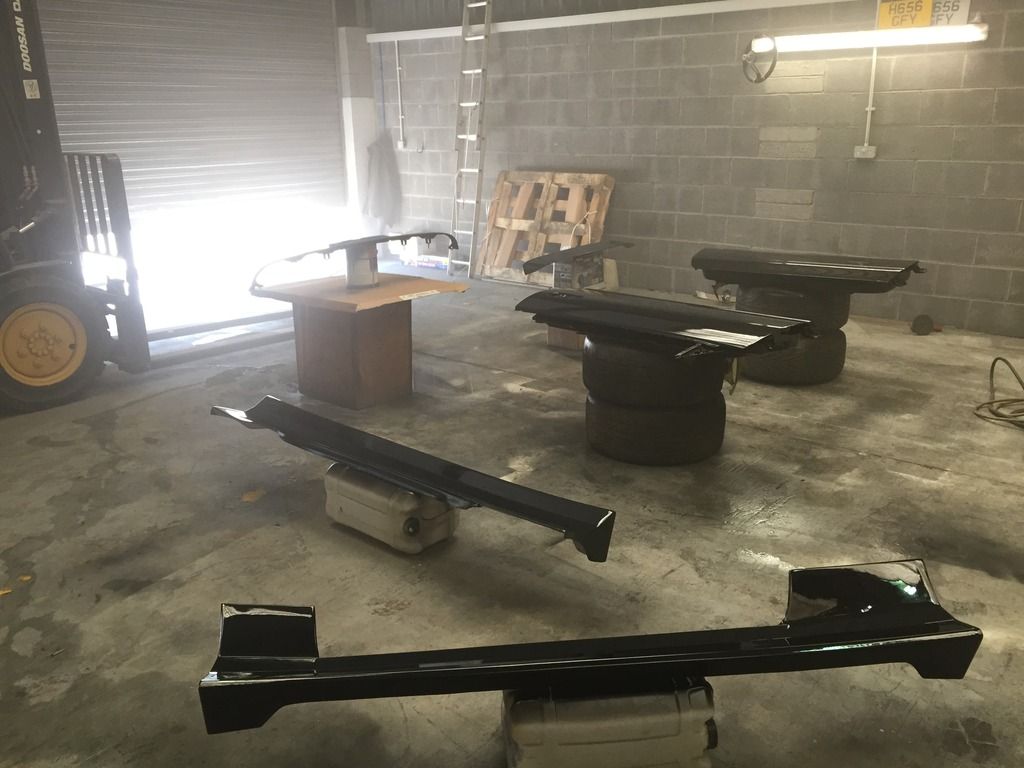
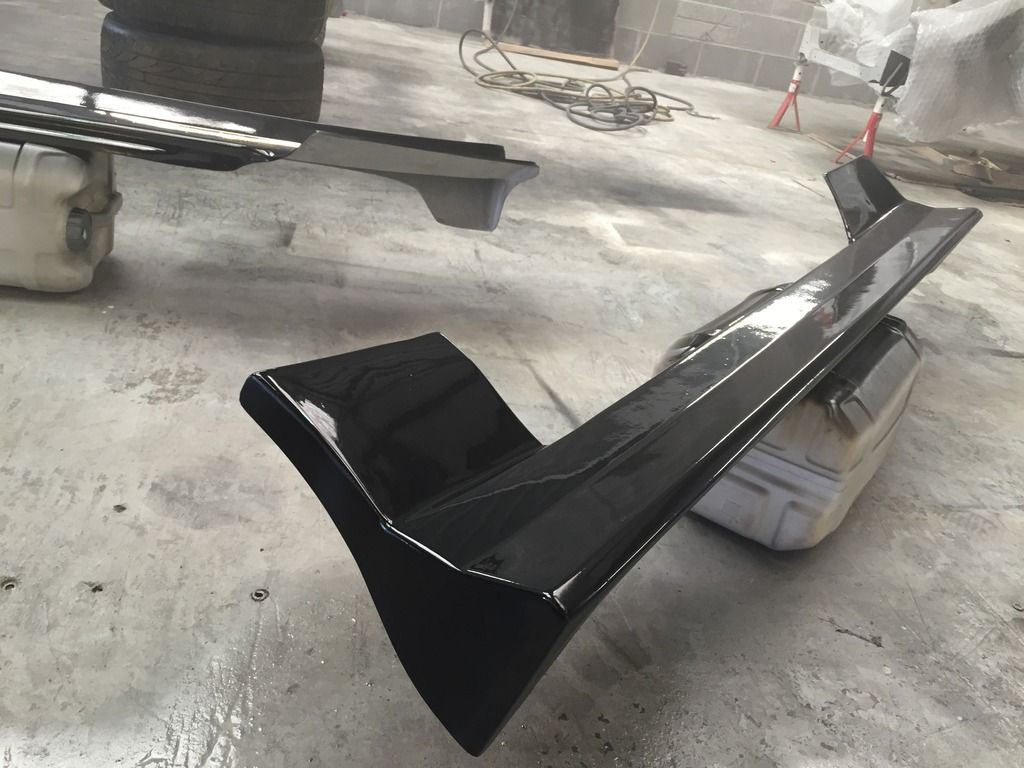
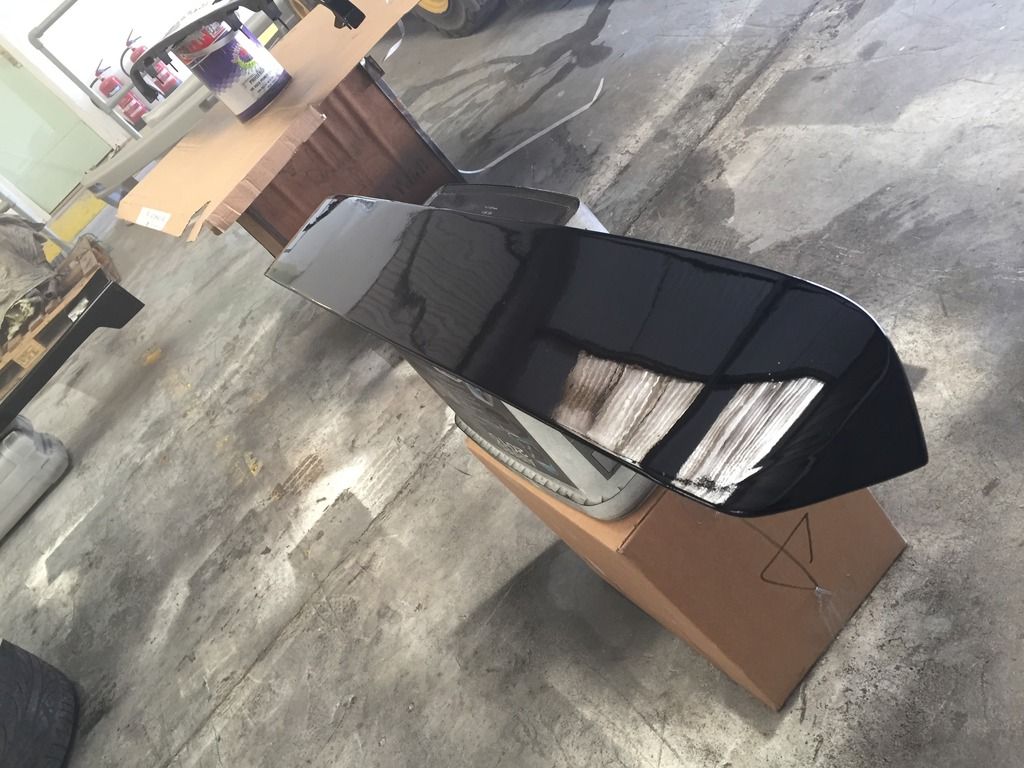
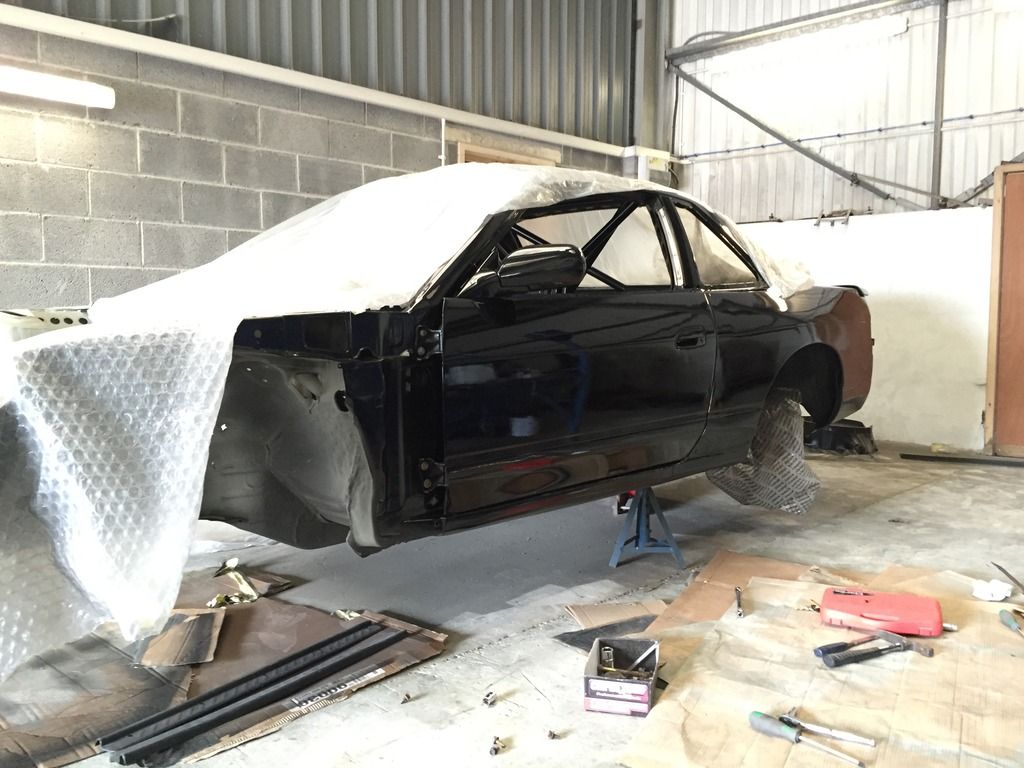
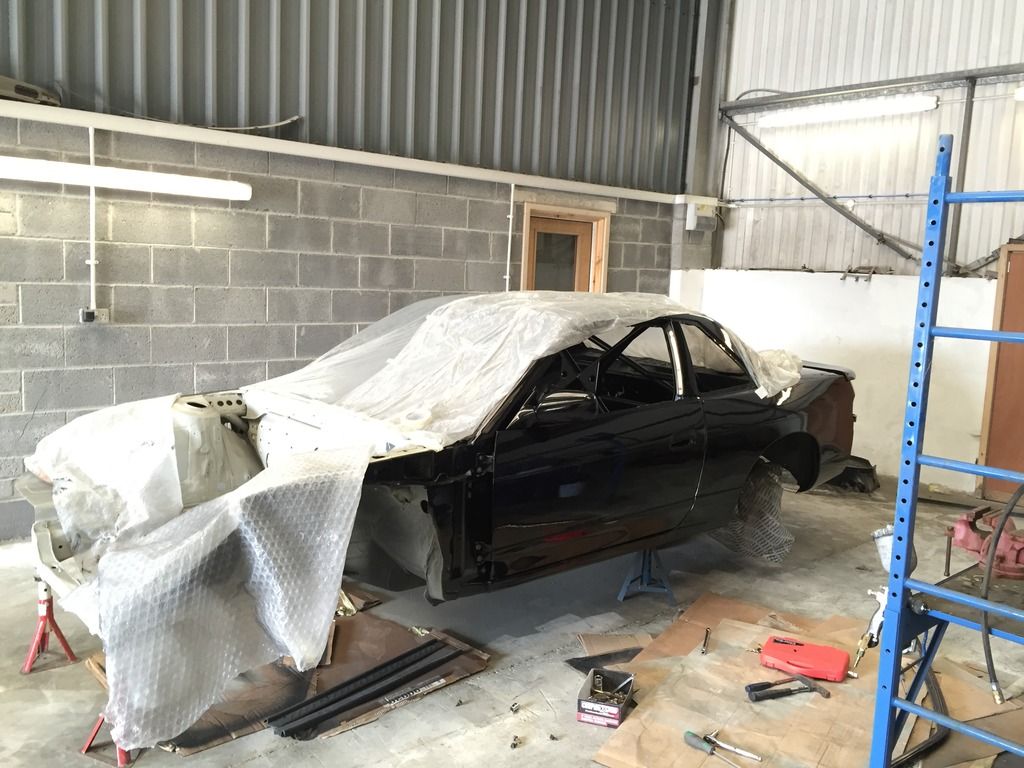
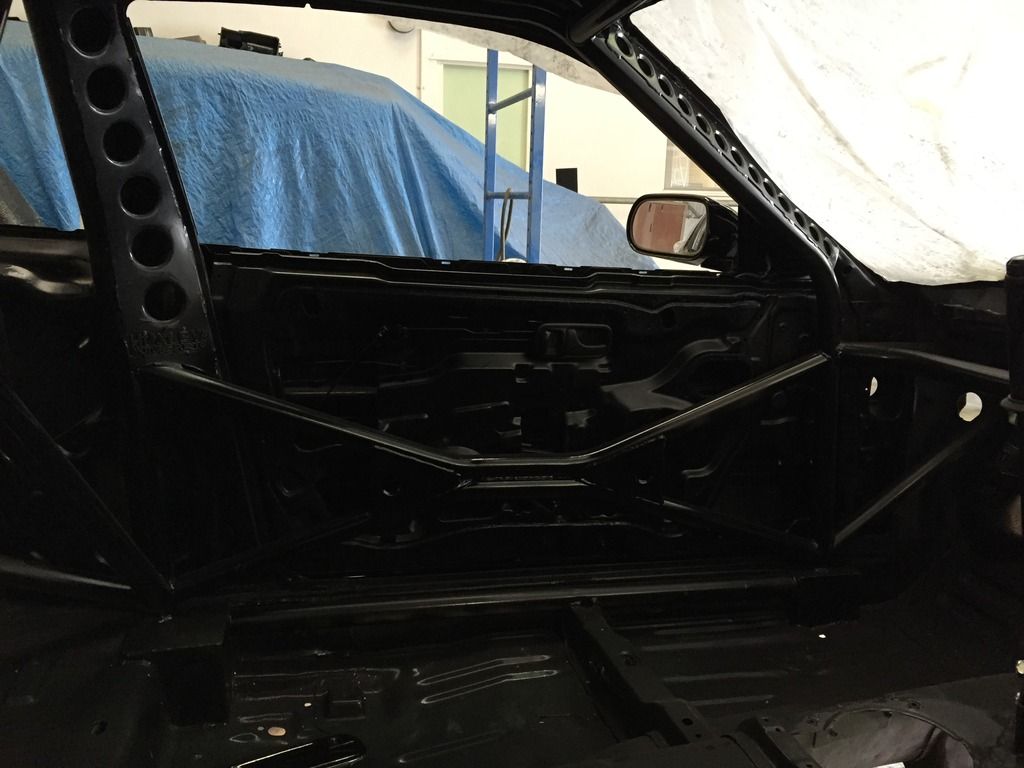
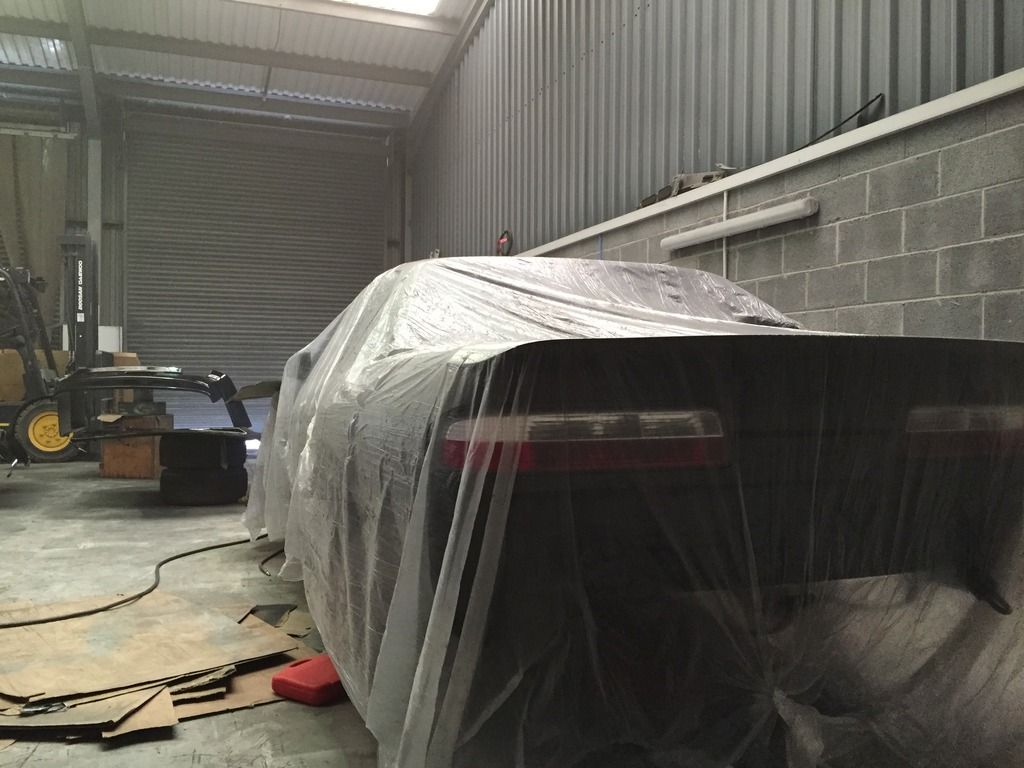
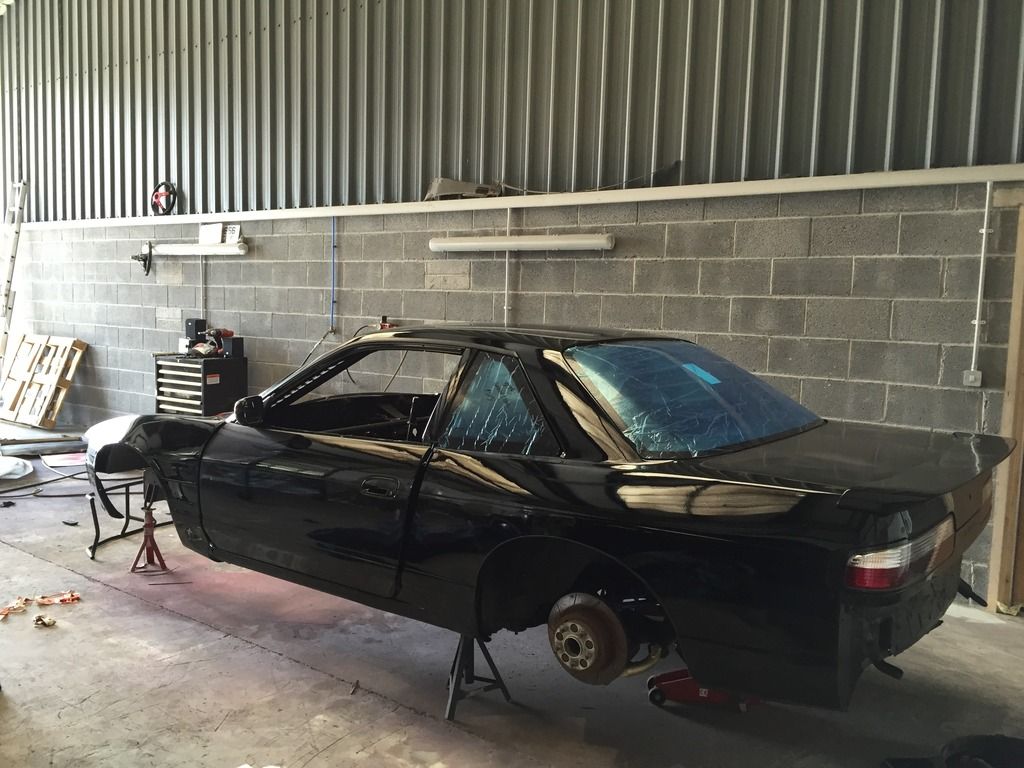
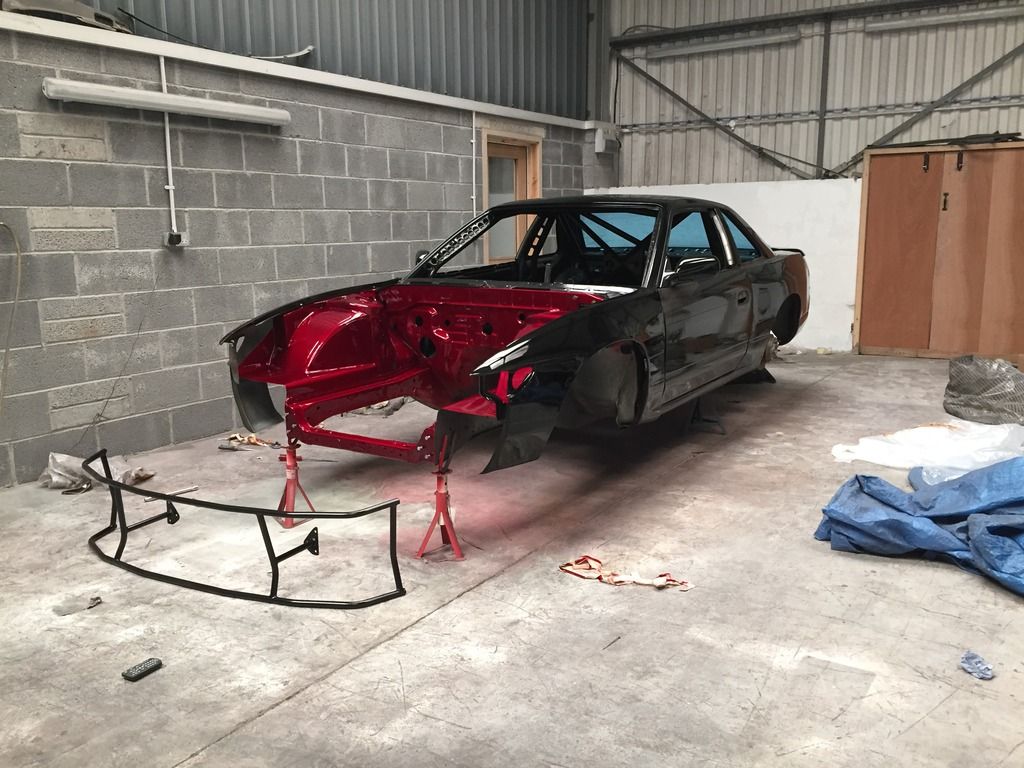
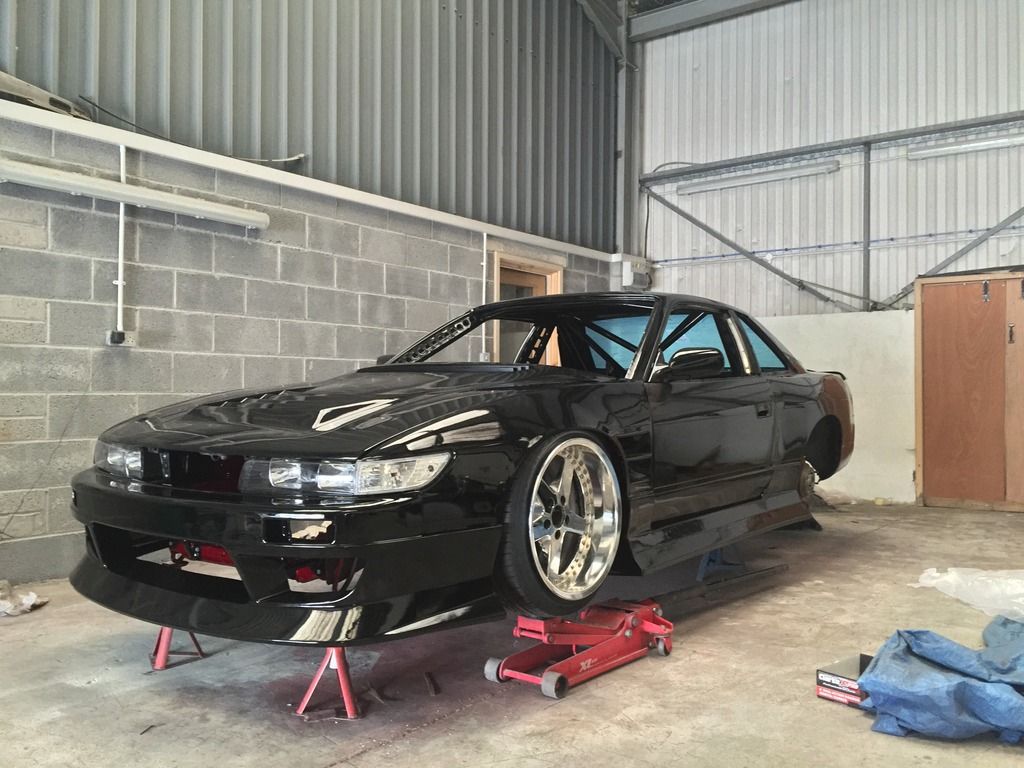
Here's a few pictures of today's progress. I wet sanded the door and skirts back and gave them another go!

Outcome is much better, still a tad orange peel' and some dust (after drenching the surrounding floor!) but after a polish I'm sure they'll come up a bit better.

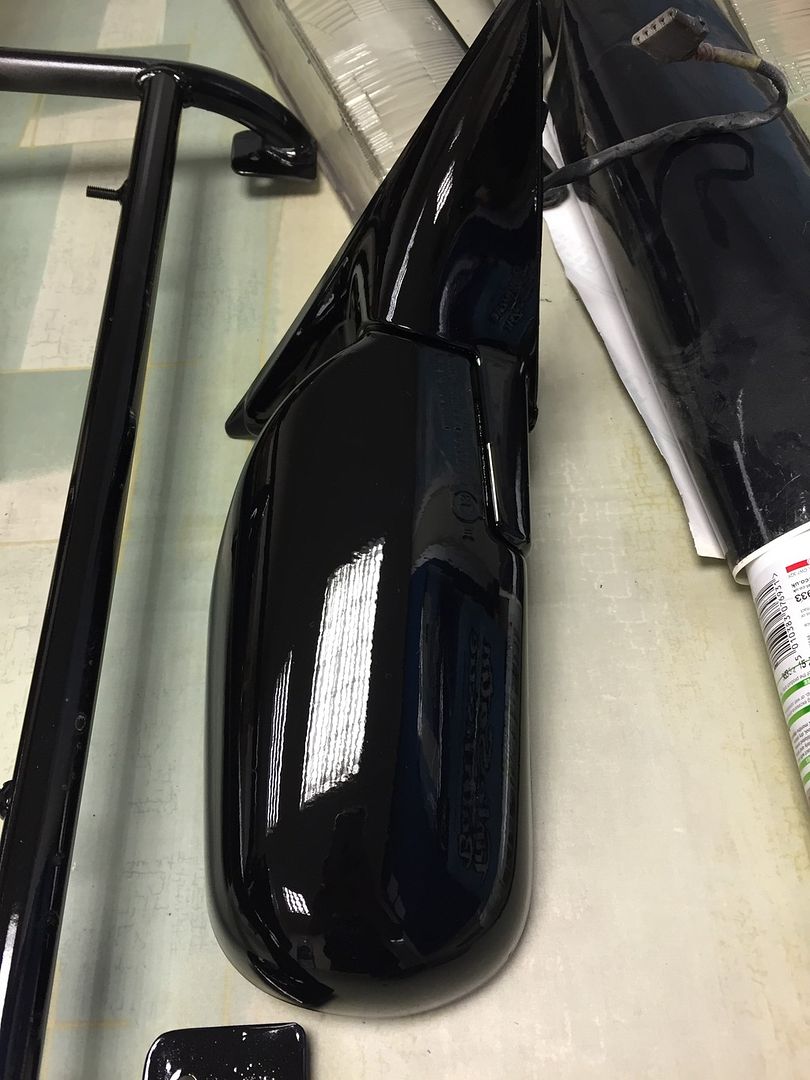
Mirrors came out quite nicely though :p


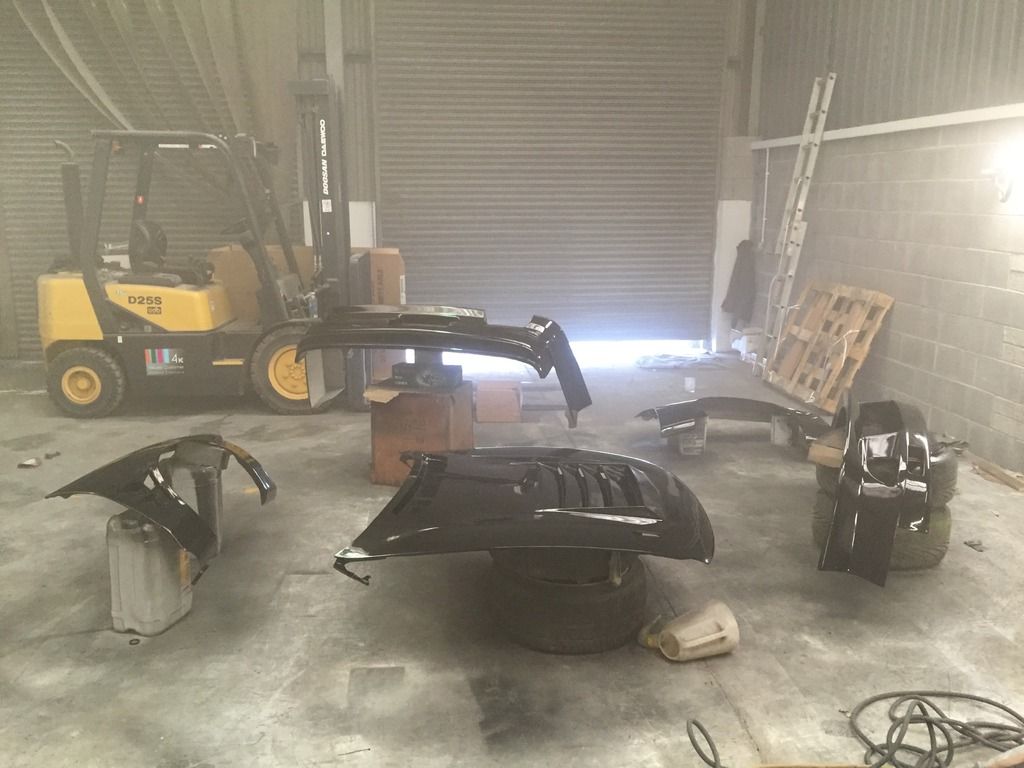
Hoping to spray the front wings, bonnet and both bumpers tomorrow. Then towards the end of the week, circa Friday, the engine bay may finally be in a colour!
 
Paintwork looks good man, second attempt is nice, what gun are you using? I find when I paint that thinning it down a bit more (10-15%) getting closer to the panel and moving a bit quicker reduces the orange peel, obviously gun set up is a big factor too, as im sure you're more than aware of

I also use rocket accelerator in the hardener too, which makes a huge difference to the drying time and thus will reduce the chance of sags etc, and it means you can get round and smash loads of paint on in a short space of time.
 
The gun is an entry level DeVillBiss, but to be honest, if I were to paint again id definitely invest in a much nicer gun! I think the main issue is the gun setup like you say. I've watched countless videos on YouTube and still not entirely confident but I suppose you only learn once you try eh? :) I've been using around 10% thinners so far, so may increase it a tad tomorrow when I do the final bits and pieces.

I don't have much issues with runs/sags (although 2 tiny tiny ones have appeared on the skirts :( ) Spraying in a large and inherently dusty warehouse really isn't helping lol. I may give the car a flat back with something say, 2000/2500 grit and a decent cutting compound but I feel I'm going to wait until the body work is all back together and rolled out into daylight to see how it looks first :) gives it plenty, and I mean plenty of time to cure too haha.

Thanks for the advice though man, always welcomed :)
 
Coming together now dude! There's something very satisfying to getting colour down when it's been mismatched for a while.
 
Pitty im not closer or I would come and mop it for u. But a multispeed buffer cutting compound and watch loads of you tube vids
 
Coming together now dude! There's something very satisfying to getting colour down when it's been mismatched for a while.

I know what you mean :) it's been a long, long time coming! Can't wait to throw some colour on the engine bay, can't help but think it'll be the hardest part :(

Hurry up and get that 110 painted :p

Pitty im not closer or I would come and mop it for u. But a multispeed buffer cutting compound and watch loads of you tube vids

I will do, im currently leaning towards cutting compound and polish but who knows! :)

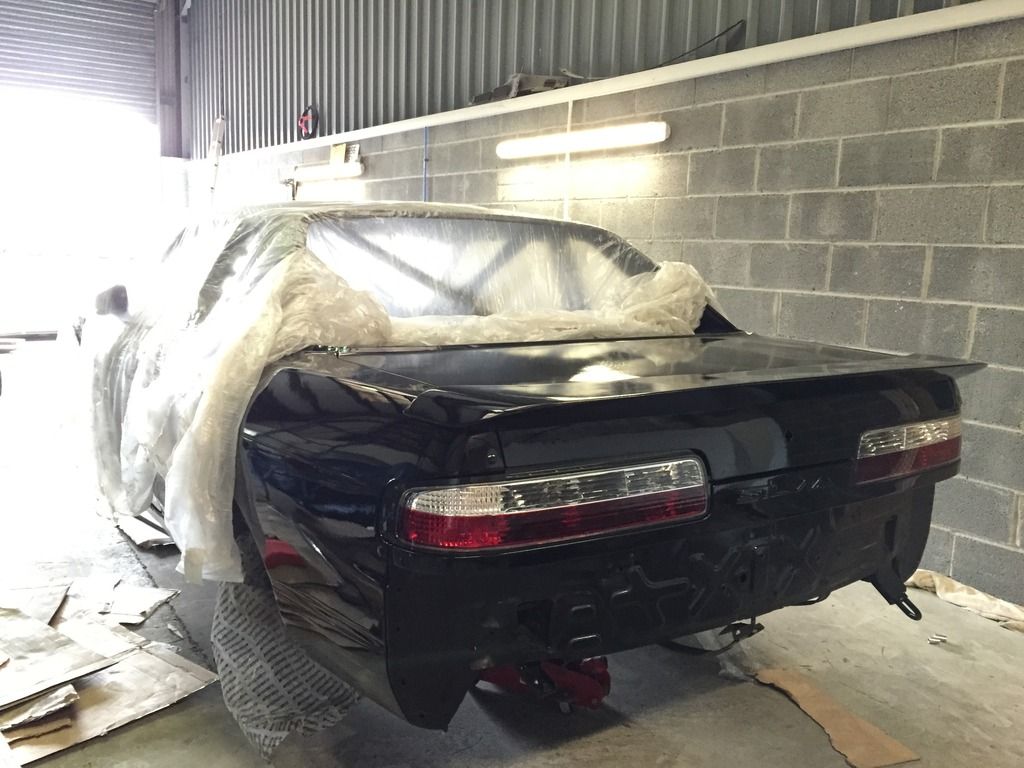
Started assembling the rear end and the doors yesterday and was stoked on the results!


Really can't wait to sit in here properly, but that won't be for a while yet unfortunately.


I threw on the Silvia light garnish after giving it another coat. I'm quite glad I did to be honest, it has a much deeper shine than before which is awesome. Cleaned up the rear lights as they had a load of sealant from the previous owner.


The original plan was to tint the rear lights all red, but after seeing them on yesterday I fell in love with the 50/50 look. Jeez, I'm so indecisive at times!

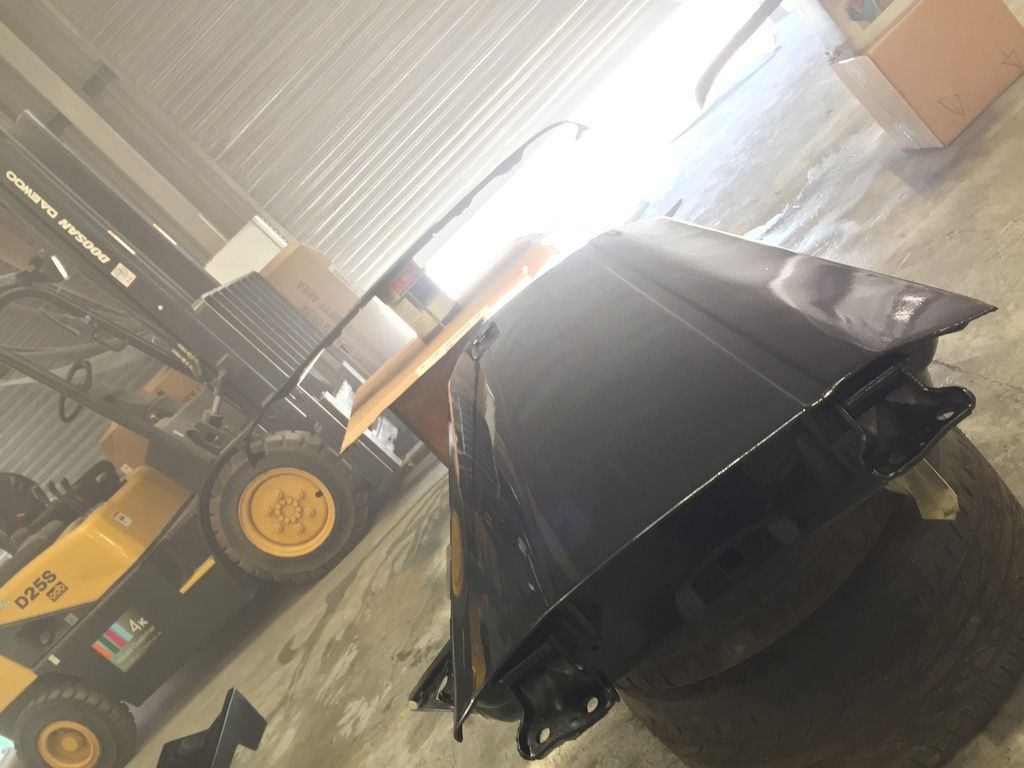
Yesterday afternoon I set about painting the remaining bodywork; the bonnet, wings and both bumpers. Progress seemed okay, until the front bumper fell off my makeshift stand and hit a wing! I wasn't sure whether to laugh or cry, but thankfully it was the first option! I haven't seen how they have dried yet, so hopefully I'll find out in and hour's time or so.

If all has gone well, I'll be starting the engine bay this afternoon or tomorrow. The colour I have chosen will not be easy to paint, but I'm set for the challenge :p

 
Mate its gonna b bad ass when its done

I hope so haha

Seen the bay colour on instagram- car just got 1000x cooler!

Thanks man! I'll update on that aspect now ;)

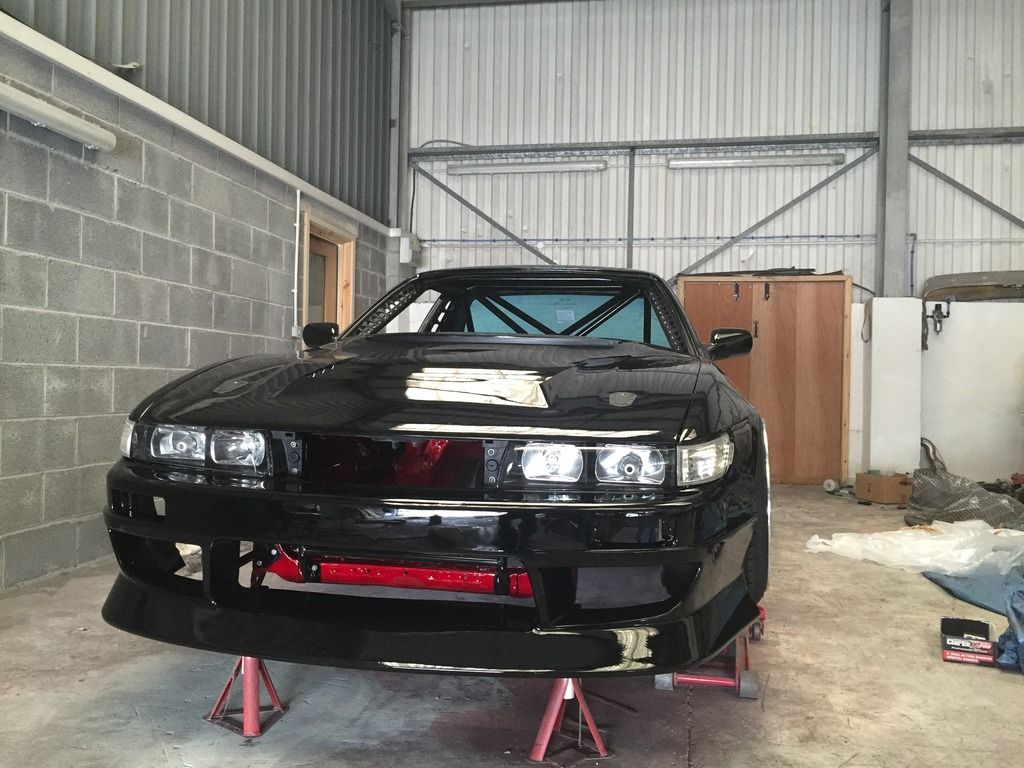
After I finished painting the wings, bonnet and bumpers, I threw the wings on during the following day to see how the finish looked in comparison to the doors and body.
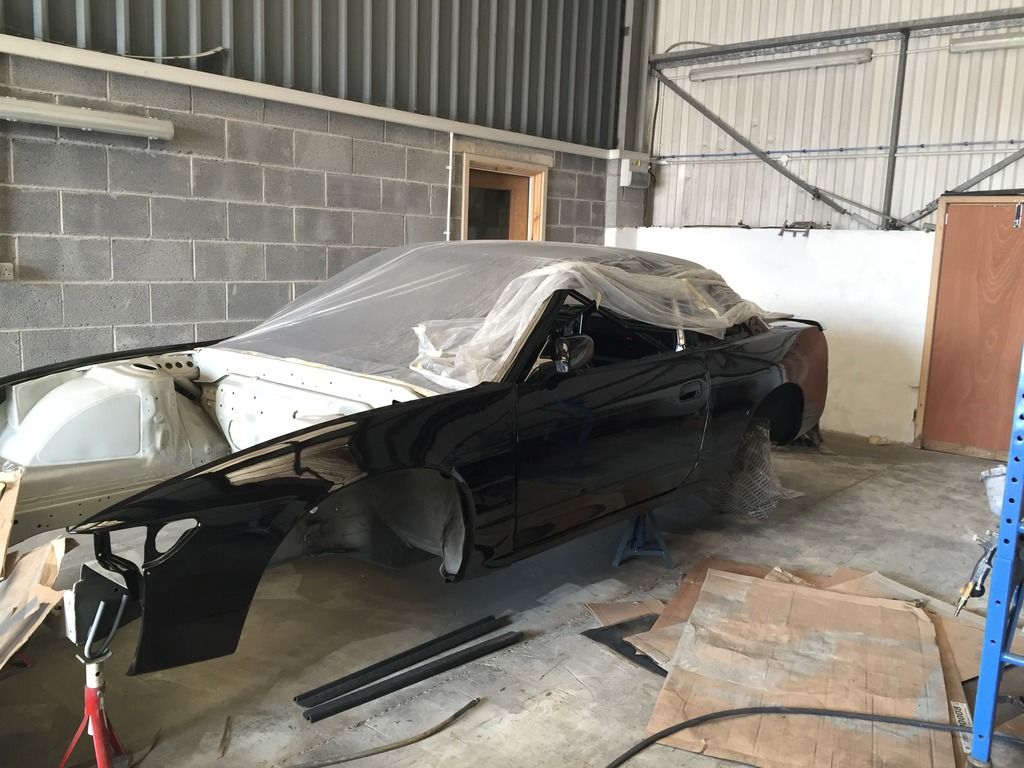
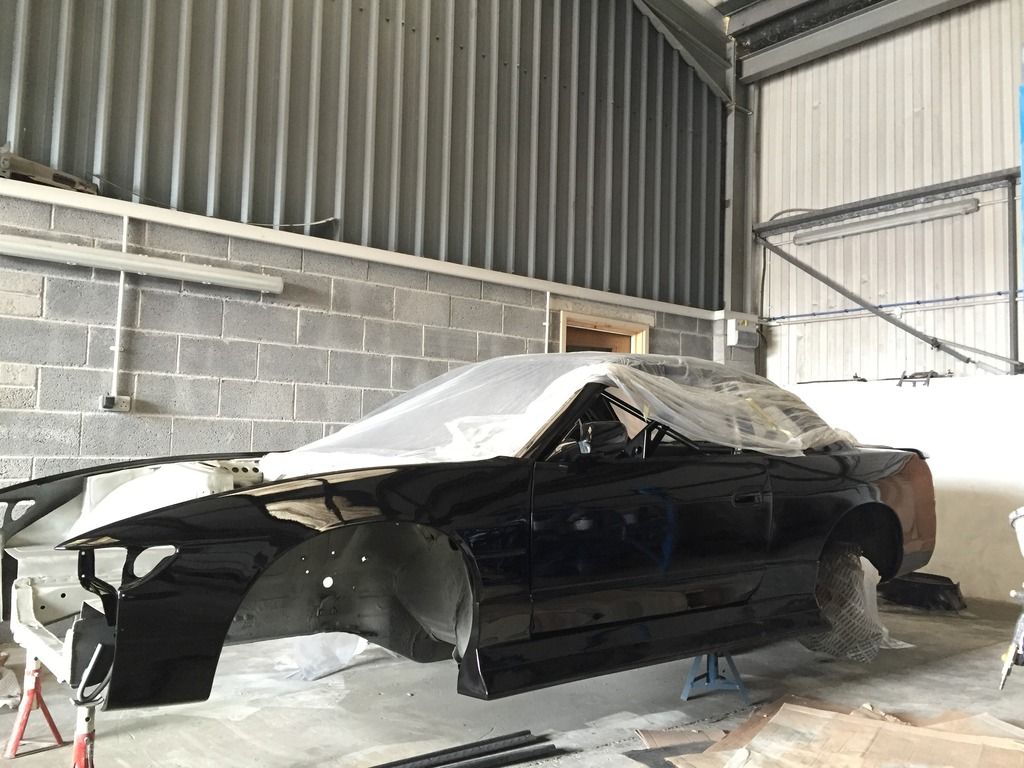


Believe it or not, that is the front wing the front bumper fell into during paint. Thankfully you can't notice too much, and being fibreglass I'm sure they'll become a disposable item anyway :p

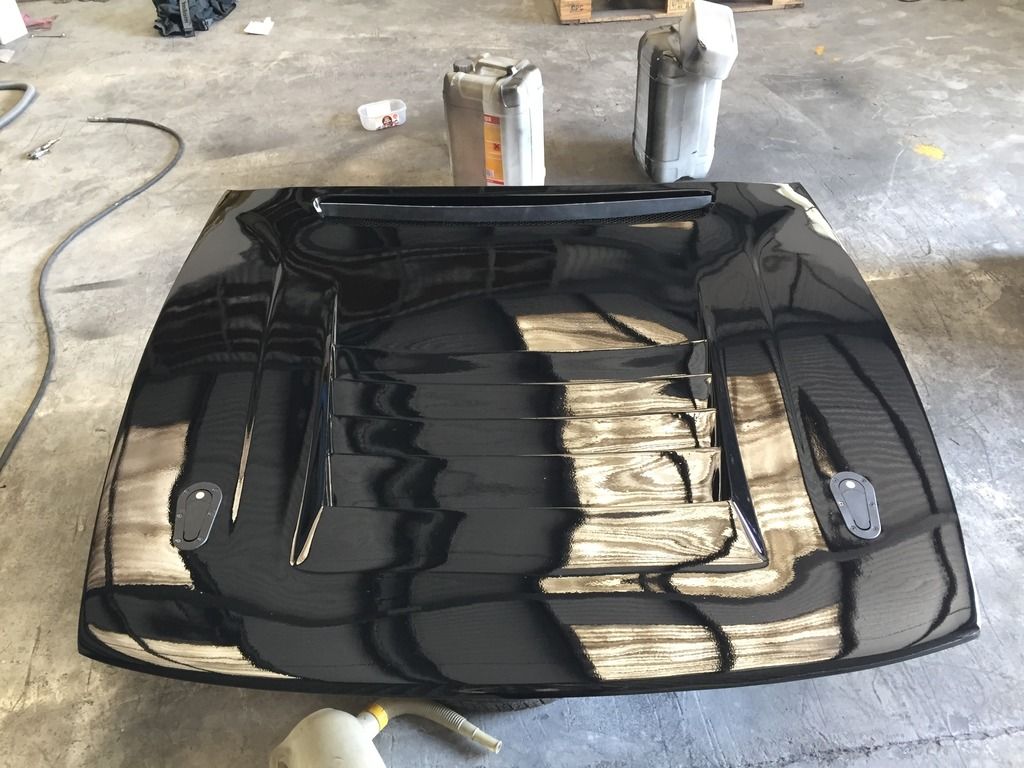
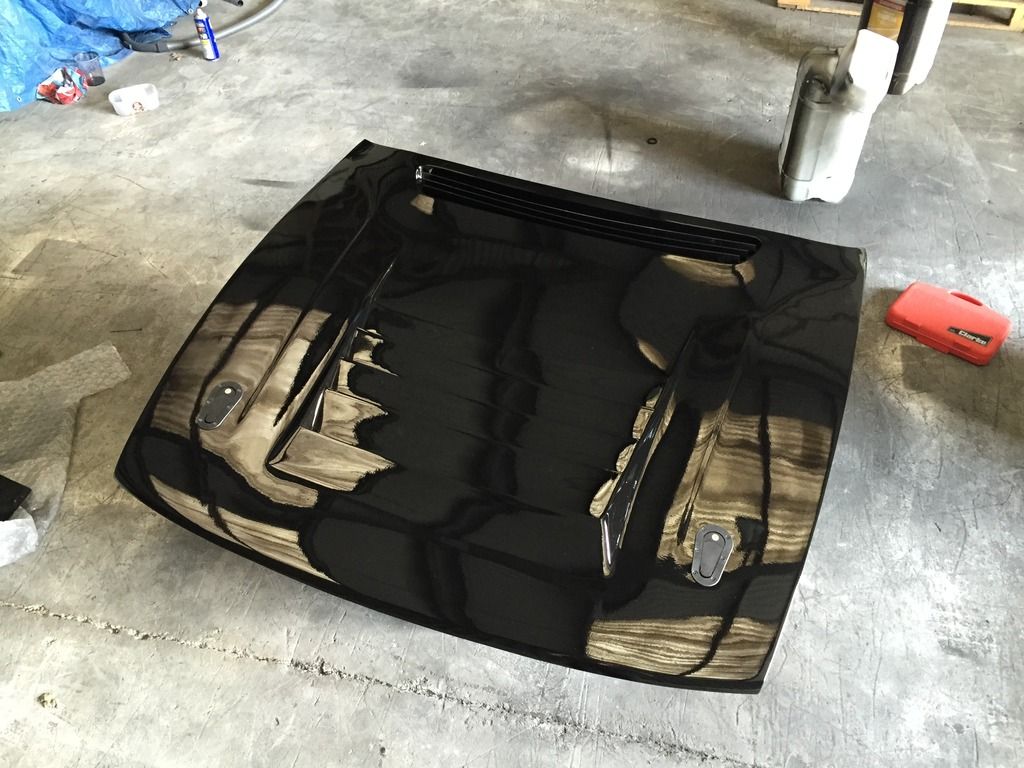
Once that was done, I got around to reinstalling the slats into the top vent of the bonnet and reassembling the Aerocatches;


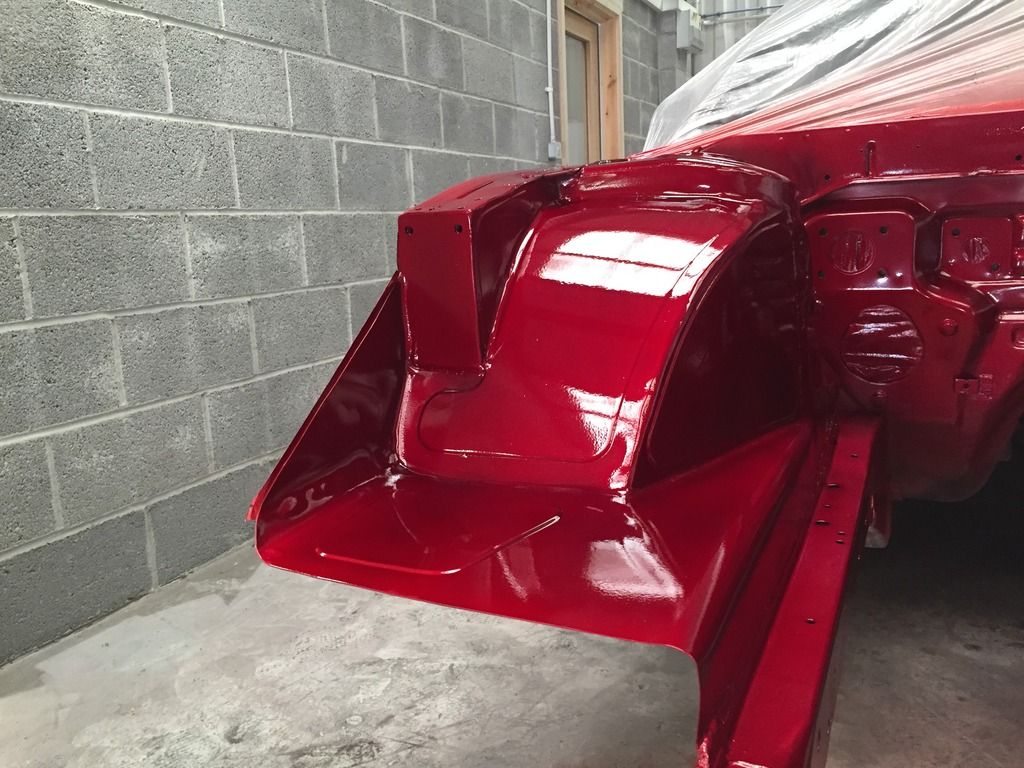
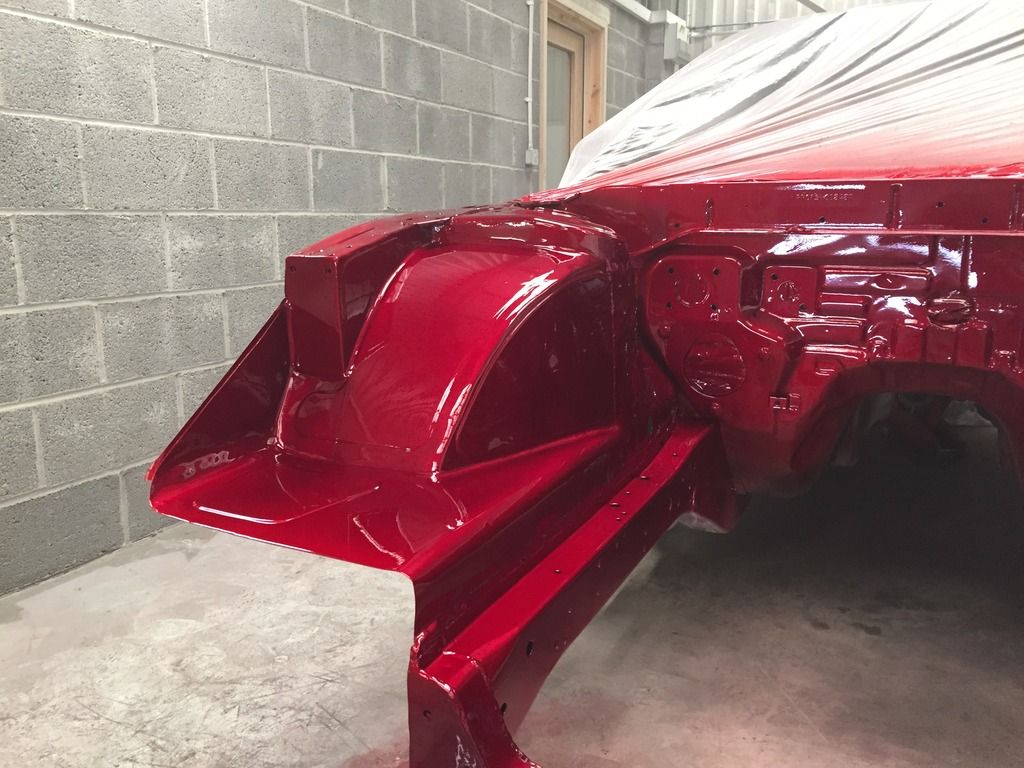
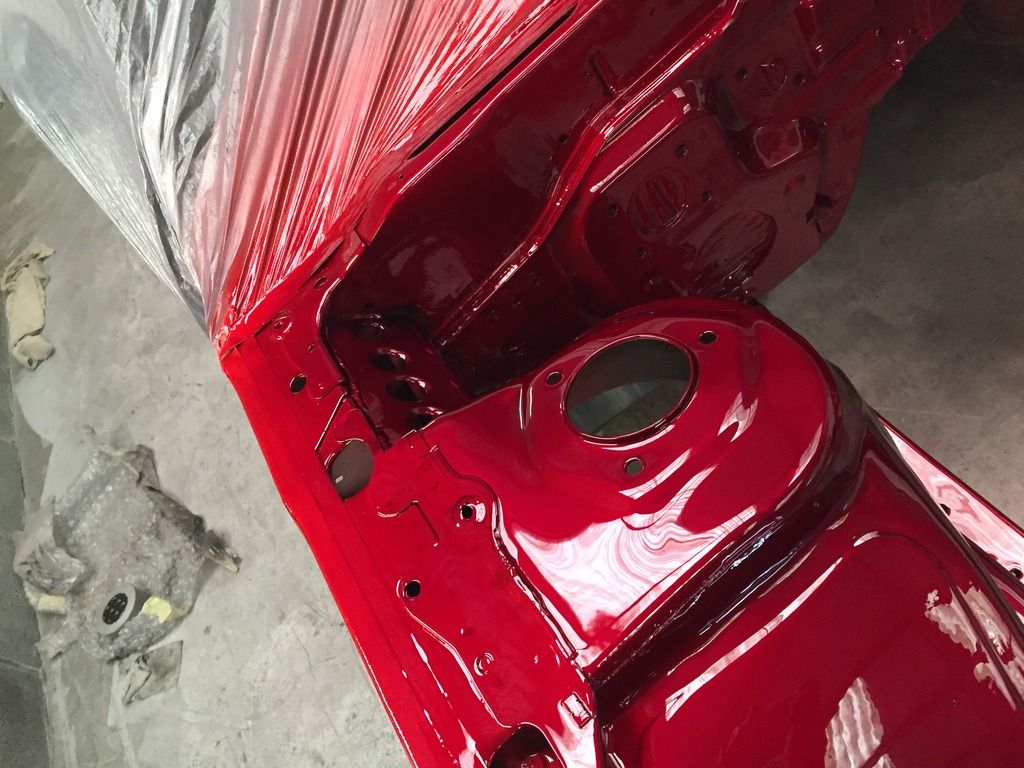
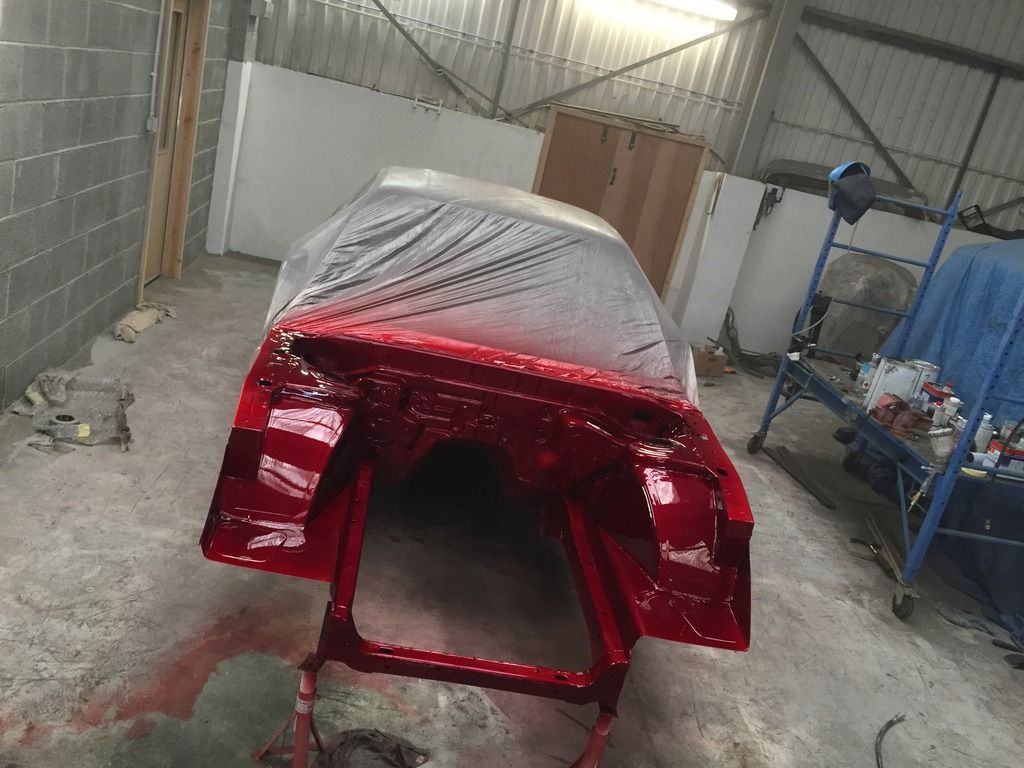
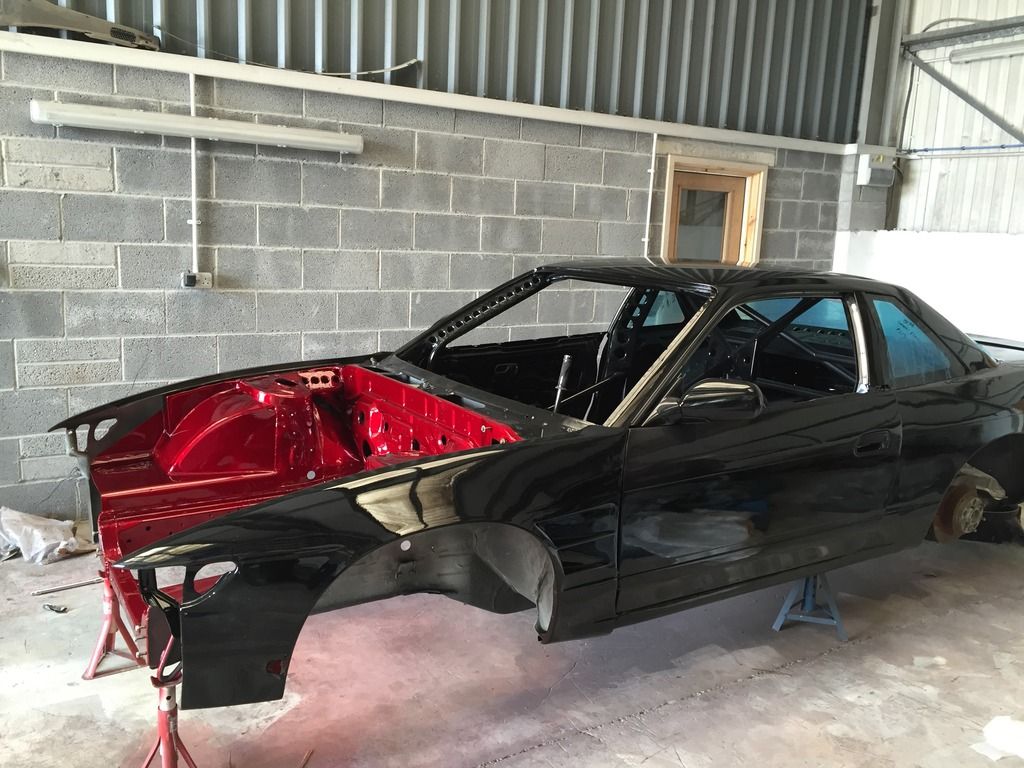
On to the fun part which Leno suggests, the engine bay is finally in colour. So I took a picture for comparison purposes to show the stages :)

Ive chosen to run a Candy paint for the engine bay to make a feature of the engine bay, and a colour which I feel will tie into the car very, very well. (Hopefully!)

Candy's are notoriously one of the hardiest paints to spray, which at this point I wasn't sure what I had gotten myself into was for the better or worse! A candy is a type of translucent paint which is kinda cool! But they require a base, where I chose Silver to give myself a bright, vibrant finish over a darker coloured base i.e. Gold.

Here's the base;
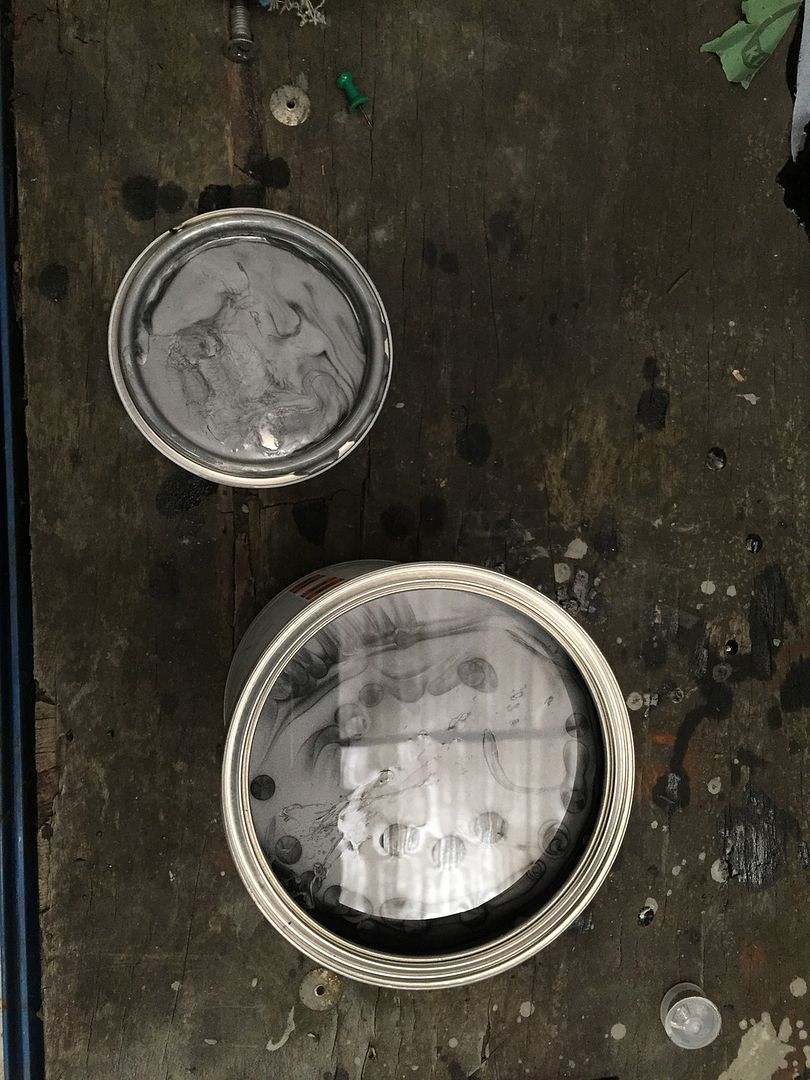


There is not specified amount of coats, but I ended up spraying 2 coats of base as the primer was already quite light to begin with;
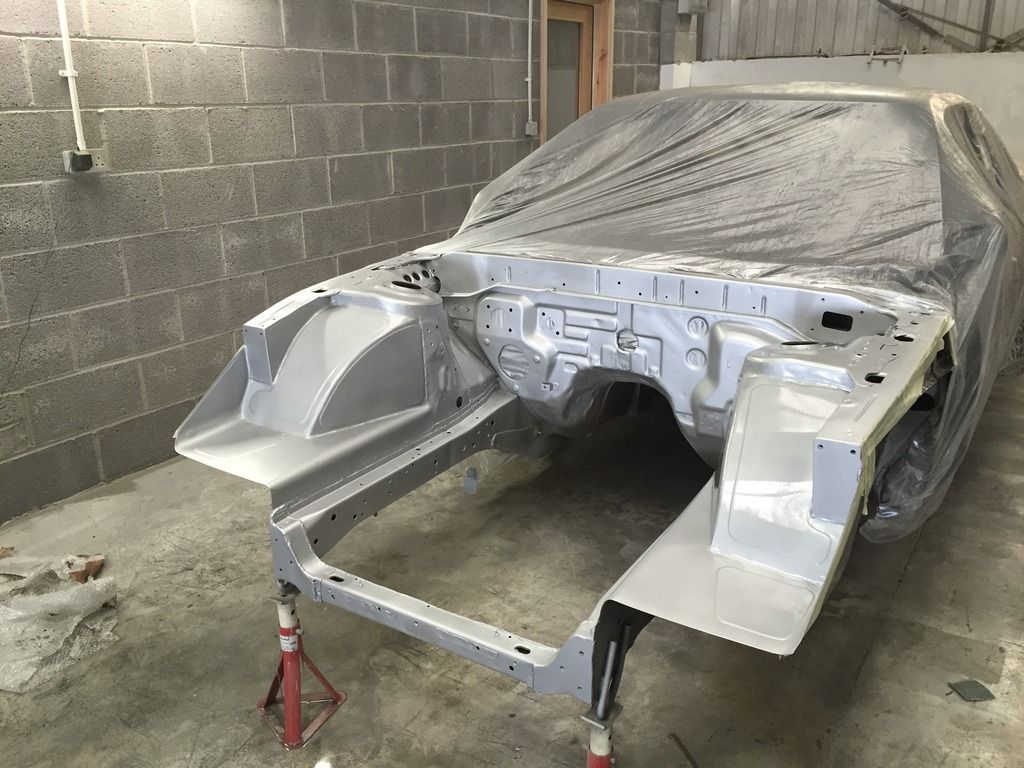
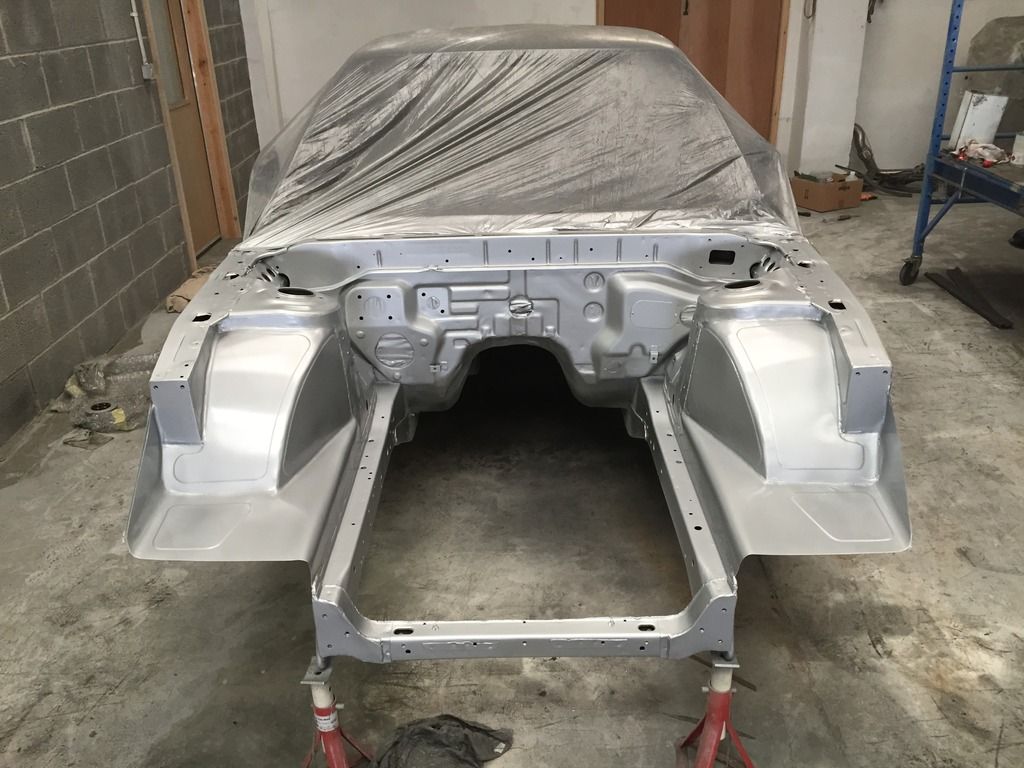
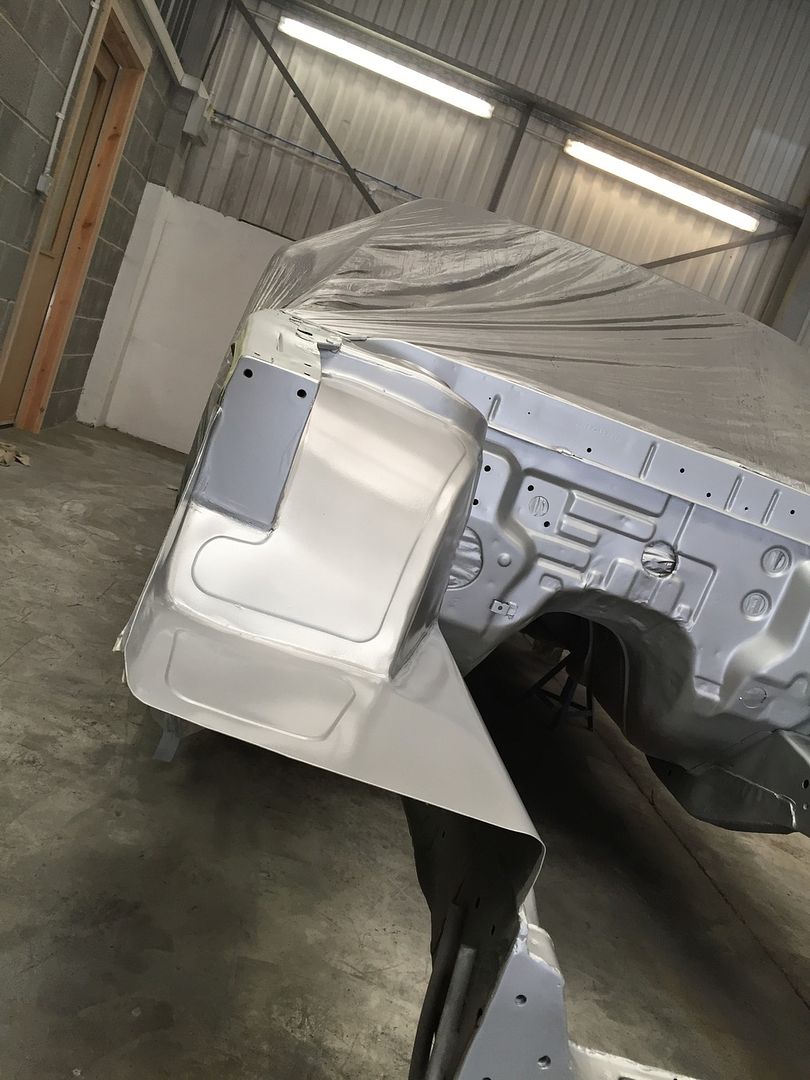
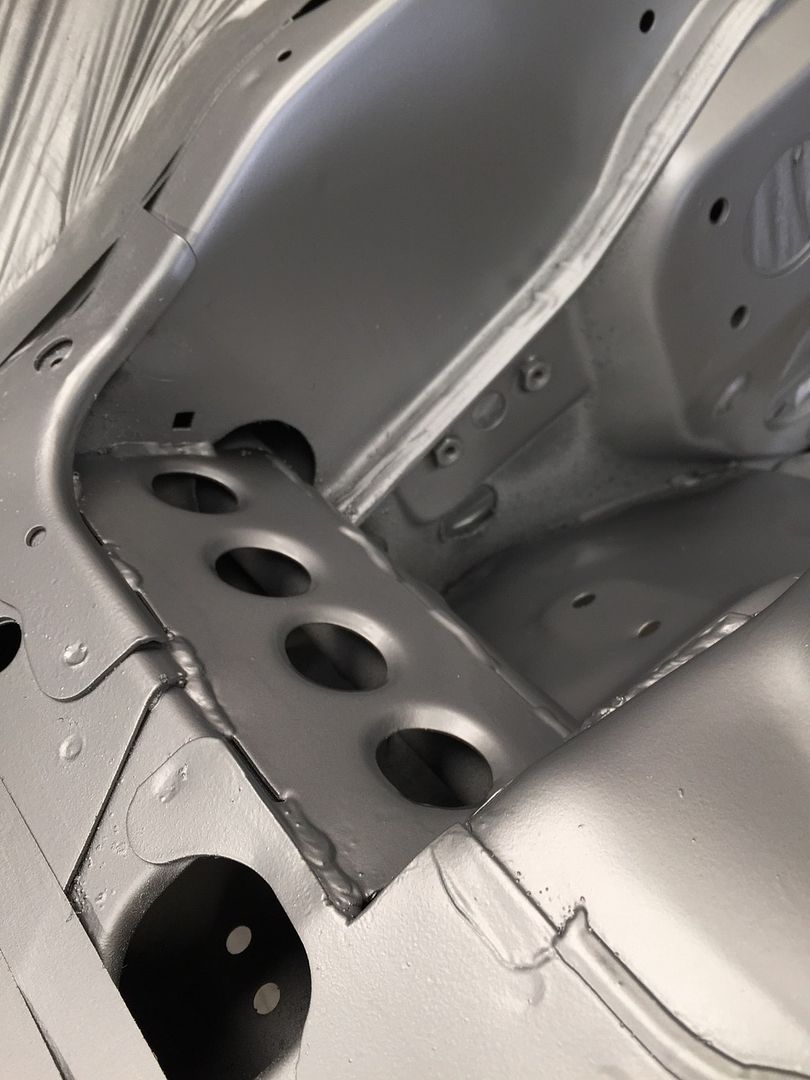


It looks quite cool in this colour, but isn't what I quite had in mind :wack: The candy I had chosen was Candy Apple Red! I had gotten this idea of my father, and the hot rod scene as they love spraying Candy paint. What better way to mix the generations and bring a bit of spice to the old Silvia!

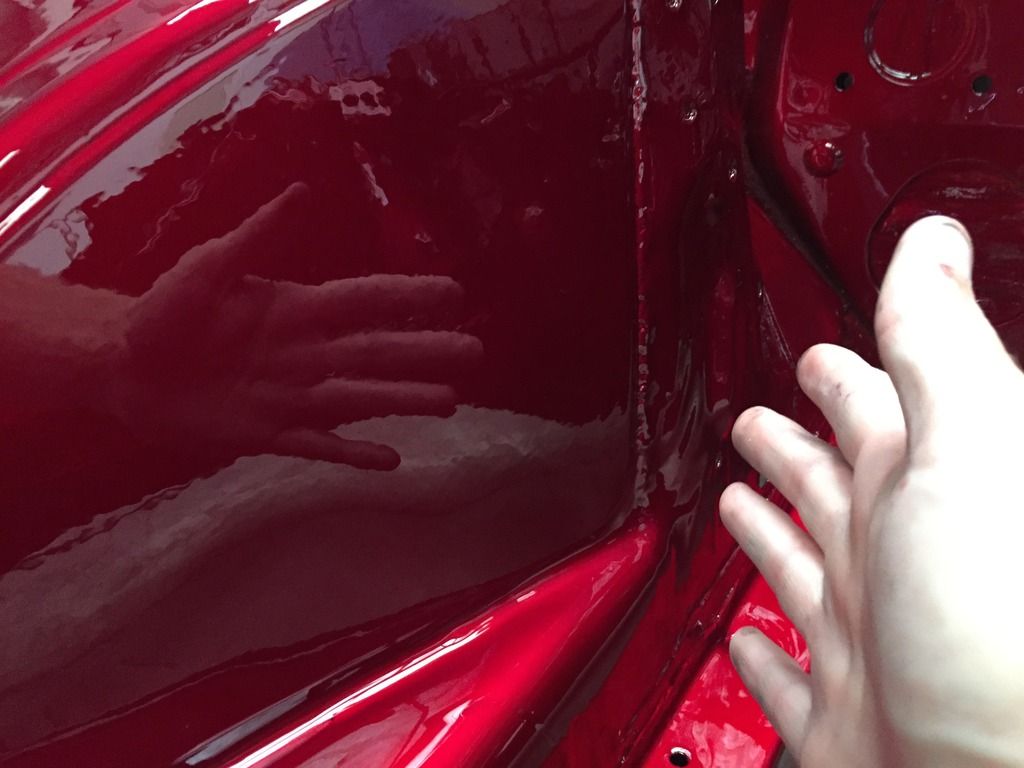
So after the first coat of candy, the engine bay was looking like this;
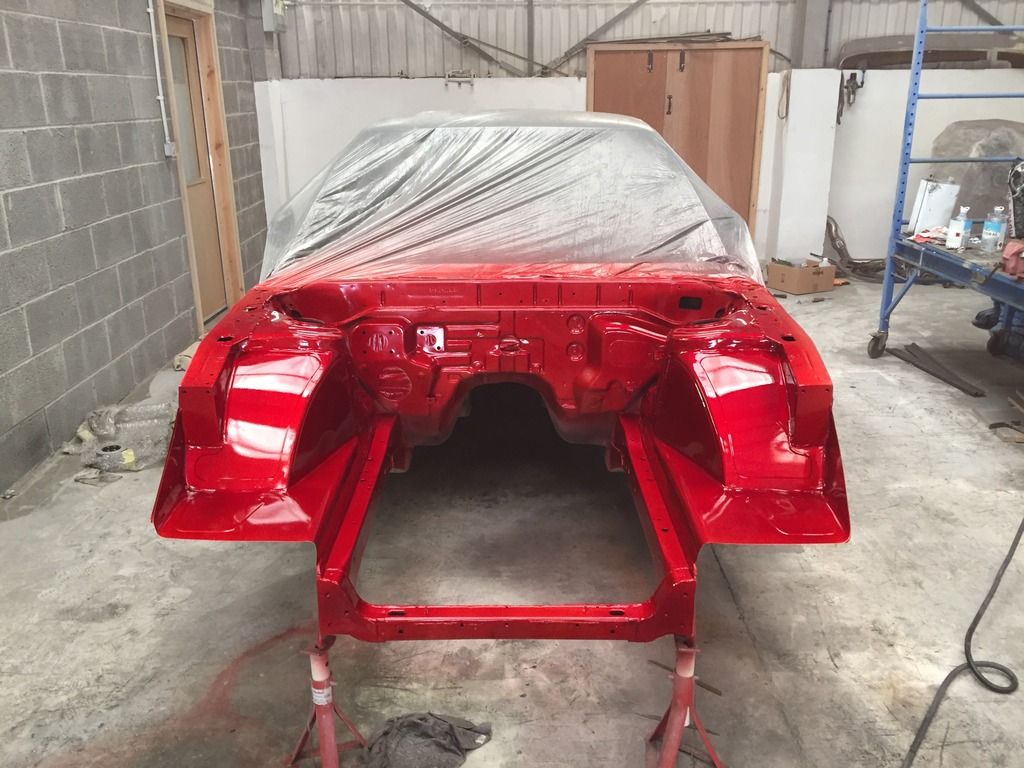


It was very bright, and also still very see through given it was the first coat. I bought 1 litre, which was exactly enough for 4 satisfactory coats which seemed like an ideal number between a very light candy, and a very dark one.

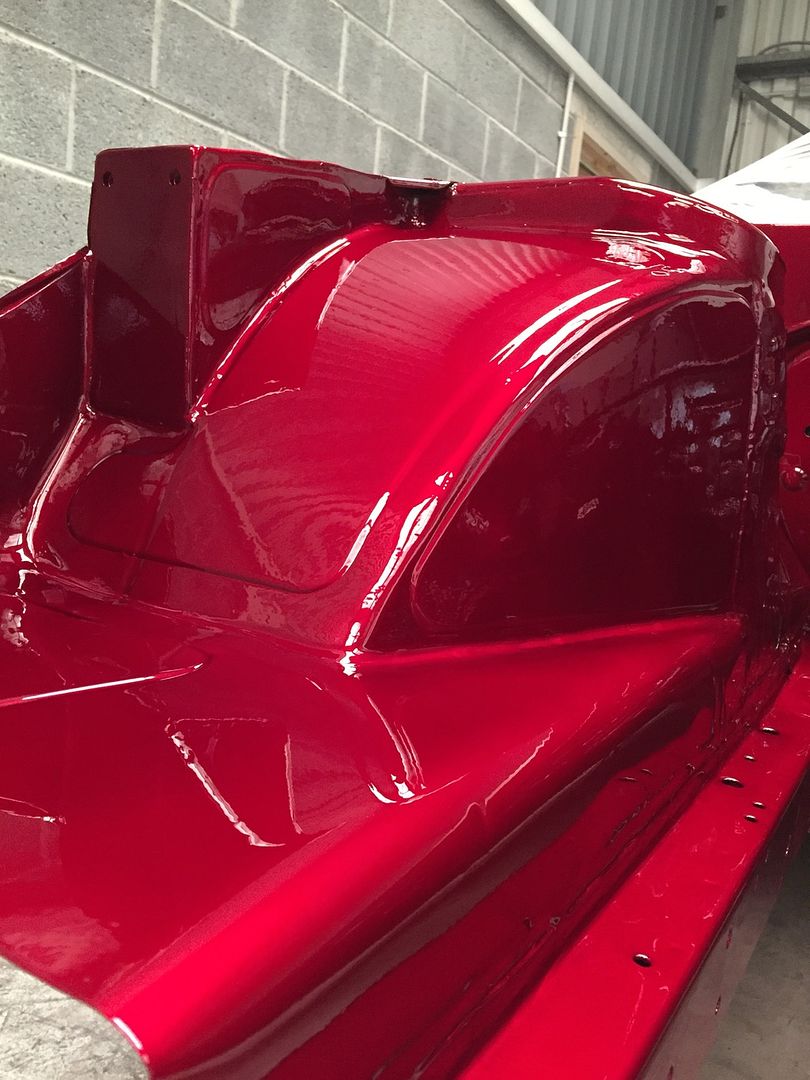
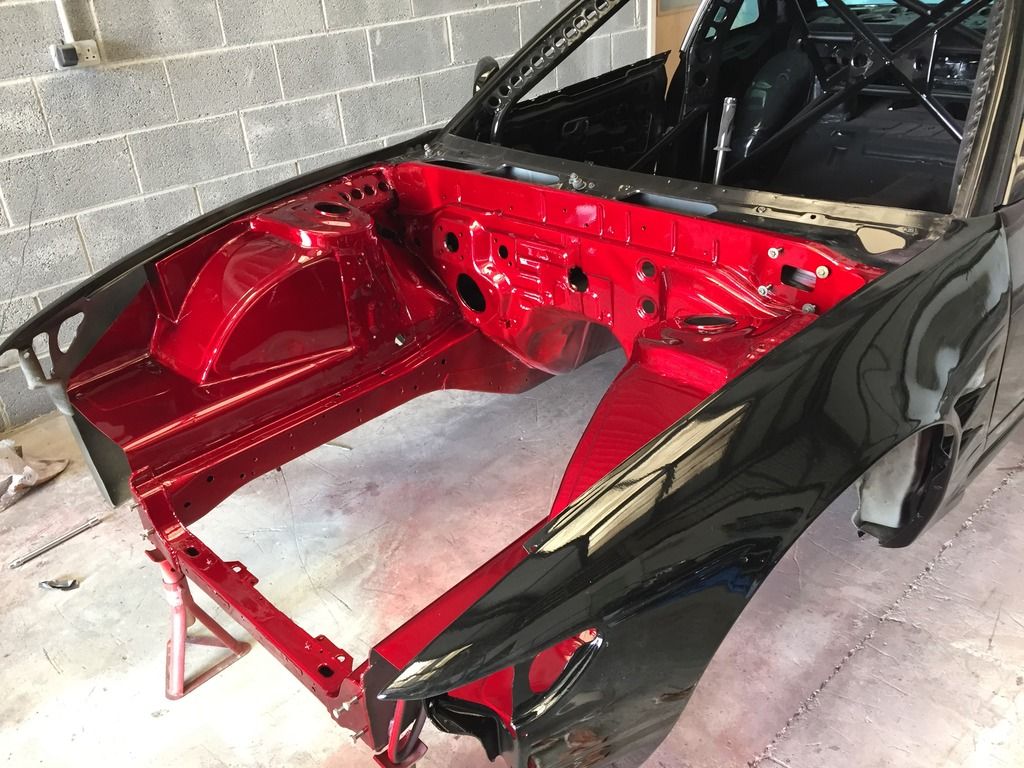
After the 4 coats;
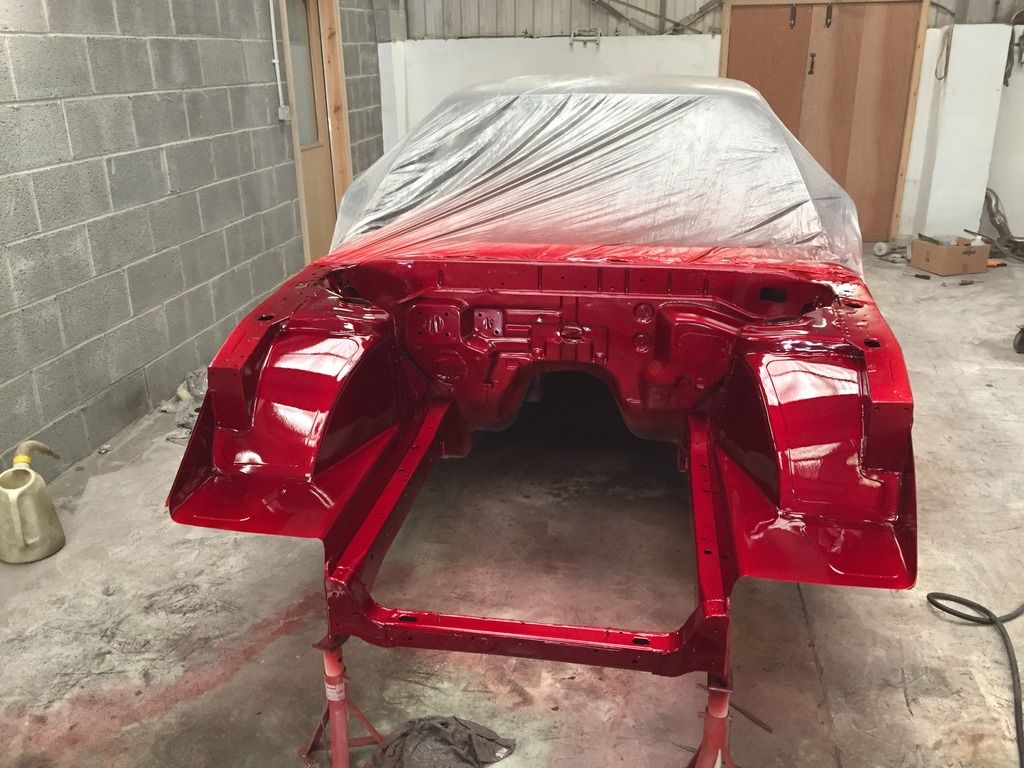


You can see how its gotten visually darker with a gradual build up of coats. The next stage was to apply 2K lacquer in order to seal the base and candy, and to give it the all important shine. I had never sprayed lacquer before and found it was well too easy to get the odd run here and there, but nothing large and not instantly noticeable.

After the first coat;
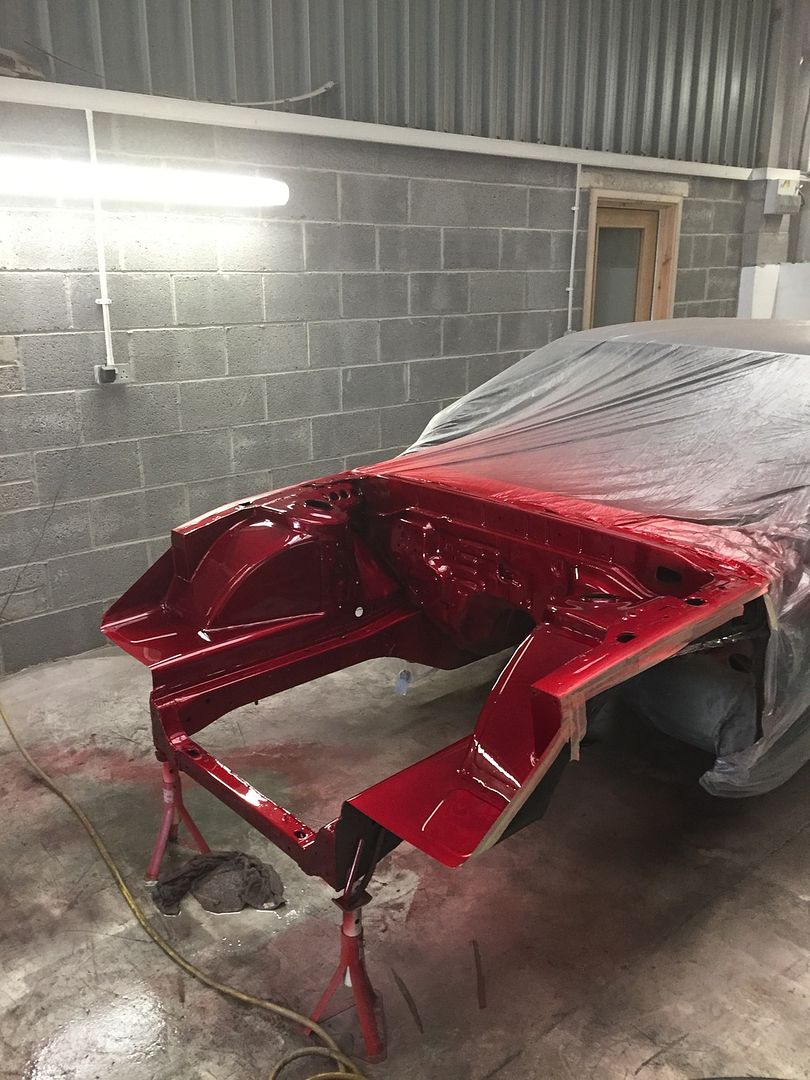


After 4 coats, which I deemed enough to protect the paint, give a reasonable paint and well, thats all that 1 litre of 2K lacquer and hardener would allow me to cover :wack:


Lacquer was still wet here, but you get the picture; :p


So that was yesterday's job. Started spraying around 12 noon, and didnt finish until 5!
 
Went down to check the progress today and everything seems well, I'm going to leave the lacquer longer to make sure it is fully cured before bolting the front end on. Plus I'm in no rush this weekend to get this bolted on.

Trial fitted the rear windows again to gauge how to fit them. Initially I was thinking of small black rivets, but may go down the standard bonding route for a much cleaner look. The other factor in this decision was attaching the roof spoiler, where rivets could potentially mean the spoiler wont sit entirely level but I'm not too sure on that so may play it safe and just bond them in.


And that's how I left the car today around lunchtime. I can't express how chuffed I am with how this car is turning out. There's plenty of imperfections in the bodywork and the engine bay, but as I've said before I'm not bothered as its been a huge(!) learning experience and turns out its quite addictive haha!

Time to start ordering the small bits and bobs to start making things come together. Im hoping a friend will swap the front LCA balljoints out this week, so that means it may be back on the floor rolling soon which I can't wait for. I need to start thinking about splitting the gearbox and getting the bell housing machined in order for the conversion plate. Once that's done, I can begin to think about dropping the engine in, which is a day I seriously can't wait for. Just think of that gold valve cover against that candy red, oh my!!
 
Man the bay looks sweet. On the home straight now

I hope so! Still got a way to go, and lots of parts still to get but I'm pleased with how paint has gone. :) Just needs a good polish

Looking awesome. Love following this build

Thanks mate! Hopefully things progress more often now, which should mean more updates. :)

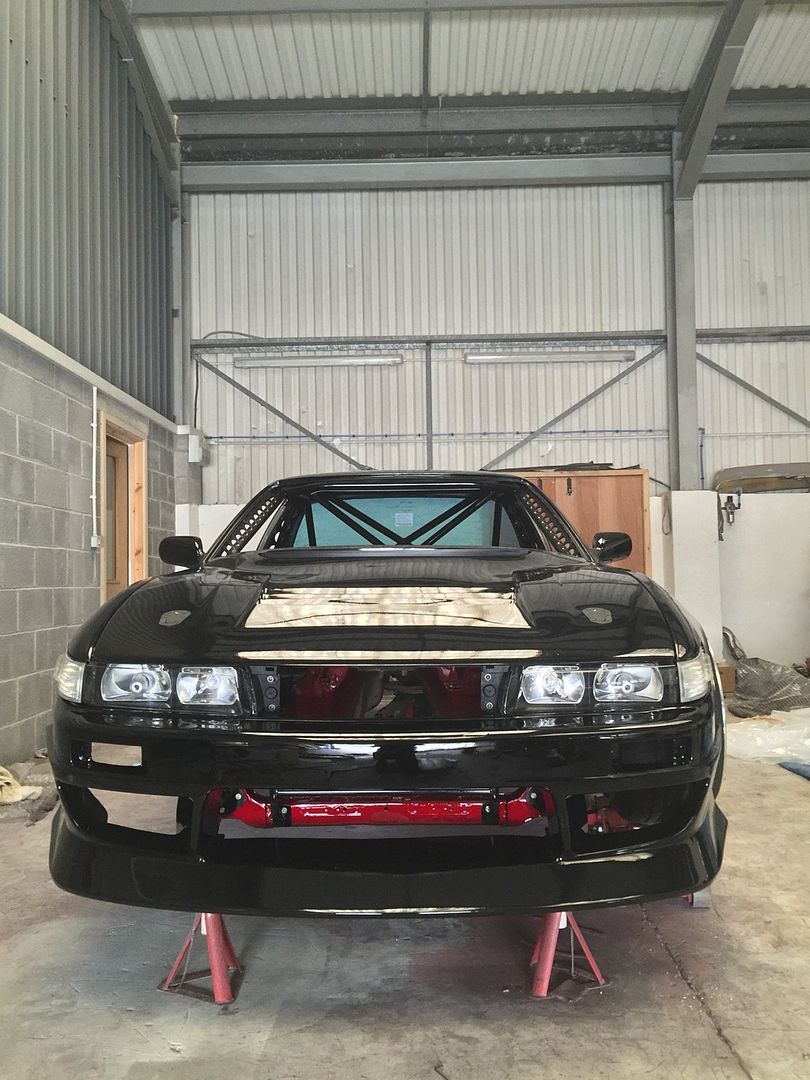
Started assembling the front end today, although the front bash bars will come off in the future for when the engine goes in, but its a case of 12 bolts to remove both of them. (Offered up the Equips just to gauge how awesome it'll look ;) )


I just love how the Candy comes through on that bottom crossmember!


This week's tasks hopefully mean it'll be on the floor, on all 4 wheels which I can't wait for. Hopefully a friend (diamondsink) can machine the bell housing for me, just have to make sure it fits within his machine, as the Z33 bellhousing is rather large! If it does, I may strip the box down tomorrow and hopefully make sure all the gears have teeth on them :wack:
 
Glad u had a better weekend than me getting the twins off the 2j was a joke but got there in the end
26f809dda4a56257379b436f67098d1c.jpg
 
Back
Top