You are using an out of date browser. It may not display this or other websites correctly.
You should upgrade or use an alternative browser.
You should upgrade or use an alternative browser.
diamondsink
Kyouto Drift
200sx_
PS13 x TD Power
Looks fantastic dude!
Said it before and I'll say it again, this is beyond awesome.
Exactly the direction I plan to take my R34
Sweet man, never seen them fancy jubilee clips before haha. I also find the mikalor clamps are a bit wide for the throttle body and intercooler ends so might look into them
Thanks for the kind words guys, really appreciate it
 And definitely, i've heard good things about these Murray clamps
I'v always liked the look of those murry clamps. Id get a bead rolled on the ends of the intercooler pipe work. I made a tool to produce it. It works great on alu be might struggle on SS.
Well, I popped up to see Huxley today to get them bead rolled but last time he tried stainless it broke his bead roller, so thought we'd better not try that! Got him to TIG's the various take off's on the pipework however. Whilst all of the pipes and silicone fit really snug together, i'd rather not risk it, so i've dropped the pipes back off to the local welder who's going to weld a bead around the ends of the pipe. It wont be as pretty as a neatly bead rolled edge, but hopefully it'll be something for the silicone & clamp to bite against rather than popping off.

200sx_
PS13 x TD Power
So a quick mini-update whilst I wait for the F1 qualifying to begin 
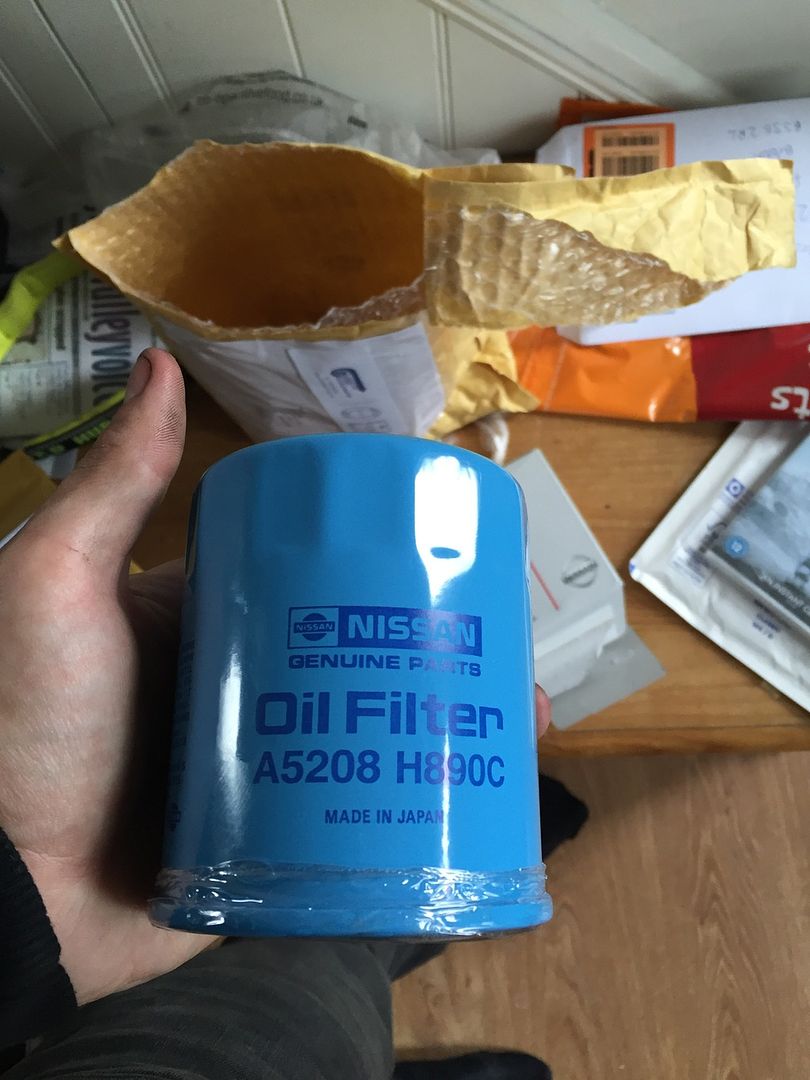
I finally got around to ordering x2 CA18 oil filters from Conceptua Tuning, which as much as I dislike the CA18 engine, they fit and they have a pretty vital job to do, so genuine filters were a must in my opinion.
Wont match the colour of the engine bay though!
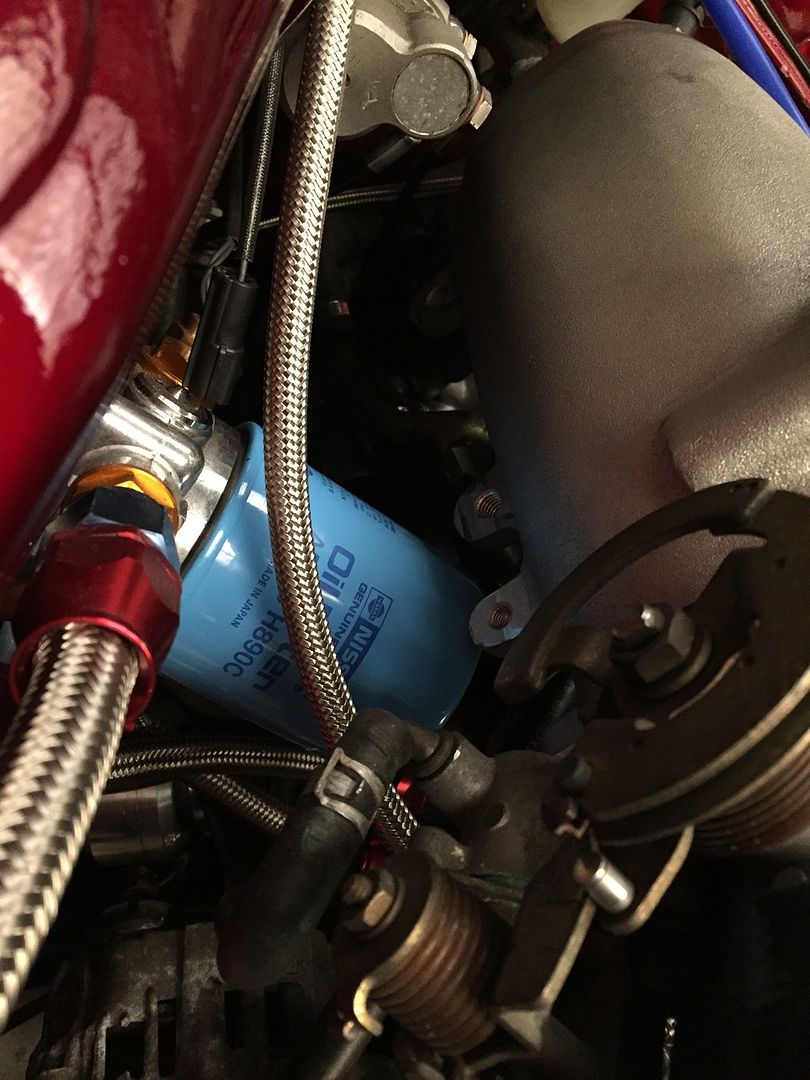
And all fitted, it looks pretty close to the inlet and it is to be honest haha, but theres enough of a gap in my opinion to allow the engine to move. It's bit tricky to fit with the alternator and AN lines in the way but it fits, and its out of the way from any harm
As I mentioned earlier, I went up to see Huxley to get some fittings welded on to the intercooler pipes, but due to being stainless we were unable to bead roll the edges like Diamondsink has shown above So I dropped them back to the local welder near me who tried to build a bead with his TIG welder. It was never going to be a super neat job but the bead sits proud and should hopefully allow the clamps & silicone to bite into it should they begin to move. As a precaution, i'll probably assemble the intercooler pipes with hairspray on the ends, something i've been told helps the pipes from popping off.
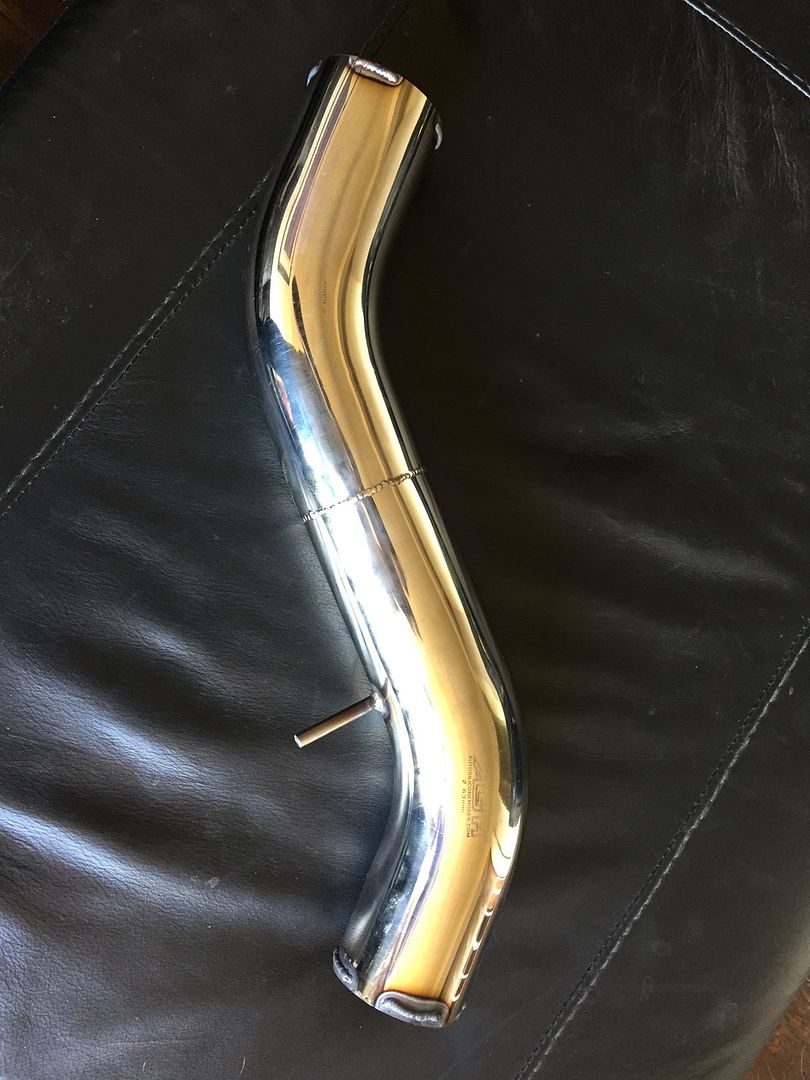
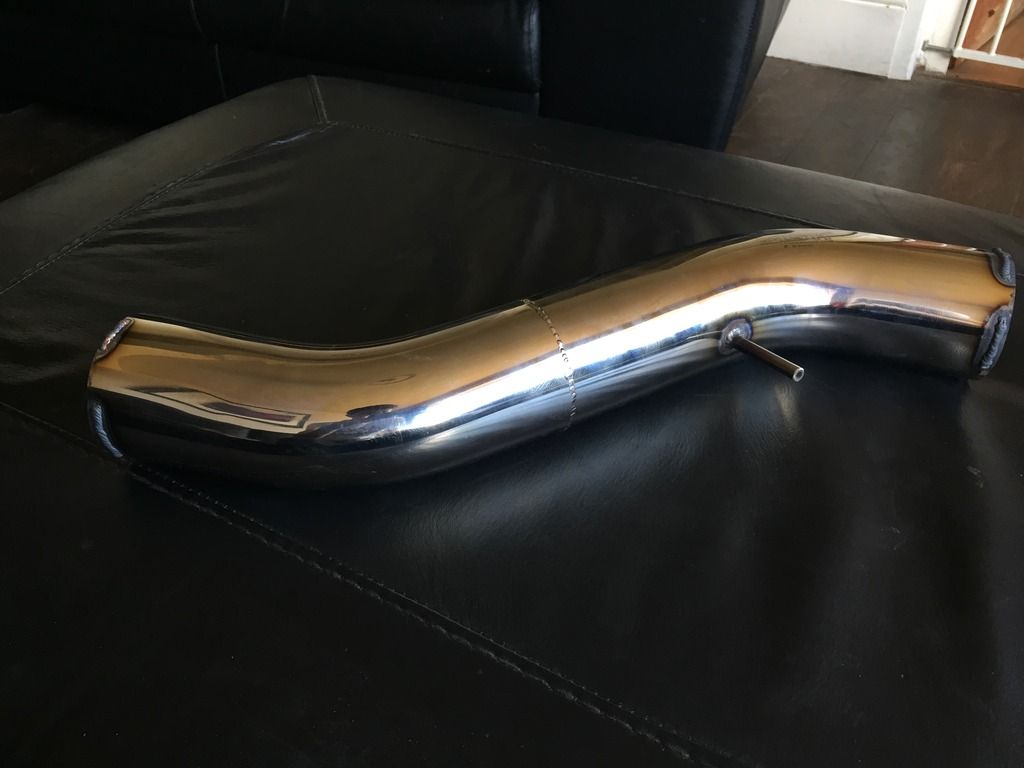
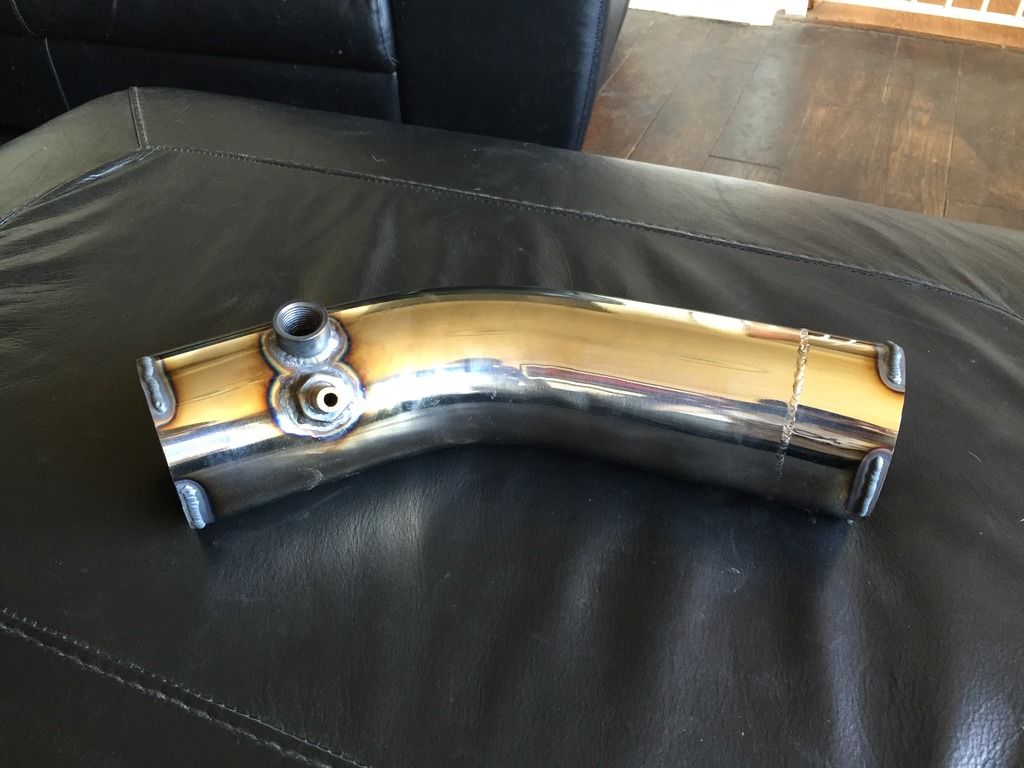
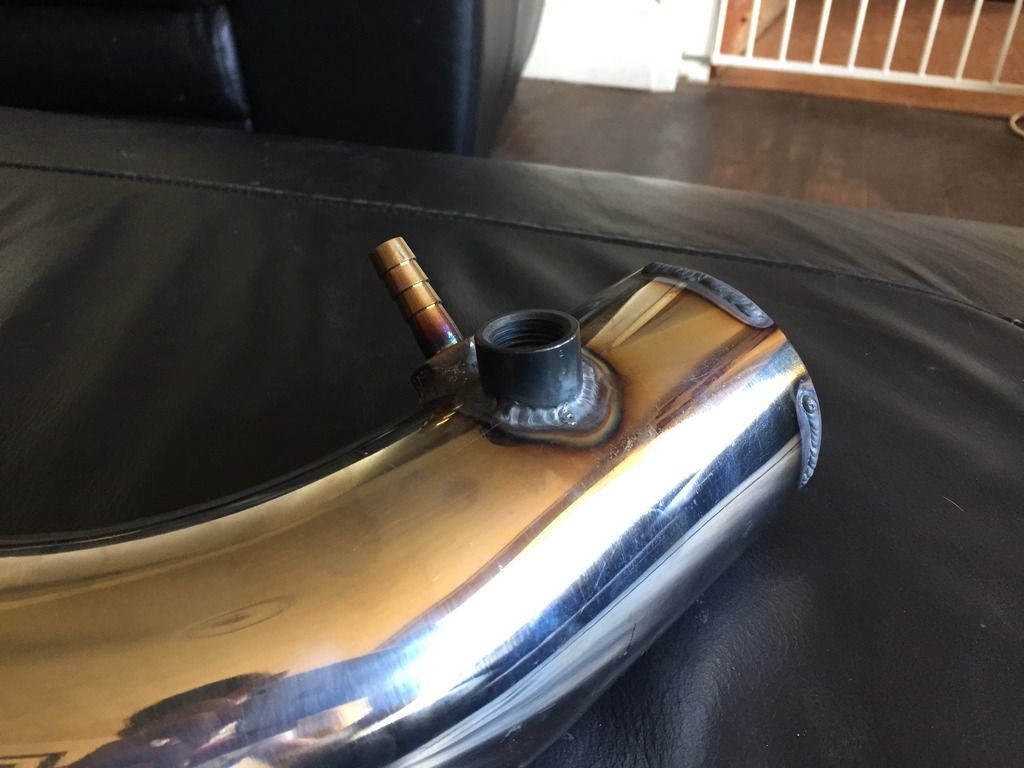
I just need to clean the insides of the welds to make sure the air can travel relatively smoothly, nothing vital but whilst its apart it may as well be done.
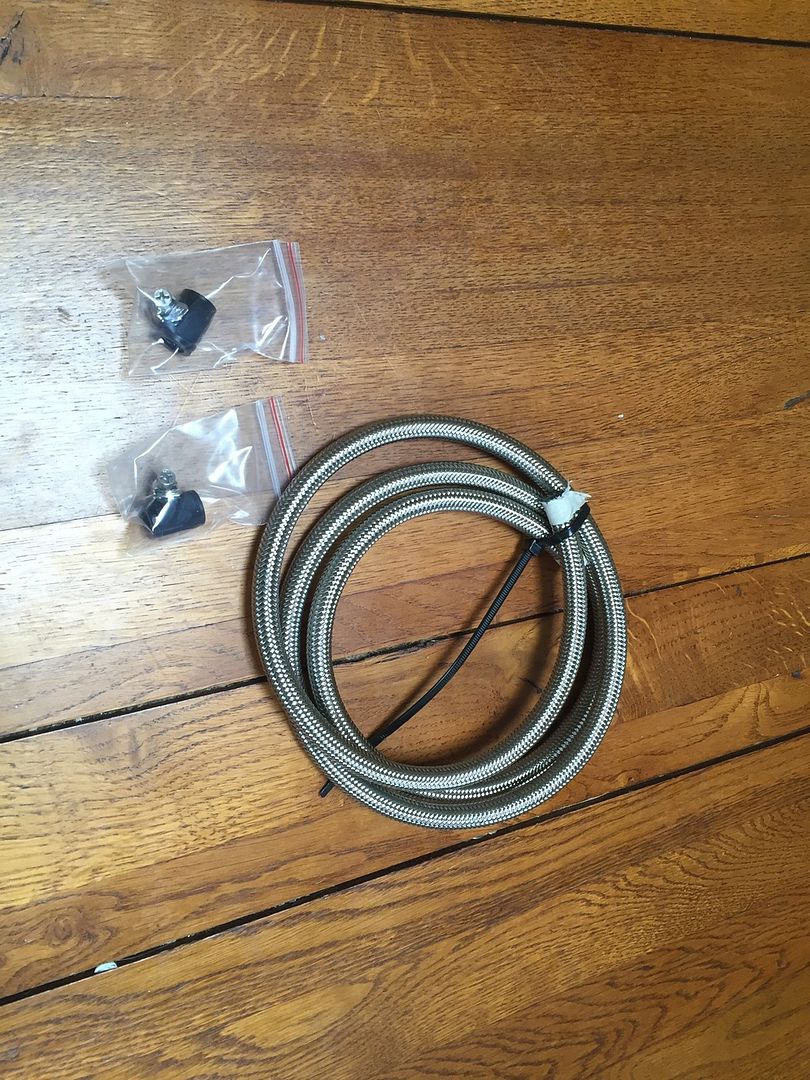
Ive ordered yet more AN6 Teflon hose which should allow me to finalise the fuel setup, which is just the feed & return from the intank pump. Whilst I could just use regular hose clamps, Ive opted for some fancy hose finishers as I wasn't sure they are a requirement for the teflon hose or not. If they're not, well at least they look pretty haha!
So hopefully this week i'll pop down and finish off some more plumbing

I finally got around to ordering x2 CA18 oil filters from Conceptua Tuning, which as much as I dislike the CA18 engine, they fit and they have a pretty vital job to do, so genuine filters were a must in my opinion.
Wont match the colour of the engine bay though!


And all fitted, it looks pretty close to the inlet and it is to be honest haha, but theres enough of a gap in my opinion to allow the engine to move. It's bit tricky to fit with the alternator and AN lines in the way but it fits, and its out of the way from any harm


As I mentioned earlier, I went up to see Huxley to get some fittings welded on to the intercooler pipes, but due to being stainless we were unable to bead roll the edges like Diamondsink has shown above
 So I dropped them back to the local welder near me who tried to build a bead with his TIG welder. It was never going to be a super neat job but the bead sits proud and should hopefully allow the clamps & silicone to bite into it should they begin to move. As a precaution, i'll probably assemble the intercooler pipes with hairspray on the ends, something i've been told helps the pipes from popping off.


I just need to clean the insides of the welds to make sure the air can travel relatively smoothly, nothing vital but whilst its apart it may as well be done.
Ive ordered yet more AN6 Teflon hose which should allow me to finalise the fuel setup, which is just the feed & return from the intank pump. Whilst I could just use regular hose clamps, Ive opted for some fancy hose finishers as I wasn't sure they are a requirement for the teflon hose or not. If they're not, well at least they look pretty haha!

So hopefully this week i'll pop down and finish off some more plumbing

Last edited:
Retro - Slide
Member
The quality of work in this thread is immense man. Be cool to see this down pod next year..
200sx_
PS13 x TD Power
The quality of work in this thread is immense man. Be cool to see this down pod next year..
Thanks man! I highly doubt this will be going to pod though, I much prefer circuit drifting

So since the last update things have come on slowly, mainly with the engine bay coming together. Initially I wanted to give the intercooler pipes a thorough clean after hearing some horror stories. I tried my best to try and grind down the welds on the inside, whilst cleaning all of the debris with a wire brush, and air line and a good old wash;
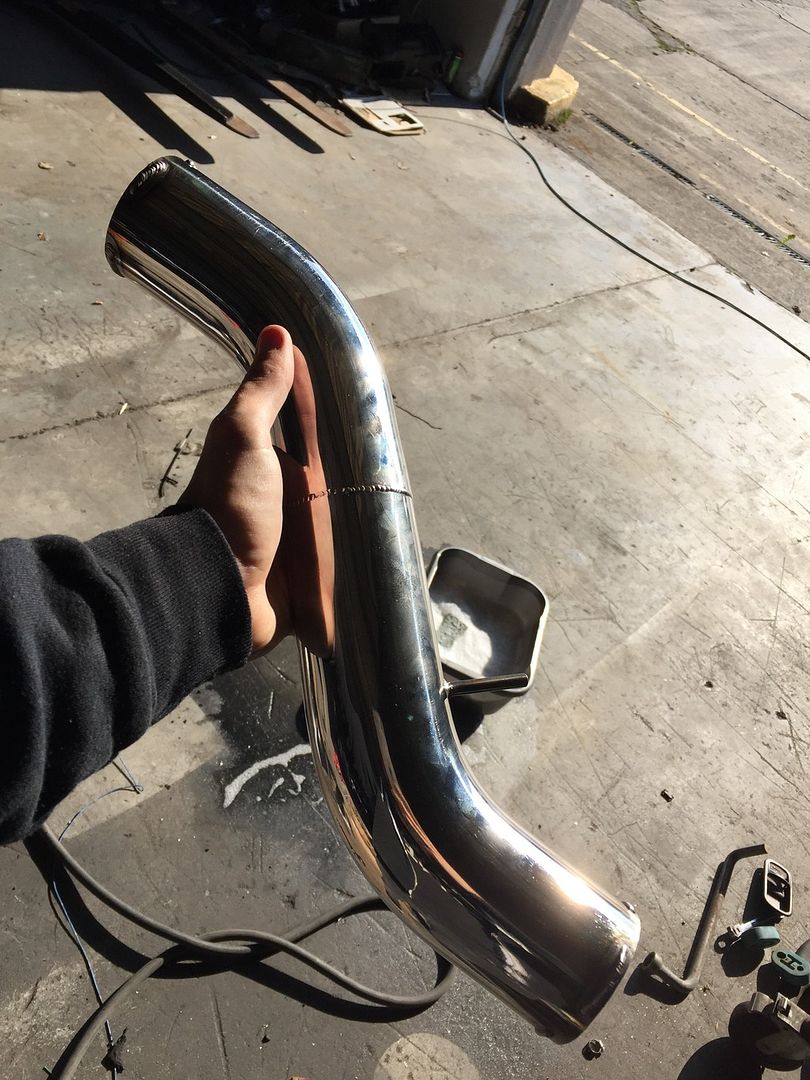
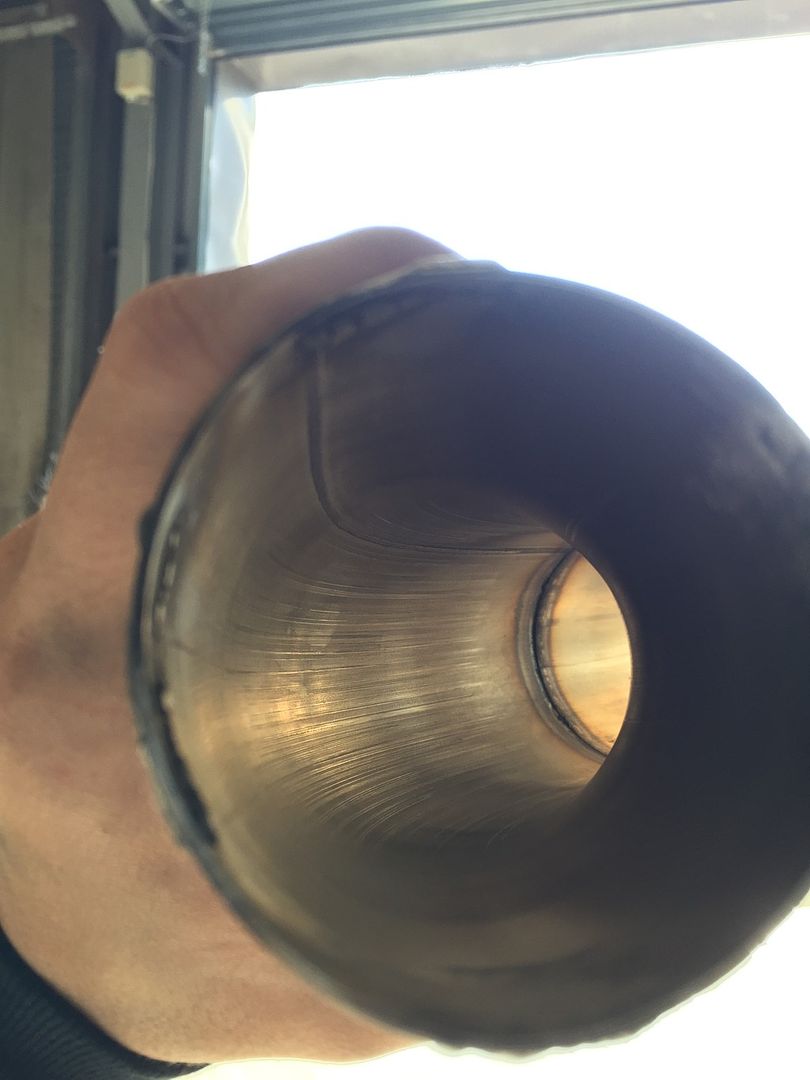
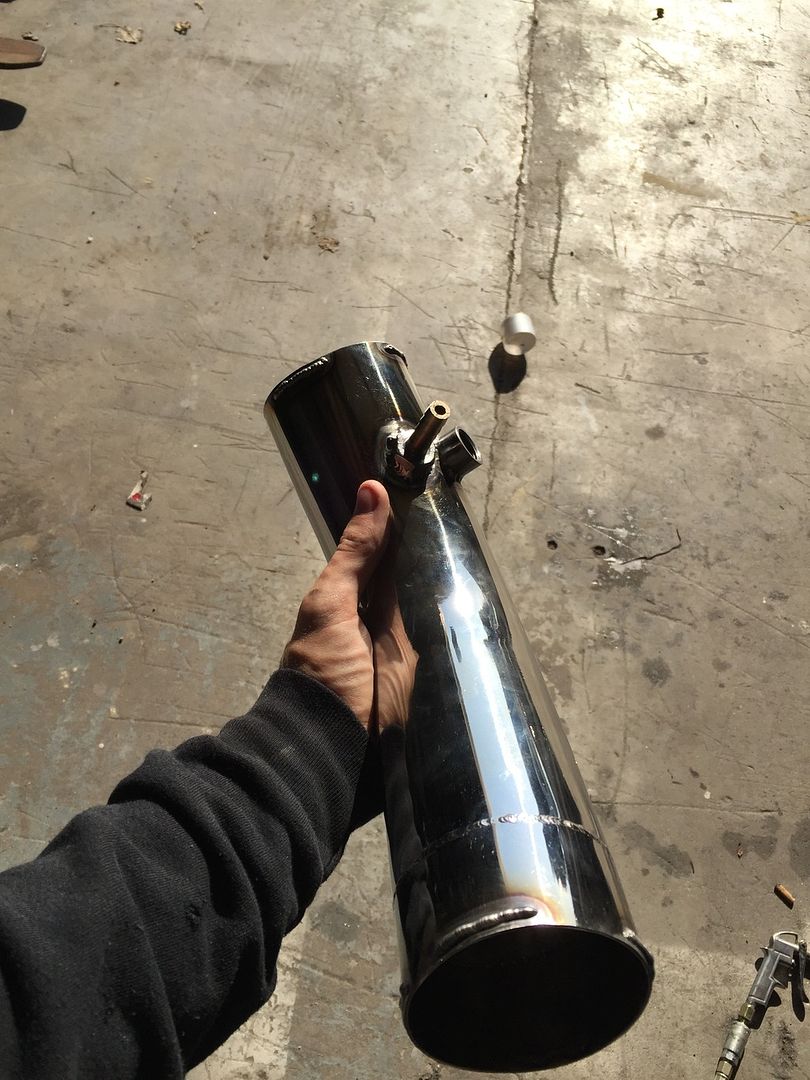
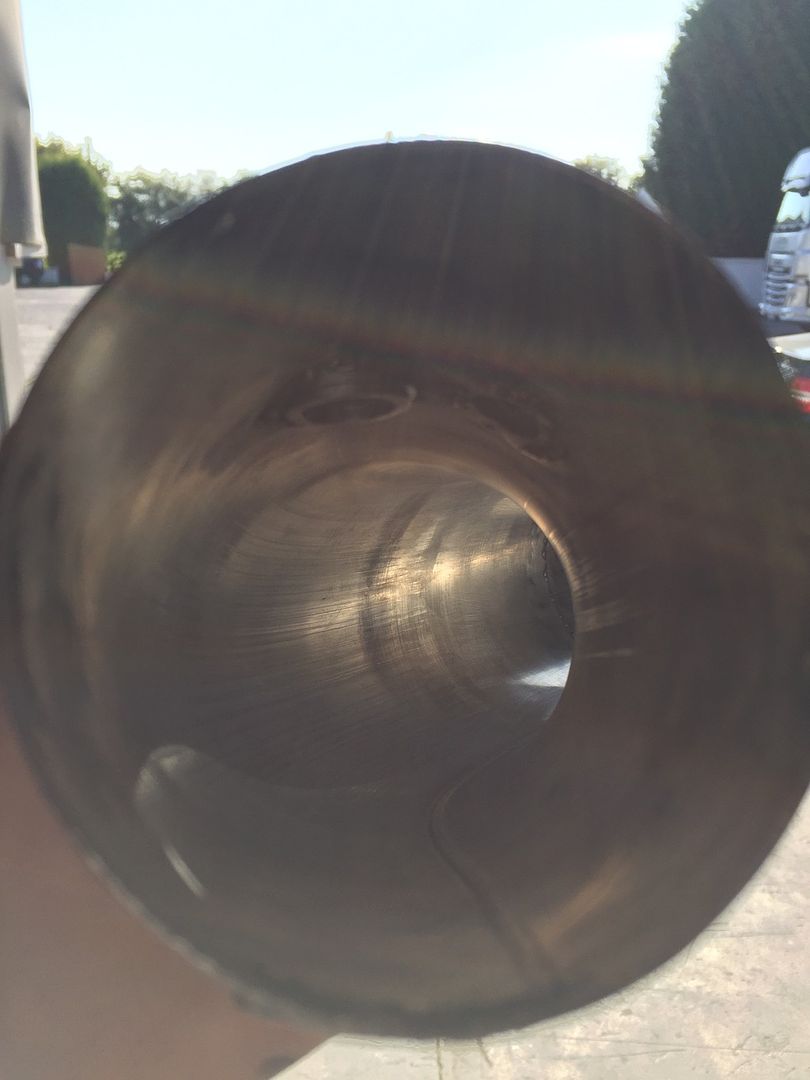
So I'm hoping *touch wood* none of the horror stories of loose debris going into the engine should surface
 Anyway, I quickly got about spraying the ends of the pipes with hairspray as a precautionary measure and got everything assembled for what I hope to be the final time!
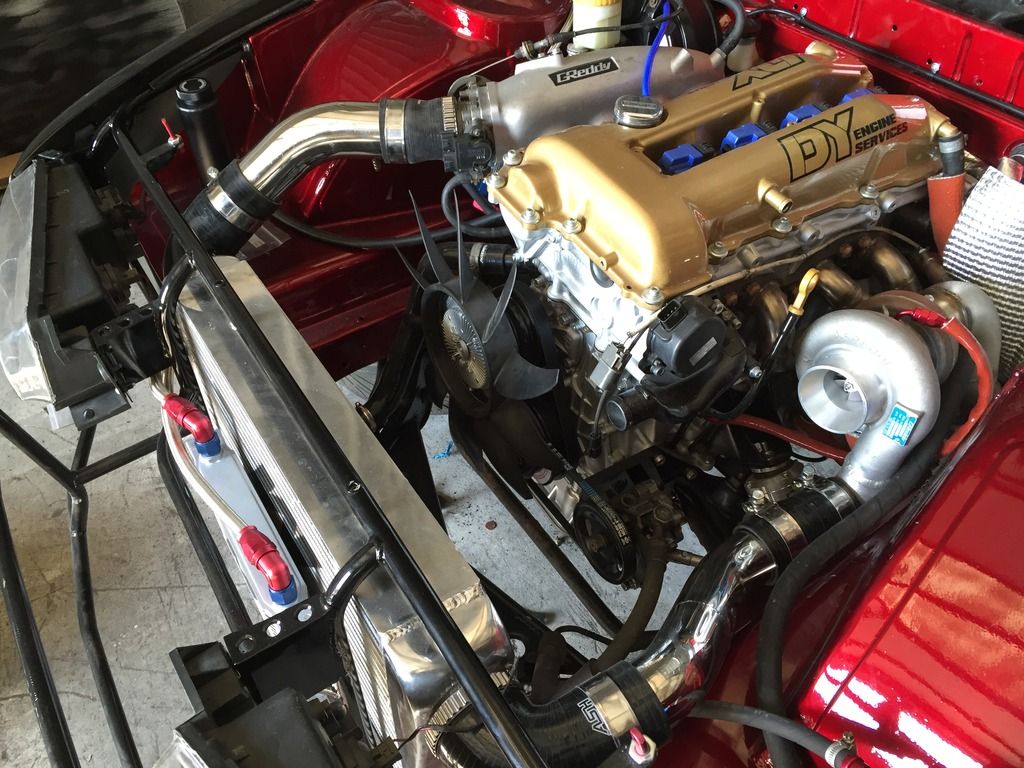
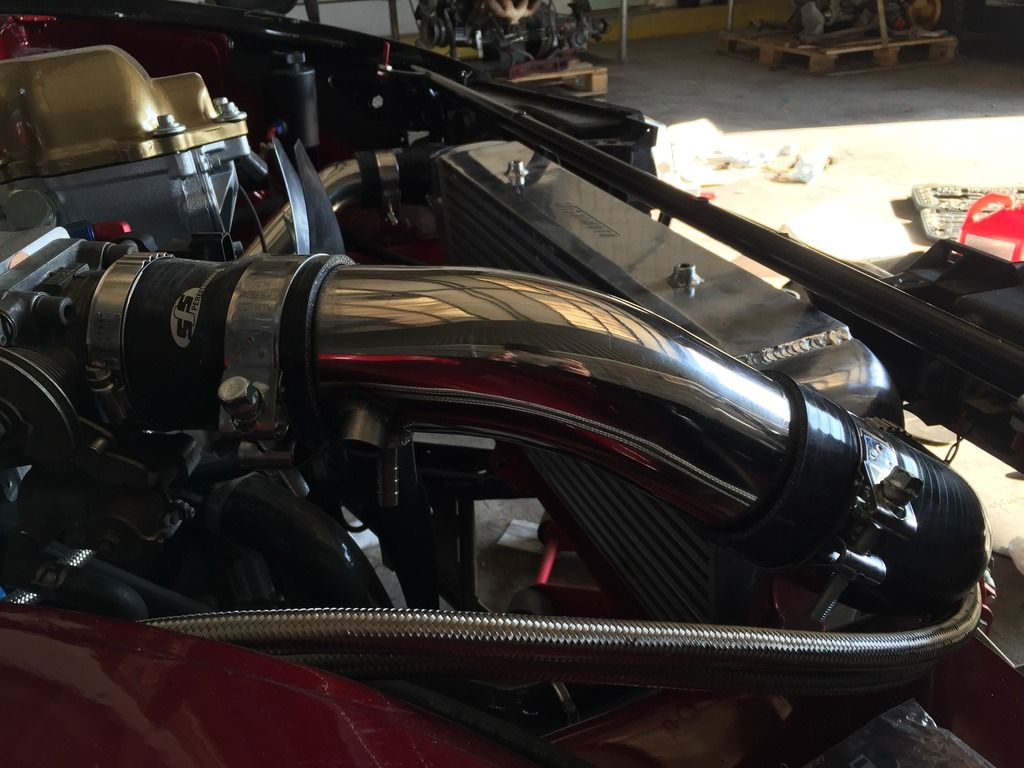
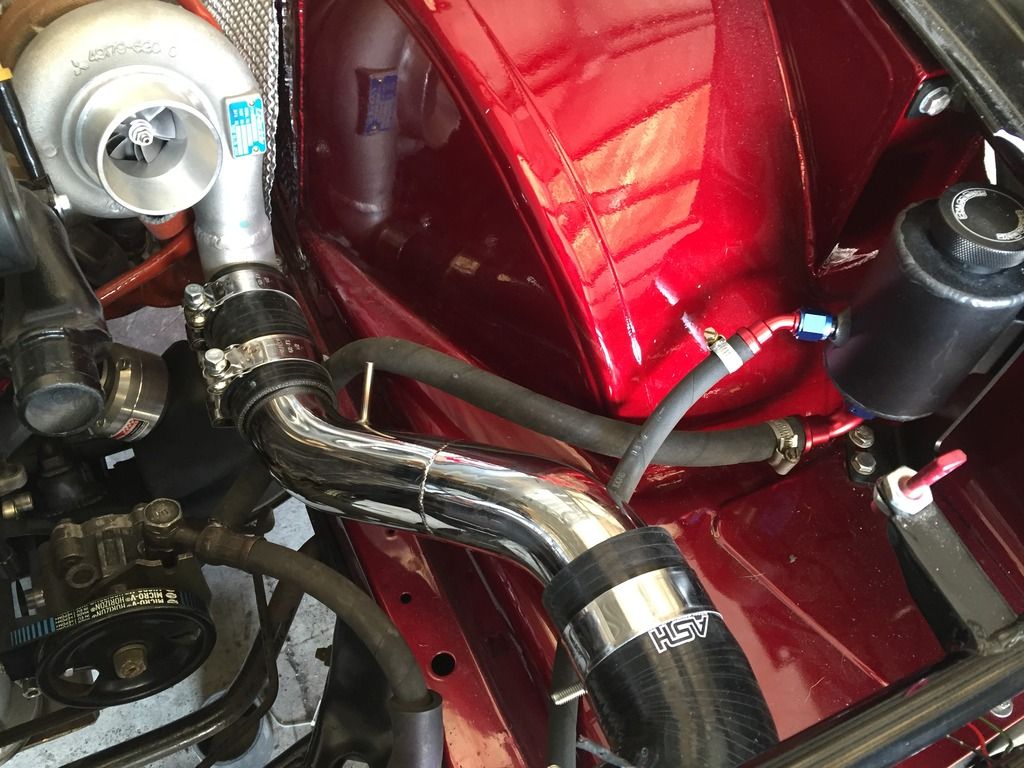
You can see in the above picture that Ive finally plumbed up all of the power steering side of things too, something I wanted to do after the intercooler piping was done so I can see what kind of clearance I have. The hardest section was the feed from the reservoir to the pump, due to an angle that needs to be created, which inevitably meant the hose tries to naturally kink. But after a bit of trial and error, I seem to have a nice bend without any kinks

The main bend as it goes around the intercooler piping;
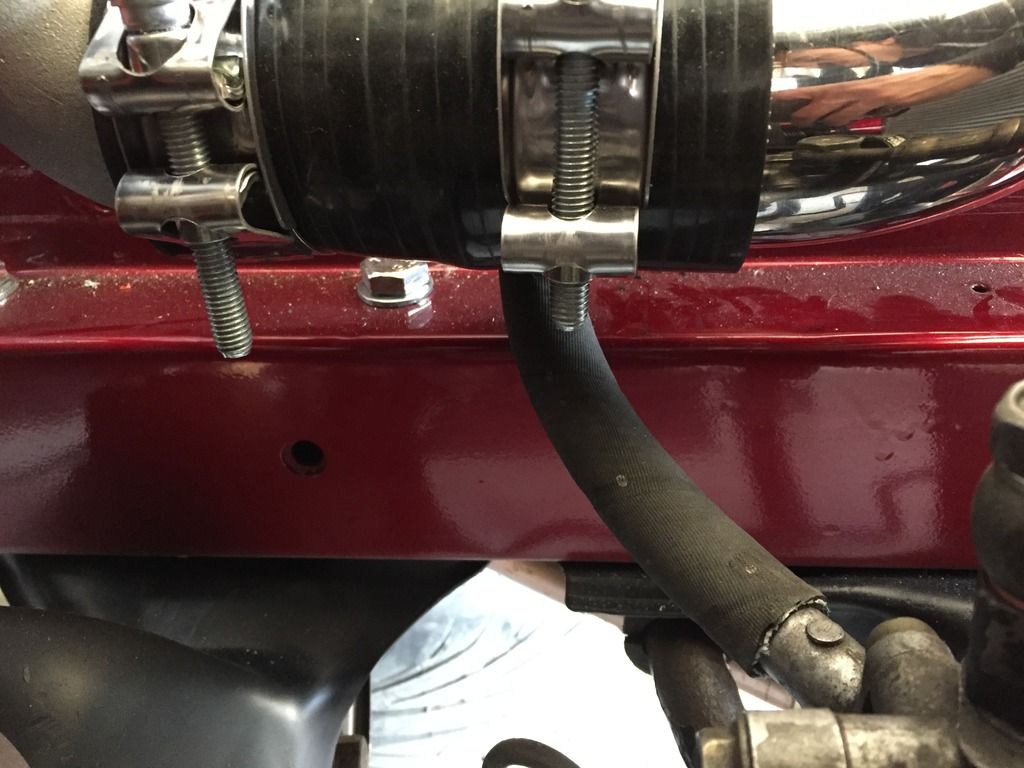
I put around 2 inches of fire proof sleeving over the hose around the section where it may touch the piping, purely just to stop and chafing in the future.
And the lines to the cooler;
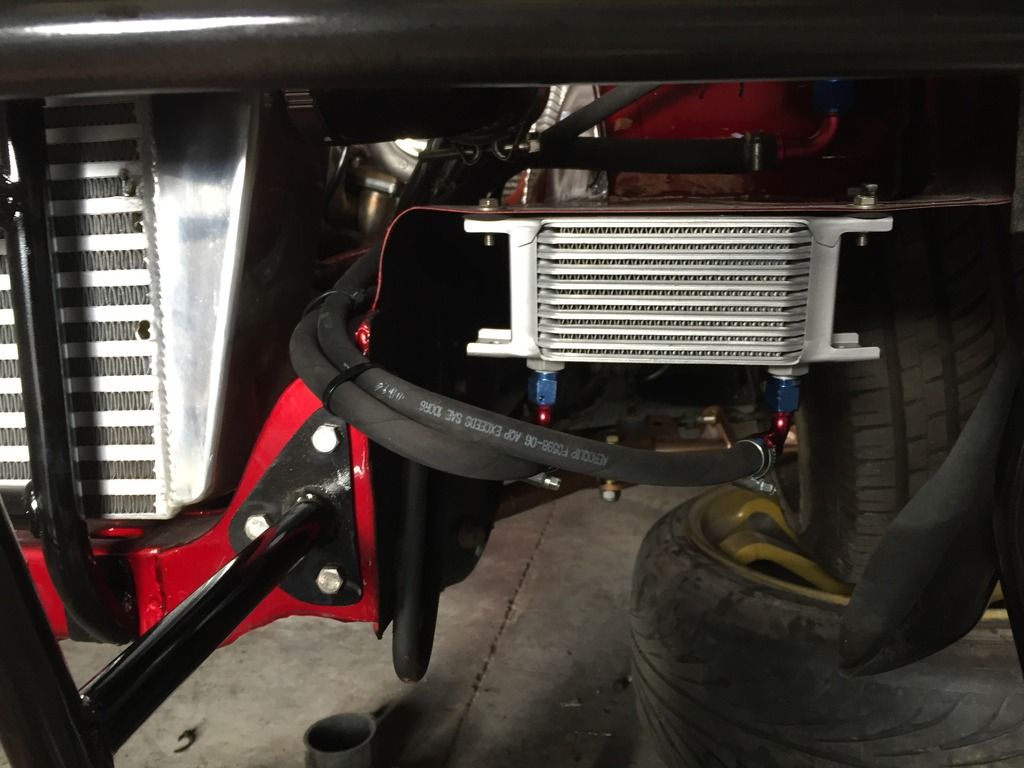
Anybody who have used the AN Socketless/Push On fitting will sympathise who hard the hose can be to put on the fitting, I was seriously struggling to try and make the hose reach the end! Well I suppose the silver lining is that a tight fit shouldn't leak

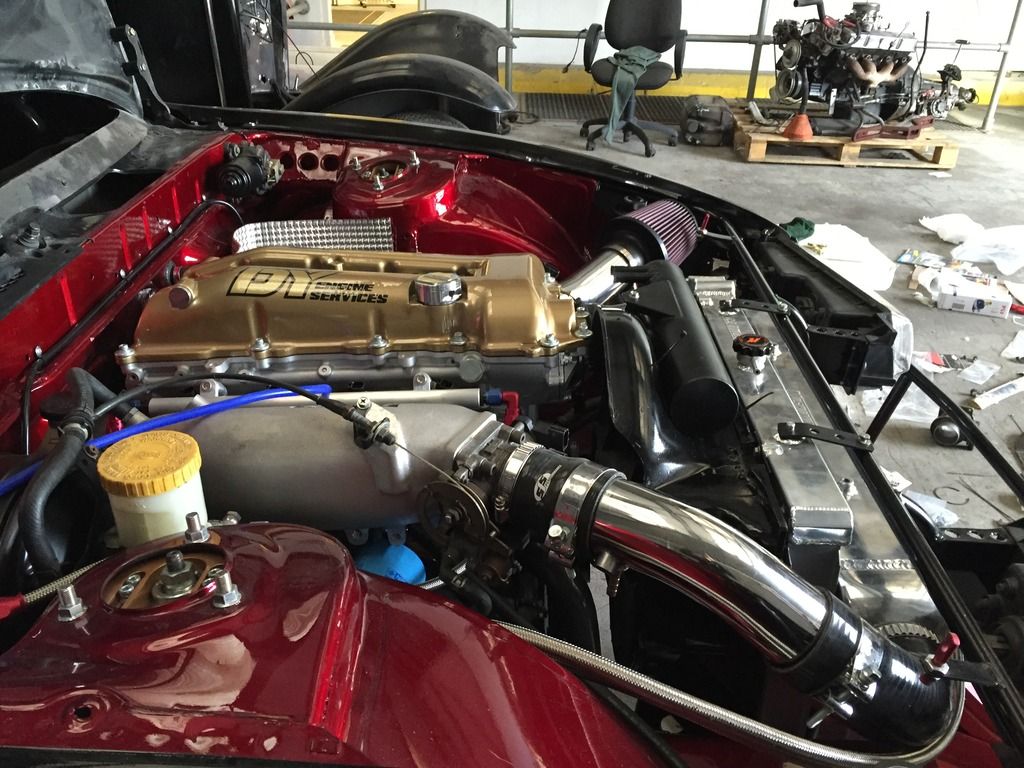
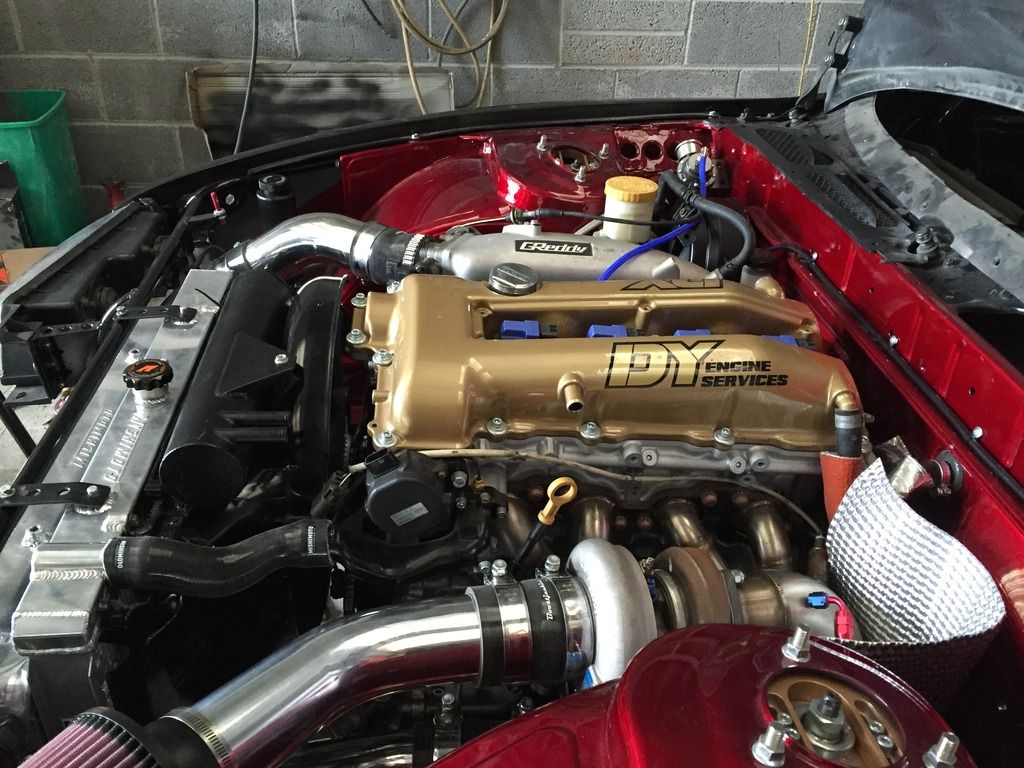
And finally, a more "complete" engine bay!
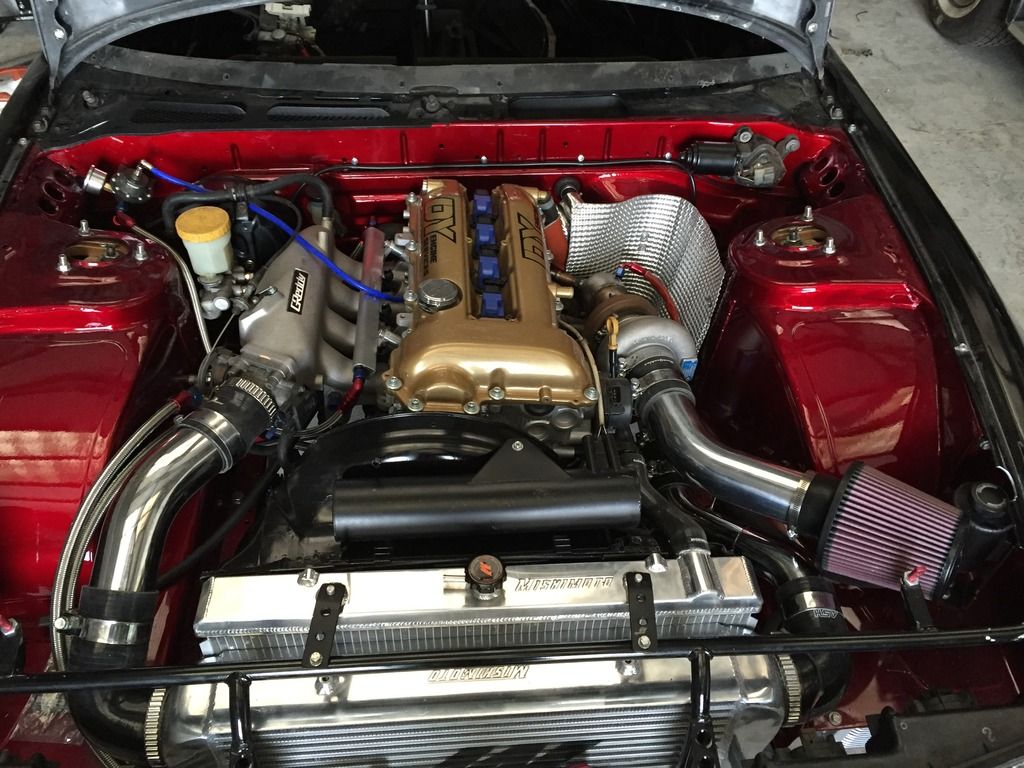
The shroud has been cut and messed around with to try and fit nicely, so its by far the most prettiest part of the car but hopefully it'll be useful and increase the efficiency of the cooling setup.
I finally set about finally completing the fuel system for good, which was essentially just the tank fittings left to do. The AN fittings were the usual procedure and fairly straight forward, but those little hose finishers were extremely hard to try and fit over the braid, but they seem to go nice and tight over the barb fittings fro the tank and look pretty so hey ho haha.
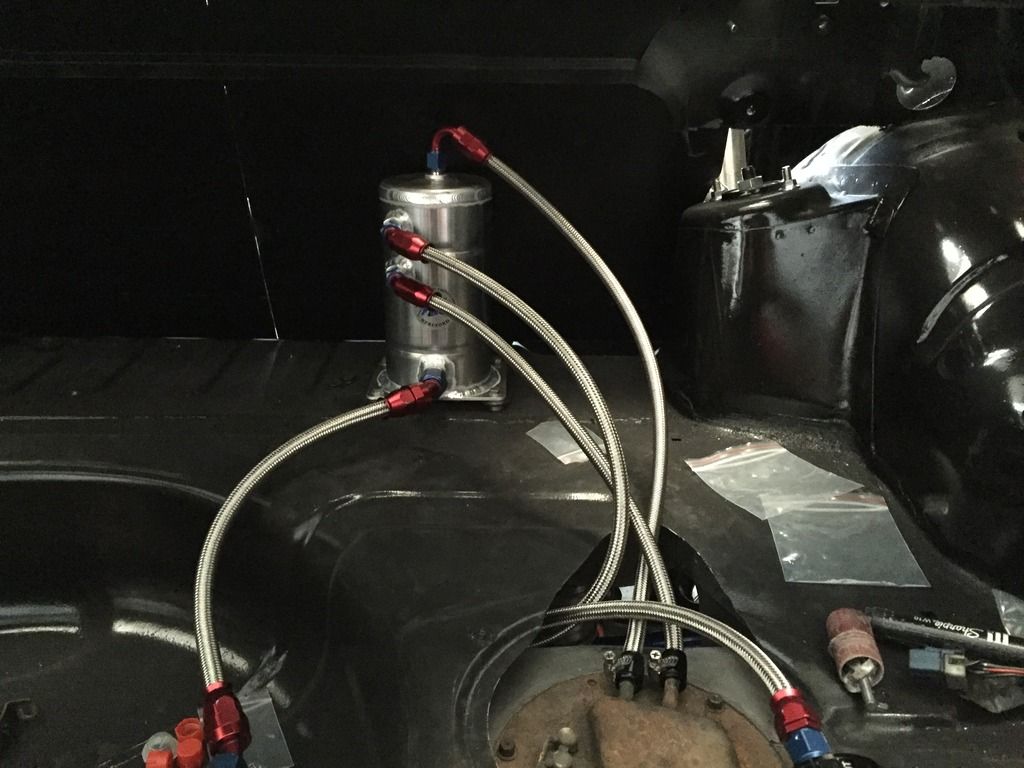
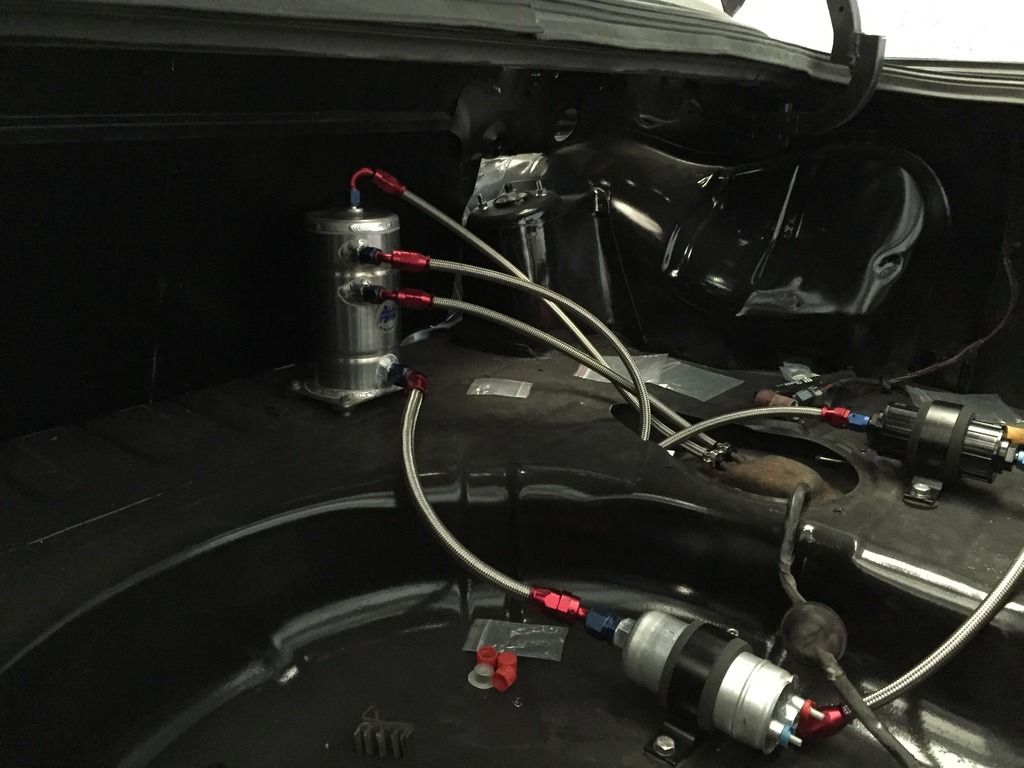
I'll probably chop about the standard cover that hides the top of the fuel tank, to try and stop any debris from entering the boot and hopefully tidy things up a tad in there.
I havent done much since this as I somehow got drafted in to spray a trailer for my dad, but more experience with the spray gun wont go amiss for those inevitable replacement bumpers

I went to go and see Dave @ DY Engines today, to grab some mineral oil and discuss a plan to try and move things along as quite simply, I'm procrastinating loads at the moment! But, we have a plan! Basically, were going to use the starter to help build oil pressure in the engine, which means I can see if anything leaks and get things ready for when Martin can come and wire the ECU up and get things running. So hopefully, if all goes to plan I should have some more enthusiasm to get this sodding thing running!
200sx_
PS13 x TD Power
[jay];2594256 said:As with the rest of the car, that engine bay is fuckin awesome man. Definitely my favourite build, basically PS13 perfection.
U know
This is all just so right, man.
Thanks guys! I've taken my time with trying to get the engine bay right, hopefully it'll have function & form

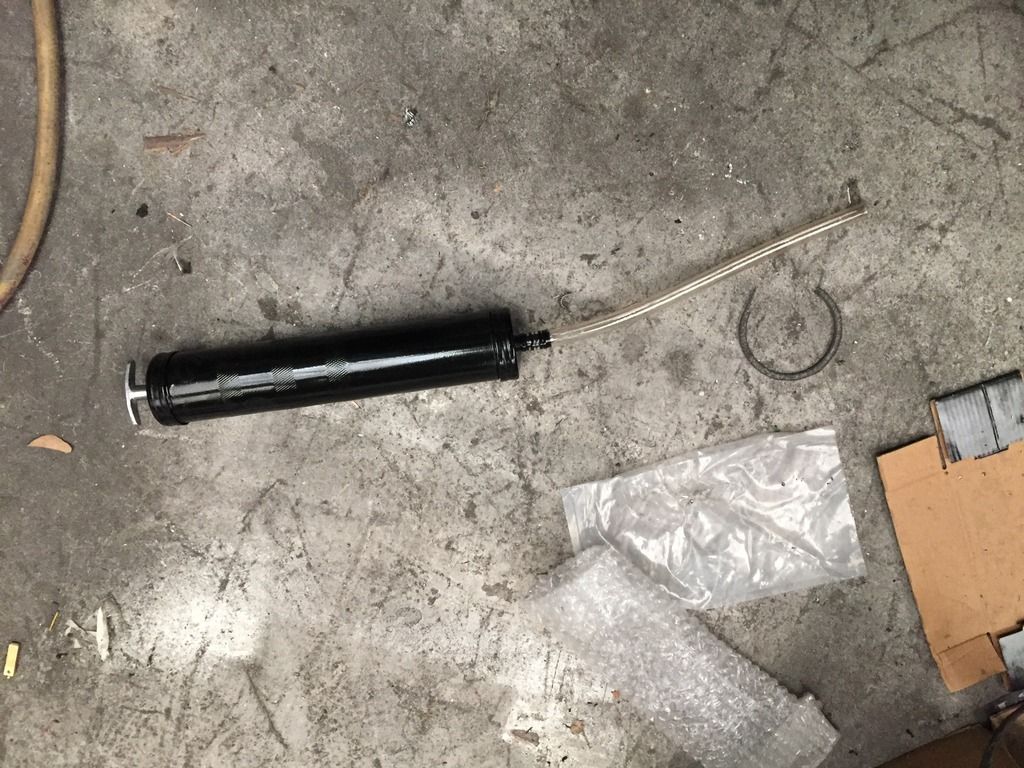
So not alot has happened recently, I went and bought this little suction syringe type thing yesterday to put the gearbox oil in. Its a bit tricky to start with, and well, gearbox oil is horrible stuff! But it seemed to do what it said on the tin and transferred enough oil of for it to slowly trickle out of the fill plug on the gearbox (3.1L if i remember correctly
 )
)
My biggest worry was whether the bell housing had sealed properly since having the gearbox apart for the machining work. But, having left it overnight all seems fine thankfully! If it i'd leak, it would probably have to be an engine out job due to the size of the gearbox in the standard transmission tunnel!
I've also finally bonded the roof spoiler on, which was a bit of a pain after the gun used to apply the sealant kinda broke. Anyway, I used the same bonding adhesive that I used on the windows and all seems fine and shouldn't be falling off anytime soon!
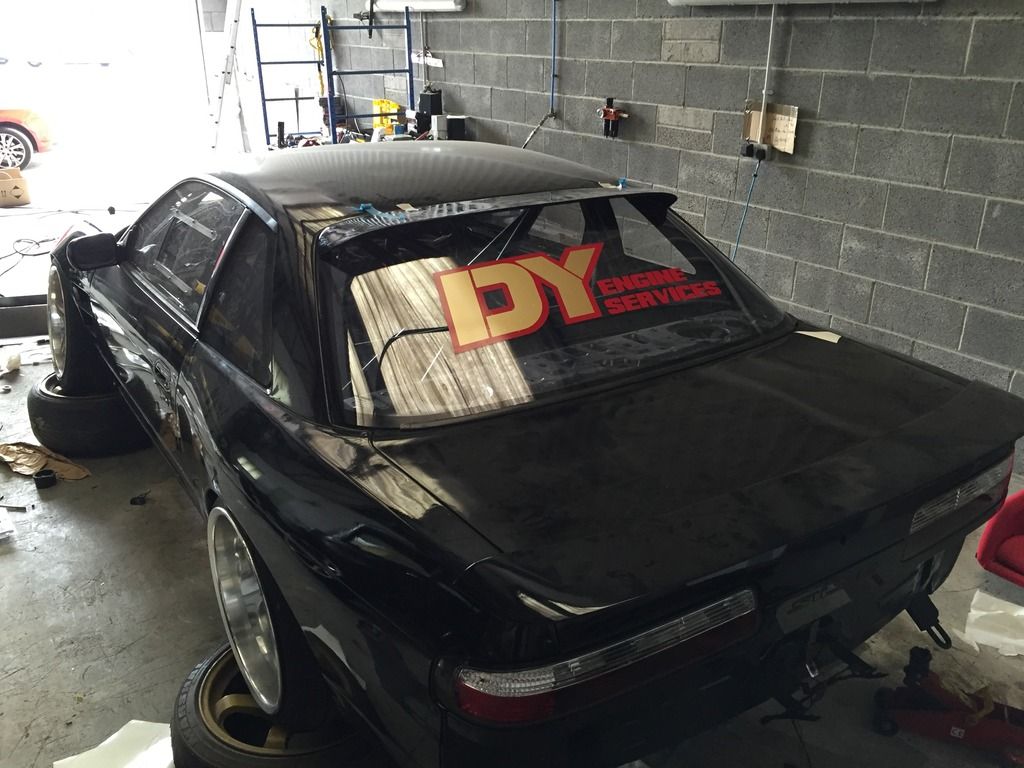
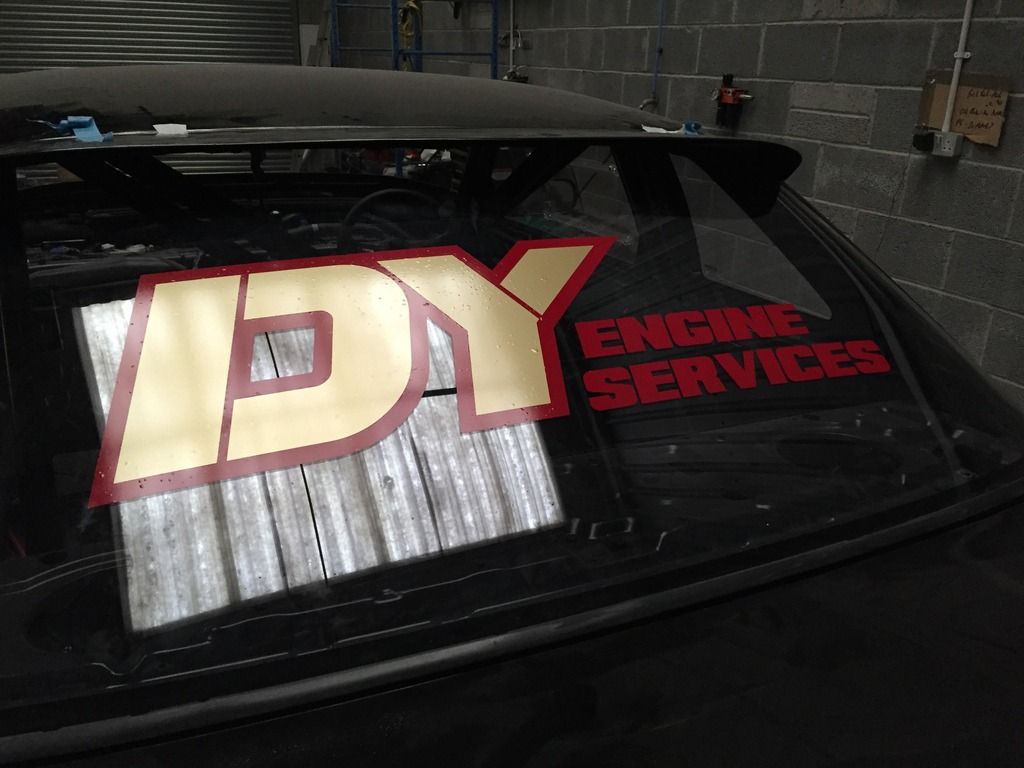
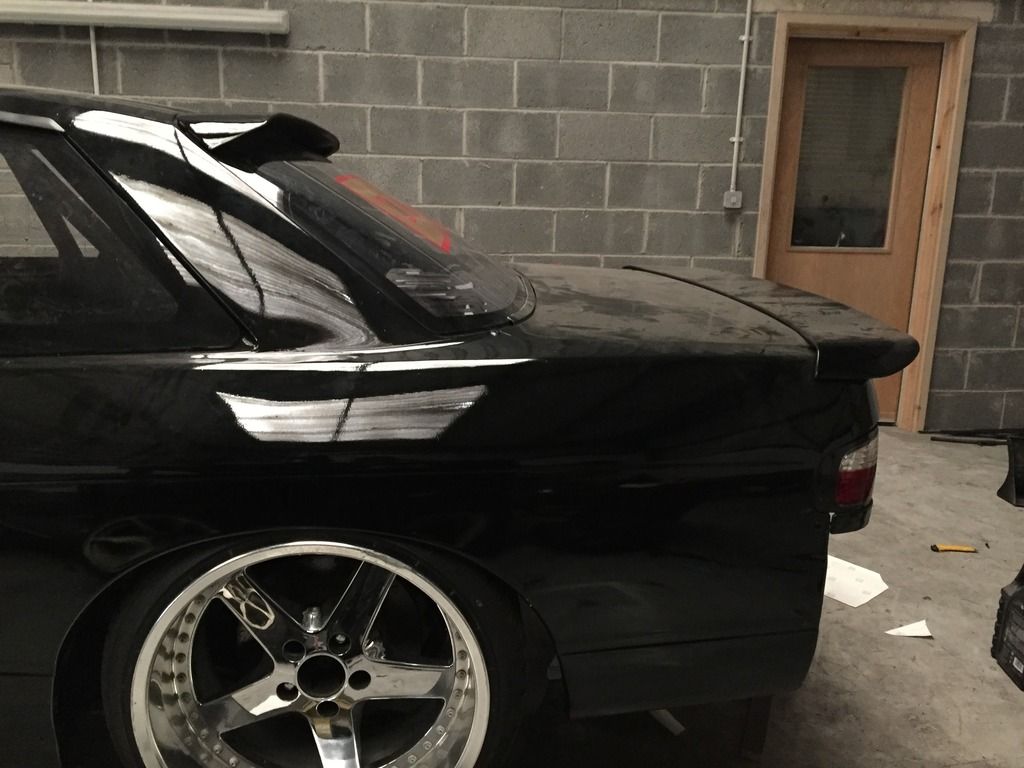
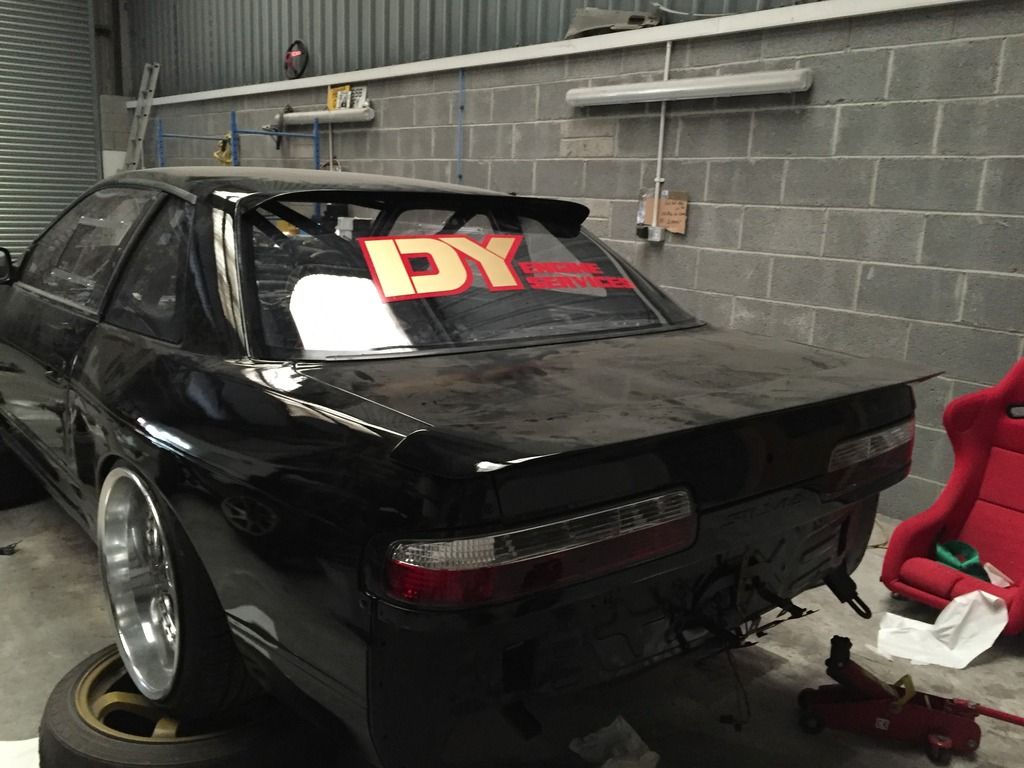
You can't really miss that big sticker on the rear window now, can you!? Anyway, rather than some peoples approach of trying to constantly seek any form of sponsorship in return for plastering stickers over their car for a slight discount, i've gone towards the approach representing DY Engines because of the awesome work they put into my engine, thats it! No discounts or free stuff, just pure appreciation
 Hopefully, this car will have very little stickers because I'm more a fan of the simple and clean look, so this will probably be the only sticker to on the rear window and looks pretty damn cool in my opinion! I need to replace though, as I was a bit of a tit when applying it and managed to get quite a few air bubbles even when using a squeegee

This weeks job list is to slowly get the car ready to try and build oil pressure up and double checking the basic things that could cause issues or problems, and hopefully see about getting a windscreen fitted if I get a chance. And i'll leave you with one more obligatory photo with some fancy front wheels on.
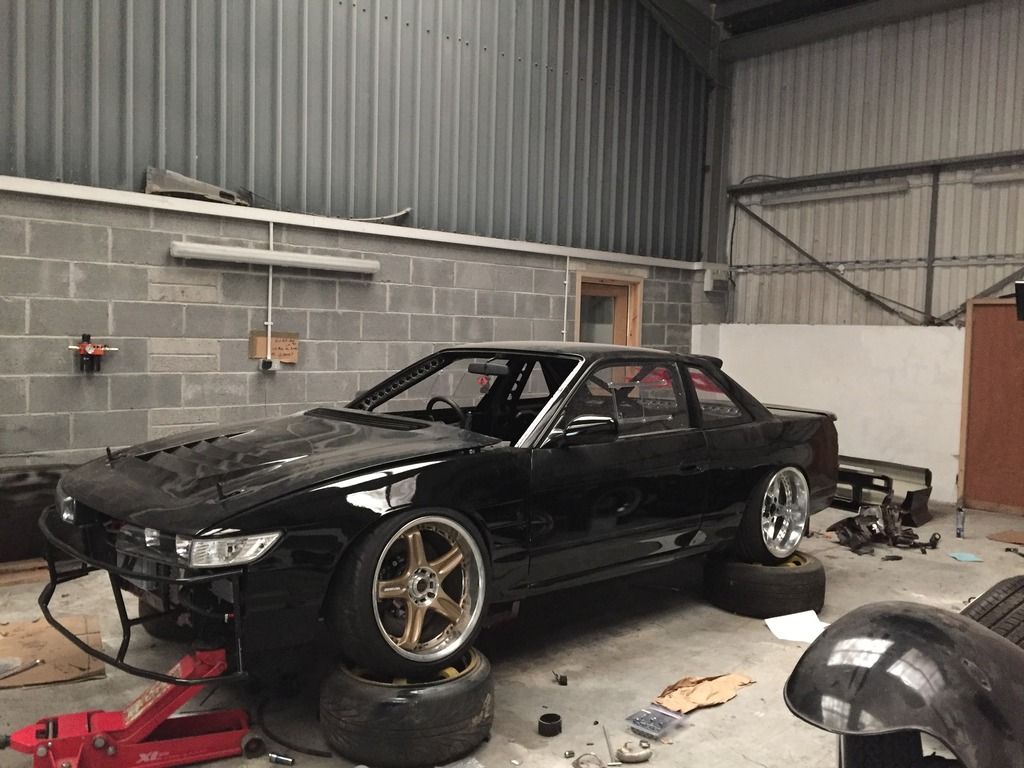
They're a friends wheels, but couldn't resist trying them on to see how they looked
 I'll still go down the route of some Works CR Kai's in the polished/chrome look in the future though. But that can wait until the car is running!
Leno
Member
Agreed on the stickers ect, really don't get the logic behind people advertising for nothing! Will be looking into an engine rebuild in the future and will definitely give DY a call while getting a few quotes.
Did you use tigerseal to stick the spoiler on by any chance.. fucker broke both mine and my dads guns!
Did you use tigerseal to stick the spoiler on by any chance.. fucker broke both mine and my dads guns!
200sx_
PS13 x TD Power
Agreed on the stickers ect, really don't get the logic behind people advertising for nothing! Will be looking into an engine rebuild in the future and will definitely give DY a call while getting a few quotes.
Did you use tigerseal to stick the spoiler on by any chance.. fucker broke both mine and my dads guns!
totally agree man, and definitely give DY a shout dude! After hearing some of the stories of well known "builders/tuners", it's a piece of mind knowing somewhere who takes pride in their work is building your engine!
haha, no I used some Marine bonding adhesive (Aquaseal mBond). I used tigerseal on the boot spoiler though! So annoying, literally just had to cut the top of the tube off and use a chisel to apply it haha. Did the job though

counteract
-o=me
If you want that sticker re-made so that you can see through the back window, fire me a message on FB and I'll try sort something out for you.
200sx_
PS13 x TD Power
If you want that sticker re-made so that you can see through the back window, fire me a message on FB and I'll try sort something out for you.
Awesome, thanks for the offer dude. I'll bear that in mind for sure! The only problem is that I can't see anything out of the rear because of the cage haha

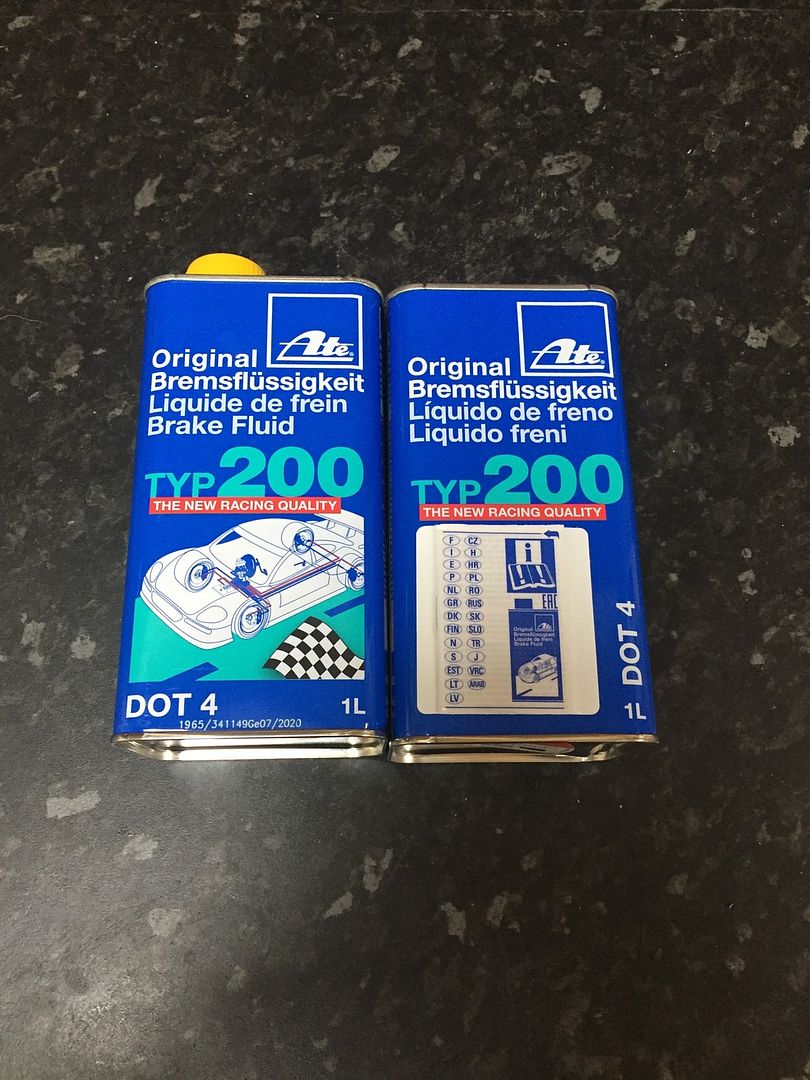
Didn't touch the car today, but 2 small packages arrived, with the first being glorious brake fluid. Whilst this car will mainly be used for drifting, there will be the odd times where I take the car to my local track (Castle Combe) for a bit of grip driving, hence the large brakes and fancy pads. So for an extra few pounds, I did a bit of research and found that ATE SuperBlue brake fluid was highly rated for track use so it was a no brainer to order some up. It came in fancy tins too

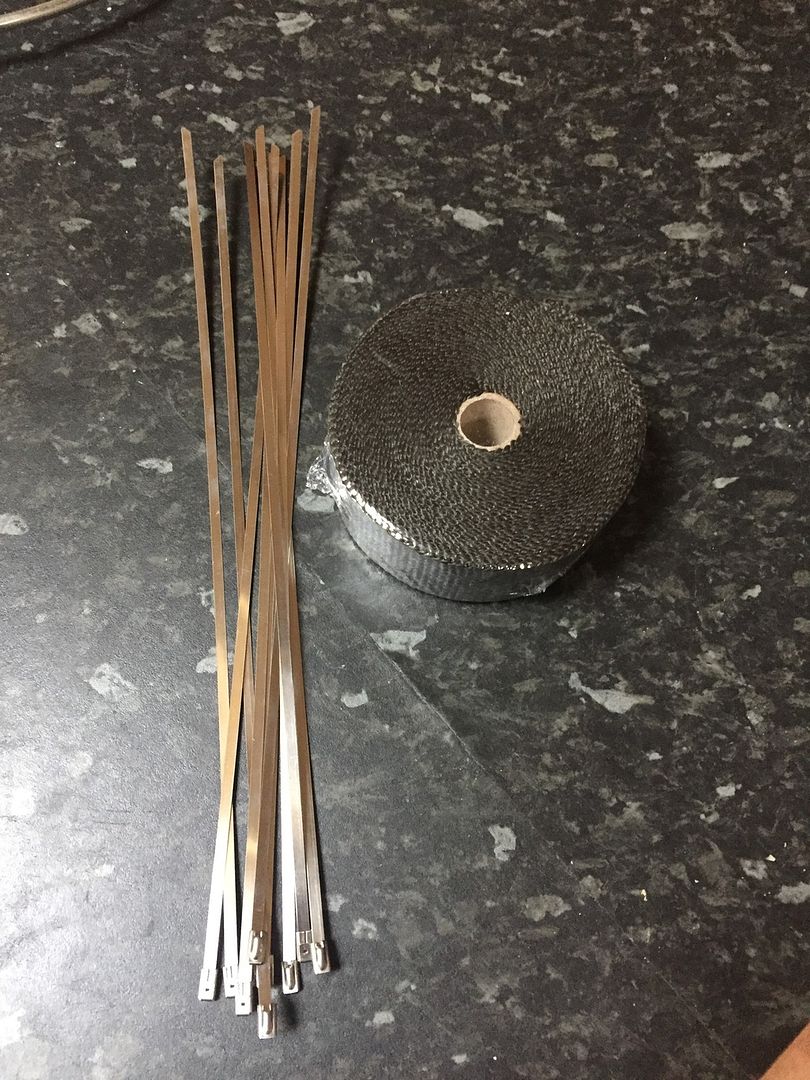
The second package was some generic heat wrap and some metal cable ties. This won't be for the manifold or downpipe however, as I'm planning on wrapping the end section of the cat back exhaust. The reason behind this is with my old car, I found the heat from the exhaust began to melt the plastic shielding around the fuel tank. And after seeing pictures of an S13 set on fire in Japan due to the fuel tank catching alight, it was a no brainer whilst everything is apart just to eliminate that risk. The second reason is to help reduce any heat going into the driveshaft. Whether or not heat is a direct cause of the driveshaft boots failing is a different matter, but I can't see it doing any harm

Ive booked National Windscreens to come round Wednesday morning to get a front windscreen fitted, so it'll begin to resemble a normal car even more
 And more importantly, I want to sort out sticker placement haha! From there, I just need to carry on doing the small tasks, and getting the car ready to begin building oil pressure and see whether the dash/AN lines seal or leak (one of my biggest worries
  ) but to find that out I just need to man up and crank the engine over!
200sx_
PS13 x TD Power
Weirdly I've just done similar with the heat wrap by the drive shaft. Seemed to do its job at pod last week but the sessions weren't very long!
Haha, great minds think alike
 Well, fingers crossed it'll help do the trick. I never had any driveshaft problems in my old S13, but now I'm trying to run little camber on drop knuckles which eliminate any camber gain under compression! So any preventive measures sure are welcome, but I can't help but think the driveshaft issues occur because of the S14 rear subframe? (May be a coincidence that most people I see with issues run that subframe on their S-Body).
So the highlight of this week was getting a windscreen! Kinda boring I know, but hey its essential! After using National Windscreens on my old S13 a few years ago, I went with them again as the price isn't THAT bad for a brand new windscreen

So after it's all in, kind of resembles a car a bit more now;
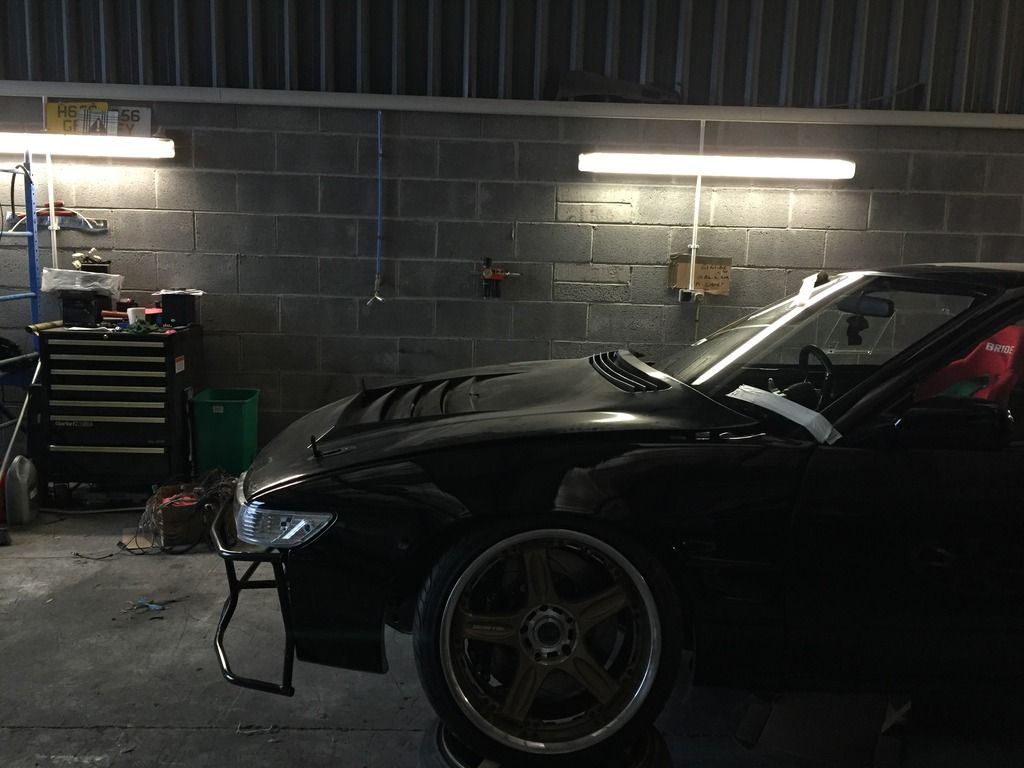
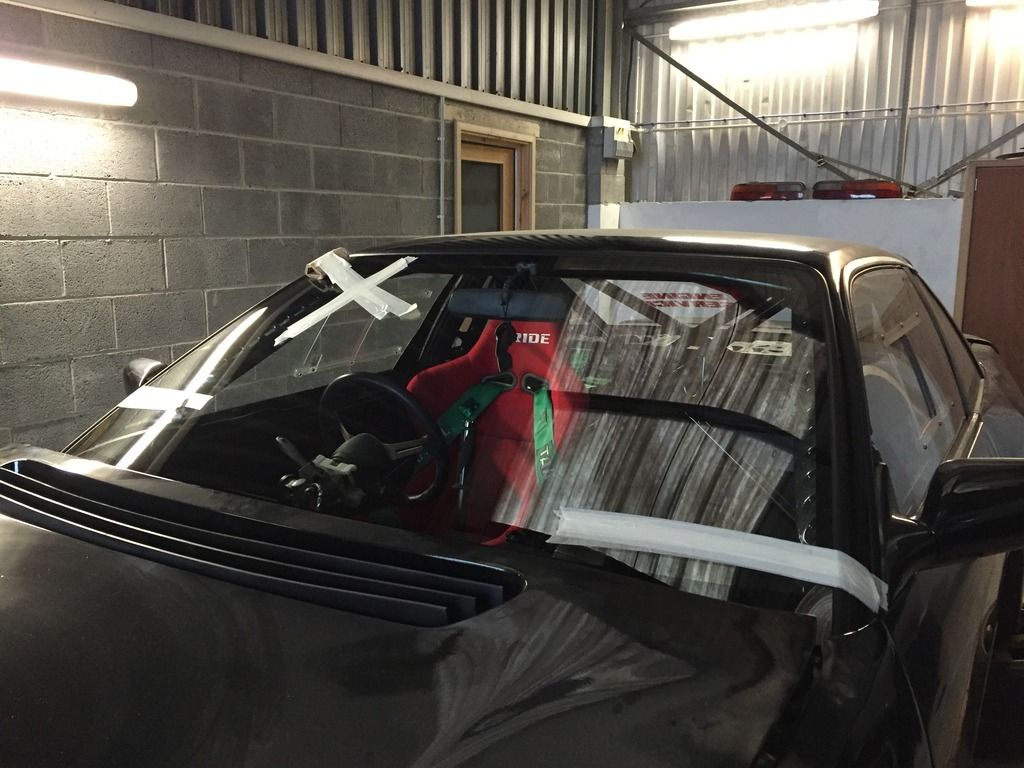
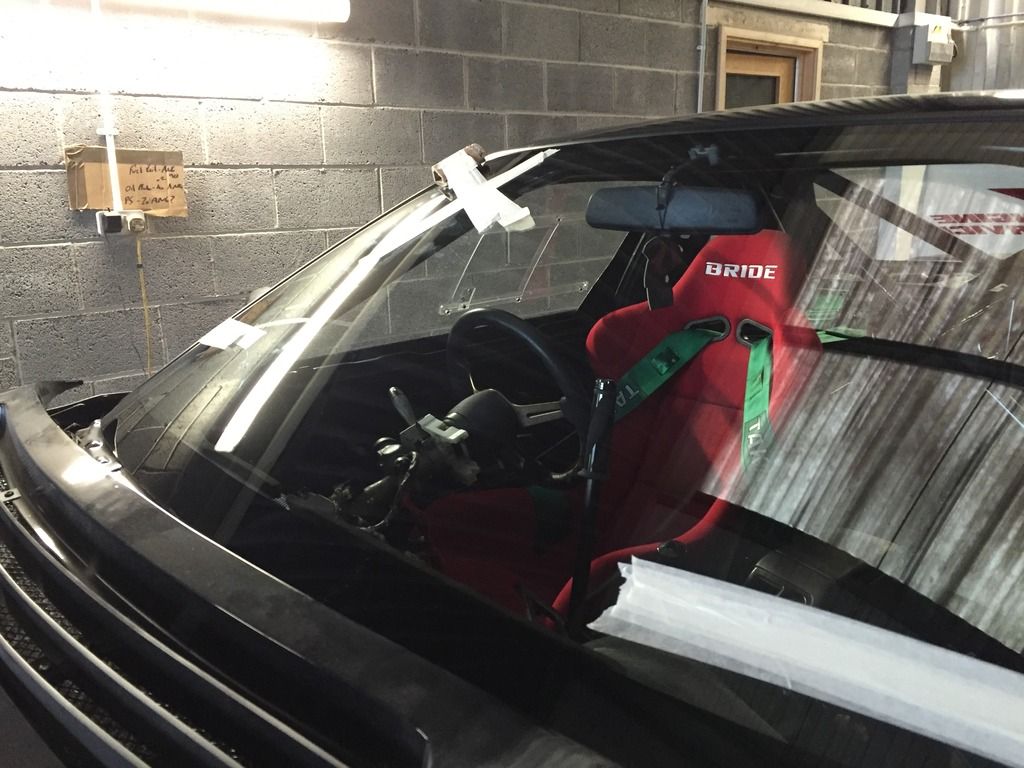
As you can see, I've put the seat and harness in to test the positioning of the eyelet, but I still can't get bored of looking at this setup, and still feels as amazing as when I first sat in it

The beautiful part of finally having a windscreen was that I could apply another sticker, whilst keeping to my points made previously and keeping the overall theme very simple

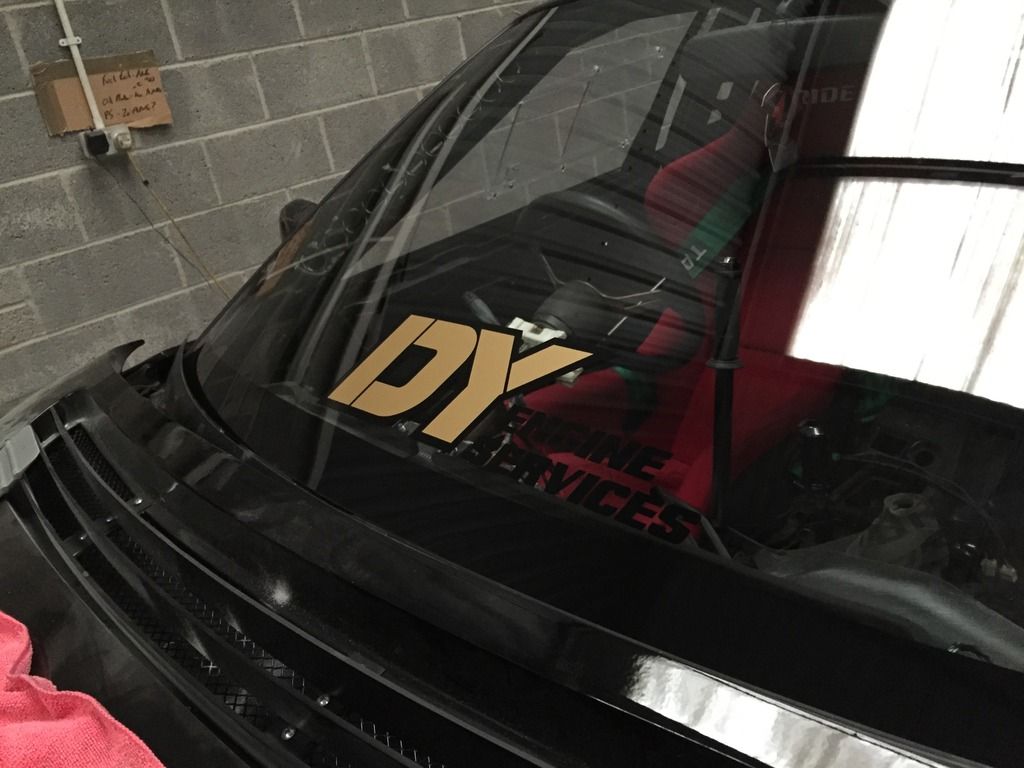
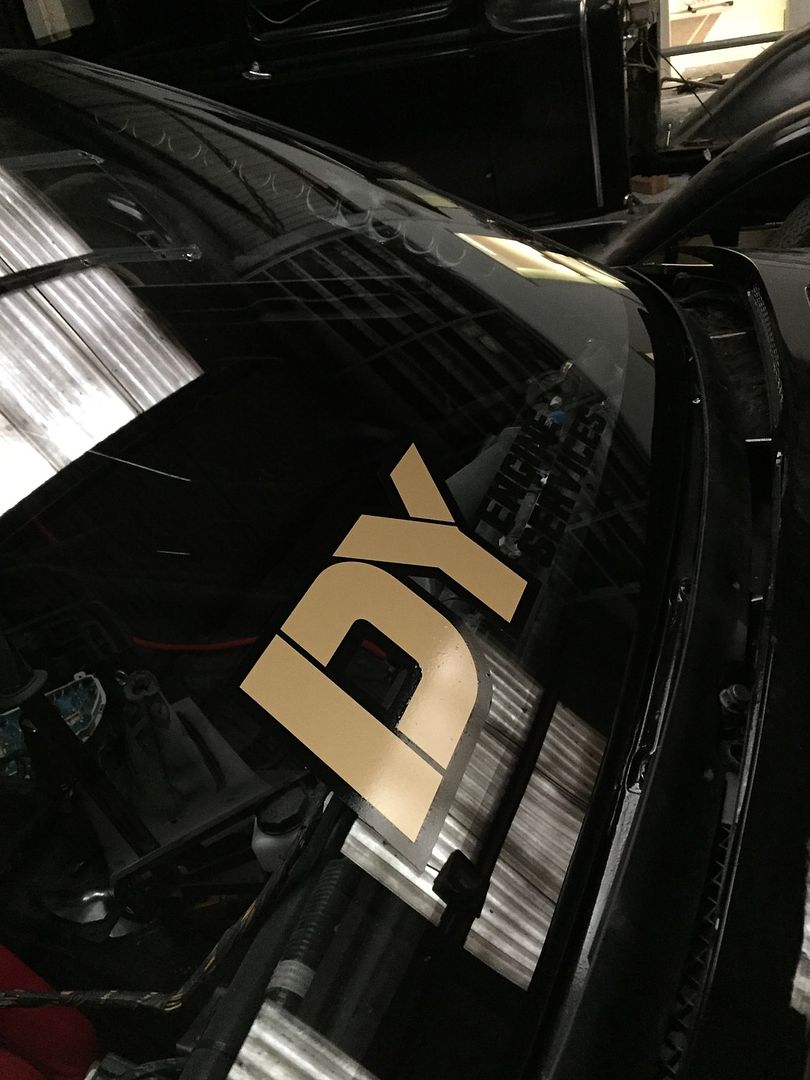
I can't help but love that the writing and outline is black, it looks super stealth, clean and easily noticeable up close!
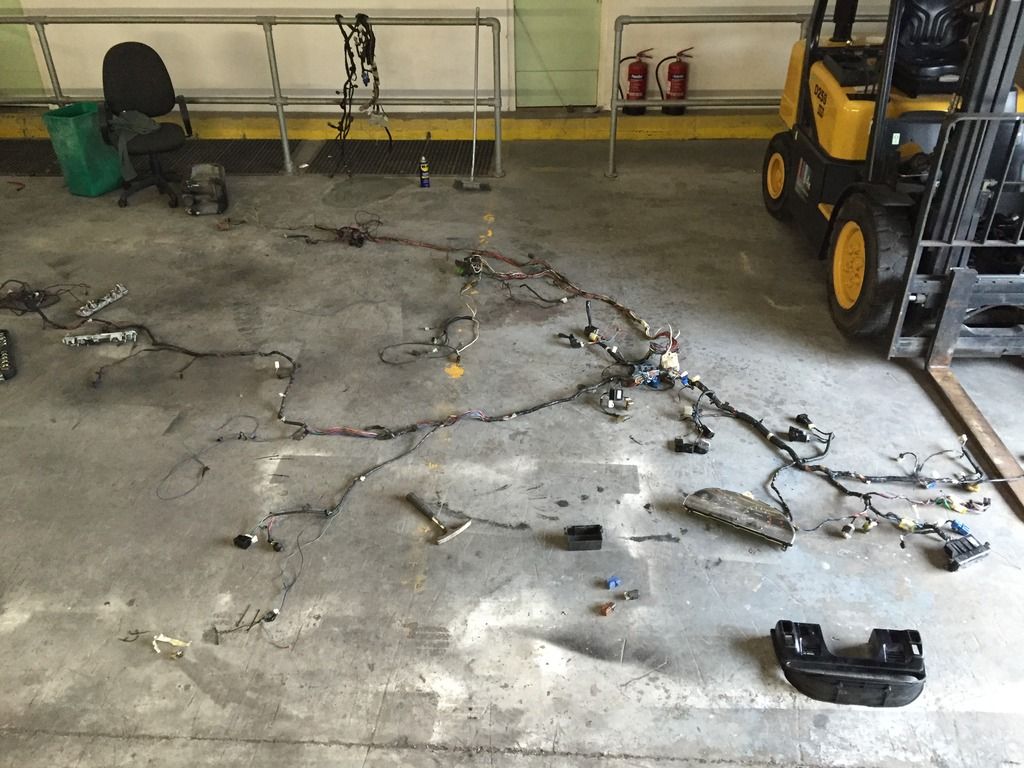
With the list of tasks finally reducing, the wiring is the next substantial task to rectify.
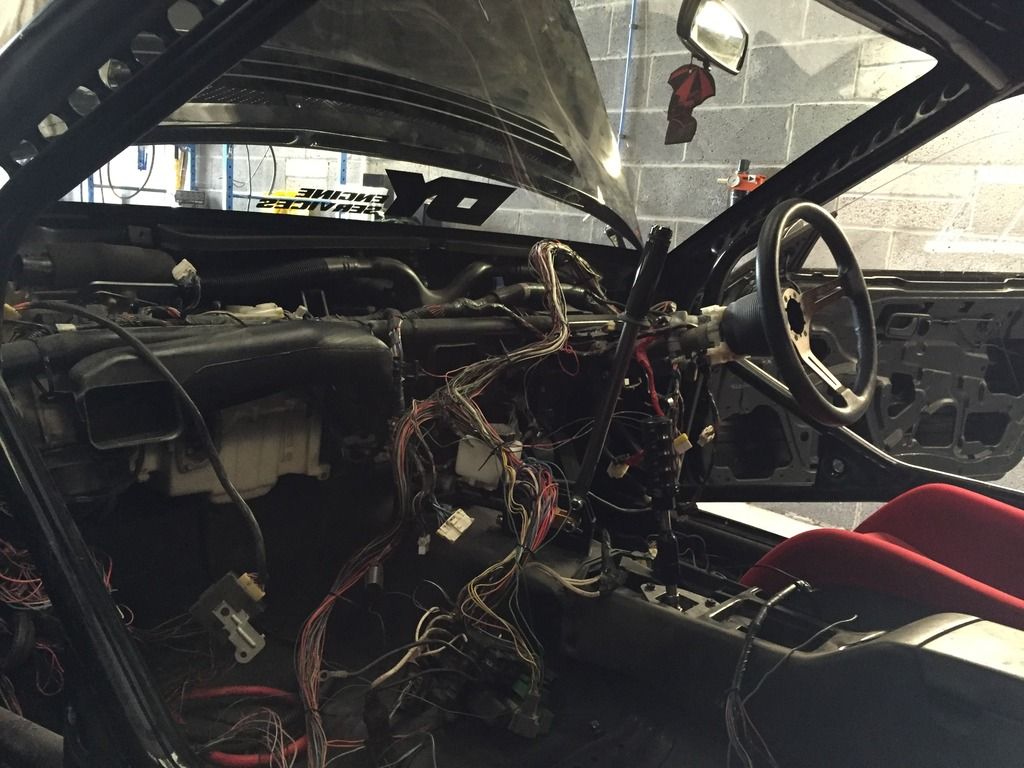
Whilst I'm keeping my old UK S13 looms, I wanted to tuck the fuse boxes inside and try to eliminate any unnecessary wiring to keep it simple and neat. Obviously this is easier said than done, and I seriously thought about getting a custom loom made up, but after getting a quote back I can't justify that sort of money on some wiring! So after speaking to Martin @ MB again today, we're (he is) going to attack the wiring when doing a site visit and work his magic with the stock loom and hopefully get everything working as it should

I was kind of hoping to fit the rear brake pads tomorrow, but unforeseen problems mean they're going to be a little bit late, but as soon as they arrive, they're fitted and the dual caliper setup is done i'll post some pictures up

200sx_
PS13 x TD Power
Jordan youre doing the build alone? I know the engine was made by DY but the rest you did it alone?
Yup, just me, myself & I
 Huxley did the tube work but apart from that the car hasn't left the unit and I don't tend get much help at all
Yup, just me, myself & IHuxley did the tube work but apart from that the car hasn't left the unit and I don't tend get much help at all

I want to marry you right now
 youre working area its not around mechanic right? Thats why youre a exemple for all the people here on driftworks even without the perfect knowledge youre creating a masterpiece youre such a inspiration. This is a great exemple what drift is about not that 1000hp dragraces with silly curves. Keep the good work we are here the support and see the results.
200sx_
PS13 x TD Power
I want to marry you right nowyoure working area its not around mechanic right? Thats why youre a exemple for all the people here on driftworks even without the perfect knowledge youre creating a masterpiece youre such a inspiration. This is a great exemple what drift is about not that 1000hp dragraces with silly curves. Keep the good work we are here the support and see the results.
Haha, nope I chose to study around mechanics and keep it as a hobby
 thanks man, that means a lot! I don't have any fancy tools, just taking my time trying to make sure the car is built right.
After trying to get the car to turn over on the starter to build oil pressure yesterday, it was apparent our wiring just wasn't up to the job lol! And it was a tad pikey
 so after speaking with to Martin again, I'm thinking about bringing his site visit forward to asap to sort the wiring out and fit the ECU, meaning first start up could be sooner than planned

