You are using an out of date browser. It may not display this or other websites correctly.
You should upgrade or use an alternative browser.
You should upgrade or use an alternative browser.
Fruitbooters S15 (Refurb time)
- Thread starter Fruitbooter
- Start date
-
- Tags
- bilt hamber fruitbooter refurb rust s15
bell
Without patience
another yam yam on the boards, although i have never seen your car which side of the see pit that is the city are your from?
you may have seen me about silver e30 usually based around the penn area but do travel to cannock etc.
be good to see the car as youve exceeded your bandwith with your piccies.
you may have seen me about silver e30 usually based around the penn area but do travel to cannock etc.
be good to see the car as youve exceeded your bandwith with your piccies.
Fruitbooter
Member
another yam yam on the boards, although i have never seen your car which side of the see pit that is the city are your from?
you may have seen me about silver e30 usually based around the penn area but do travel to cannock etc.
be good to see the car as youve exceeded your bandwith with your piccies.
I know yeh Stupid Photobucket! Back up on the 4th apparently

Im from fordhouses / bushbury area, cant say ive seen your car about tbh youl have to give me a pap if you ever see me about, only decent cars ive seen in Wolverhampton is a white r33 gtst and a grey r33 gtr, my mate also has a mint s14a in blue with bronze rotas and another person I know has just got a nice blue s15 with a nice kit on and bgwwhich you might have seen.

bell
Without patience
blue s15 is a kid called cad i know james who he bought it off been skidding with him since he started.
your name leadsa me to believe your a blader? or a skateboarder taking the piss id probably know you if i met you i skated wolves for 12 years so id be surprised if i didnt know you lol.
i'll keep my eyes open either way the beemer aint hard to spot it loud enough either way.
your name leadsa me to believe your a blader? or a skateboarder taking the piss
 id probably know you if i met you i skated wolves for 12 years so id be surprised if i didnt know you lol.
i'll keep my eyes open either way the beemer aint hard to spot it loud enough either way.
Fruitbooter
Member
Yeh I know James too and seen cad a few times..I couldnt believe it when I found out he had James's S15.
Yeh inline been doing it for about 6-8 years now, kinda died off a bit now though..was a time where weed all be up pen rd skate park every day!
Yeh inline
 been doing it for about 6-8 years now, kinda died off a bit now though..was a time where weed all be up pen rd skate park every day!
Fruitbooter
Member
Okay so ive had the worst day working on the S15 ever!
Started off by removing the rear bumper, this took the piss as the stupid japanese clips at the top and bottom dont seem to want to come out?
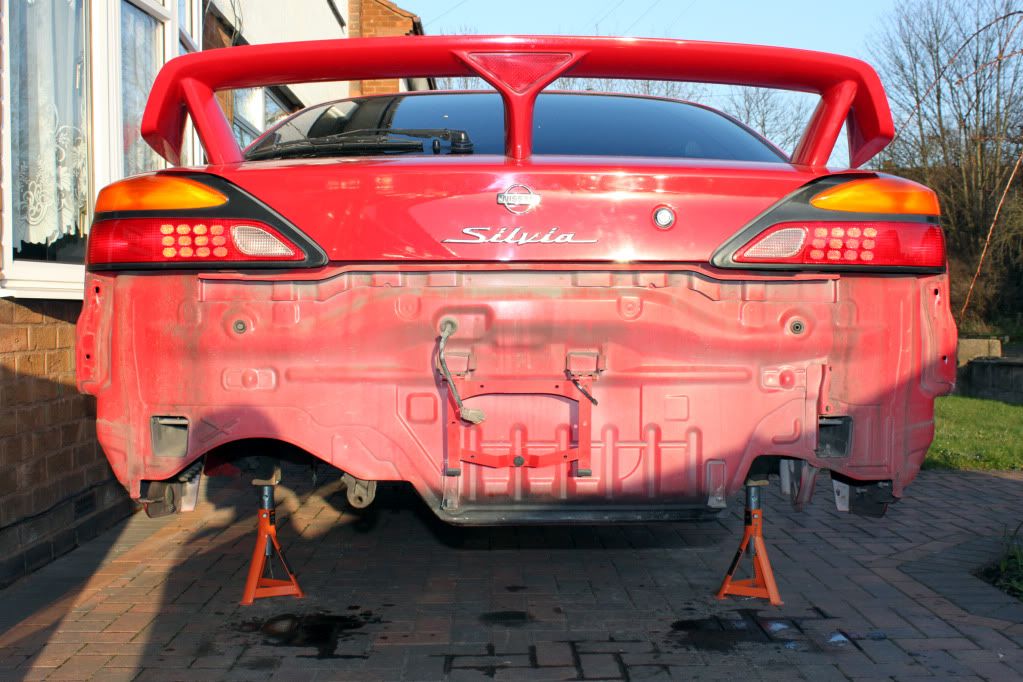
Next job was to remove the brake and fuel lines...
This is where it all went to piss!
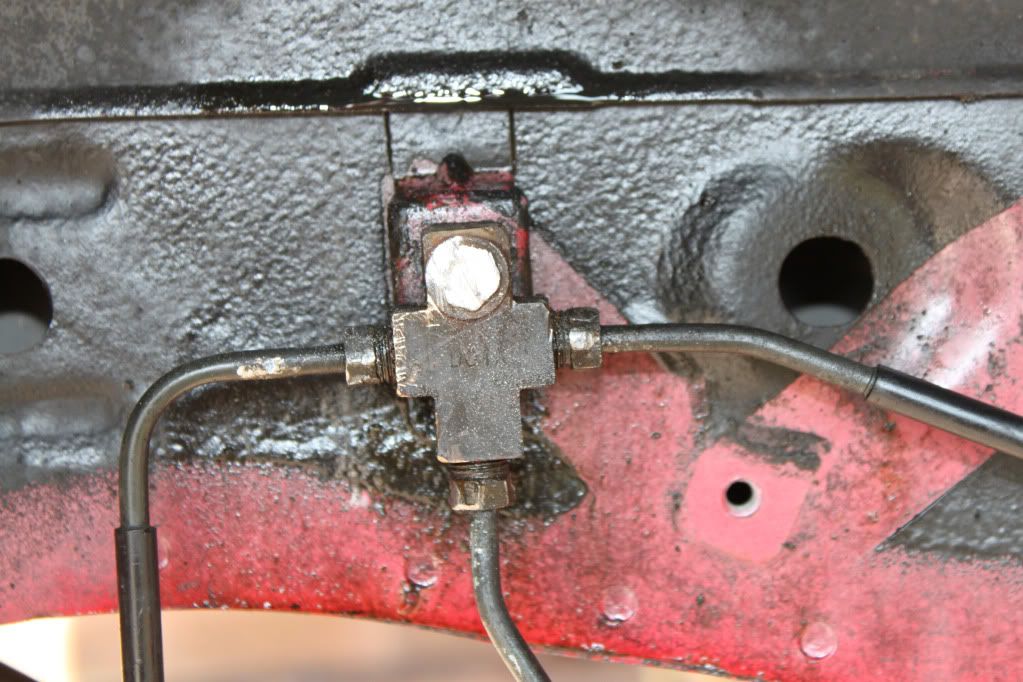
The screw which holts this t piece got rounded off fairly quickly...and so did all the other connections
This was due to using a normal 10mm as apposed to a 10mm flared spanner I think...
But yeh anyway I thought everything was messed up then and there was no way of removing any of the connections, I managed to undoo the passenger side connection so I just cut the brake line on the driver side so they could drop and used a saw to get the rounded screw off!
Much later I managed to remove the other end of the lines...I really didnt know how to go about this easily and the only way I could see possible was to remove the lines from filter and then seperate the hose next to it?
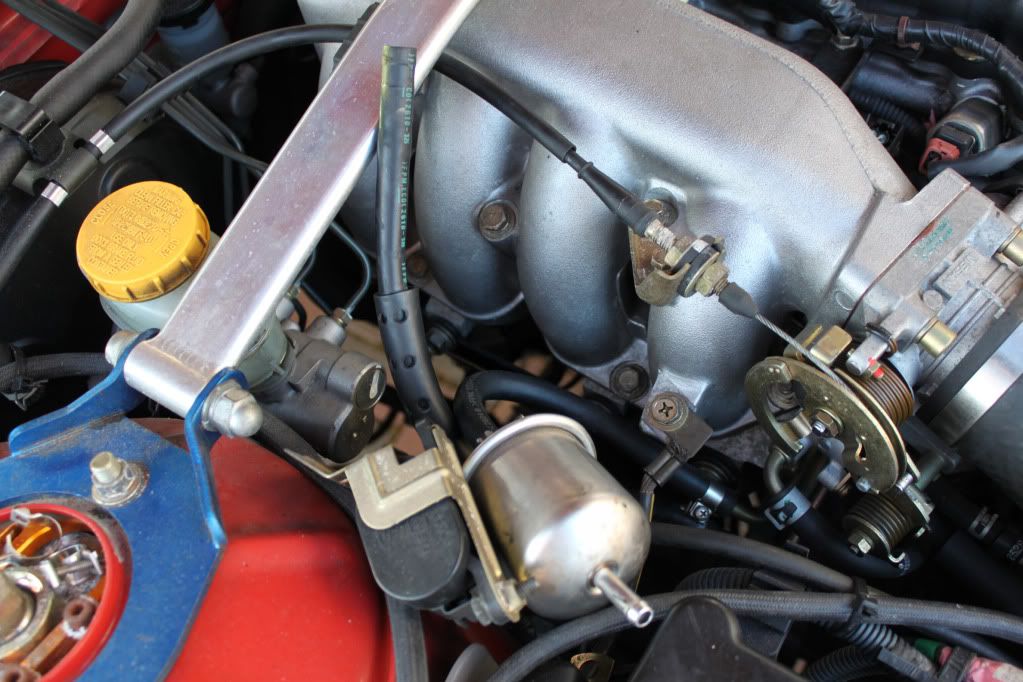
Got them off -
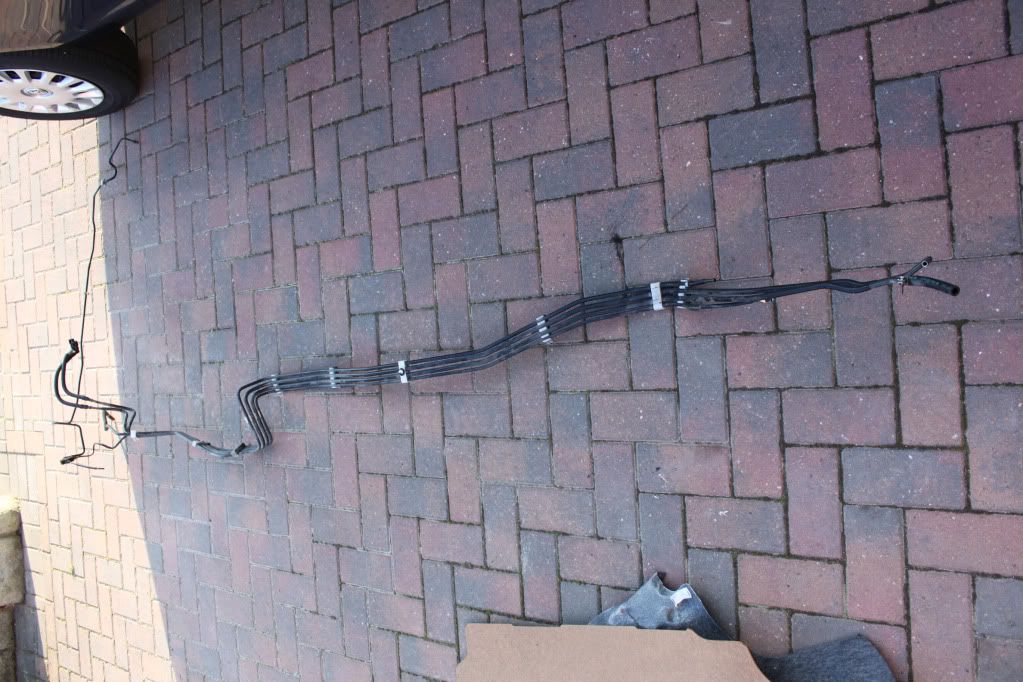
But im left with this now...
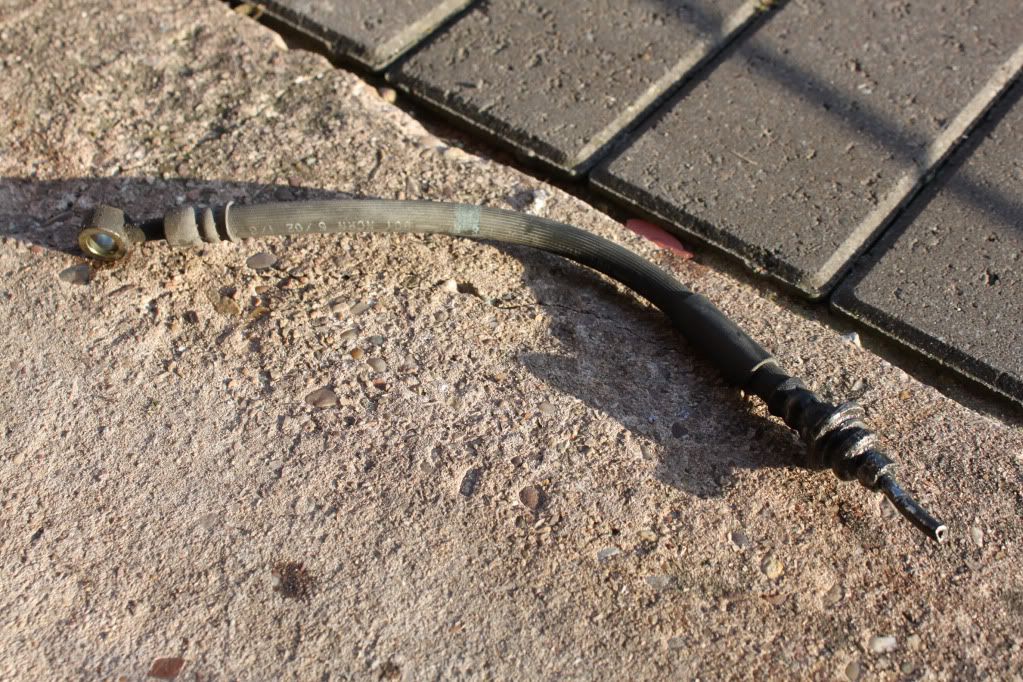
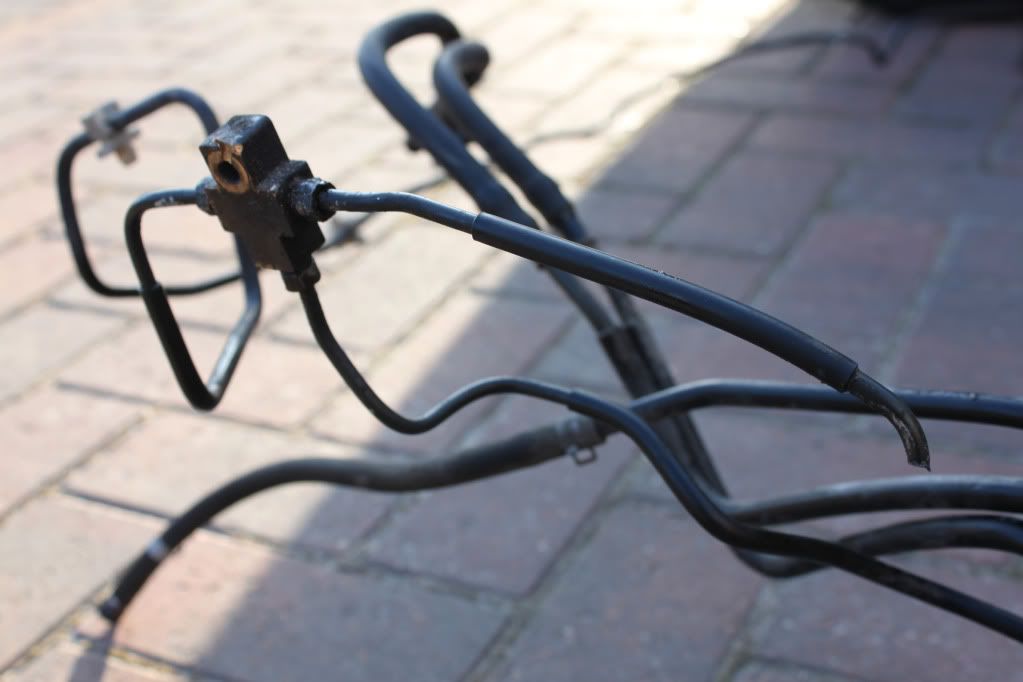
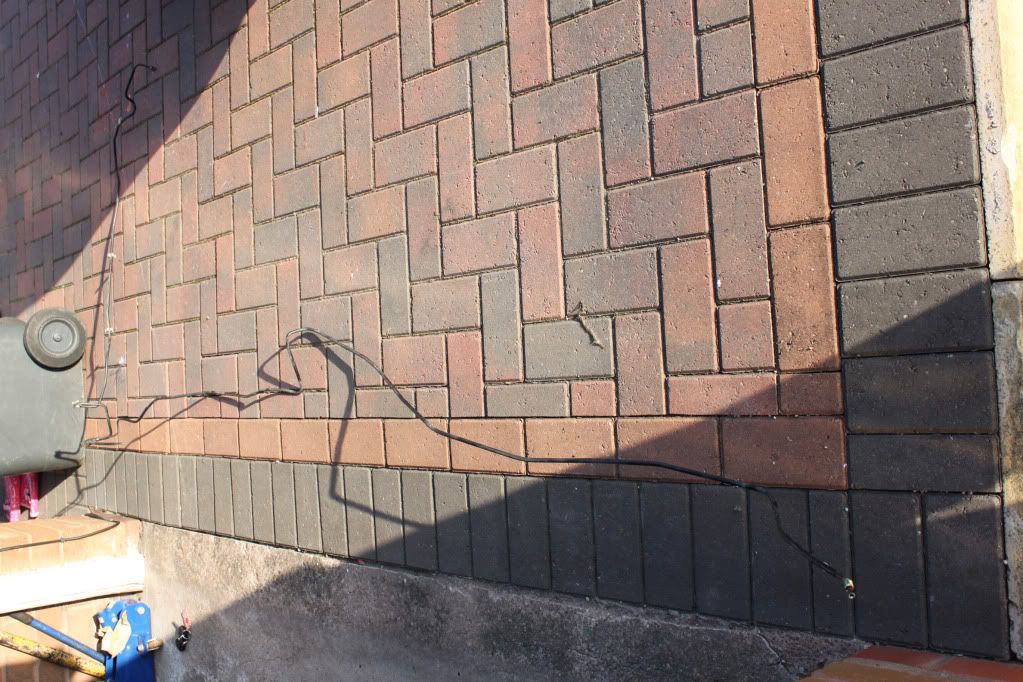
I need to make up a new brake line for the rear with new t piece and all new connections...im going to make a help thread about this so if you have any advice please let me know.
I really hate this now and wish I hadnt started.
Its all clear now and ready for prep work.
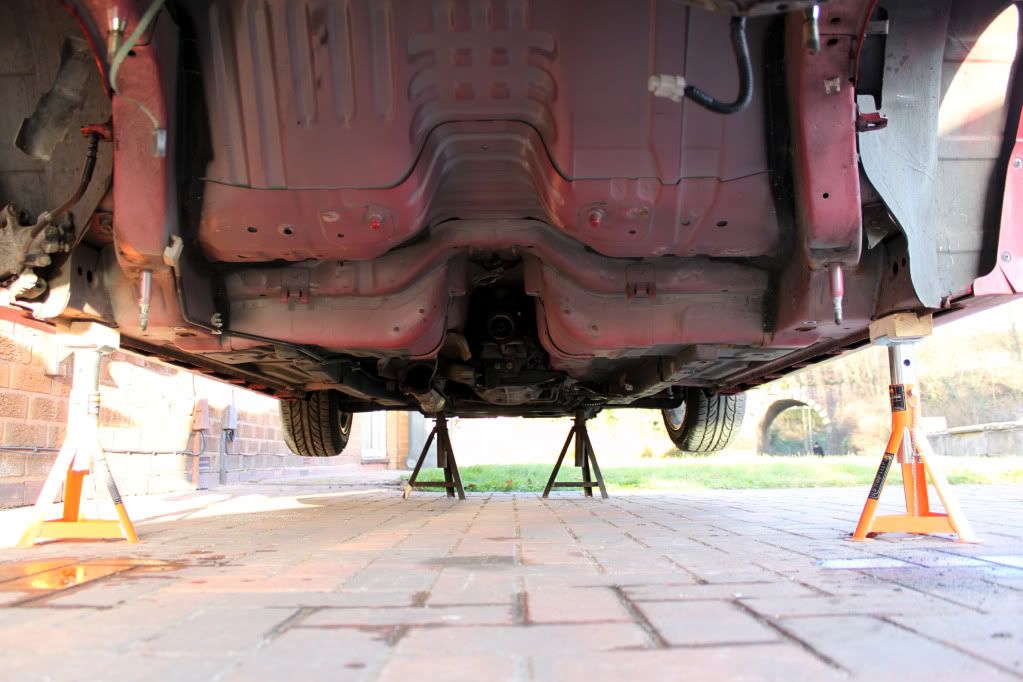
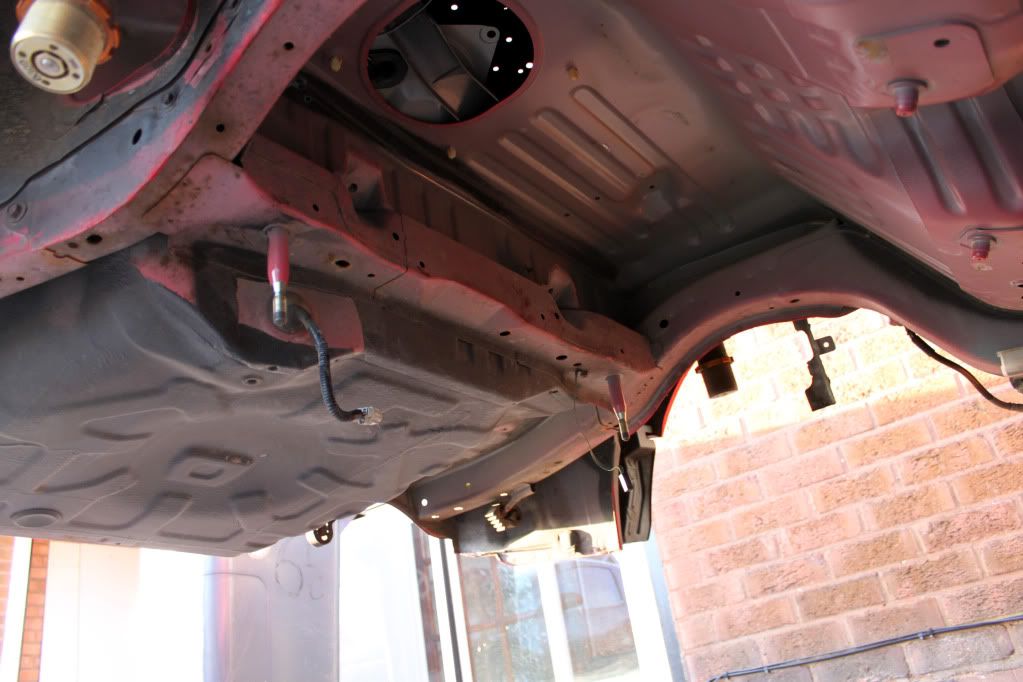
Gave it a quick wash -
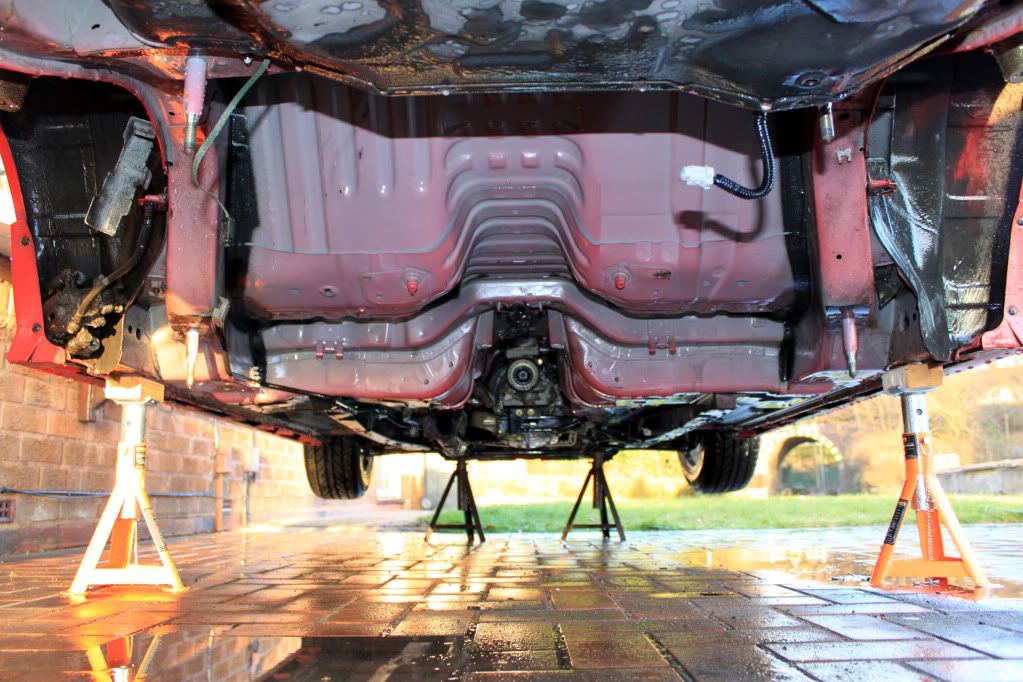
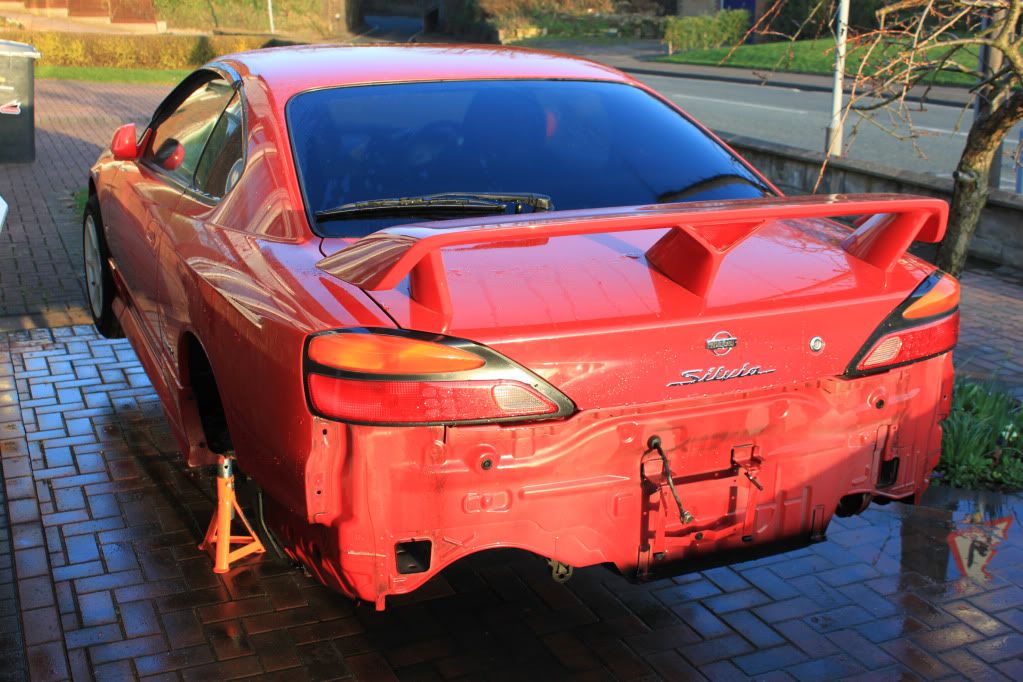
Does anyone know what this line is for?
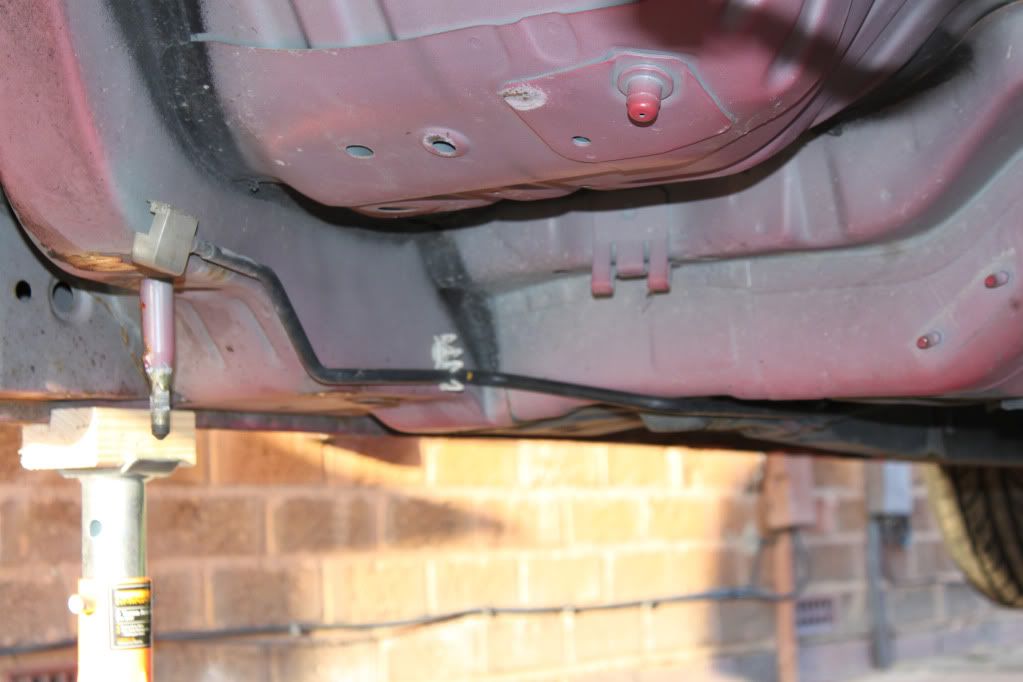
Cant remember now and cant figure out where it connects to?
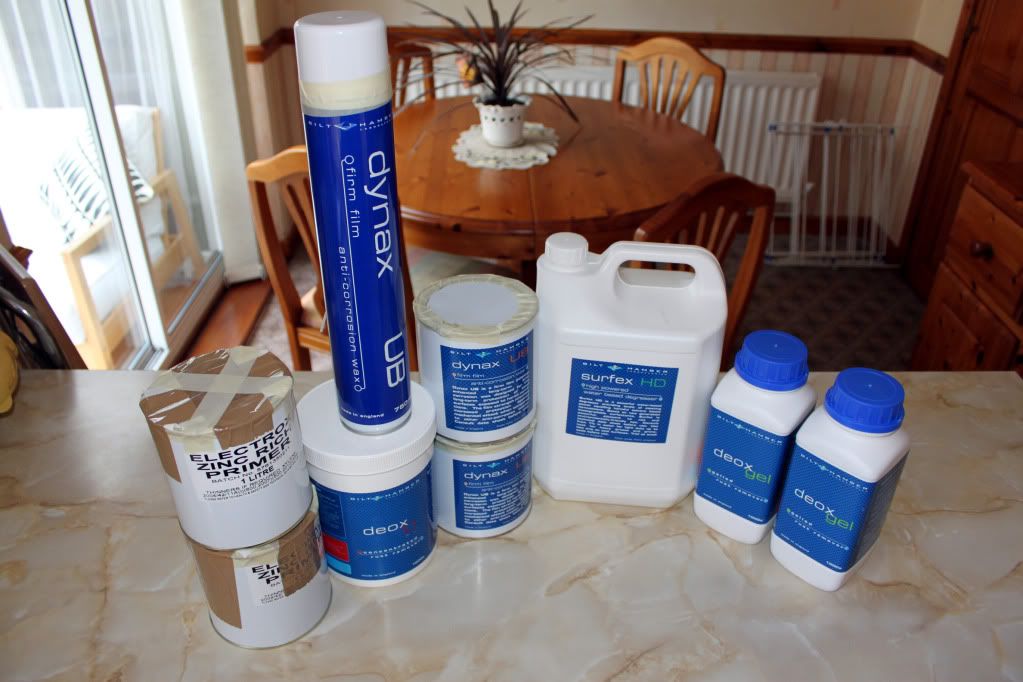
One good thing was my Bilt Hamber order turned up..shame they sent me a Dynax UB instead of S50 though
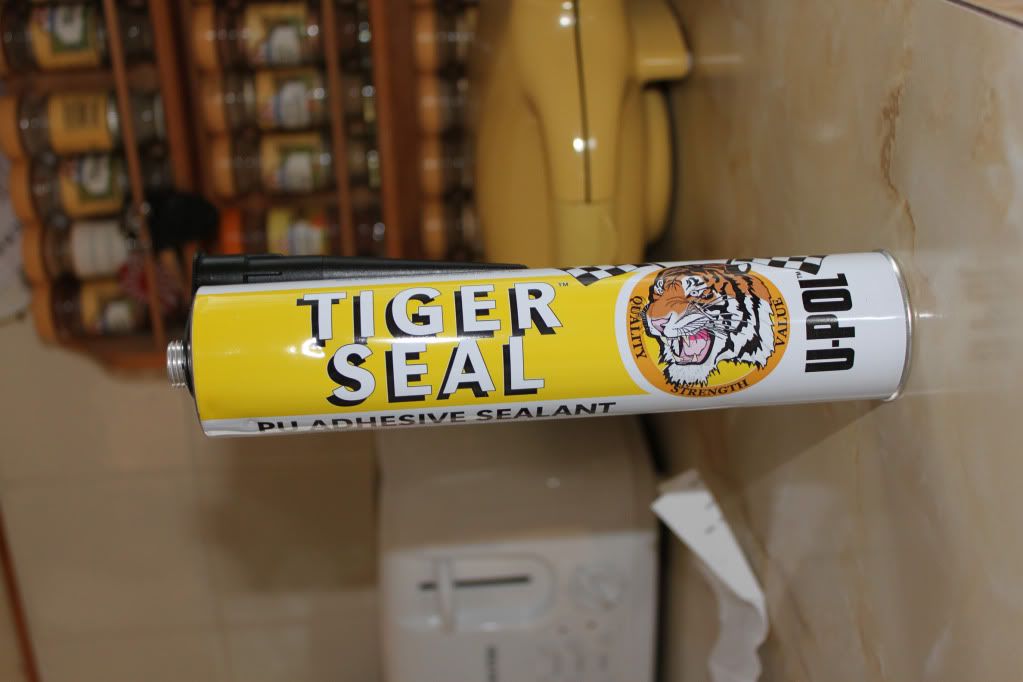
Got some Tiger Seal for the seams to -
Thats enough for today, and now I officially hate this car
Started off by removing the rear bumper, this took the piss as the stupid japanese clips at the top and bottom dont seem to want to come out?

Next job was to remove the brake and fuel lines...
This is where it all went to piss!

The screw which holts this t piece got rounded off fairly quickly...and so did all the other connections
This was due to using a normal 10mm as apposed to a 10mm flared spanner I think...
But yeh anyway I thought everything was messed up then and there was no way of removing any of the connections, I managed to undoo the passenger side connection so I just cut the brake line on the driver side so they could drop and used a saw to get the rounded screw off!
Much later I managed to remove the other end of the lines...I really didnt know how to go about this easily and the only way I could see possible was to remove the lines from filter and then seperate the hose next to it?

Got them off -

But im left with this now...


I need to make up a new brake line for the rear with new t piece and all new connections...im going to make a help thread about this so if you have any advice please let me know.
I really hate this now and wish I hadnt started.
Its all clear now and ready for prep work.


Gave it a quick wash -


Does anyone know what this line is for?

Cant remember now and cant figure out where it connects to?
One good thing was my Bilt Hamber order turned up..shame they sent me a Dynax UB instead of S50 though

Got some Tiger Seal for the seams to -

Thats enough for today, and now I officially hate this car
diamondsink
Kyouto Drift
Jesus if thats all it takes to make you hate it, you got a long way to go.
You could have just used a pair of mole grips on those unions. You can do it with out damaging it to much so it can still be used. Or gone and bought a brake union spanner.
That pipe is a fuel tank breather. It run from the tank to the engine bay (with the other fuel pipes.) Then to the carbon canister, then back to the rear. I ripped the whole lot out. And vented the tank at the rear.
Keep it up, it will be worth it.
Papercutout
Active Member
You're definitely not at the car-hating stage IMO! Now it's pretty easy - paint or underseal the underside, get the bottoms of those coilovers welded and the subframe etc powdercoated then refit everything! As well as making new brake lines, just buy unions, copper tube and a brake pipe flaring tool.
Sounds easy to me - you should be grateful you don't have 50%+ of your bolts seized like most of us (e.g. I removed my front bumper the other day and all but 2 bolts sheared)
Sounds easy to me - you should be grateful you don't have 50%+ of your bolts seized like most of us
 (e.g. I removed my front bumper the other day and all but 2 bolts sheared)
Fruitbooter
Member
I think hates a strong word haha  mabi I dont hate it..I was just really annoid yesterday as I managed to get all the heavy tight stuff off then a few stupid brake unions round on me and make the job harder!
Ive been told to contact DB-Power as they do a full braided line kit I can buy which is a straight fit from the rear of the abs pump to a new rear t piece and then the other 2 hoses which go to each side. I wish I had the cash to buy a new big brake setup as my discs and calipers are looking a bit sorry for themselves atm
 mabi I dont hate it..I was just really annoid yesterday as I managed to get all the heavy tight stuff off then a few stupid brake unions round on me and make the job harder!
 Ive been told to contact DB-Power as they do a full braided line kit I can buy which is a straight fit from the rear of the abs pump to a new rear t piece and then the other 2 hoses which go to each side. I wish I had the cash to buy a new big brake setup as my discs and calipers are looking a bit sorry for themselves atm

Fruitbooter
Member
More progress -
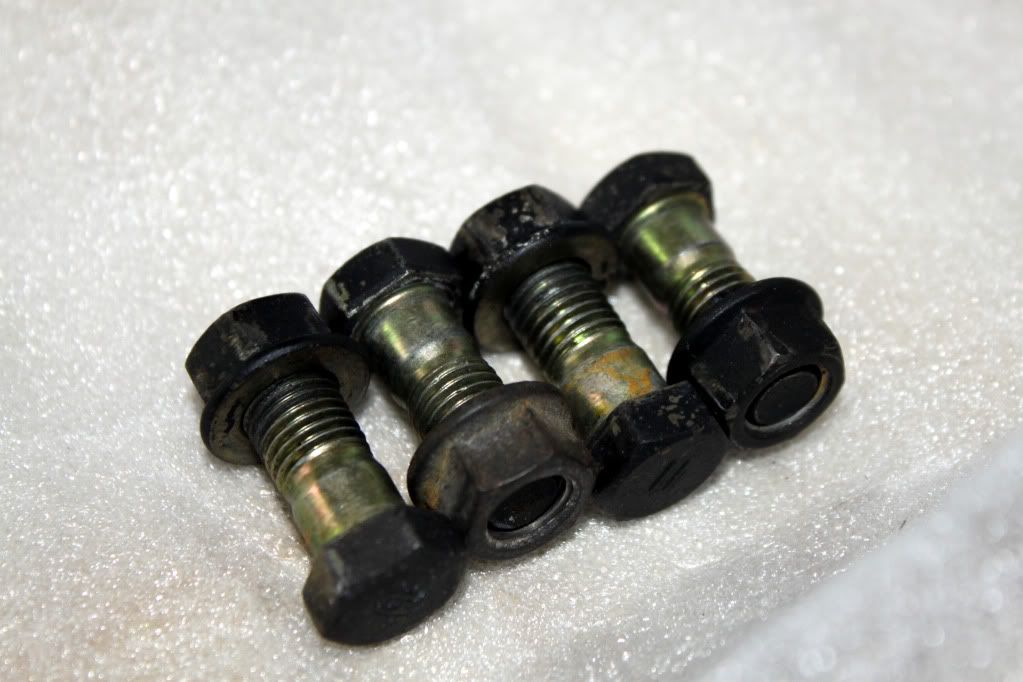
Got myself some more prop to diff bolts from japperformanceparts
Started the prep work now, which I thought is the easy bit...but tbh rubbing down for a few hours starts to ache your arms after a bit
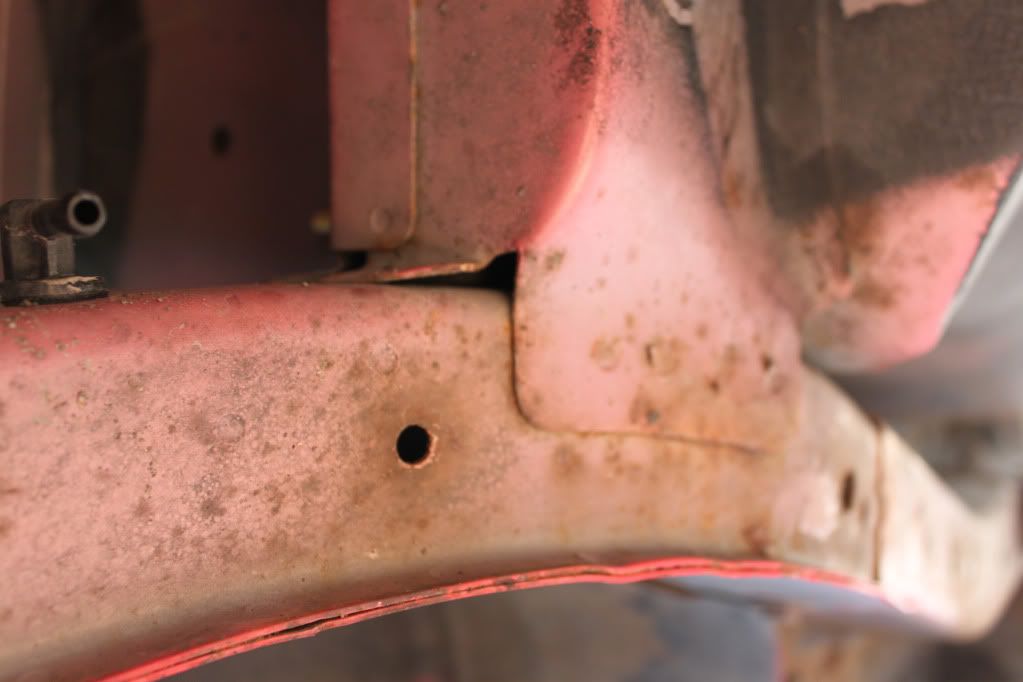
The whole underside needs treating but there are a few main areas like so -
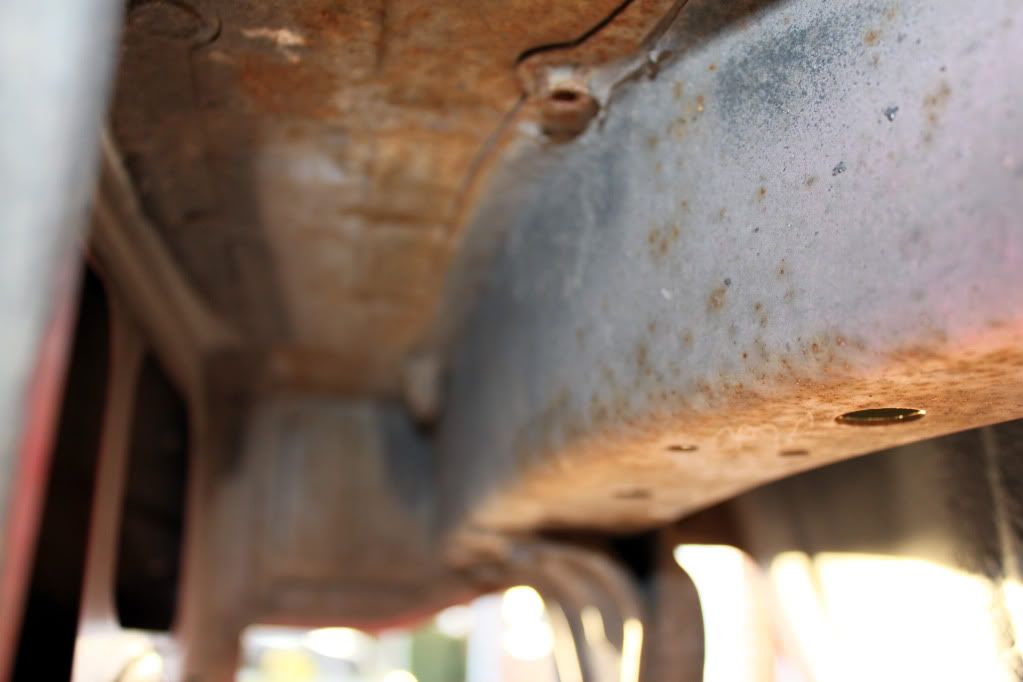
I began to rub down using a wire brush and made a good start -
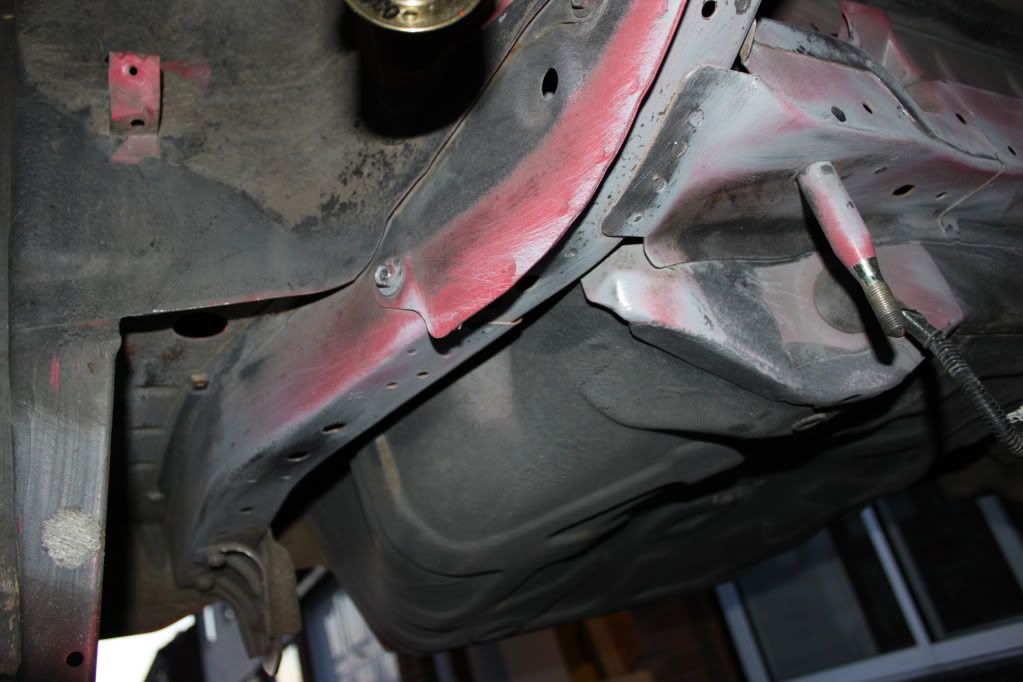
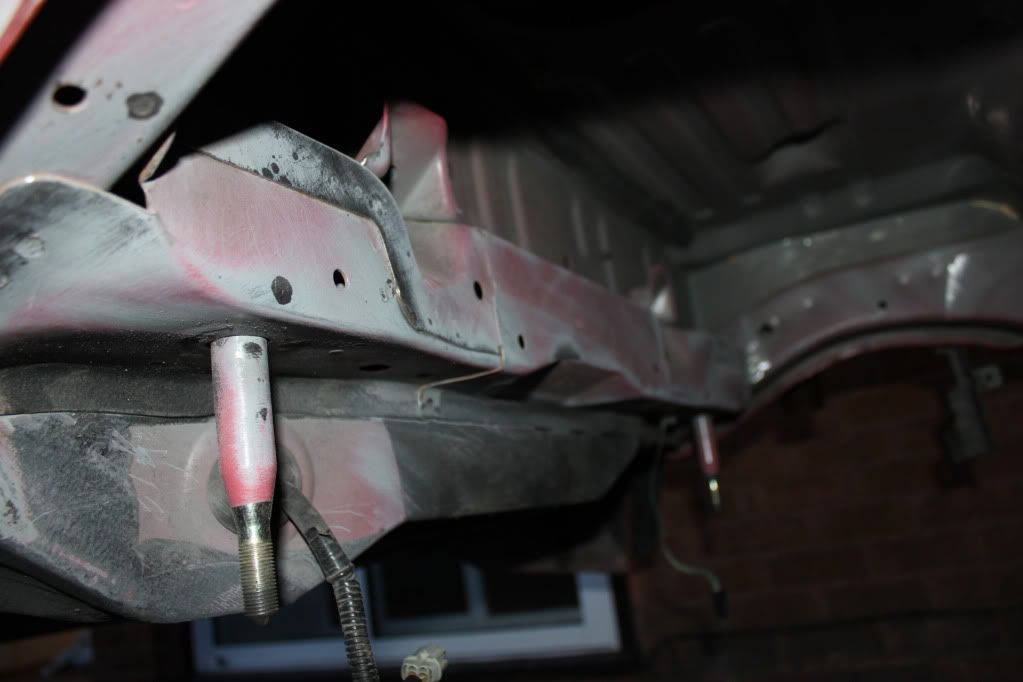

Then I decided to switch to electric for a bit
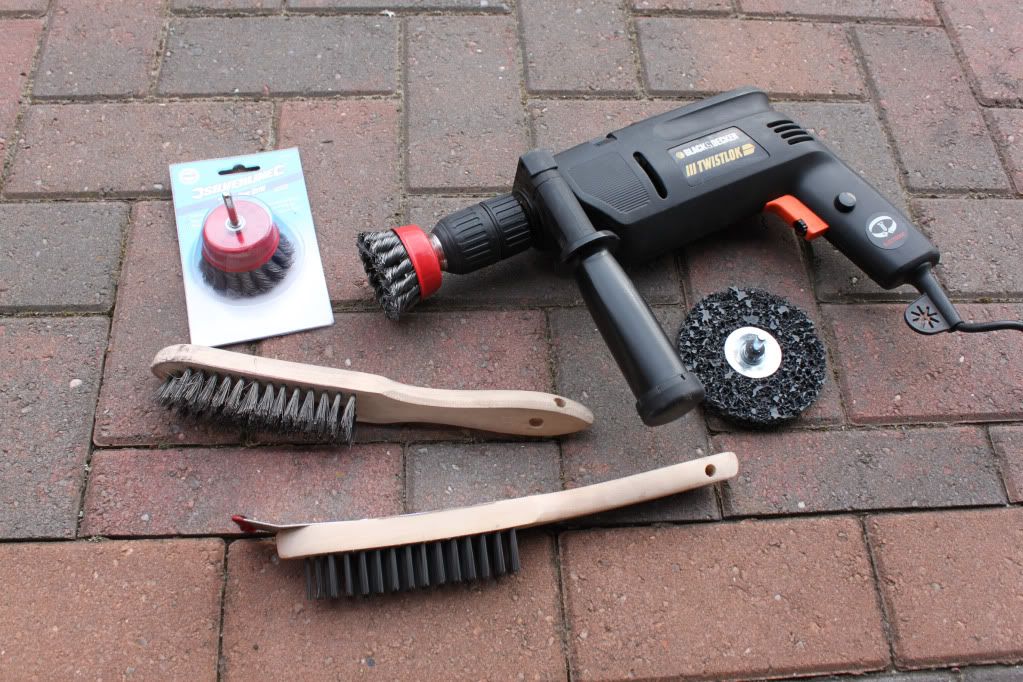
This baby looks like it could do some damage on a high power drill
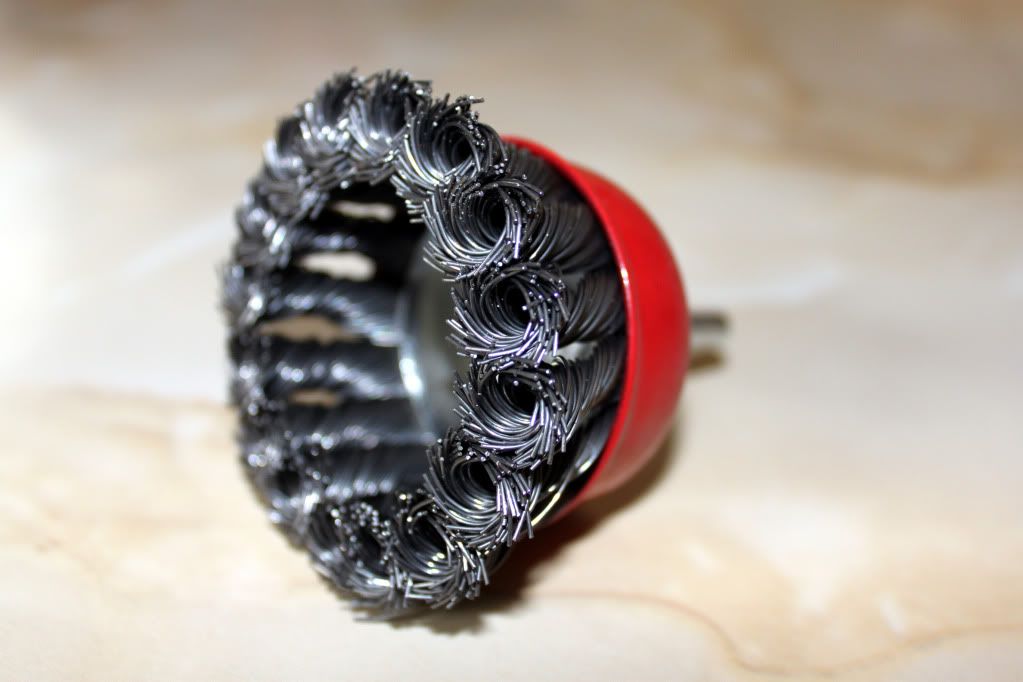
and so it did...
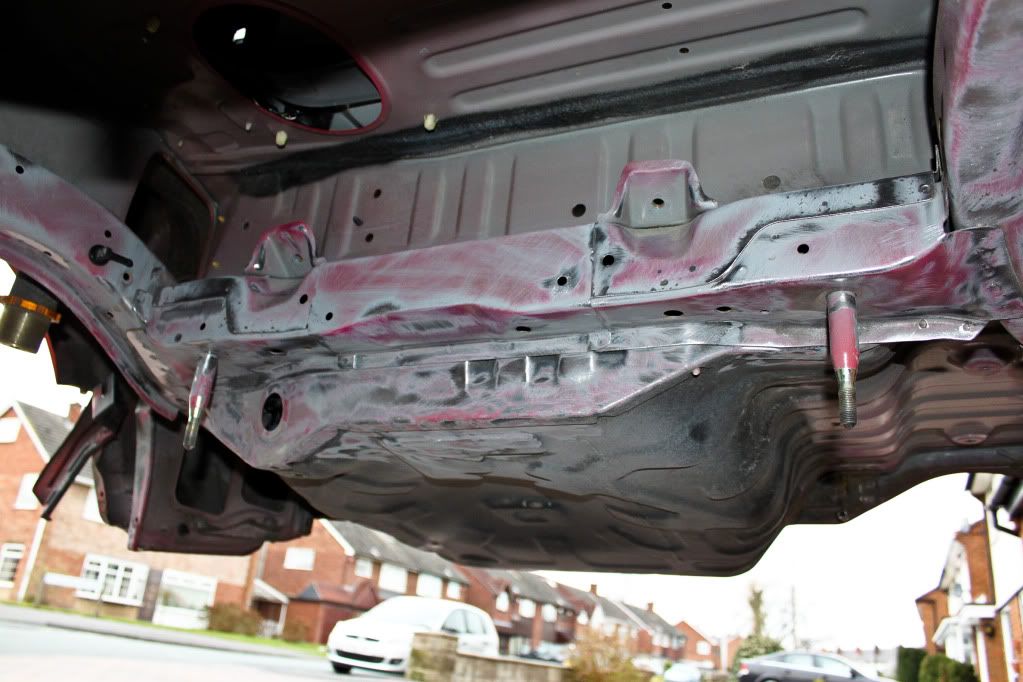
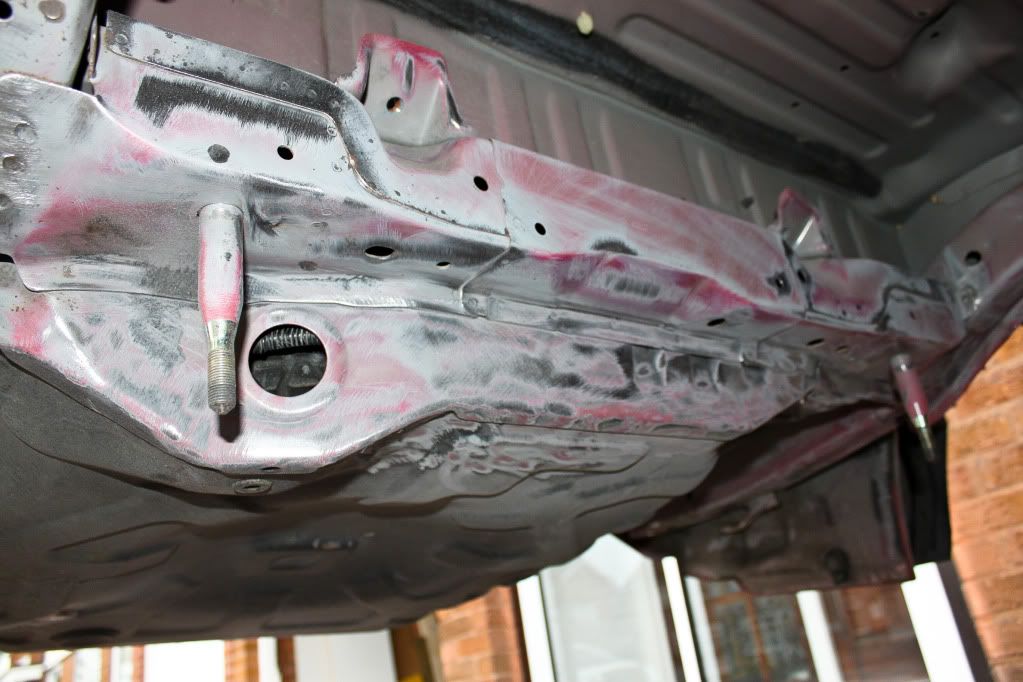
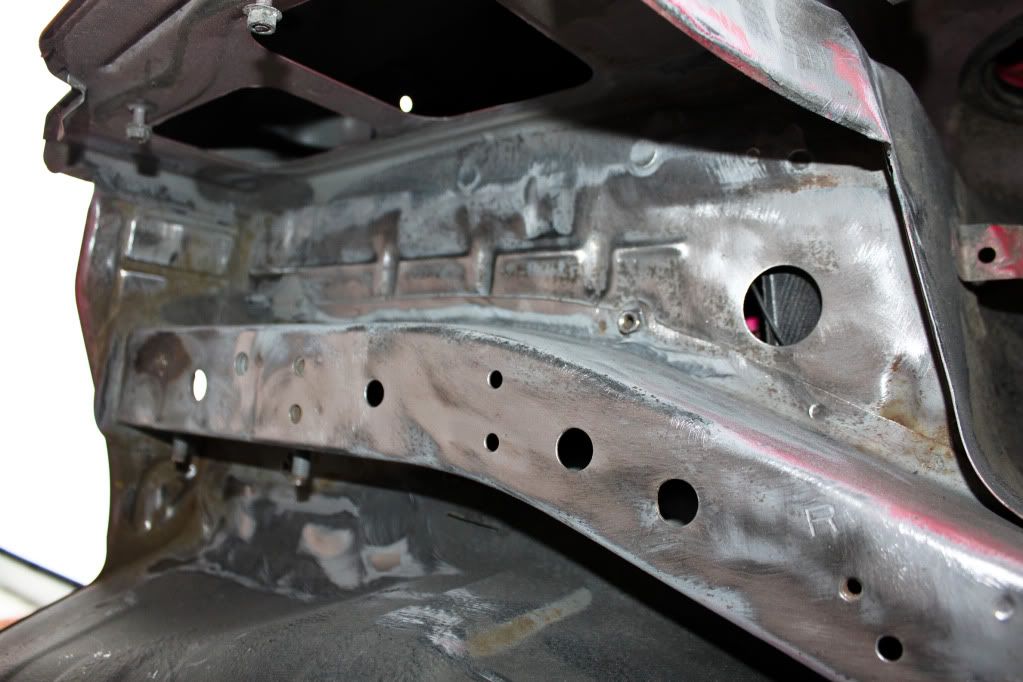
I need to pay a few more visits to the car and continue rubbing down..get most of it off I can then I will wash it down with Surfex HD from Bilt Hamber and then apply the Deox Gel to the hard to get / stubborn places. After that and im satisfied with the results I will move on to priming with Electrox.
Got myself some more prop to diff bolts from japperformanceparts


Started the prep work now, which I thought is the easy bit...but tbh rubbing down for a few hours starts to ache your arms after a bit

The whole underside needs treating but there are a few main areas like so -


I began to rub down using a wire brush and made a good start -


Then I decided to switch to electric for a bit


This baby looks like it could do some damage on a high power drill


and so it did...


I need to pay a few more visits to the car and continue rubbing down..get most of it off I can then I will wash it down with Surfex HD from Bilt Hamber and then apply the Deox Gel to the hard to get / stubborn places. After that and im satisfied with the results I will move on to priming with Electrox.
Fruitbooter
Member
More progress over the last few days -
Got rid off all the underseal that was on the wheel well -
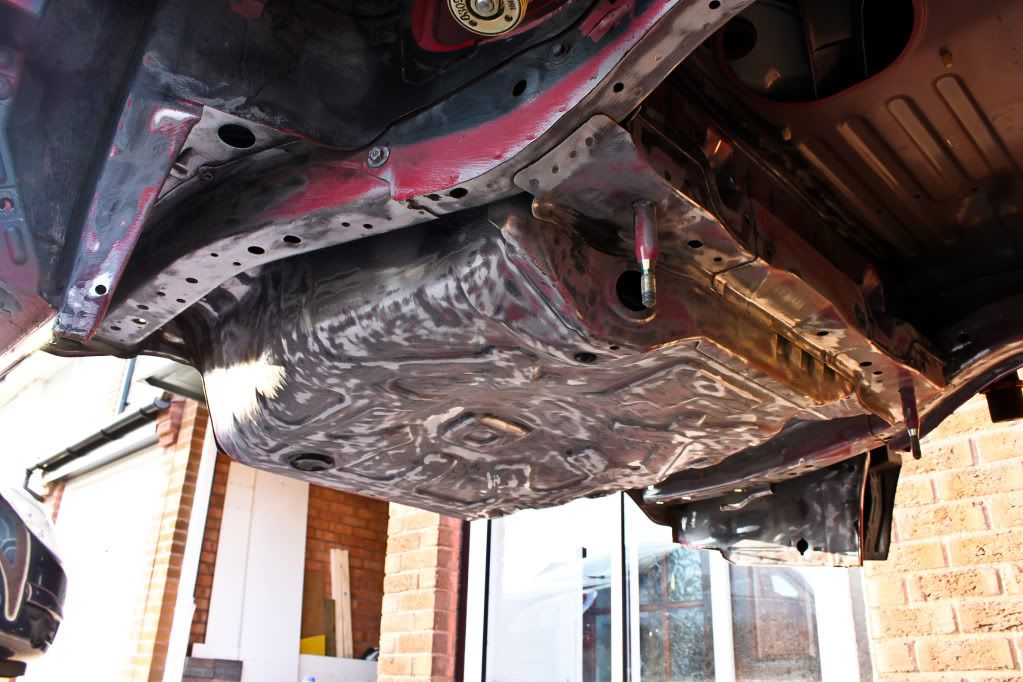
Andeep you were very right about bare metal rusting quickly! I went back the day after doing some work and washing it off (I also dried it the best I could too) and there was loads more rust starting to form! I was like omg its a never ending battle!
So i got rid off all the new bits and begin getting rid of more and more...
After what seemed like forever grinding etc I was left with bits that just couldnt be removed due to the complete awkwardness of where it is -
Such as
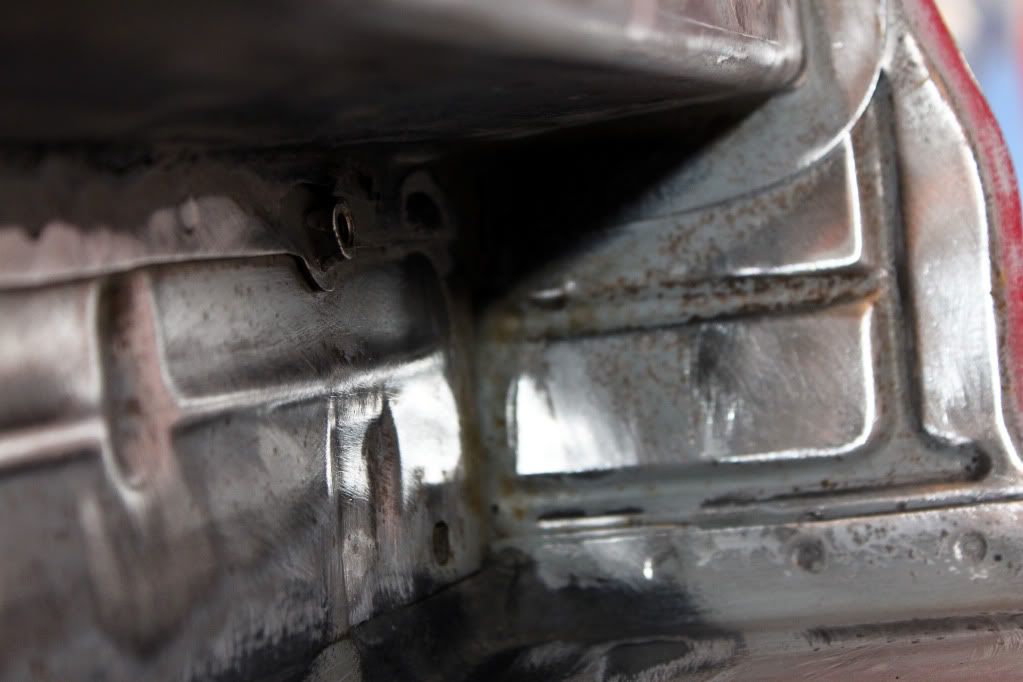
So I thought it was time to use the Deox Gel
I put it on pretty much all of the back end for 2 reasons -
1. So the bits I would be painting first would be 99% rust free
2. To try and stop it rusting before the next time I go back! :|
I then wrapped it in cling film so it doesnt dry out as much.
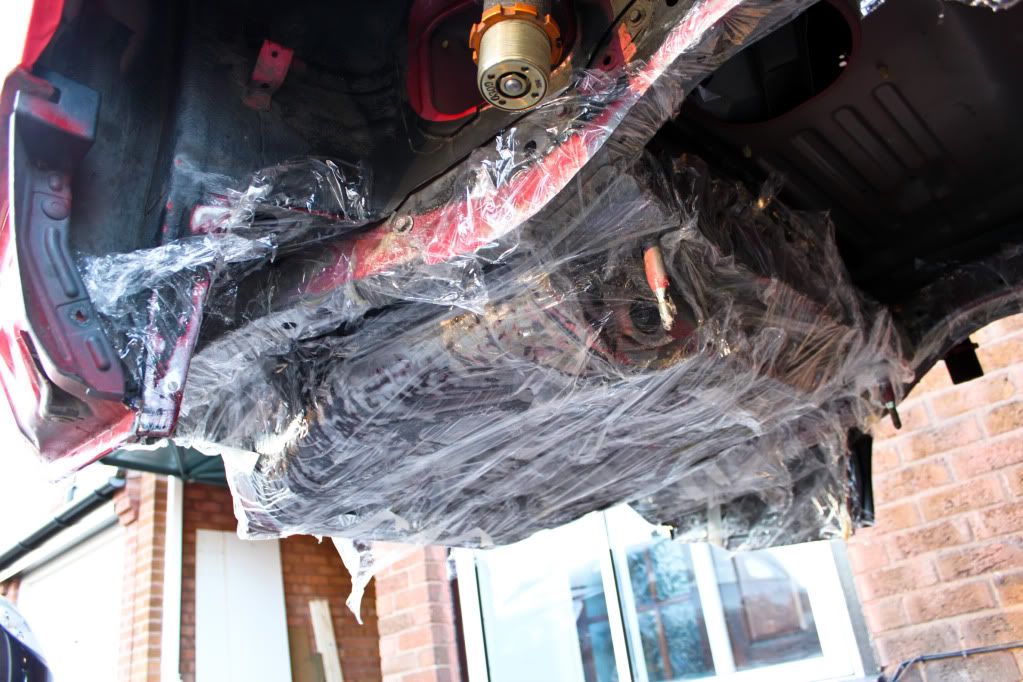
This is what I was left with after removing the cling film this morning, this is after 30 odd hours
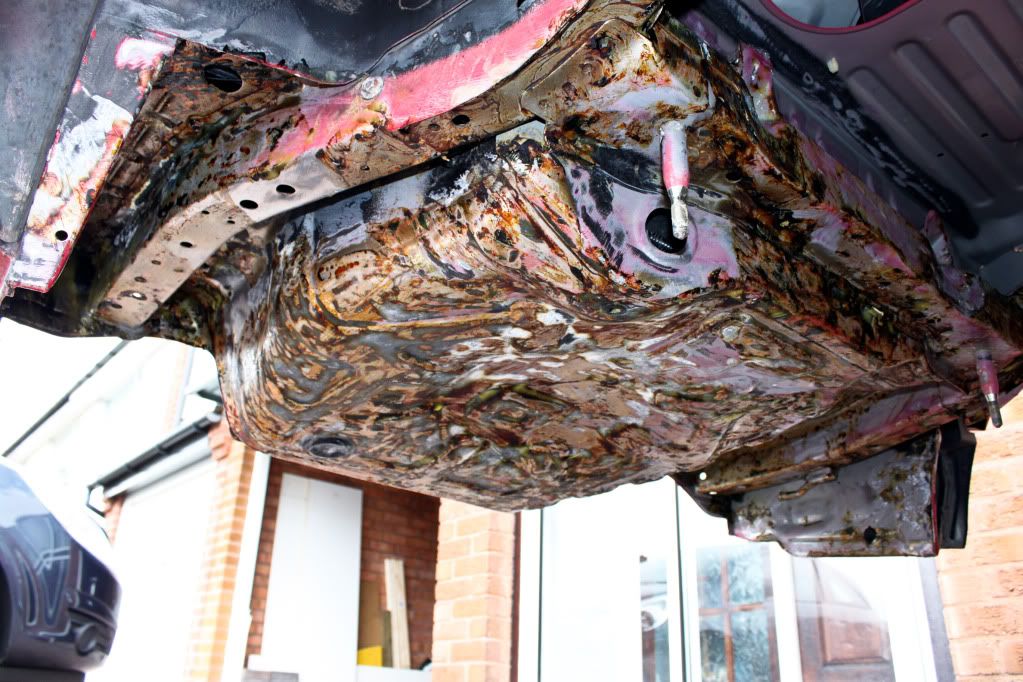
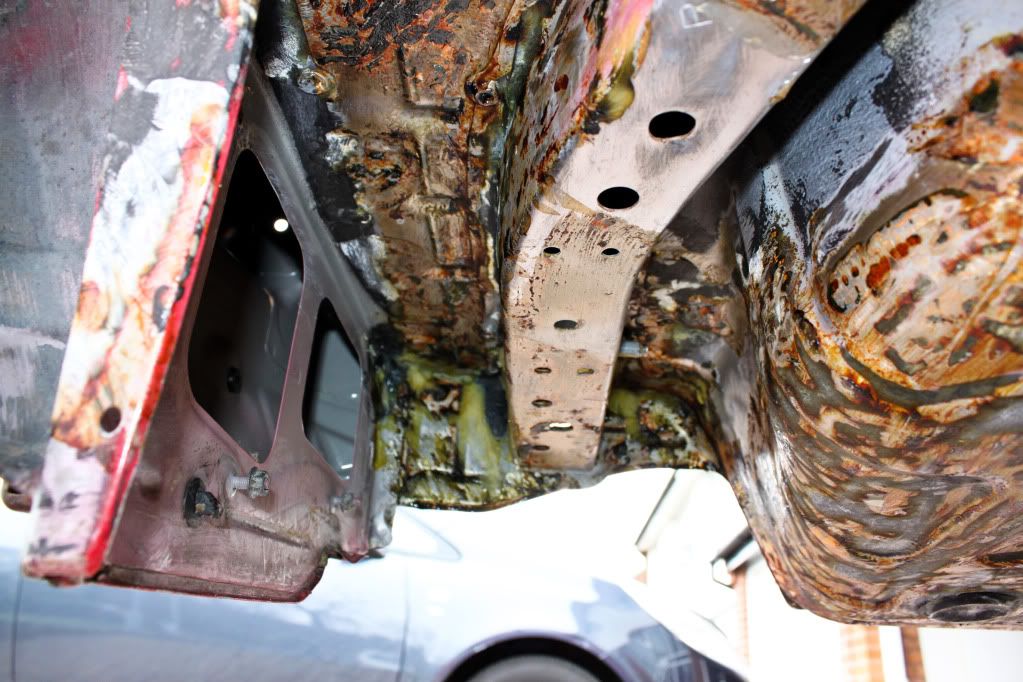
My first reaction was It looks like its got worse...
But I began scrubbing and it came off with a little work
After scrubbing for a few hours with brillo pads, a wire brush and a decent mixture of hot water and Surfex HD it was left looking fab!
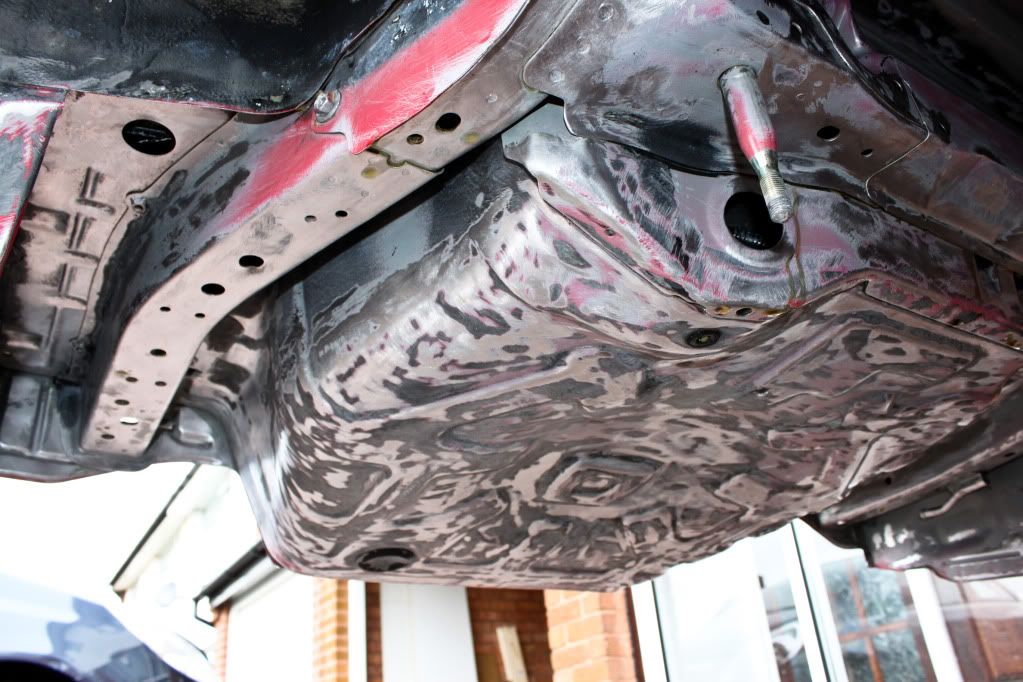
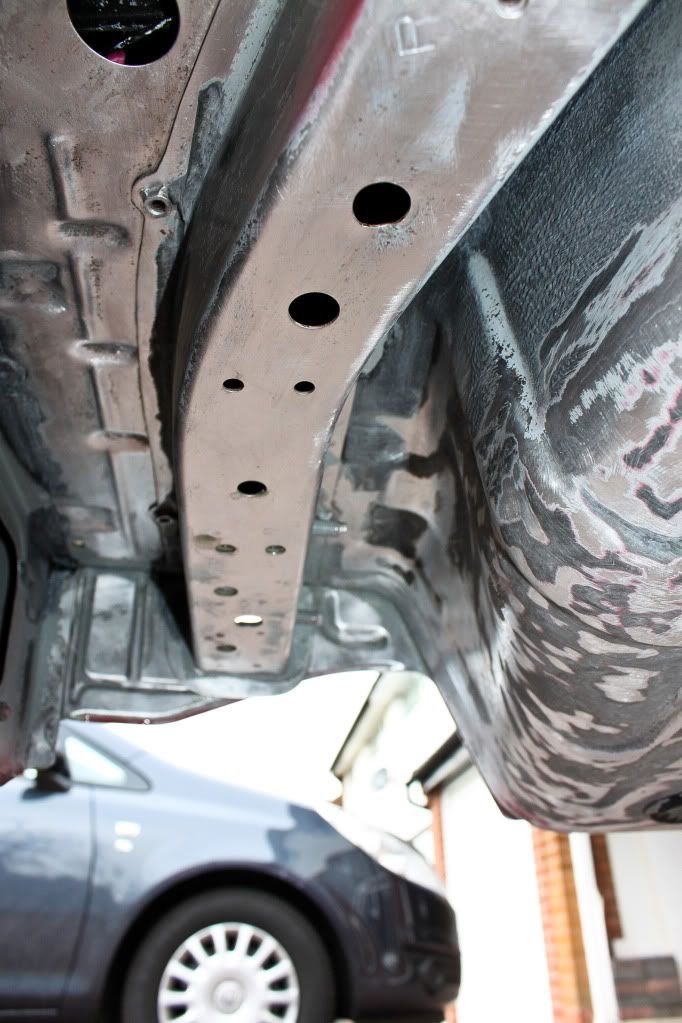
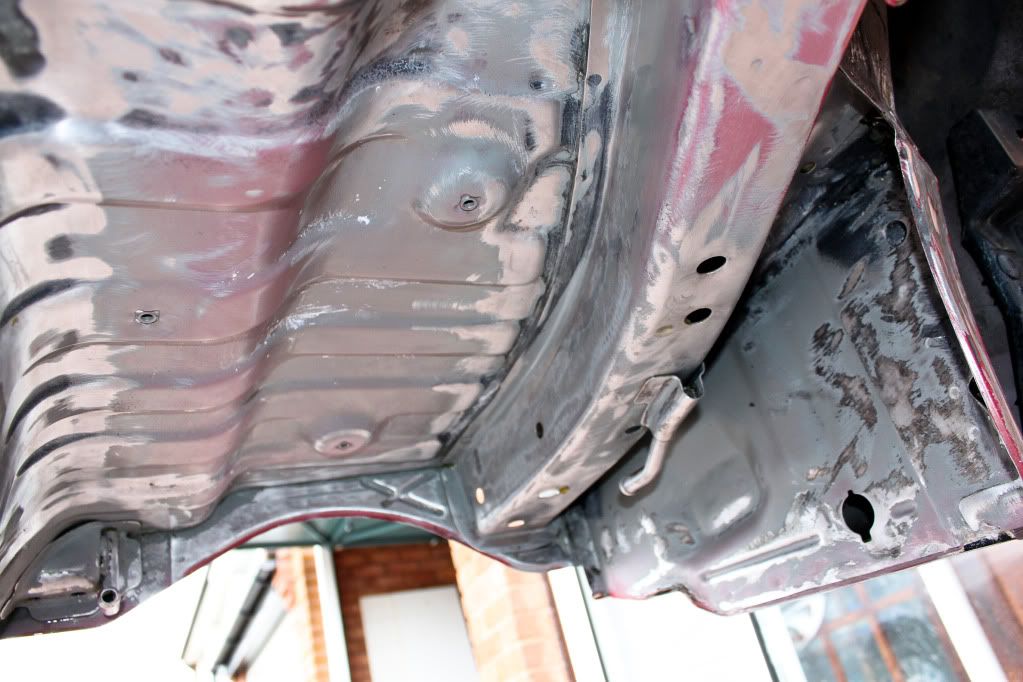
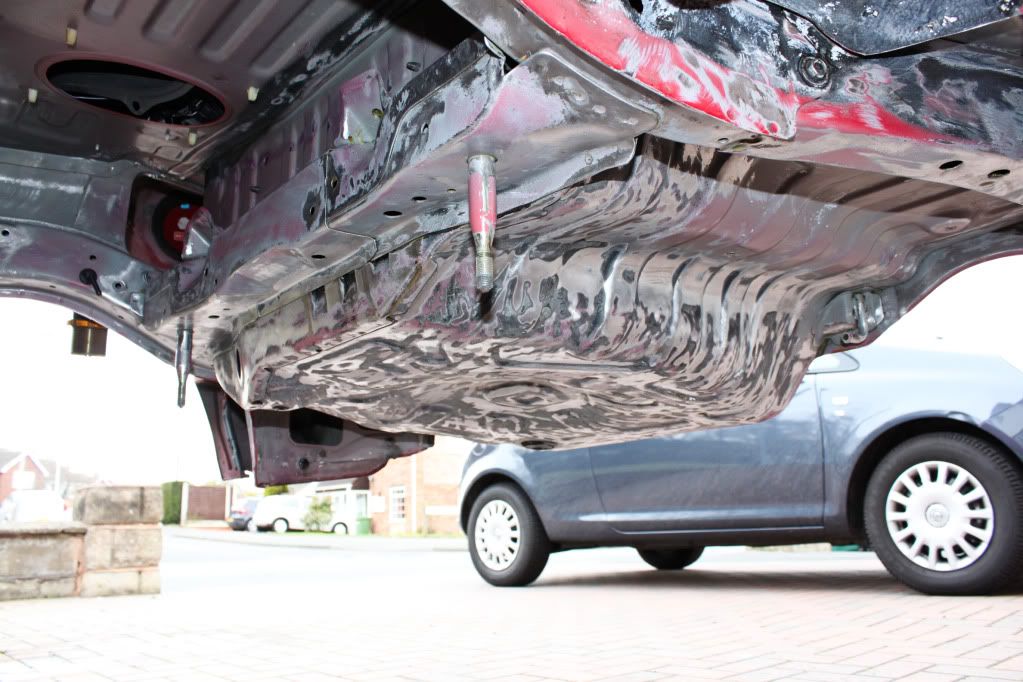
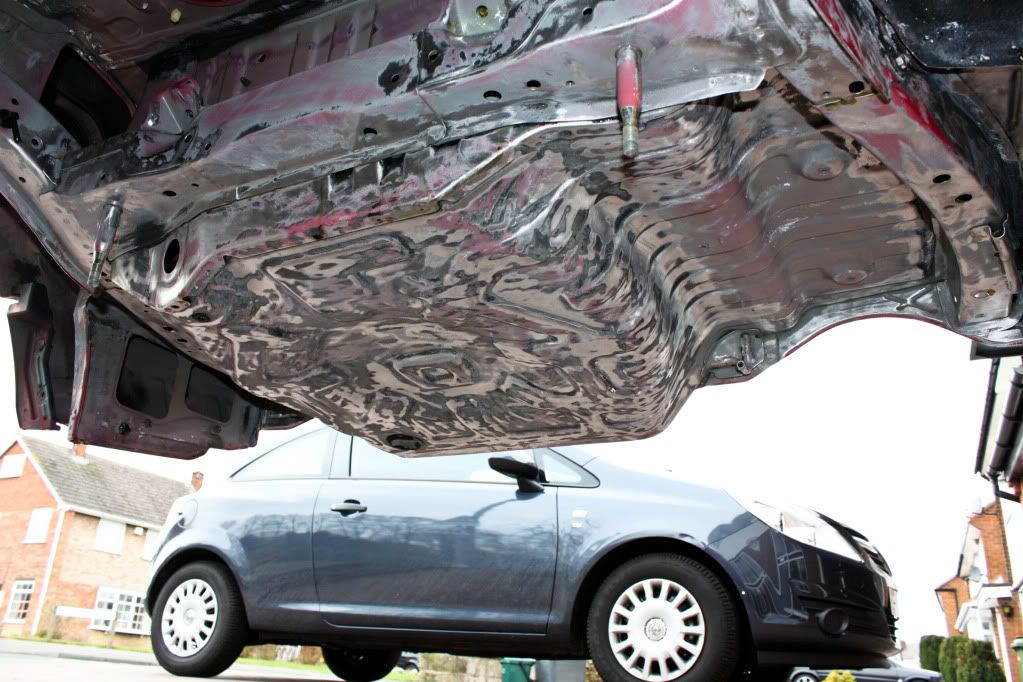
Im going back Tuesday to paint the back section so ive put another coat of Dexo Gel on to hopefuly prevent it rusting....
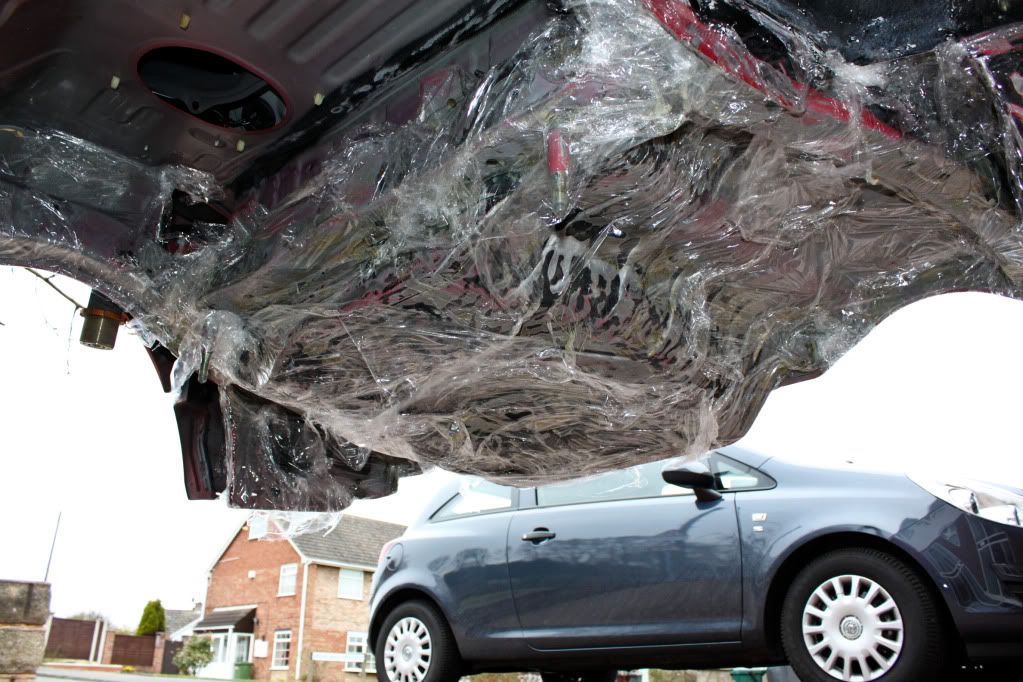
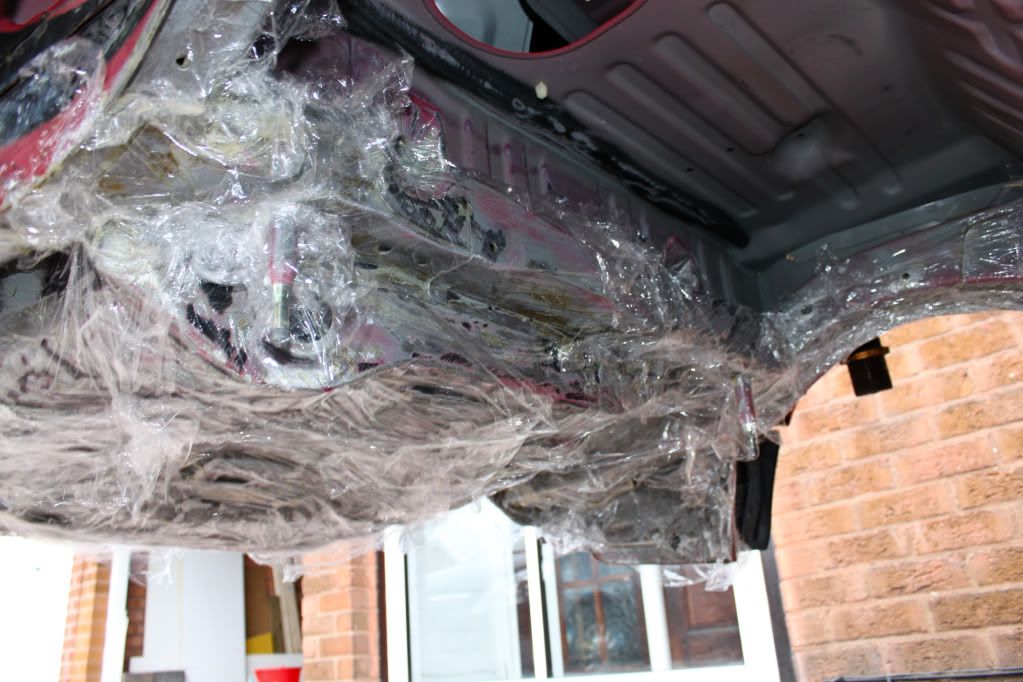
Im looking forward to painting it as I can leave it then and work on other areas without worrying its going to rust!
Got rid off all the underseal that was on the wheel well -

Andeep you were very right about bare metal rusting quickly! I went back the day after doing some work and washing it off (I also dried it the best I could too) and there was loads more rust starting to form! I was like
 omg its a never ending battle!
 So i got rid off all the new bits and begin getting rid of more and more...
After what seemed like forever grinding etc I was left with bits that just couldnt be removed due to the complete awkwardness of where it is -
Such as

So I thought it was time to use the Deox Gel

I put it on pretty much all of the back end for 2 reasons -
1. So the bits I would be painting first would be 99% rust free
2. To try and stop it rusting before the next time I go back! :|
I then wrapped it in cling film so it doesnt dry out as much.

This is what I was left with after removing the cling film this morning, this is after 30 odd hours


My first reaction was
 It looks like its got worse...
But I began scrubbing and it came off with a little work

After scrubbing for a few hours with brillo pads, a wire brush and a decent mixture of hot water and Surfex HD it was left looking fab!


Im going back Tuesday to paint the back section so ive put another coat of Dexo Gel on to hopefuly prevent it rusting....


Im looking forward to painting it as I can leave it then and work on other areas without worrying its going to rust!
Fruitbooter
Member
I first cleaned all the Deox gel off and gave it a good wash, this took the best part 3-4 hours surprisingly! Made sure it was as good as I could get, then I dried it all off using a drying towel and a heat gun.
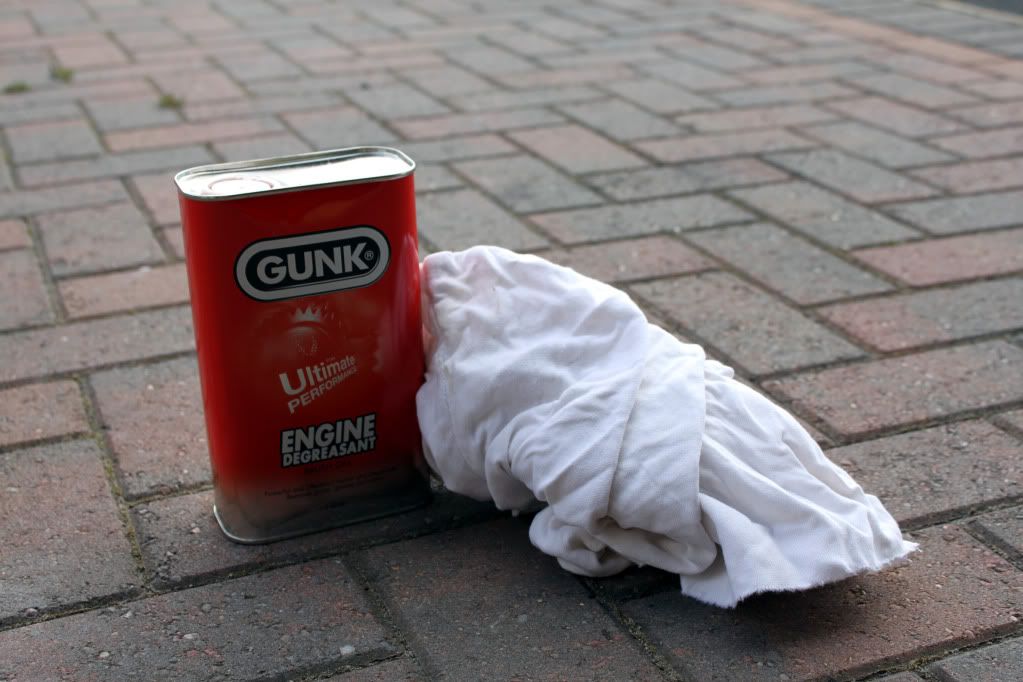
I was then ready to de-grease the area that was going to get painted.
The rear of the car behind the bumper was in near perfect condition so I just cleaned it and grinded a few areas that look like a potential risk -
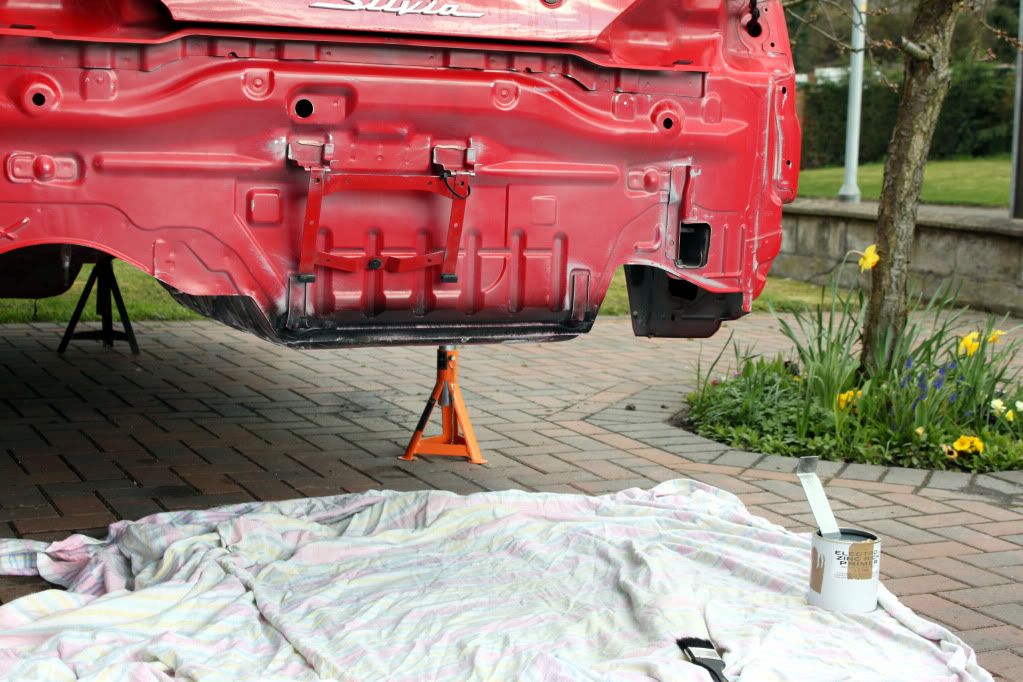
I was then ready to paint -
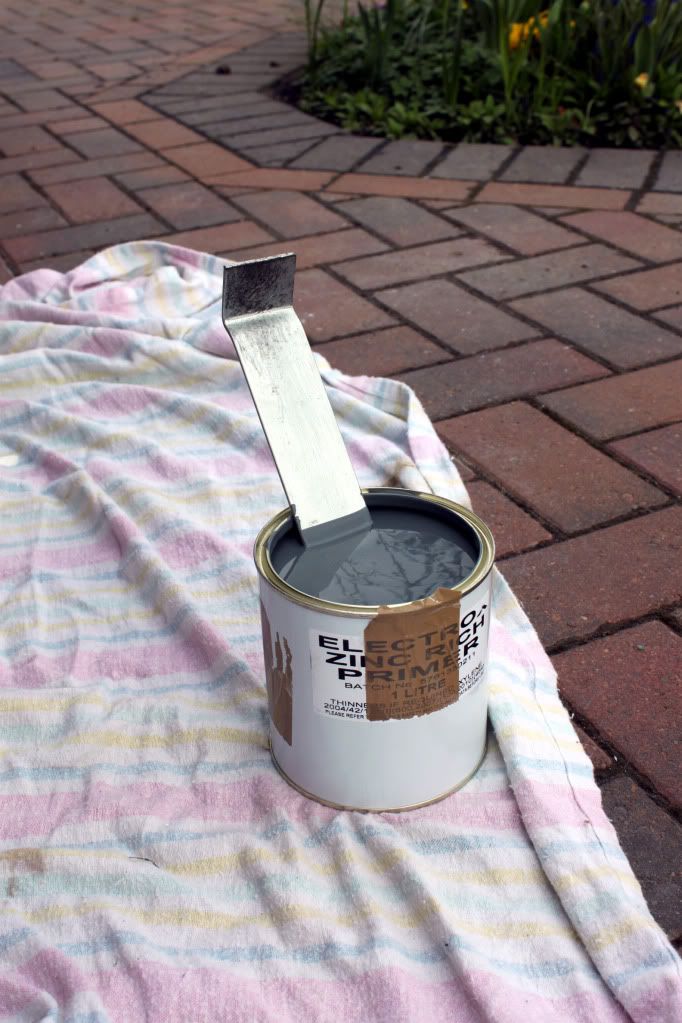
It says you have to stir the primer well before and during use!
Done -
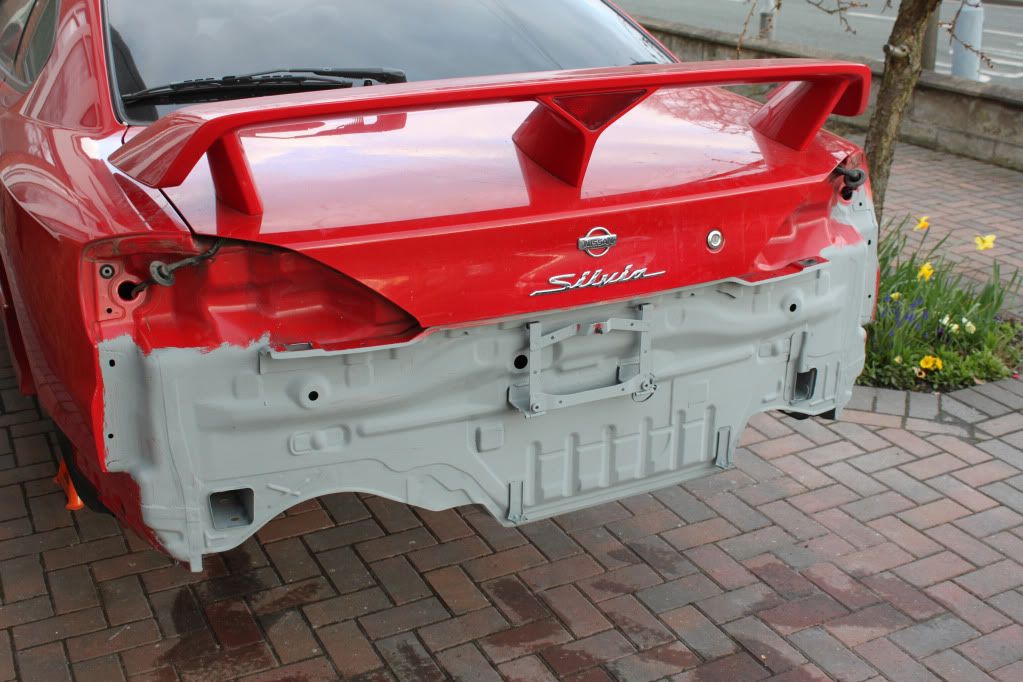
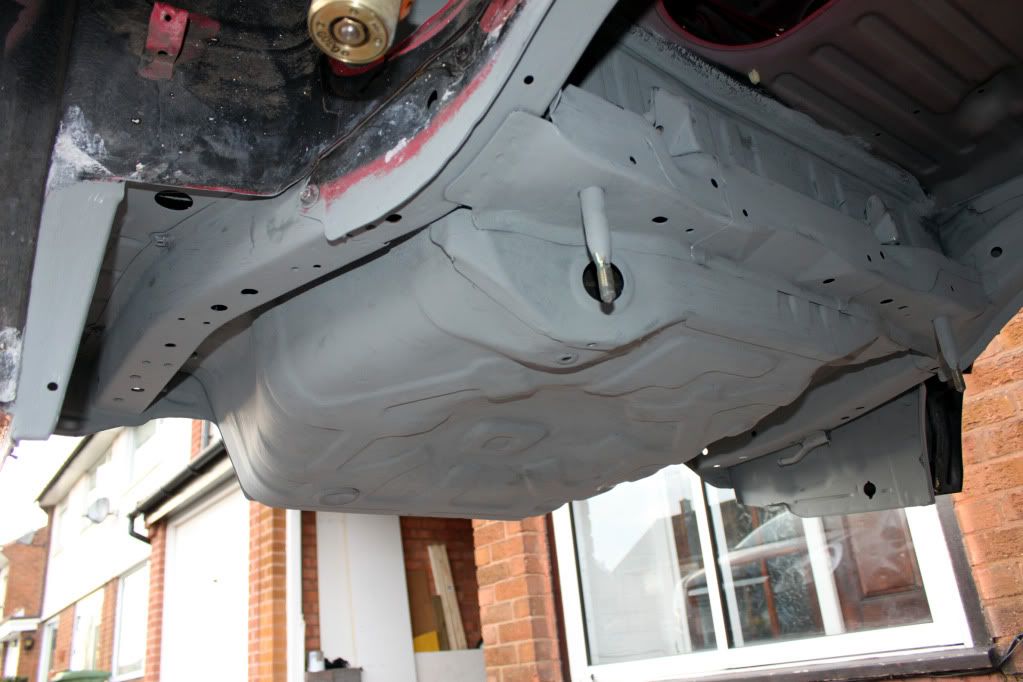
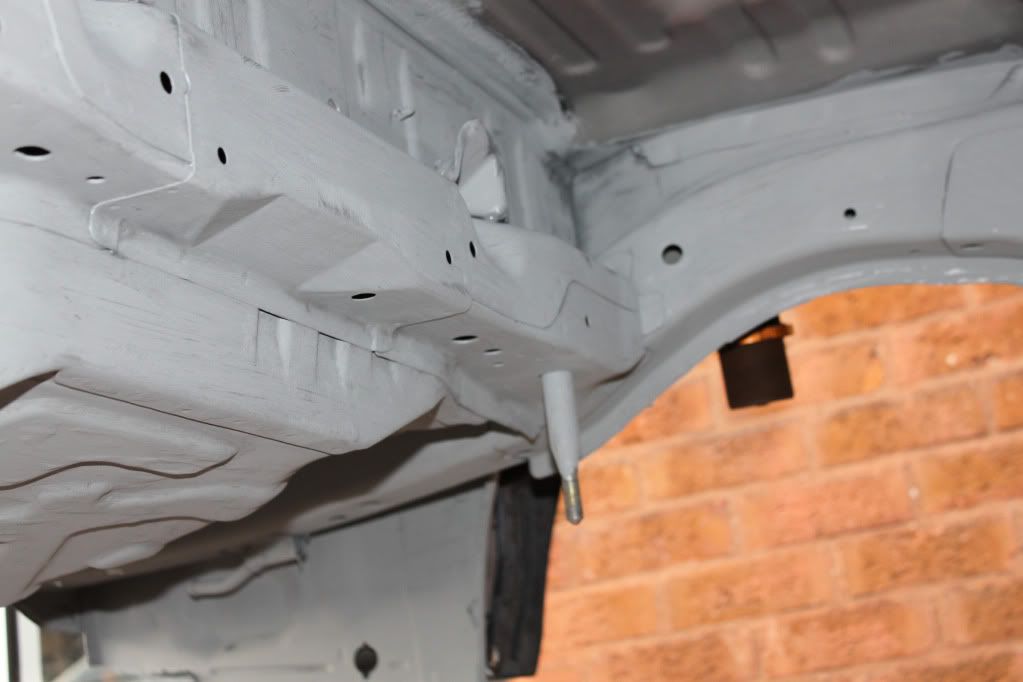
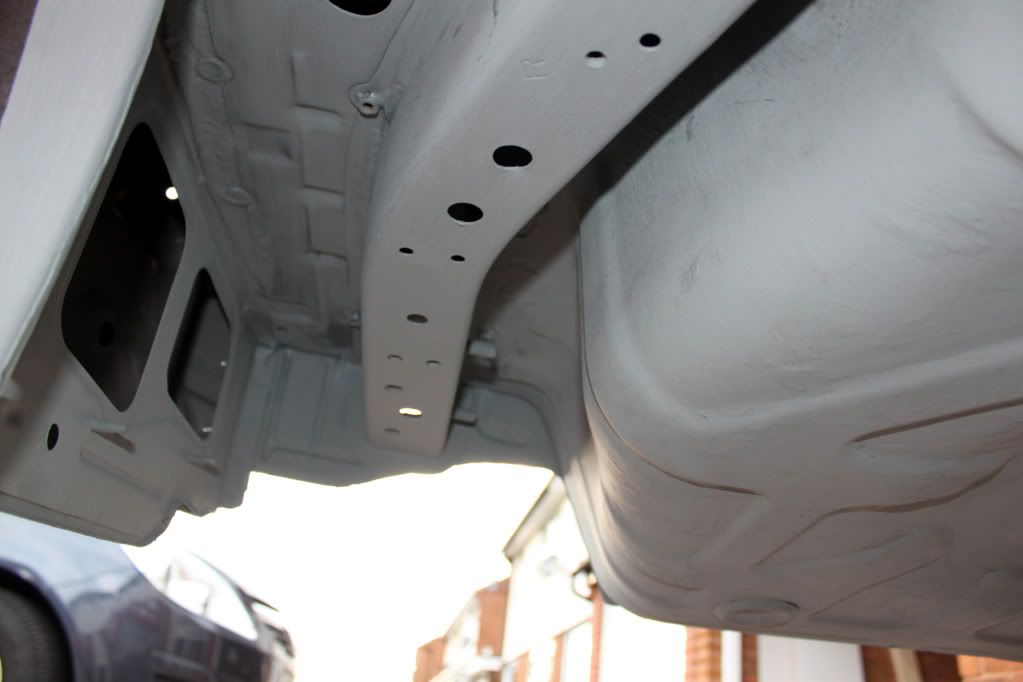
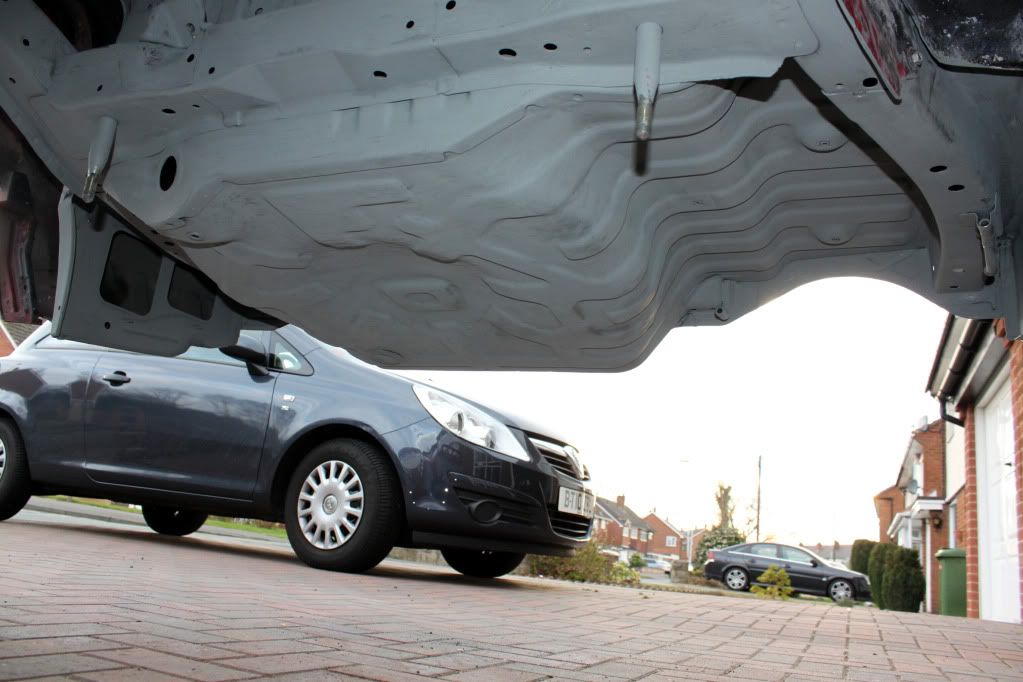
I thought the Electrox was going to be much different to how it was, I thought it was going to be super thick...it took more than 1 coat in a few places to cover the area as I was getting a lot of brush strokes in the paint so you could see bare metal...I made sure I was constantly mixing it during use as well.
It will probably need another full coat tbh but at least it’s done now and I don’t have to worry about it rusting anytime soon
I was then ready to de-grease the area that was going to get painted.

The rear of the car behind the bumper was in near perfect condition so I just cleaned it and grinded a few areas that look like a potential risk -

I was then ready to paint -

It says you have to stir the primer well before and during use!
Done -


I thought the Electrox was going to be much different to how it was, I thought it was going to be super thick...it took more than 1 coat in a few places to cover the area as I was getting a lot of brush strokes in the paint so you could see bare metal...I made sure I was constantly mixing it during use as well.
It will probably need another full coat tbh but at least it’s done now and I don’t have to worry about it rusting anytime soon

Fruitbooter
Member
Made a start on the middle section now including both rear arches -
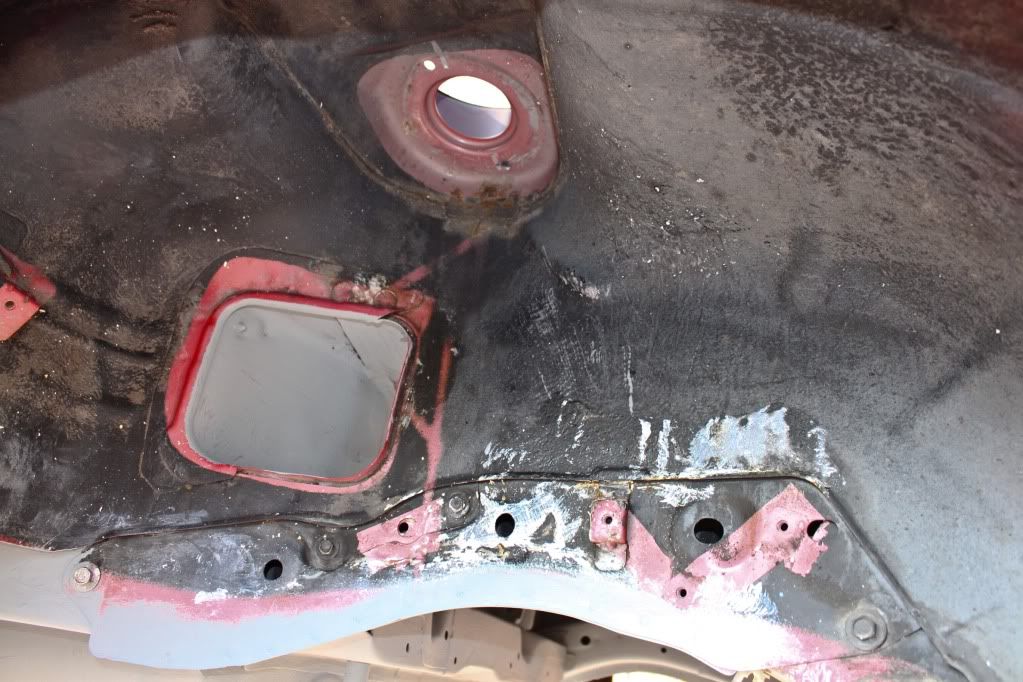
There was quite bad rust forming around the tops of both arches
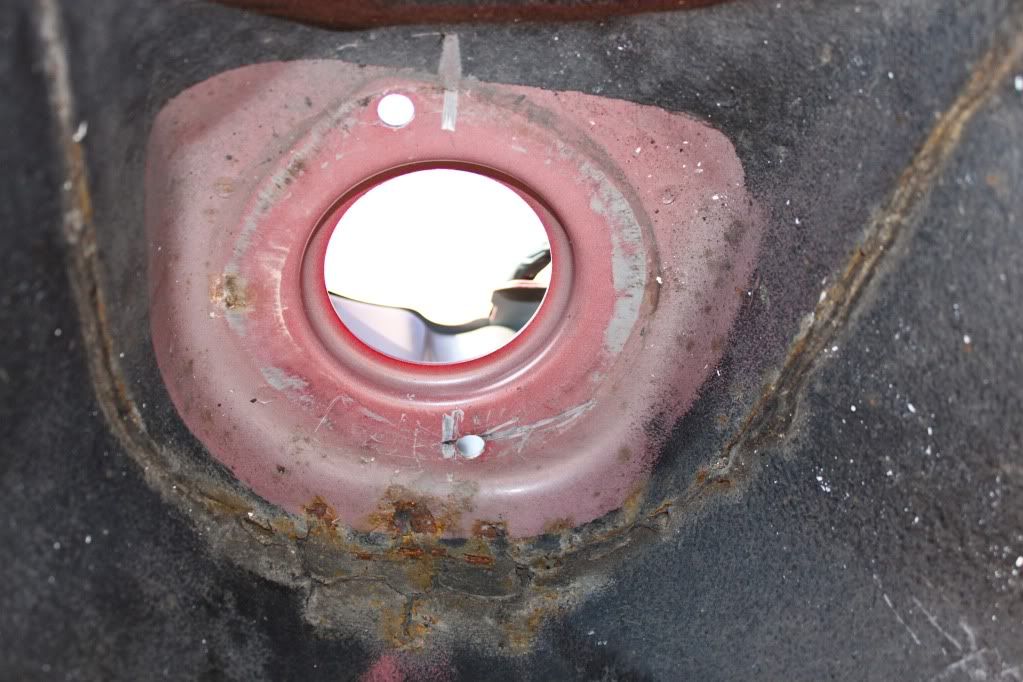
After a rub down its clear that the rust manages to form in even the smallest, hard to get to places!
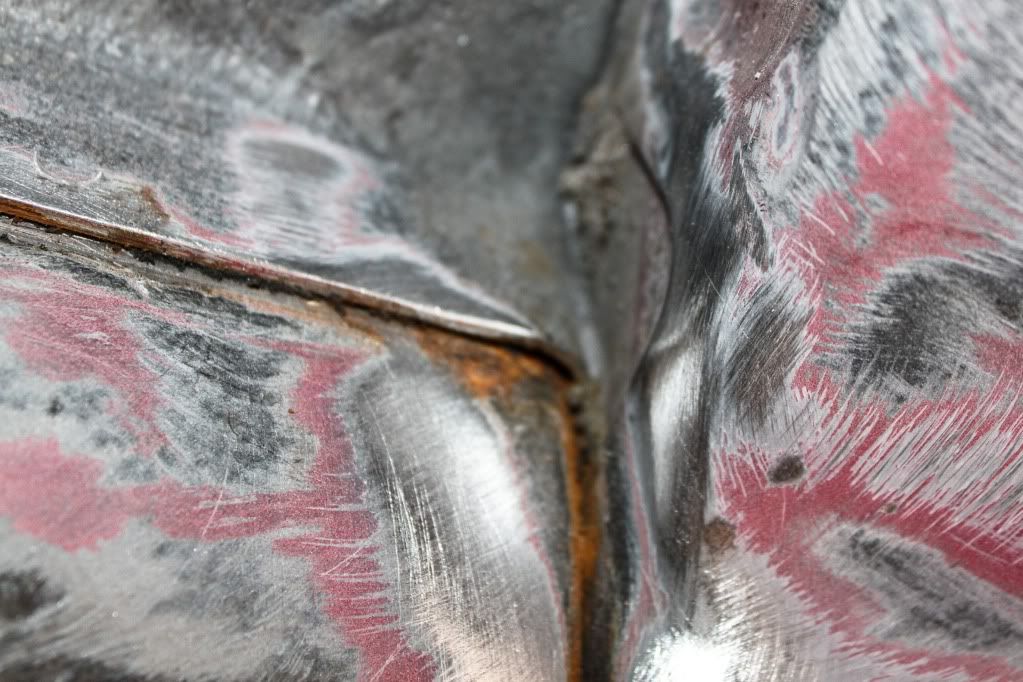
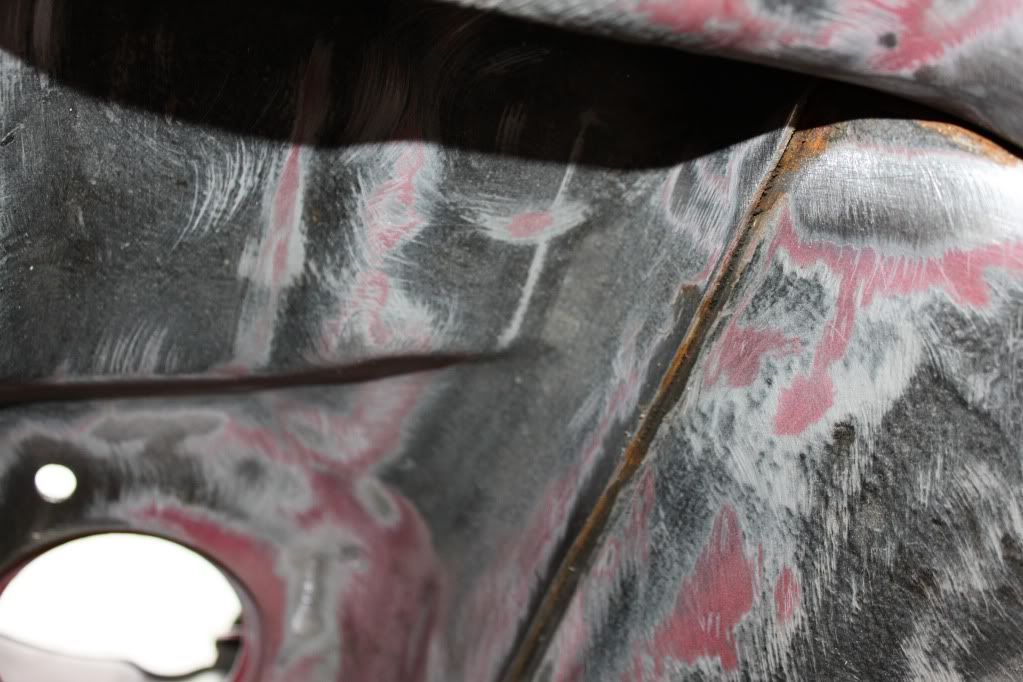
Anyone who hasnt tackled the rust on their S15 i'd get on it asap! As I thought mine was in very good condition but it just shows when you start digging its not as it seems
Washed down with Surfex HD ready to apply Deox Gel next time I work on the car -
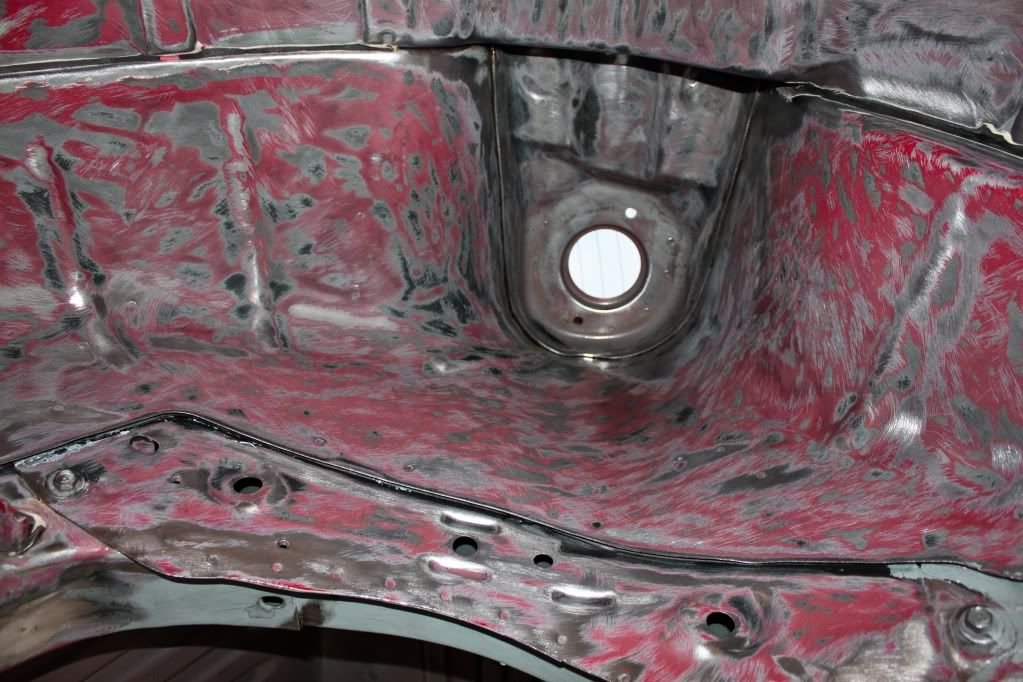
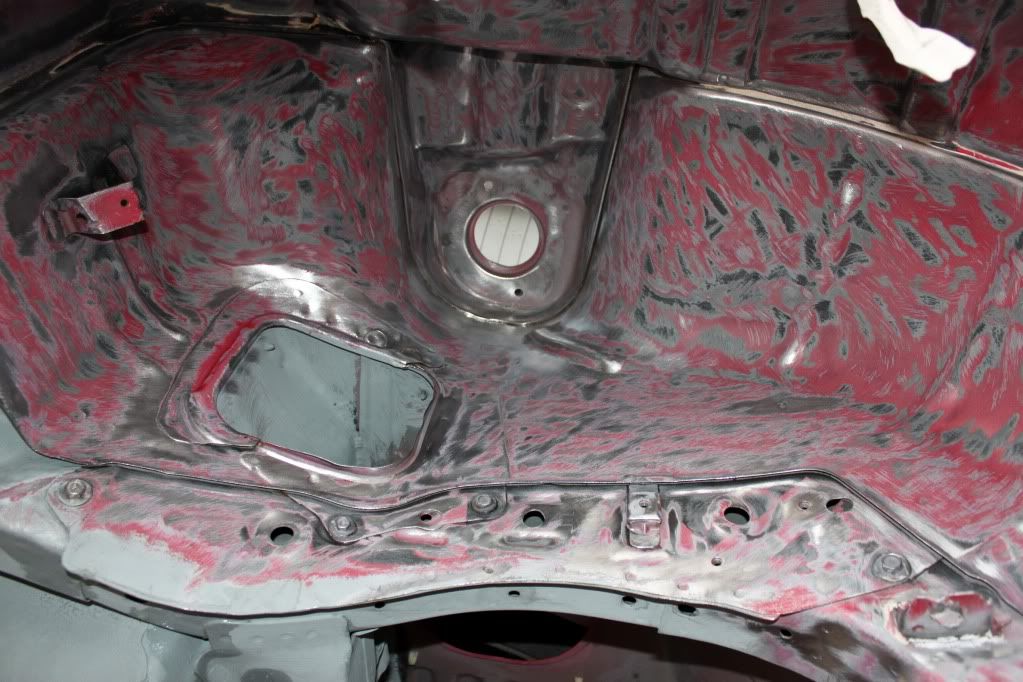
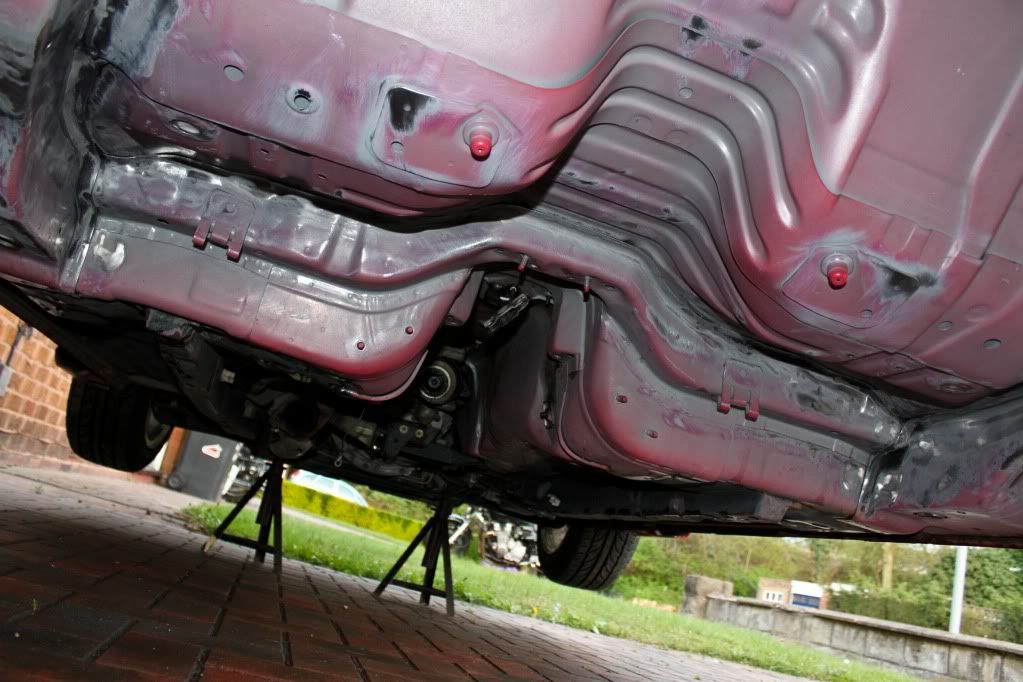
So thats the middle section almost ready for paint, once this bit is done ill be way over half way towards completion in terms of the work im doing myself...I still need to sort out powder coating and plating!

There was quite bad rust forming around the tops of both arches


After a rub down its clear that the rust manages to form in even the smallest, hard to get to places!


Anyone who hasnt tackled the rust on their S15 i'd get on it asap! As I thought mine was in very good condition but it just shows when you start digging its not as it seems

Washed down with Surfex HD ready to apply Deox Gel next time I work on the car -


So thats the middle section almost ready for paint, once this bit is done ill be way over half way towards completion in terms of the work im doing myself...I still need to sort out powder coating and plating!
Fruitbooter
Member
Todays work spent entirley on sorting out everything I had removed and getting the stuff ready for plating and powder coating.
It took a long time to sort everything and make sure I know whats what but now im left with this
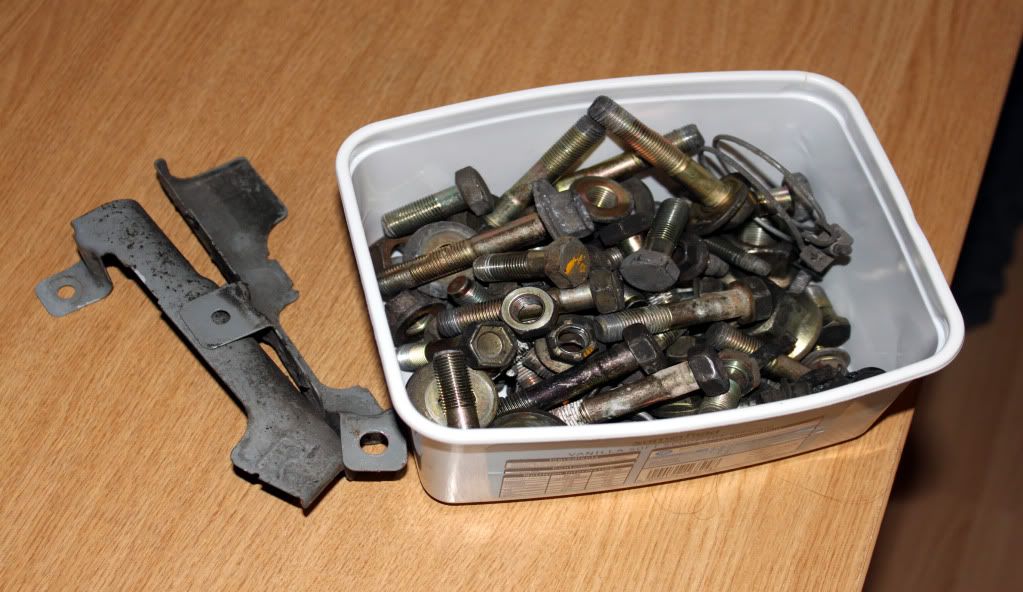
Carriers and subframe are ready to be de-bushed along with all the control arms
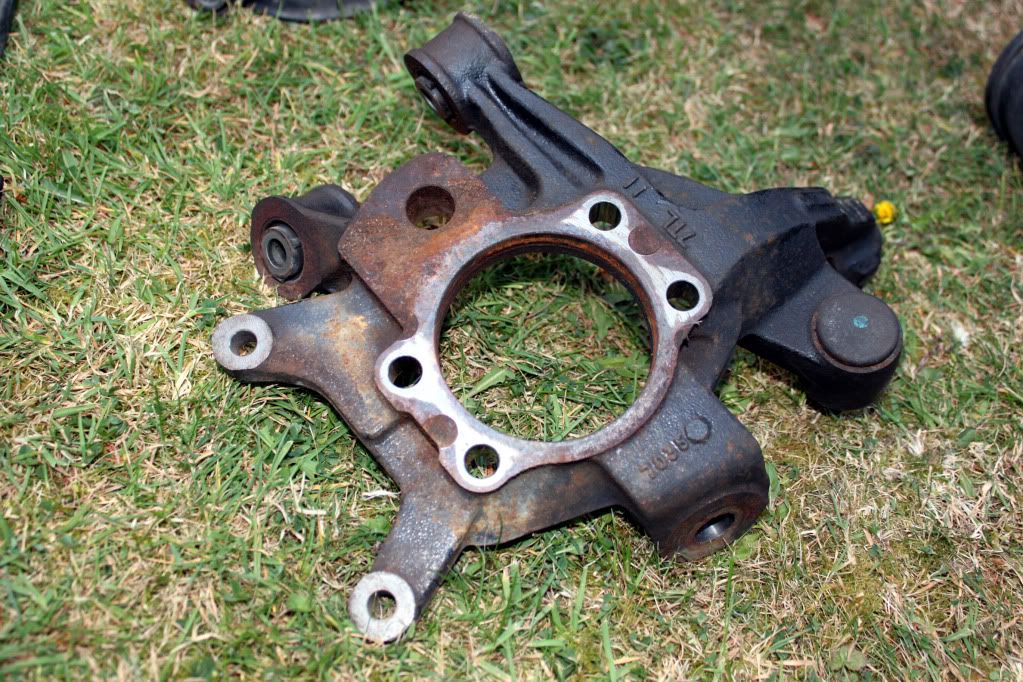
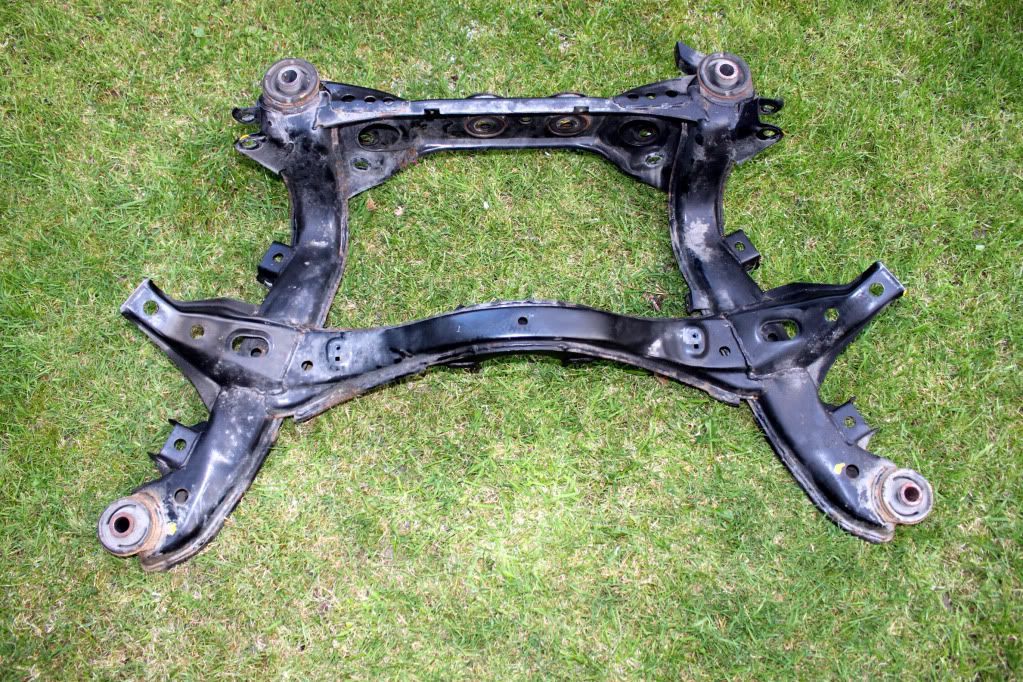
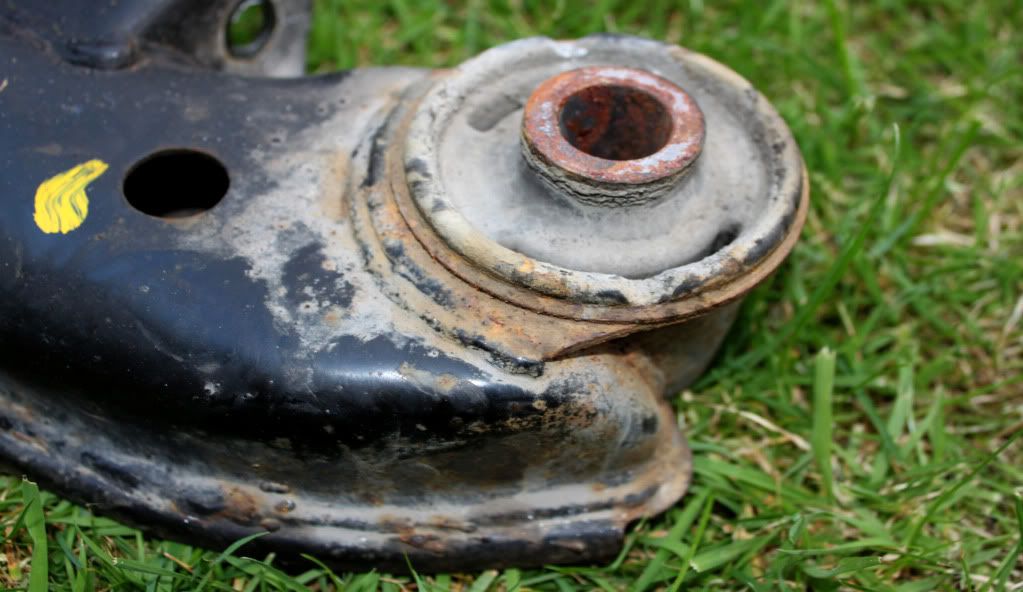
Can these be easily seperated does anyone know?
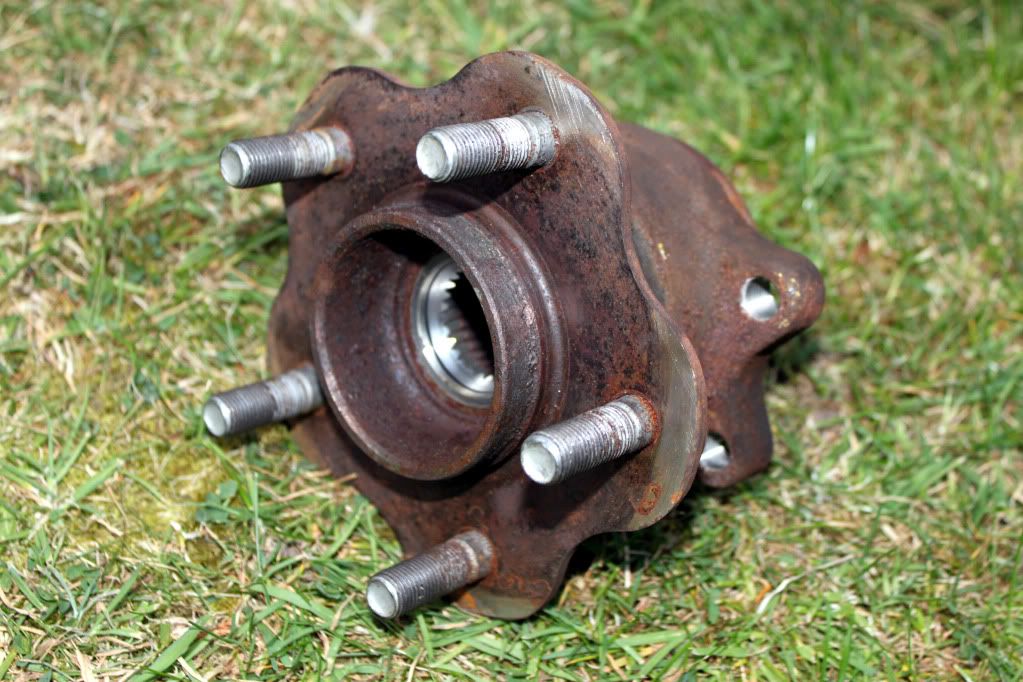
Or once split do they need pressing together using a press?
Parts
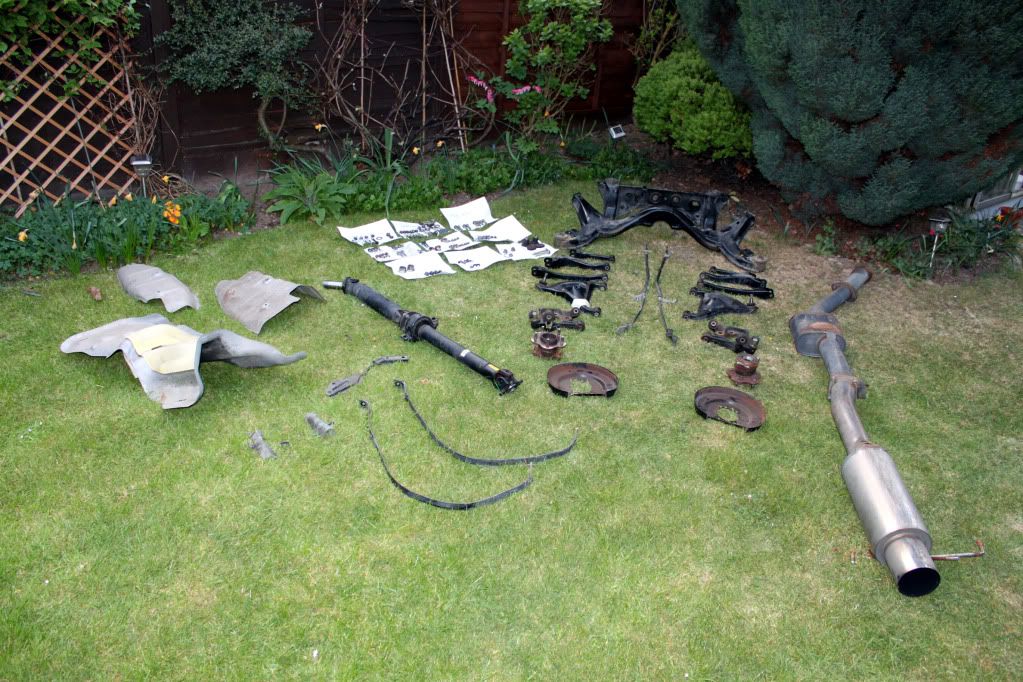
Thats not all of them either!
Made a start on the sills the other day, in all honesty they were terrible!
I forgot to take piks before I started rubbing down but they were covered in surface rust along with the middle box sections.
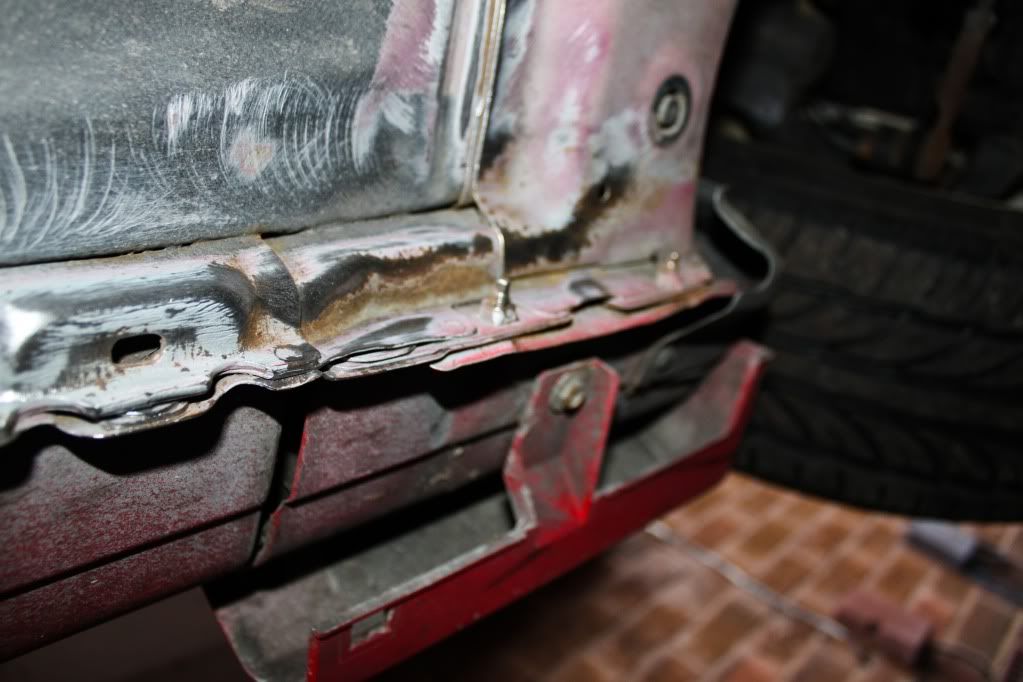
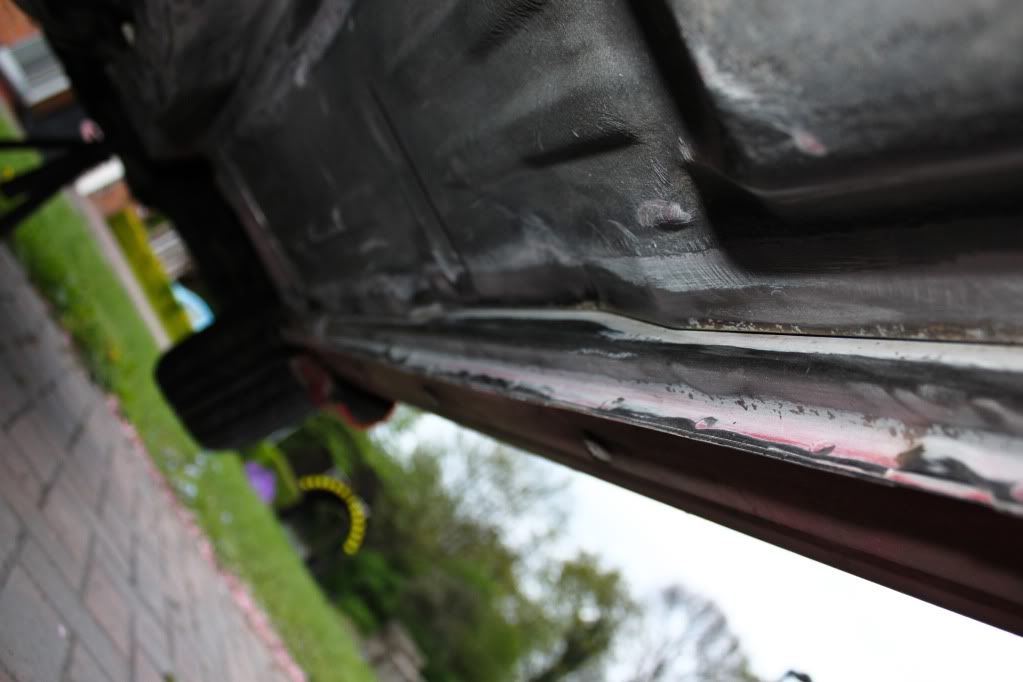
These still need a lot more work before I can paint!
Few photos of the back end in 1 coat of primer -
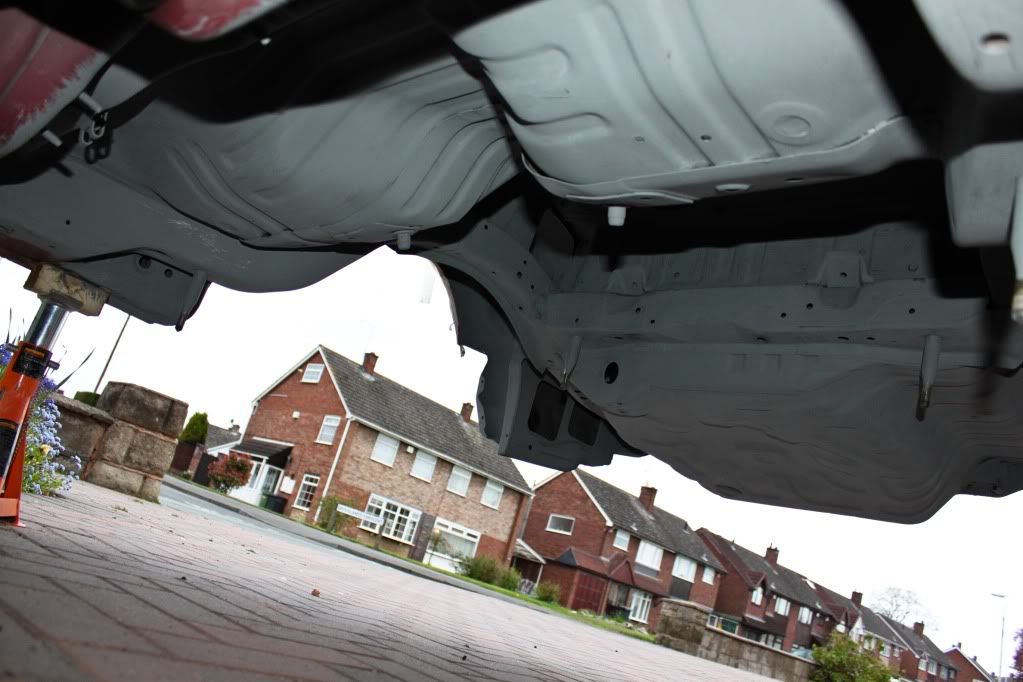
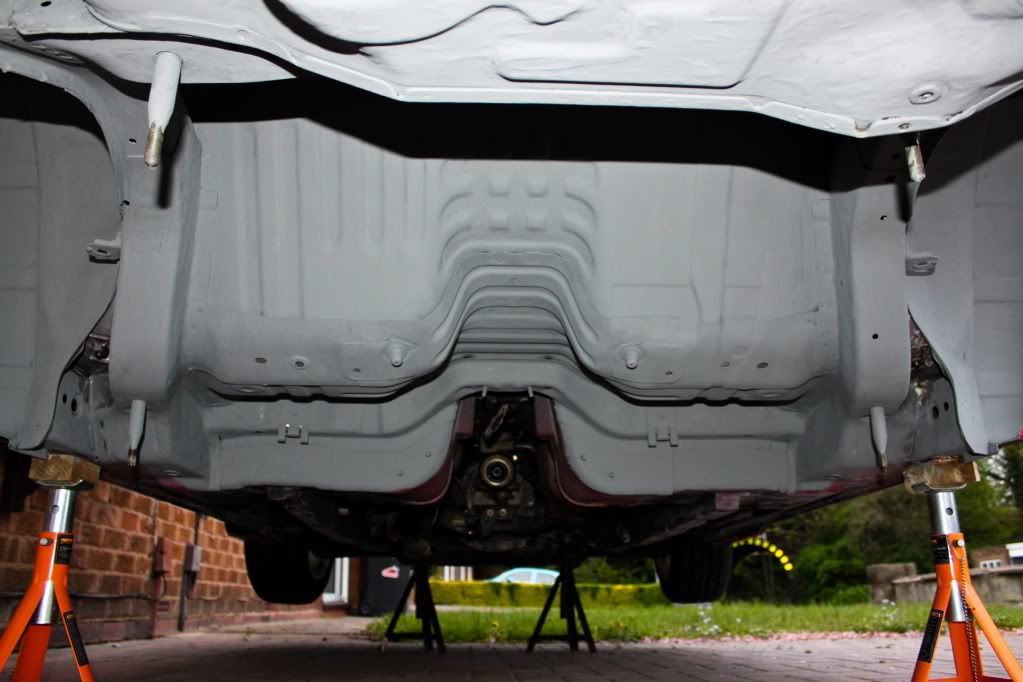
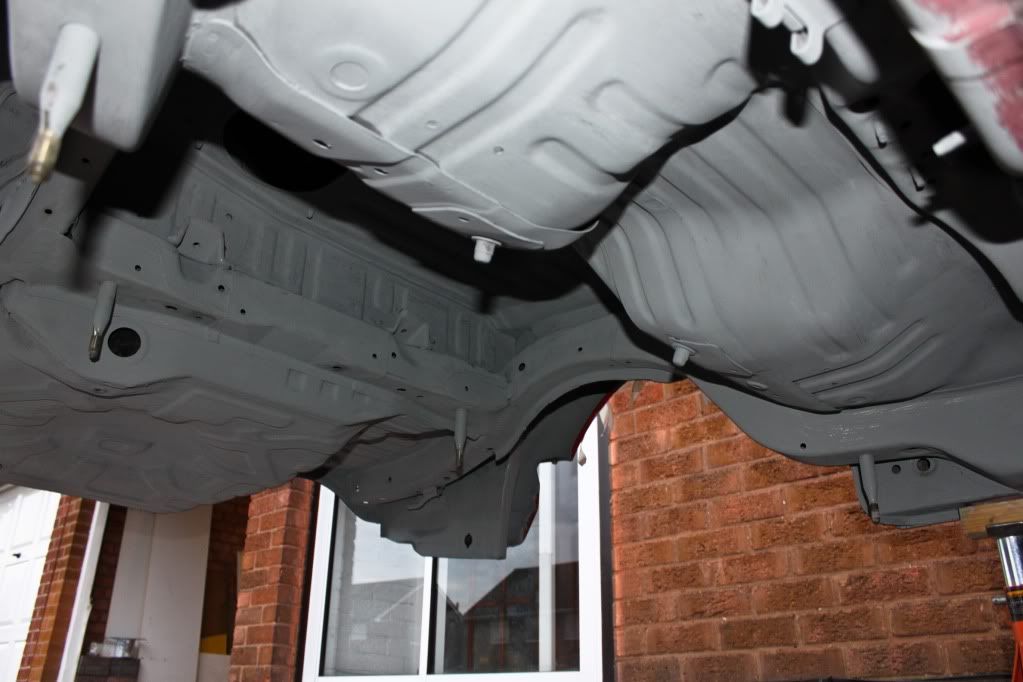
It took a long time to sort everything and make sure I know whats what but now im left with this


Carriers and subframe are ready to be de-bushed along with all the control arms


Can these be easily seperated does anyone know?

Or once split do they need pressing together using a press?
Parts


Thats not all of them either!
Made a start on the sills the other day, in all honesty they were terrible!
I forgot to take piks before I started rubbing down but they were covered in surface rust along with the middle box sections.


These still need a lot more work before I can paint!
Few photos of the back end in 1 coat of primer -


B
benli
Guest
looks nice keep going...but really need a set LED tail light to make it look proper JDM look.
Chunky Nugget
honkeytits!!
Good work dude keep it up,
Rust is a bitch!
Rust is a bitch!
