Fruitbooters S15 (Refurb time)

Little update -

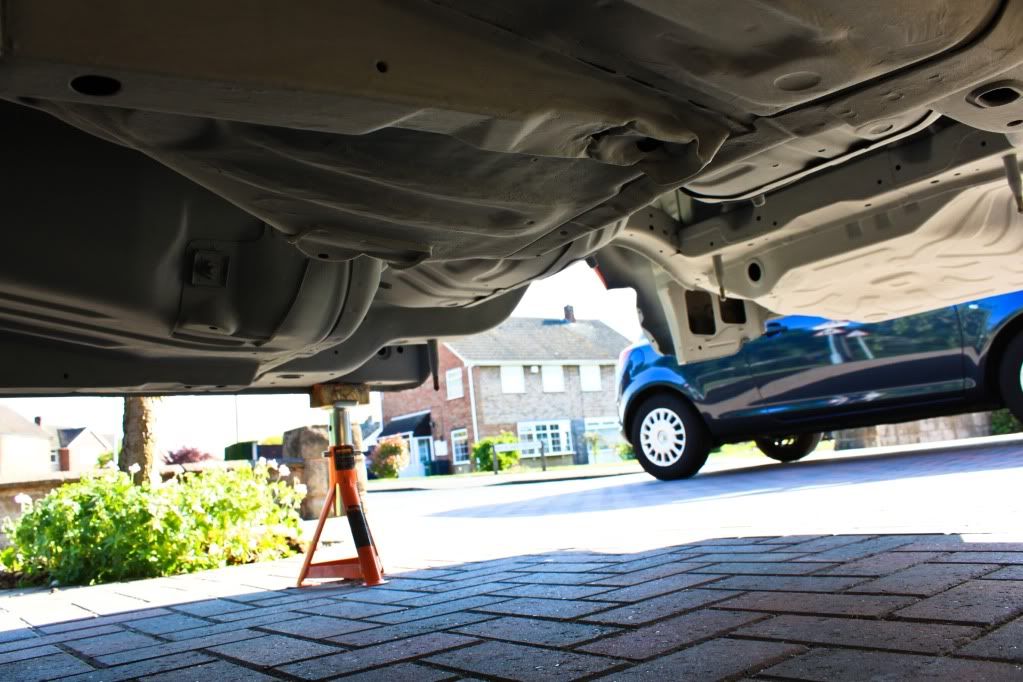
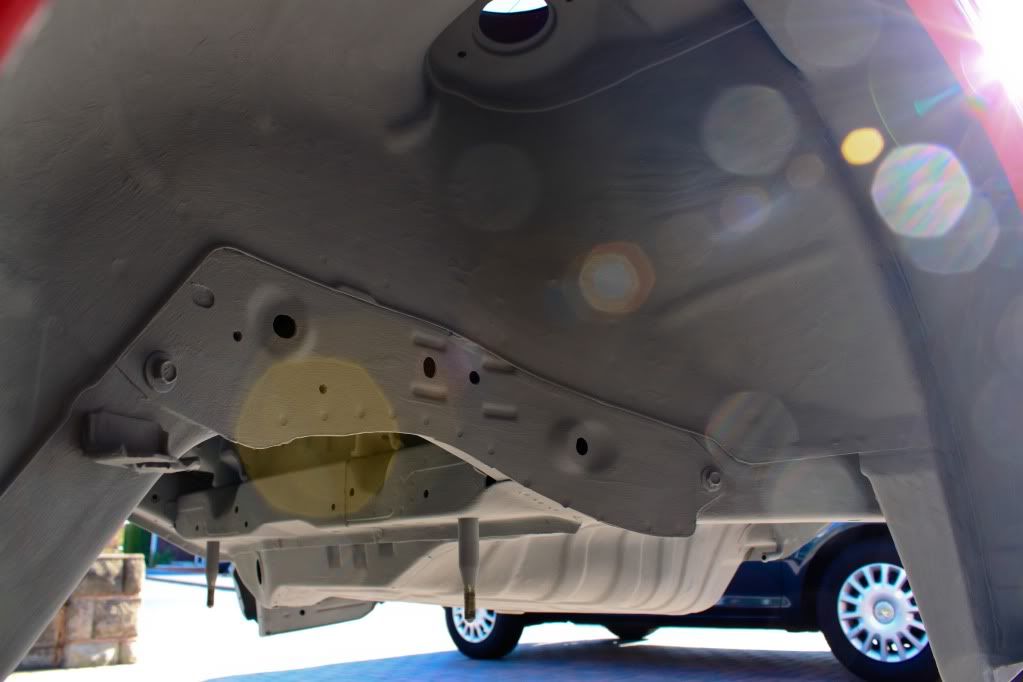
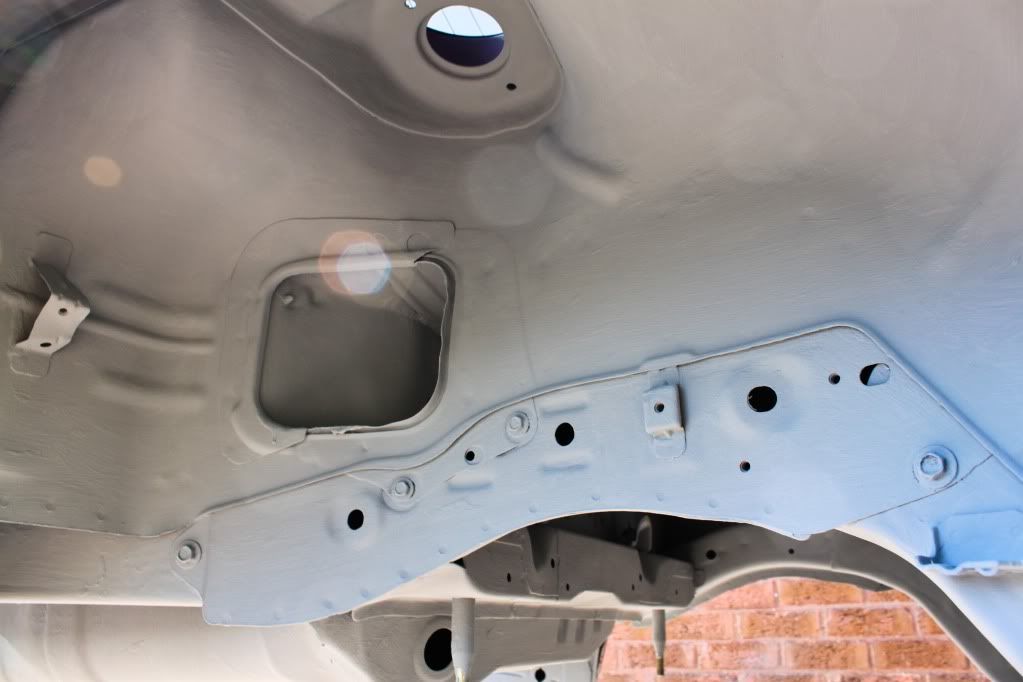
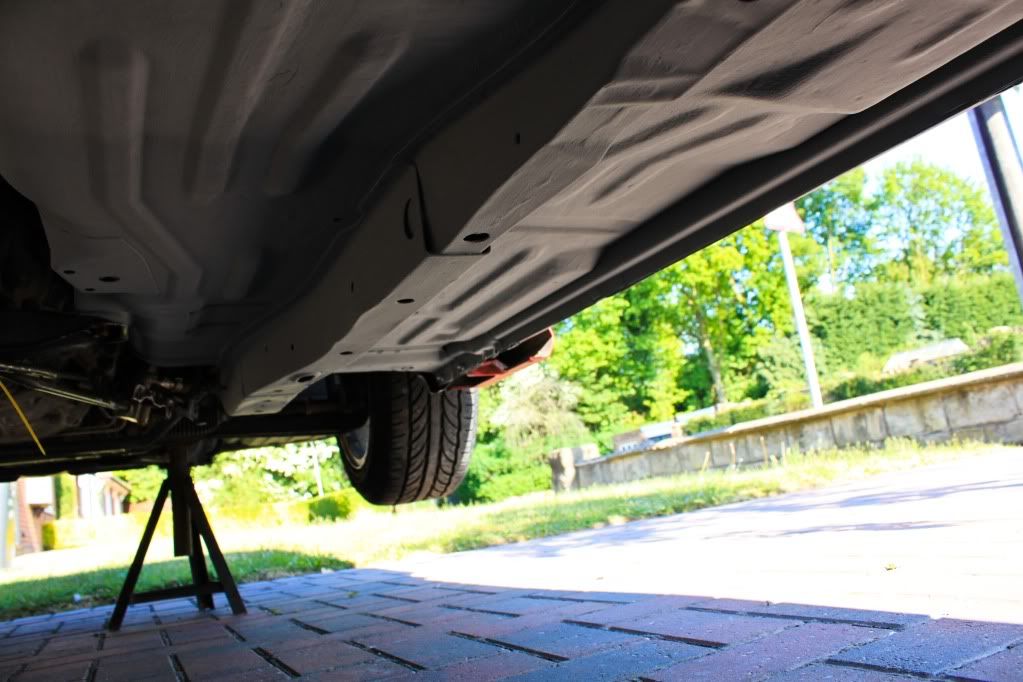
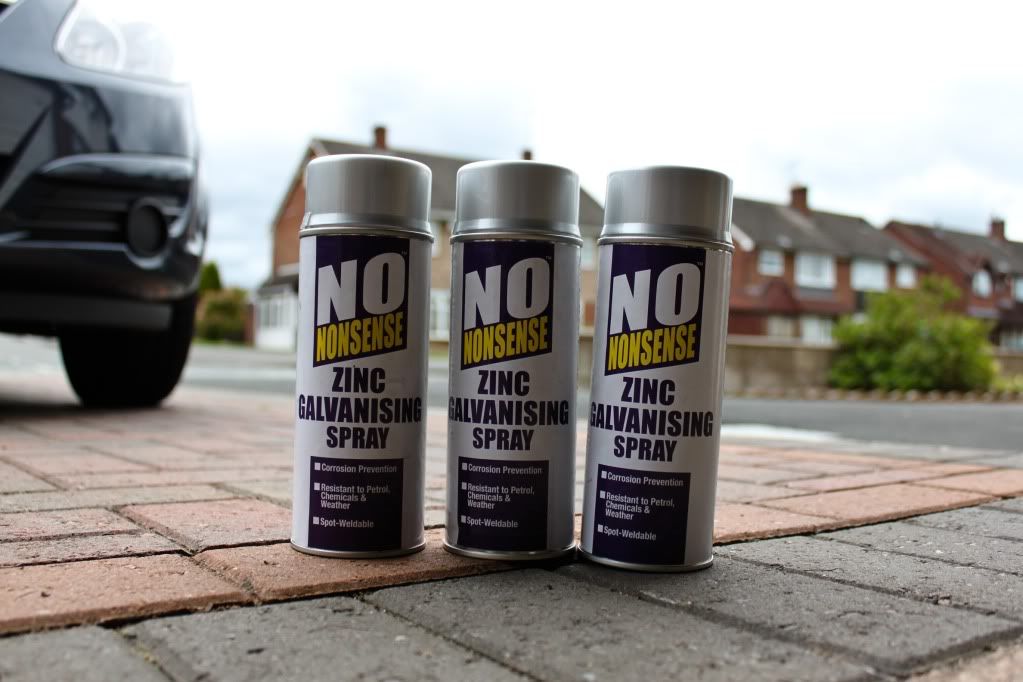
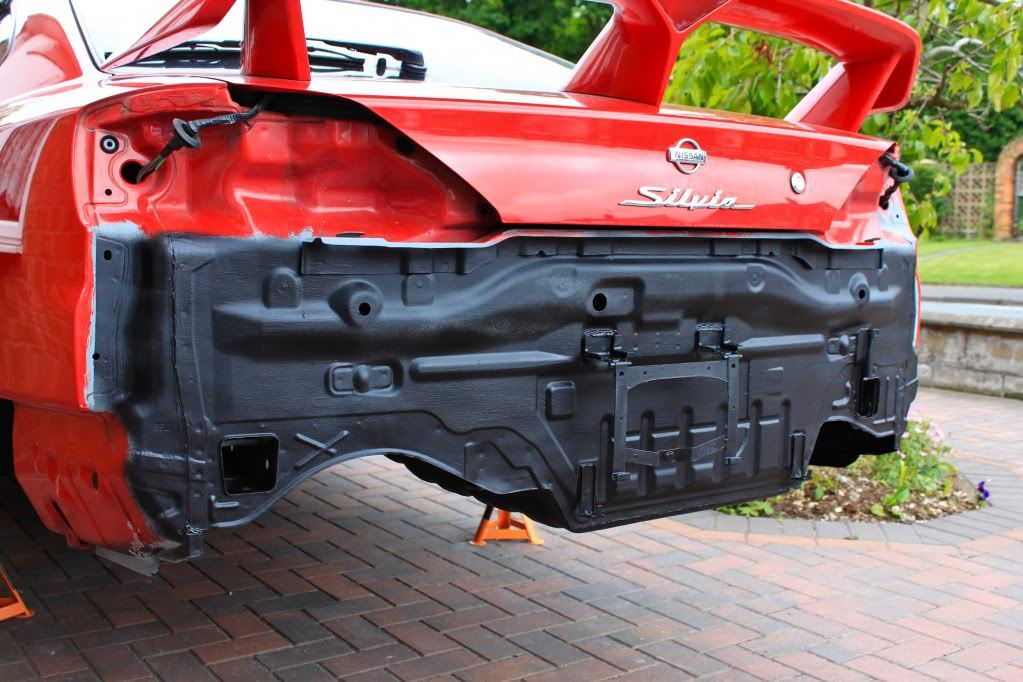
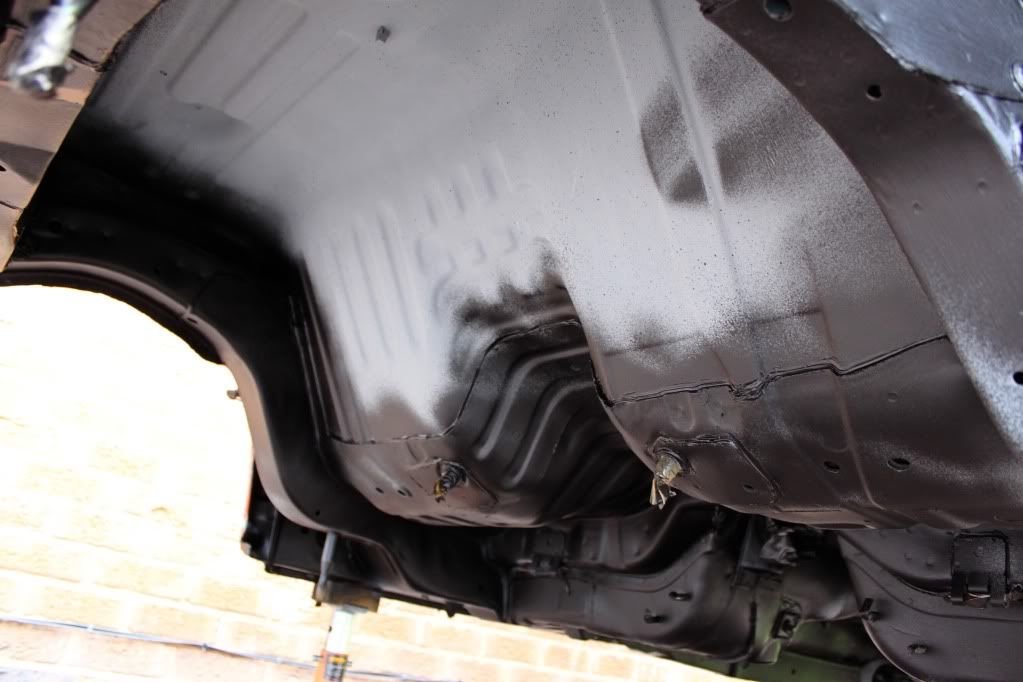
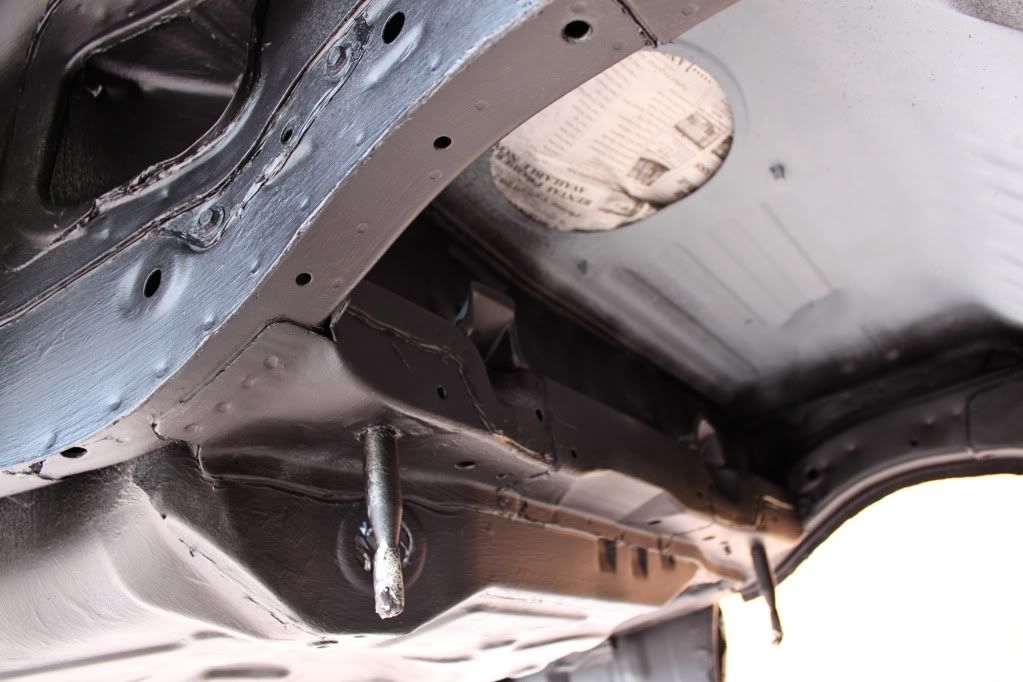
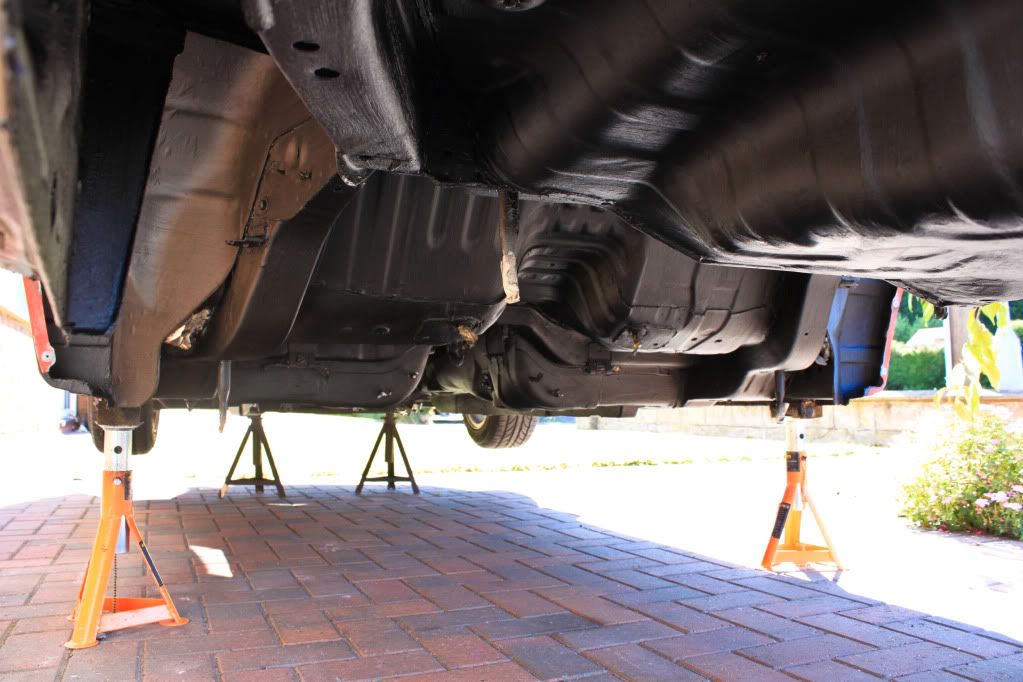
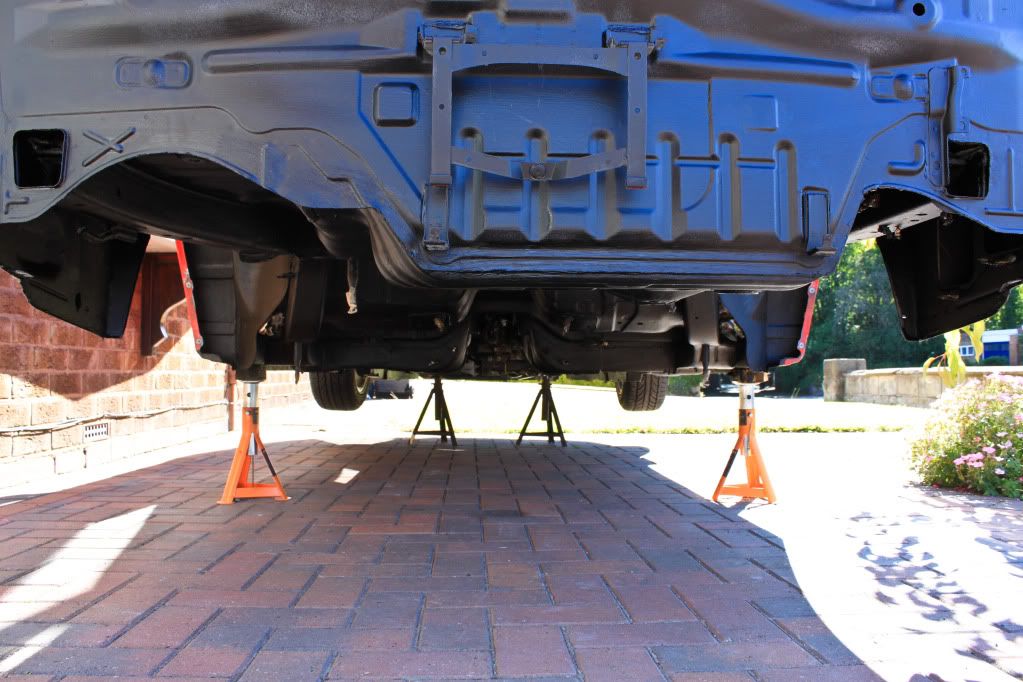
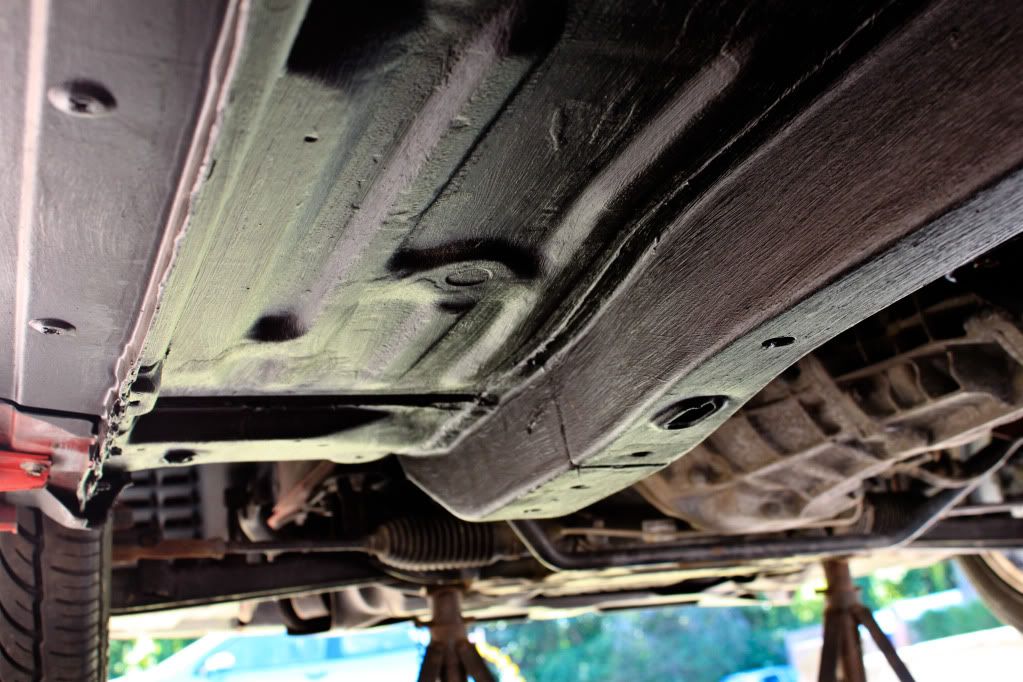
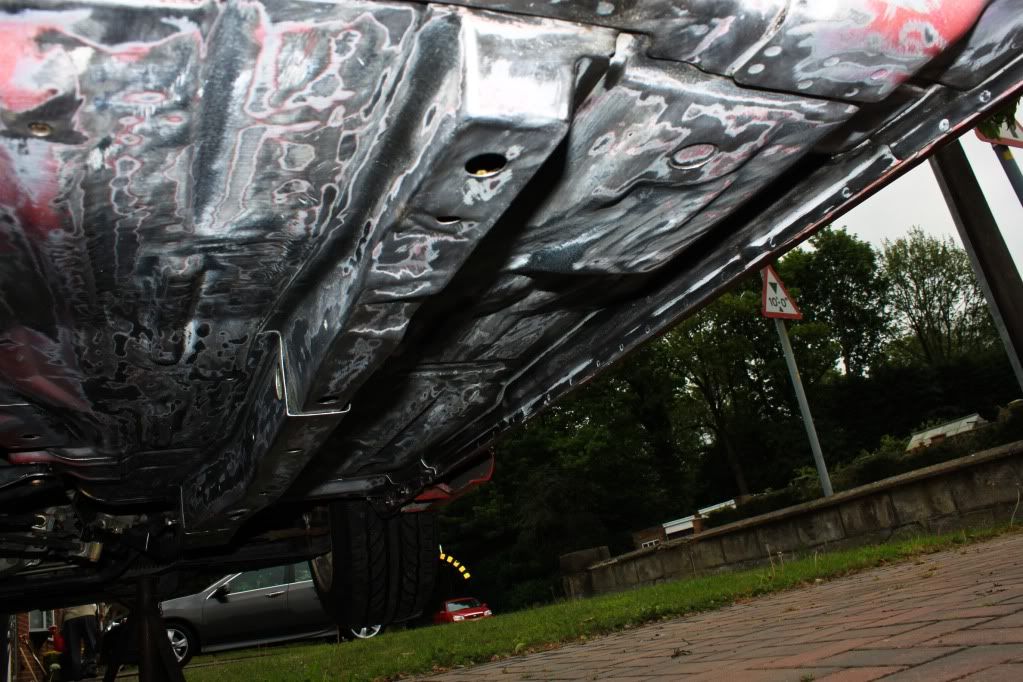
Continued working on the underneath and got it to a point where I’m happy to paint.
IMG_7304.jpg


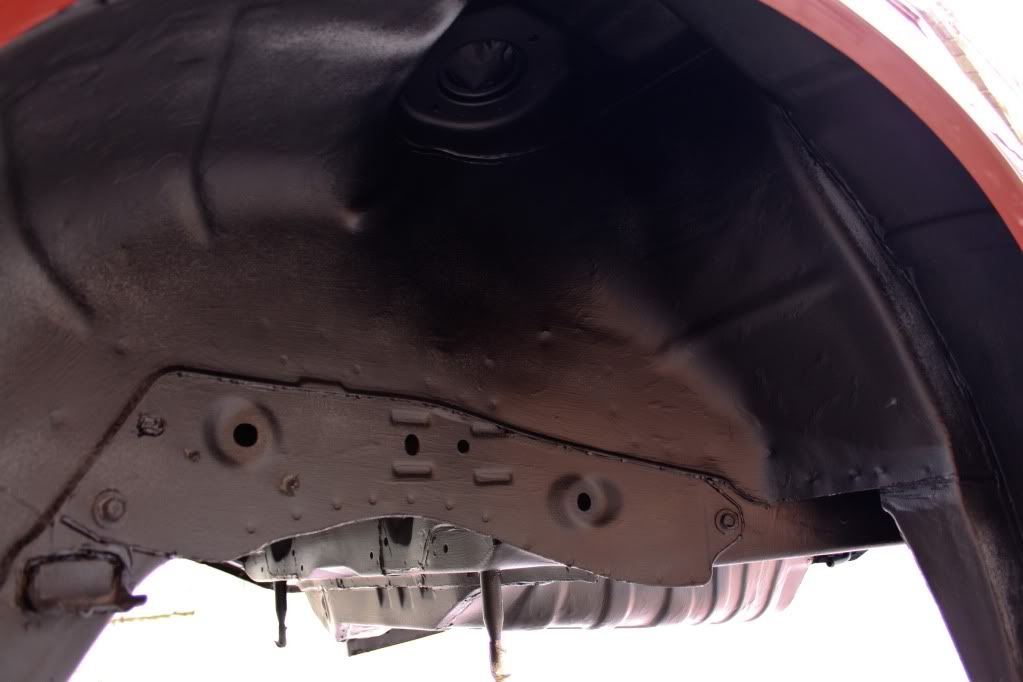
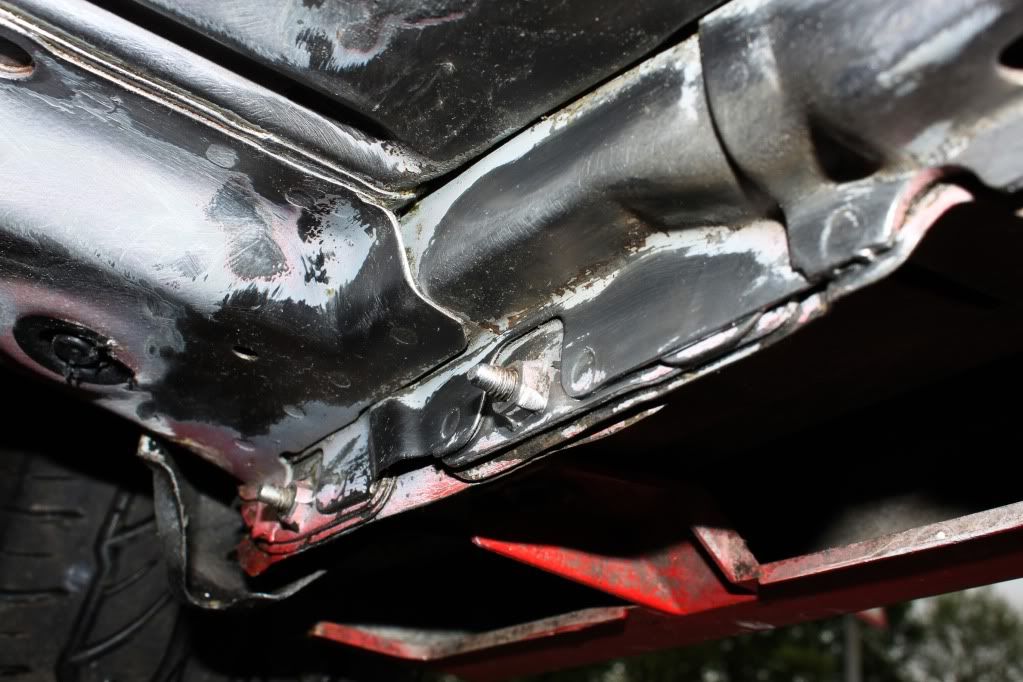
There were slight areas that were an absolute bas*ard to get 100% clean.
IMG_7306.jpg


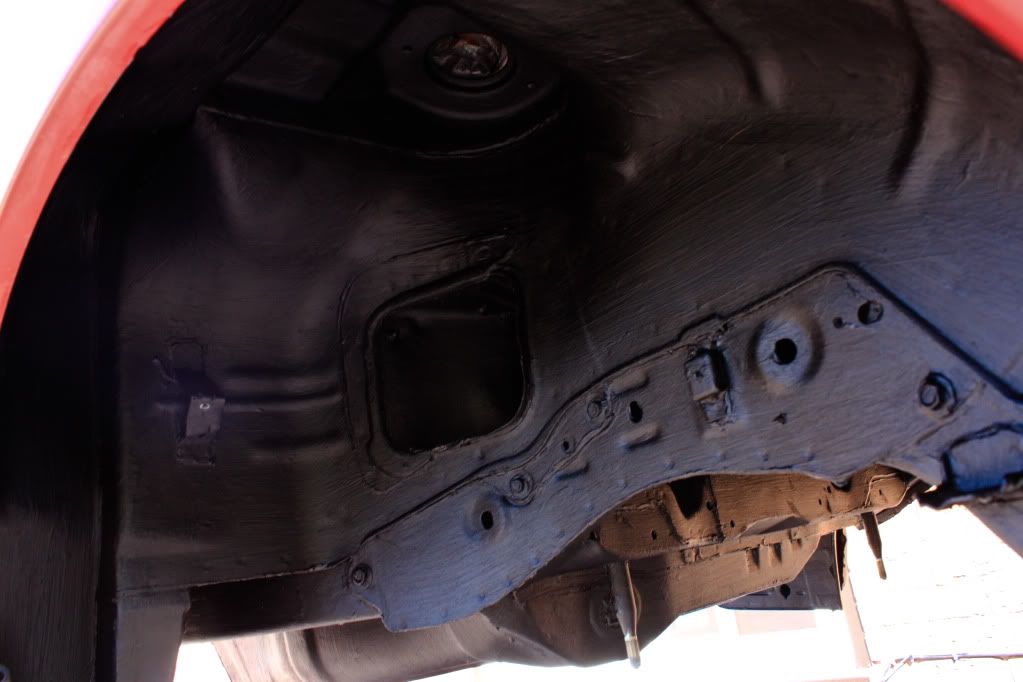
This bit for example was worked on for ages, in the end I got rid of as much as I can and then decided to paint as you can apply the primer with up to 10% rust present anyway. Btw I got it looking much better than the above pic before I painted.

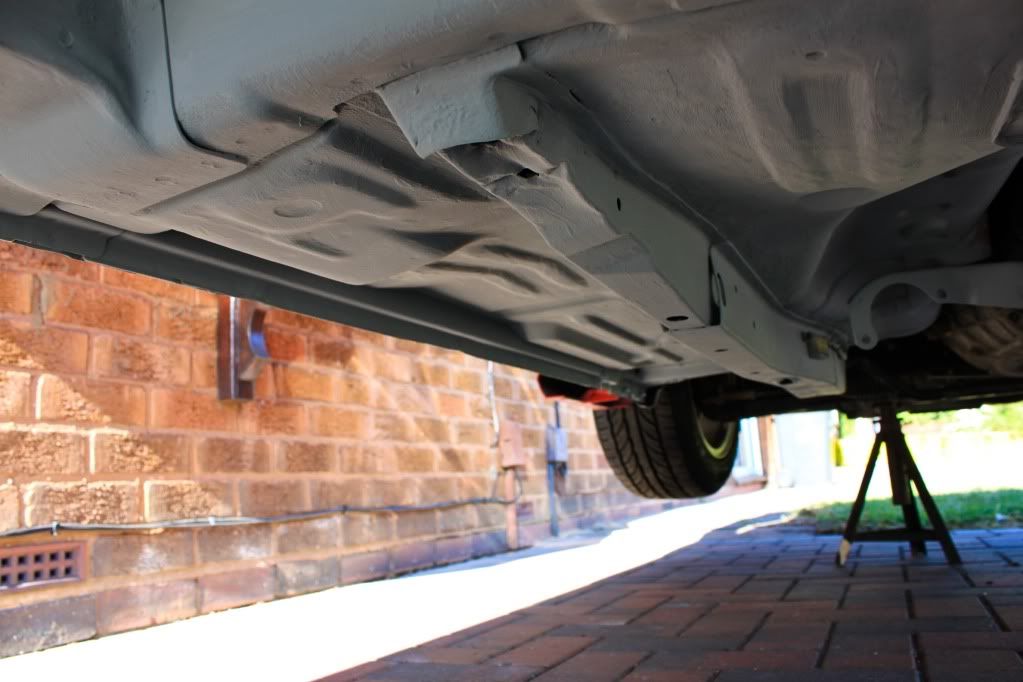
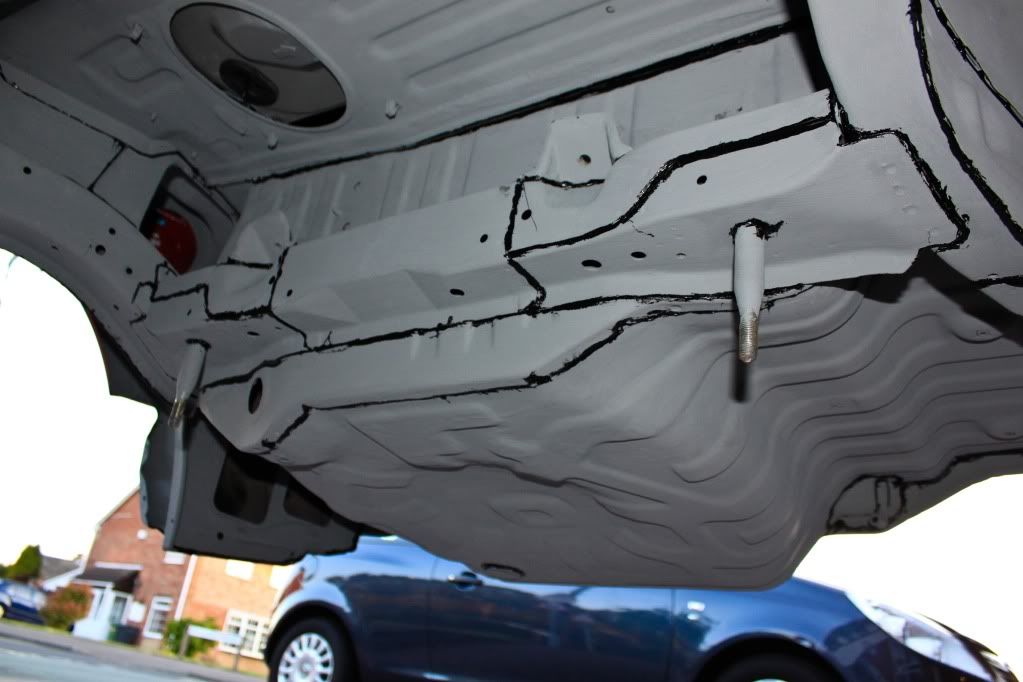
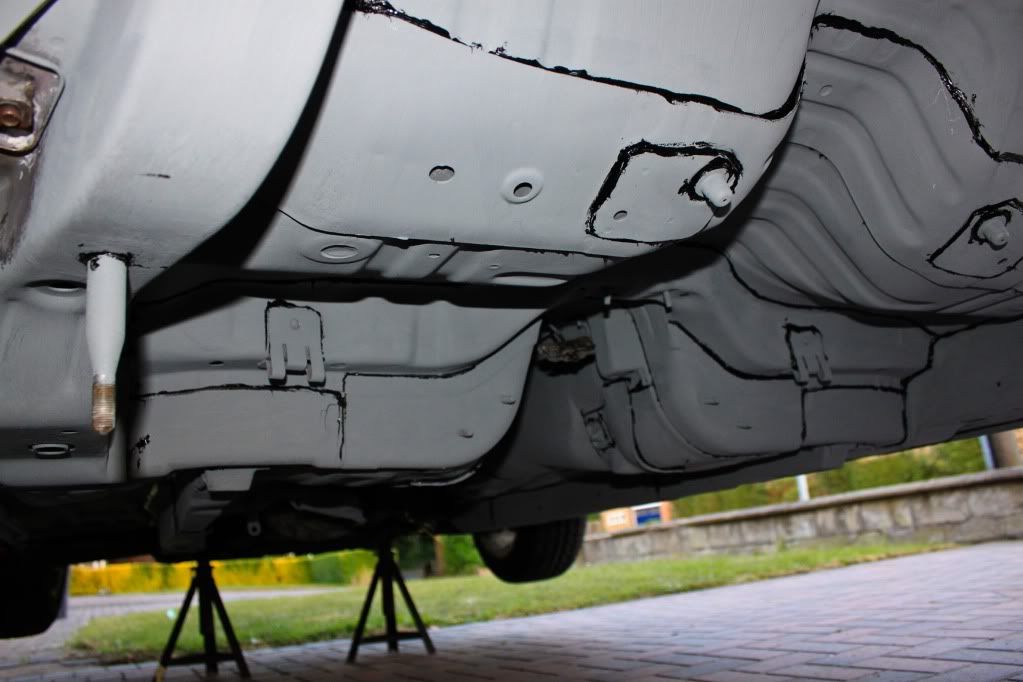
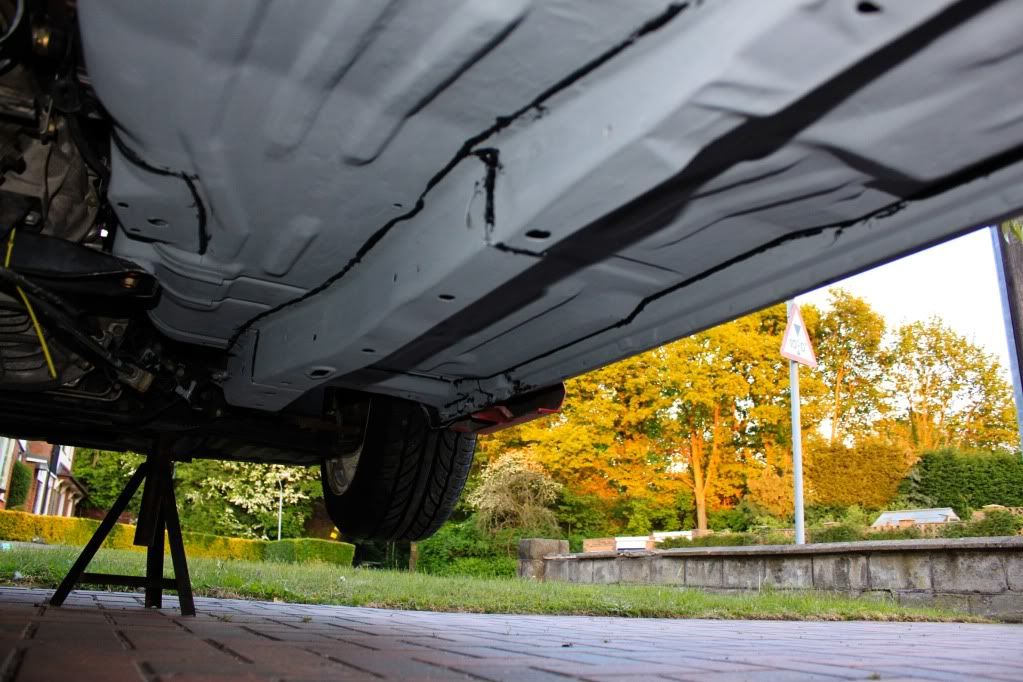
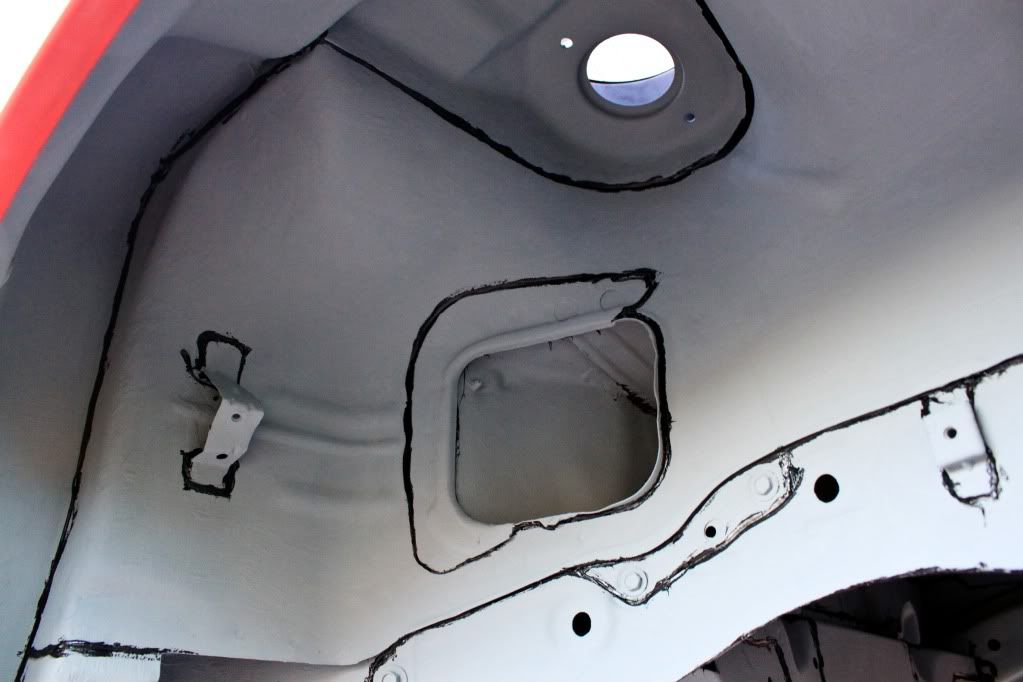
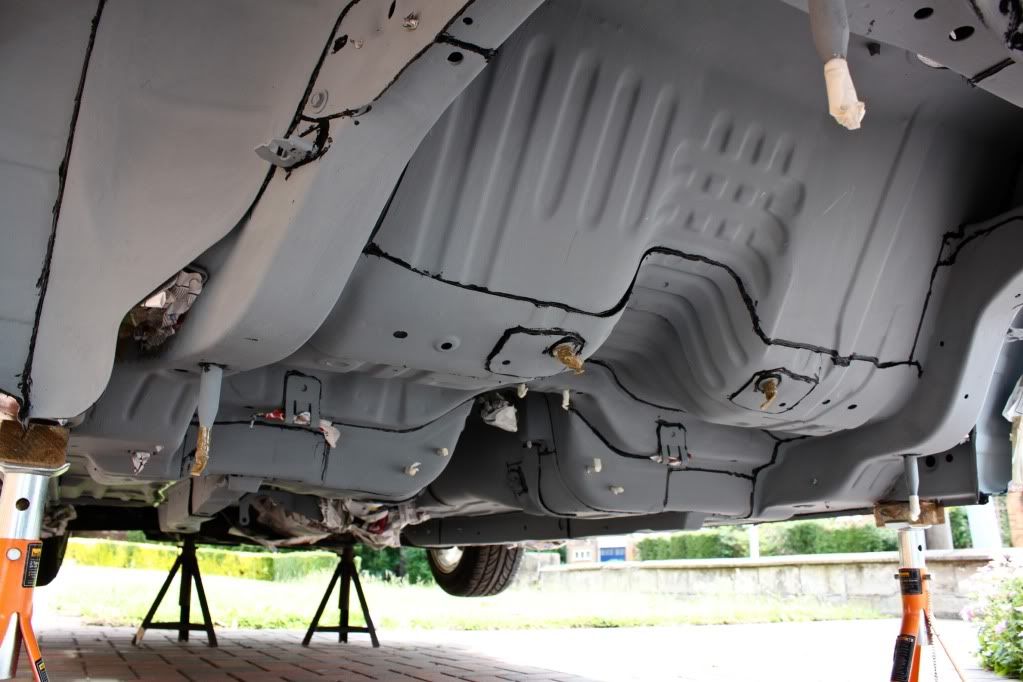
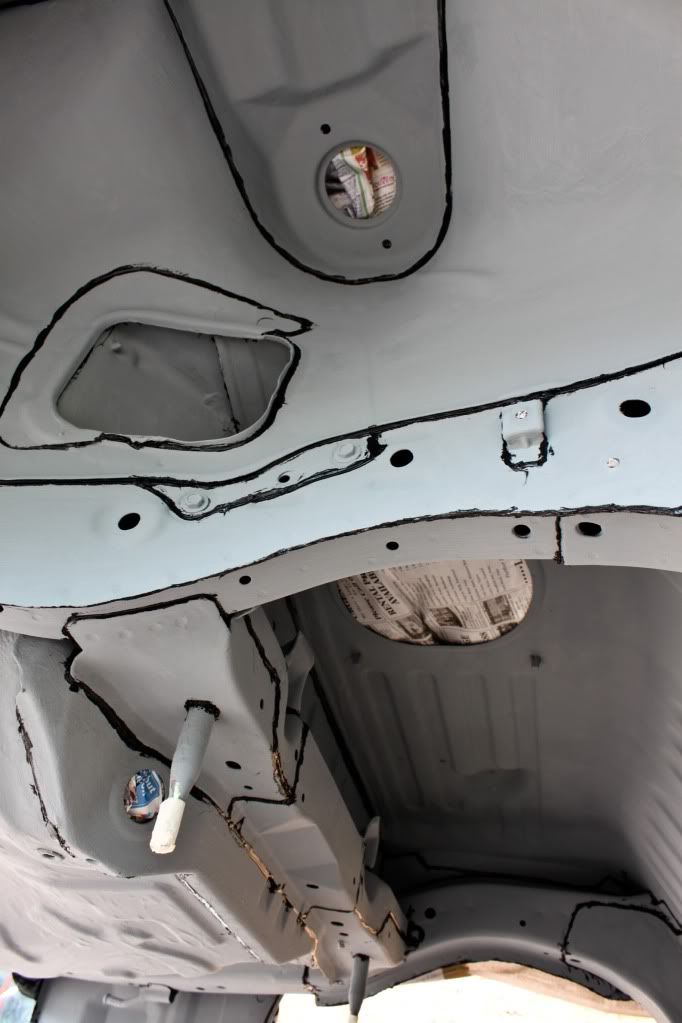
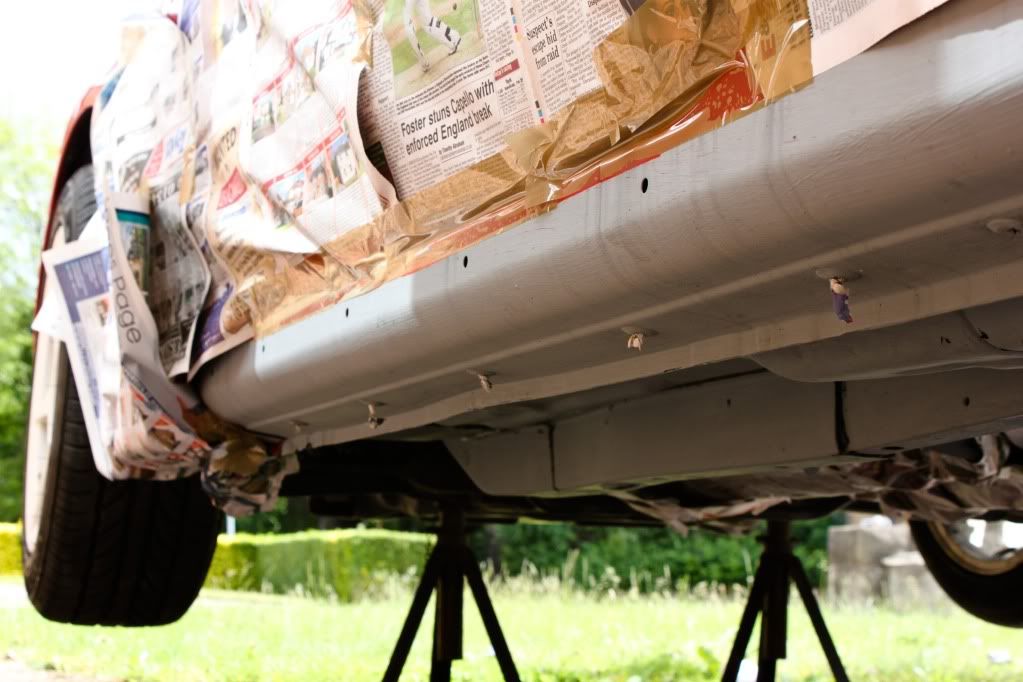
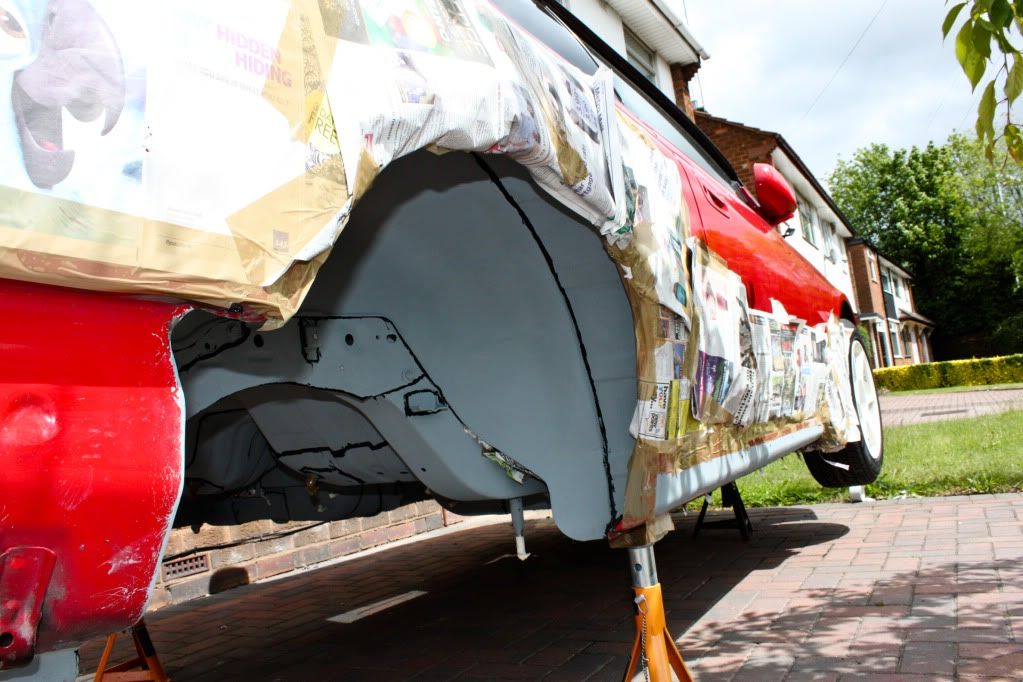
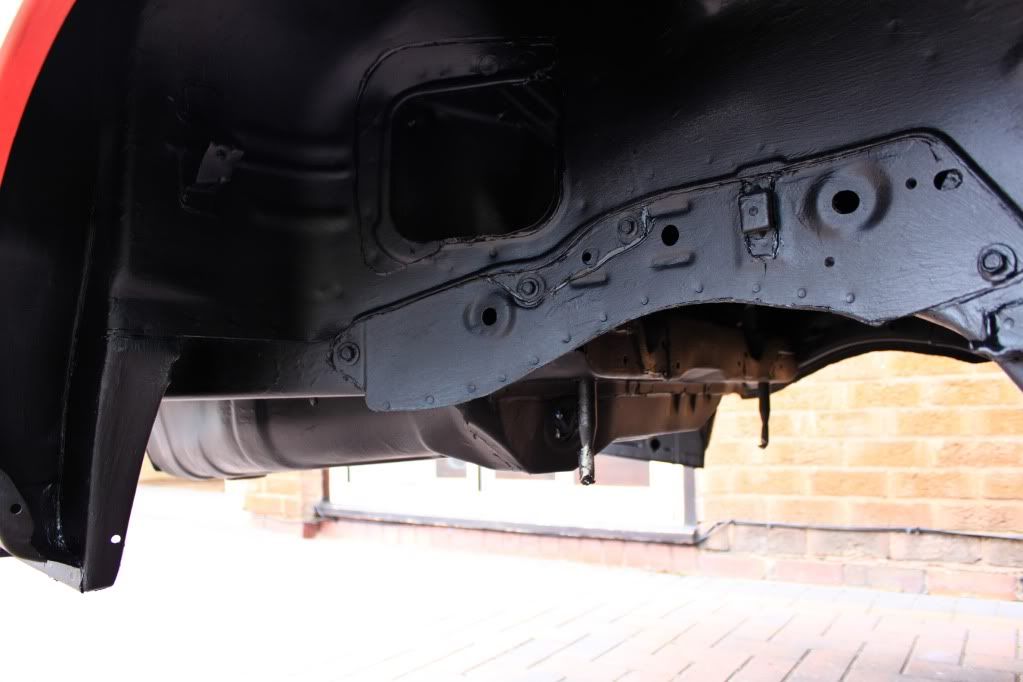
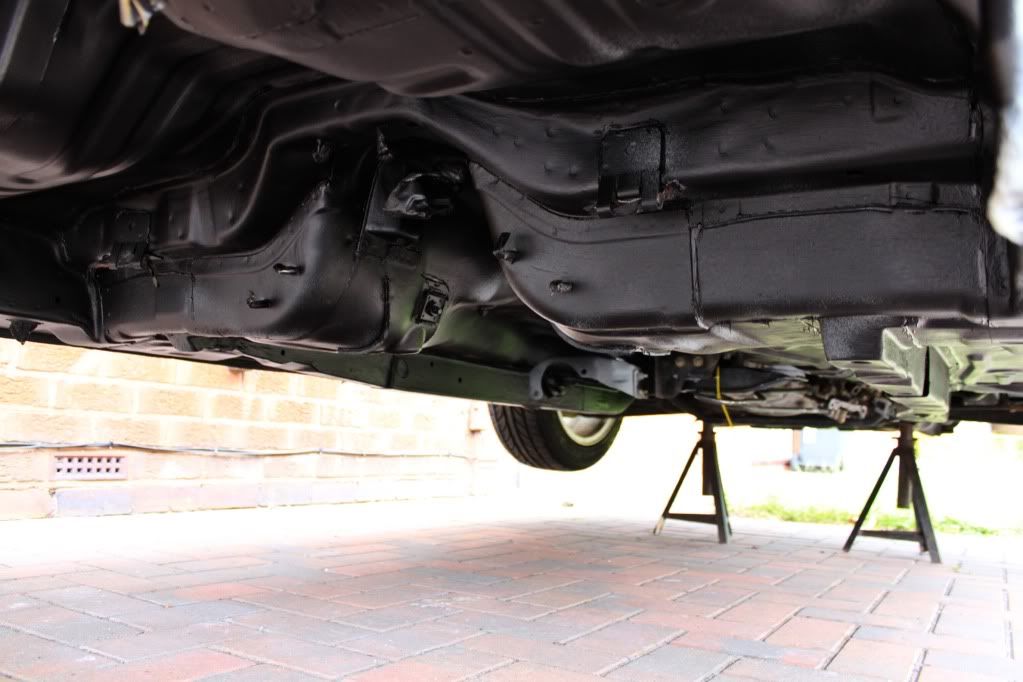
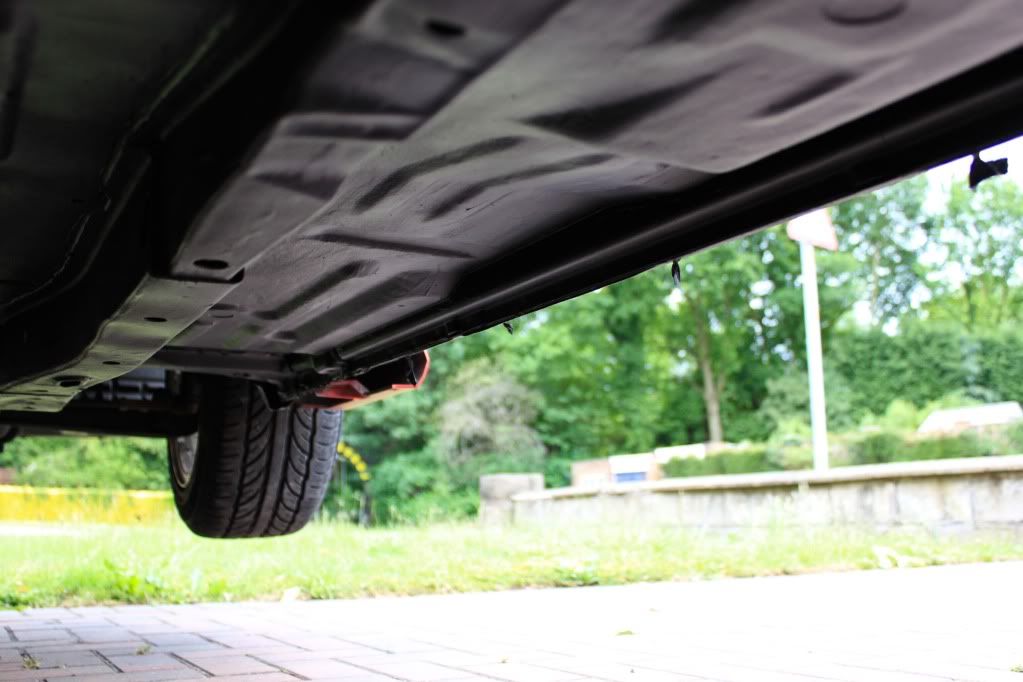
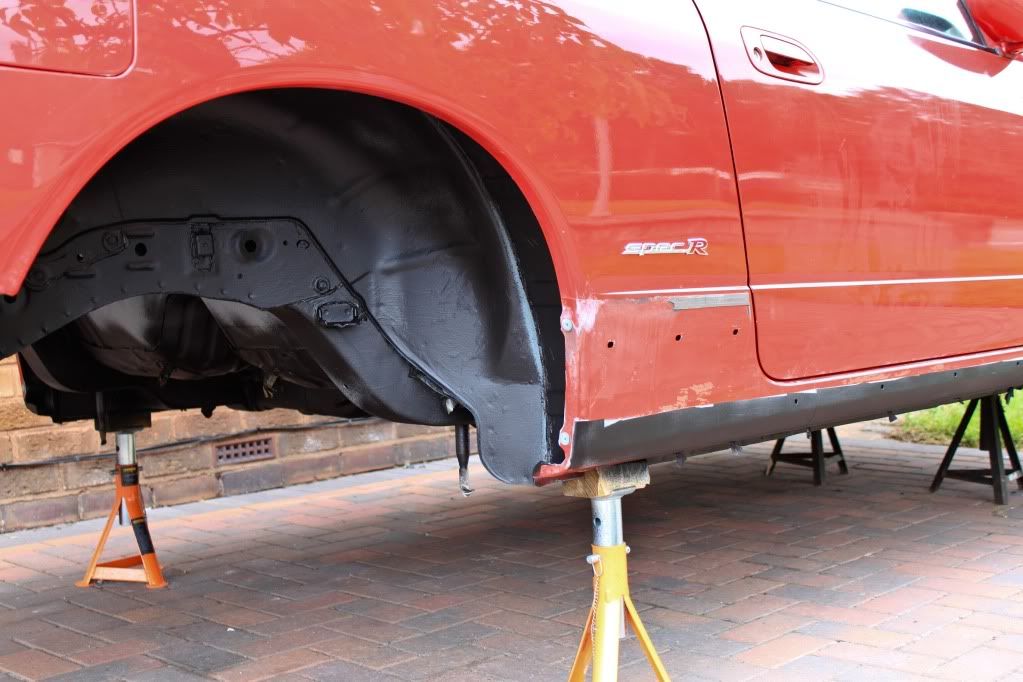
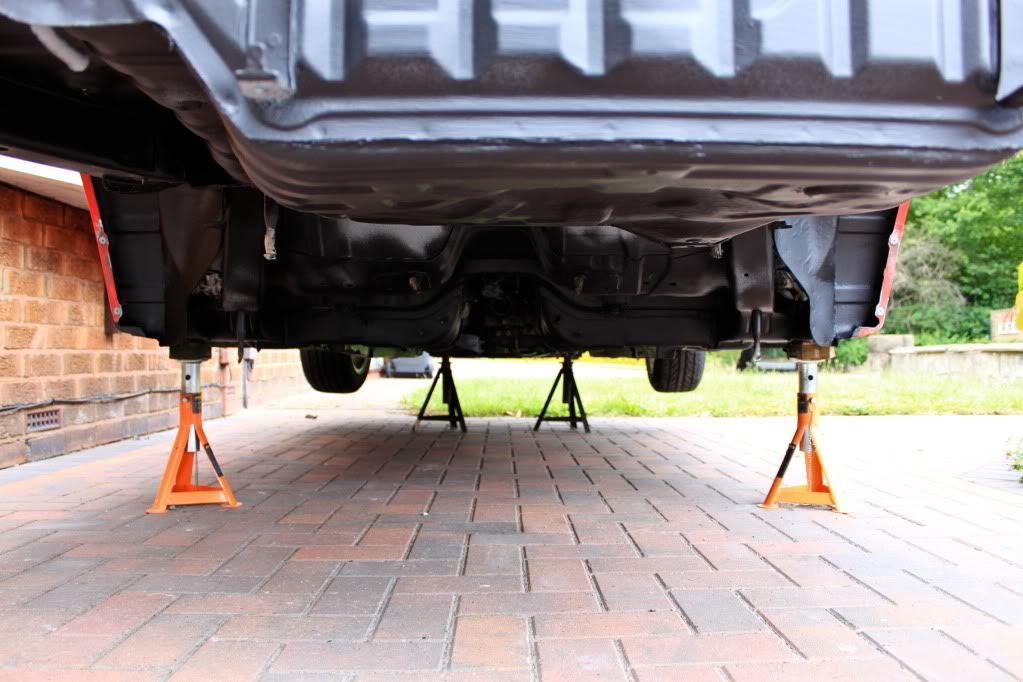
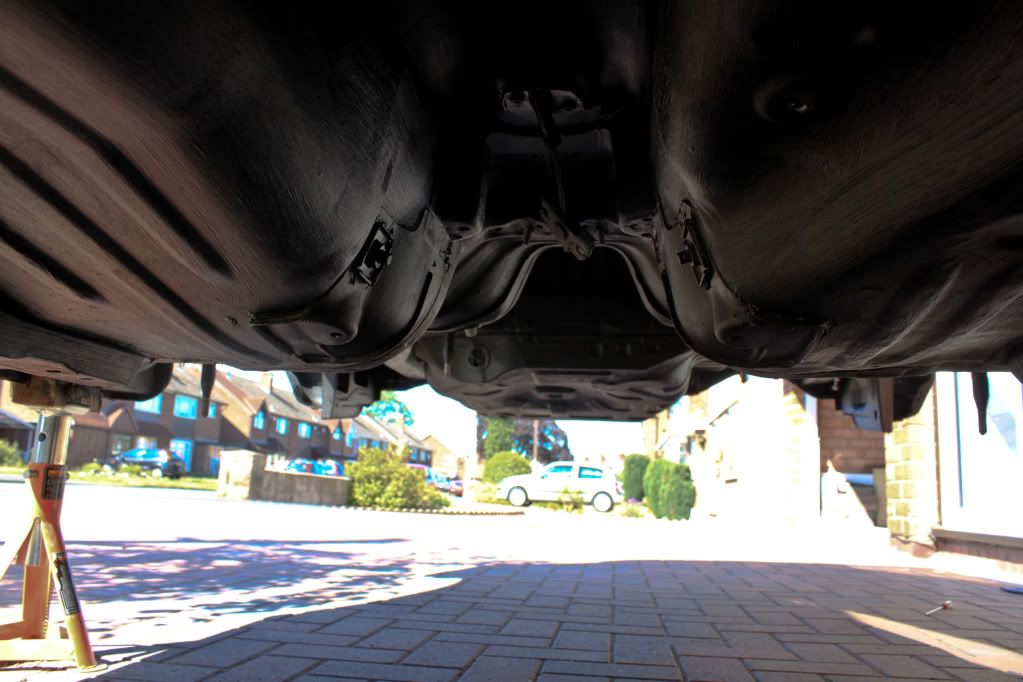
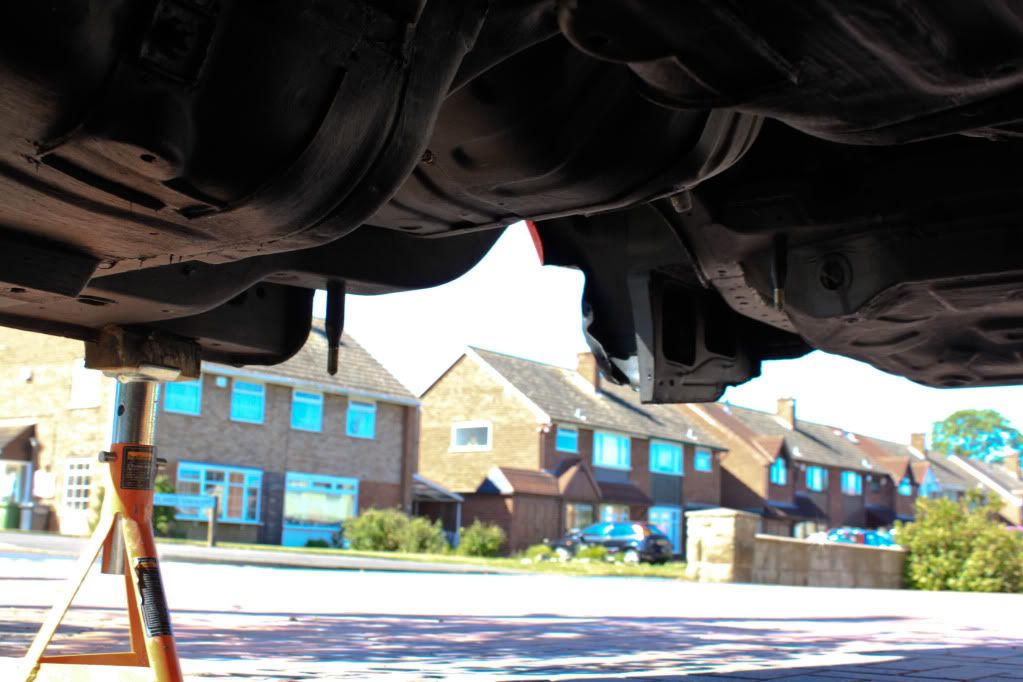
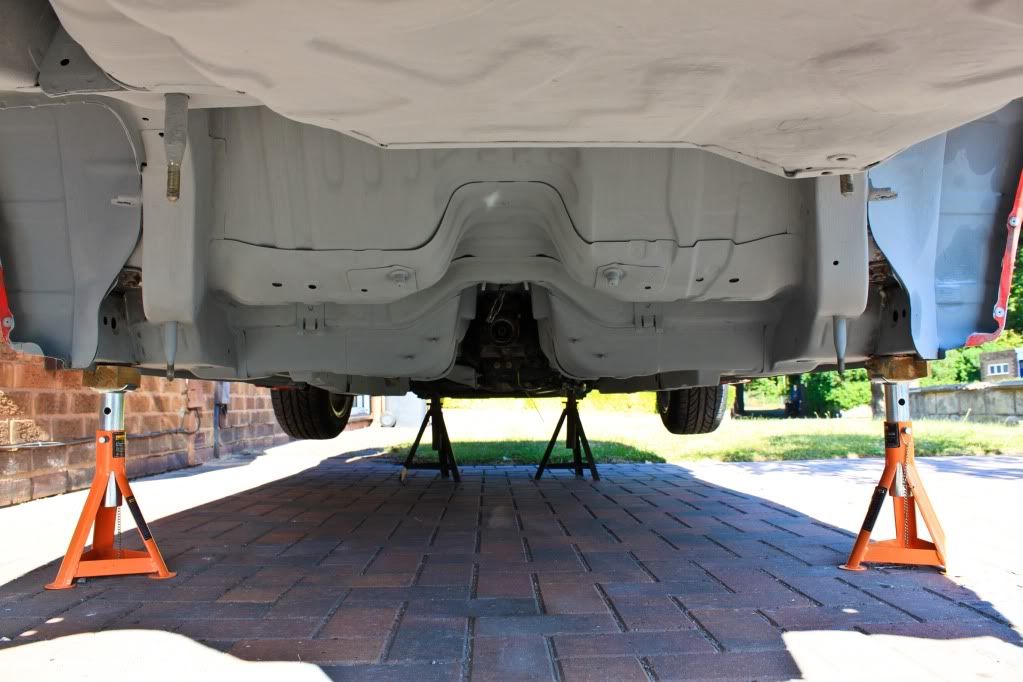
The underneath then looked like this after 2 coats of electrox -
IMG_7354.jpg


IMG_7355.jpg


IMG_7356.jpg


IMG_7357.jpg


IMG_7358.jpg


IMG_7359.jpg


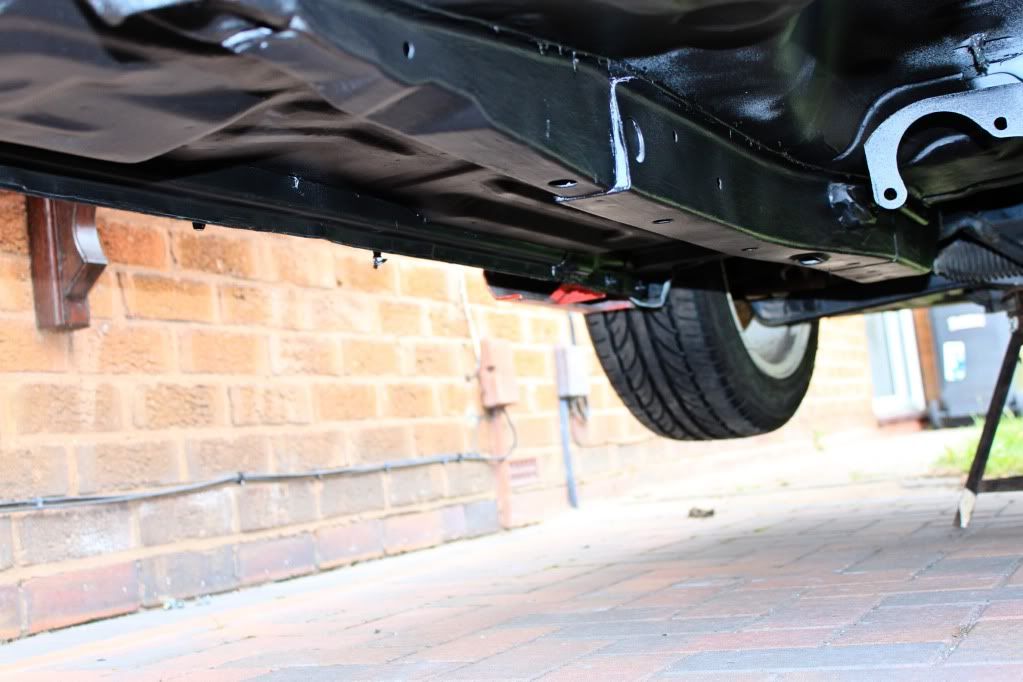
I’m annoyed about the above box rail being damaged as this was done before I bought the car
clip_image001.gif
can’t really repair this without cutting it out and welding a new bit in place...

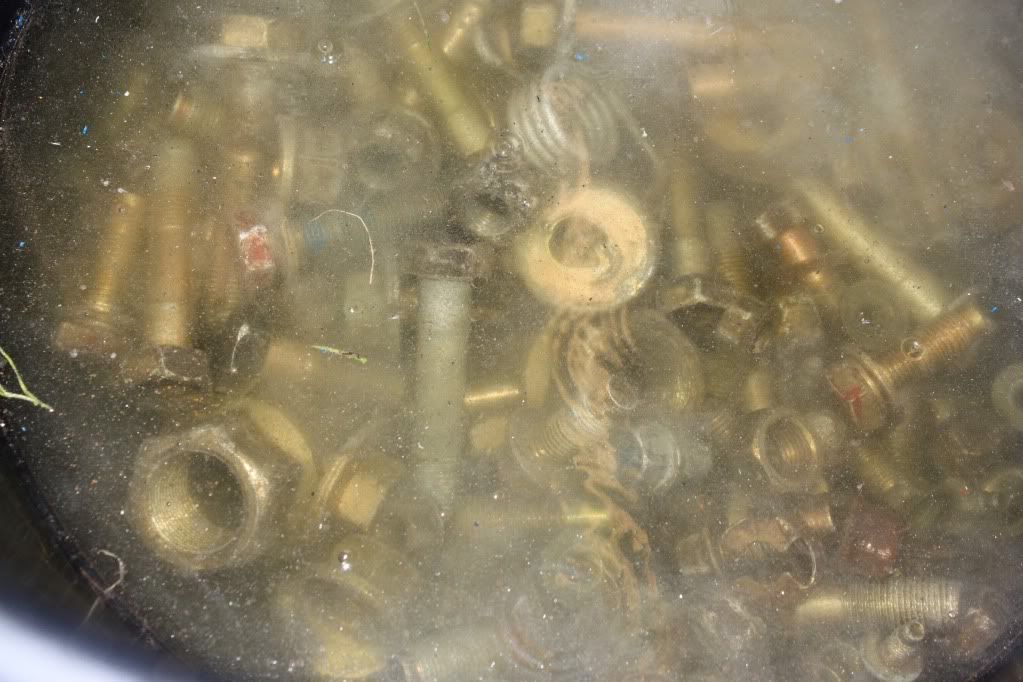
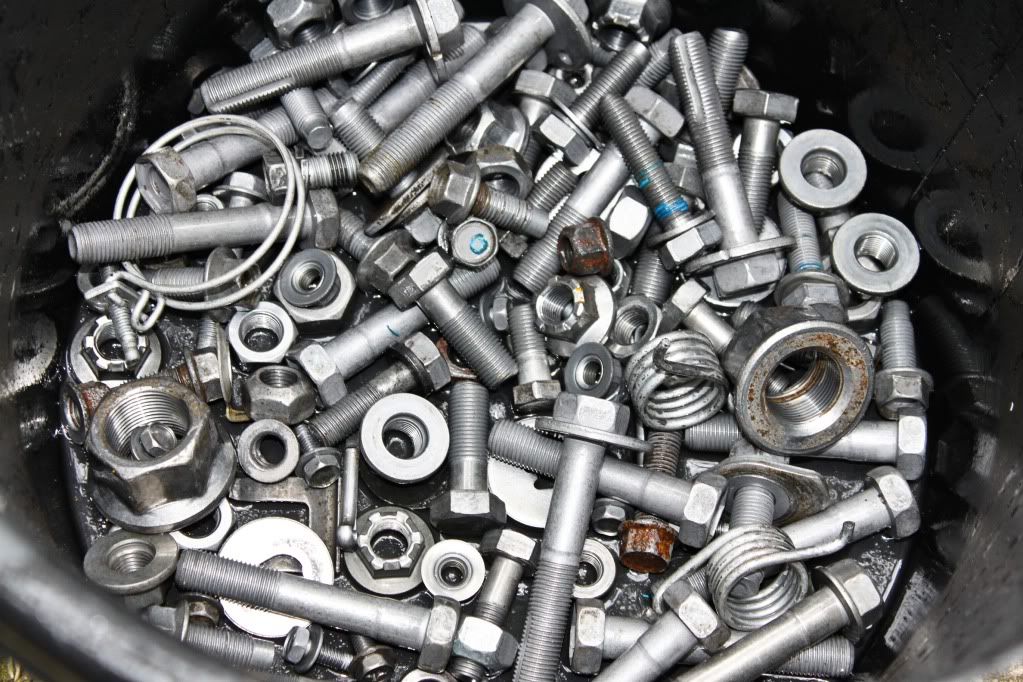
I put the bits that need plating in a solution of Deox C
IMG_7301.jpg


Its fast acting and after about 8 hours they looked like this -
IMG_7315.jpg


I will do it again the day before I take them to be plated.

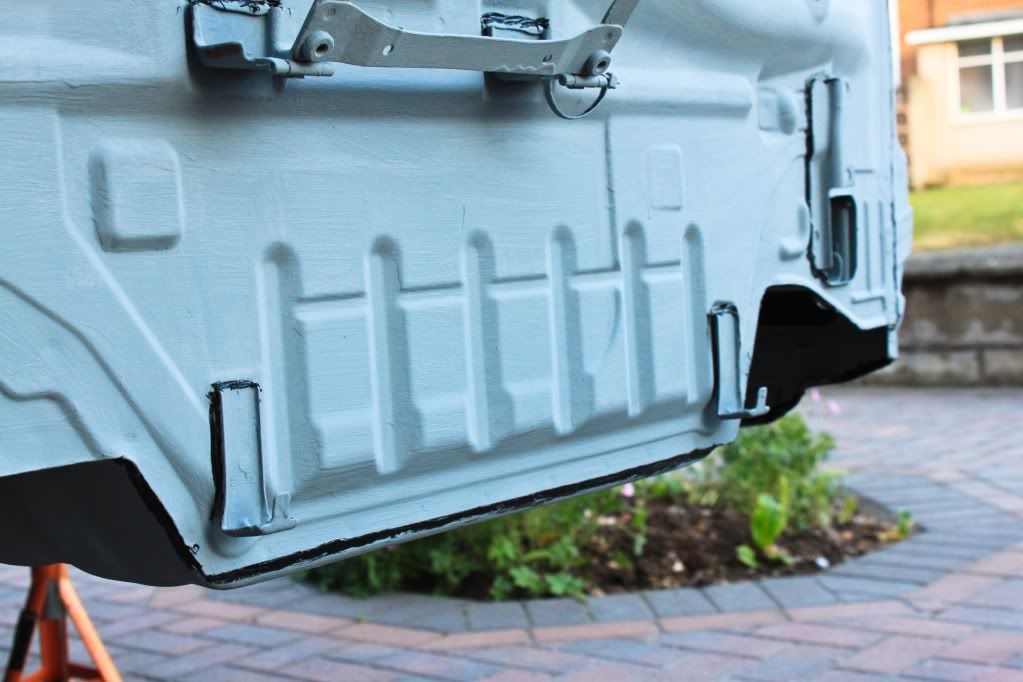
I then went about seam sealing -
IMG_7360.jpg


IMG_7361.jpg


IMG_7362.jpg


IMG_7365.jpg


IMG_7369.jpg


Not the best looking jobs but it’s going to be painted over anyway so you shouldn’t be able to see it.

Atm I’m working on prepping the prop and diff etc. for paint, and I will also put the top coat of protection on the underside when I can. Not sure whether to do stone chip on top of that also so there is 3 layers of protection...
 
Nice to see that your sorting it out before it gets too bad. I HATE rust and when I first got my car on the road the first thing I did was to completely seal and wax it all, had it for two and a half years now and still not a spot of rust to be seen so certainly worth while! Nissan's seem to rust alot more than Toyota's of the same vintage mind! Keep us updated with it all, good work. P.S I think you may be better off using some brush on seam sealer like "Grey Stripe" Than Tiger Seal.
 
Cheers!

Yeh I think I would have been better off with a brush on sealer but for some reason that thought didnt register :(

Oh well its done now, may not be pretty but its getting painted over.

Im in 2 minds atms weather to order some 3M Stone Chip schutz to go on first followed by Dynax UB or just skip the stone chip and go straight to the UB
 
Certainly go for the stone chip mate, I sprayed all the underside of mine with zinc primer, white Hammerite stonechip and then black waxoyl over the top and it's still mint! Certainly worth doing whilst your there and wont cost you much! I only used 3 big cans of stonechip which cost about £13.
 
the stuff you put on first was that just like rust converter stuff?

im dropping my tank this weekend and want to do the same, im just thinging about,

stripping it, rust conveter, rub back, Zinc prime, hammerite and maybe stone chip on top if im feeling plush.

i dont need it to be mint, just not to rust!

Yeh its Deox Gel from Bilt Hamber, its really top notch stuff!

I rubbed it back as much as I could first and then used the gel to get rid of the hard to get rust pitting etc, then you wash off and degrease, then prime with a zinc based primer..once thats on (2 coats is best) you can put a top coat on..im going for 3M Stone chip which is over paintable followed by Dynax UB from Bilt Hamber. :thumbs:

Should be good for a few years of winter play...i think there is going to be areas that could of been done better so if in say 3-5 years it needs doing again...im getting myself a bloody sand blaster :dw:
 
First off me being an idiot accidentally lost a load of photos off my camera so there are loads of bits cleaned up and ready for paint that are missing as well as a few others...
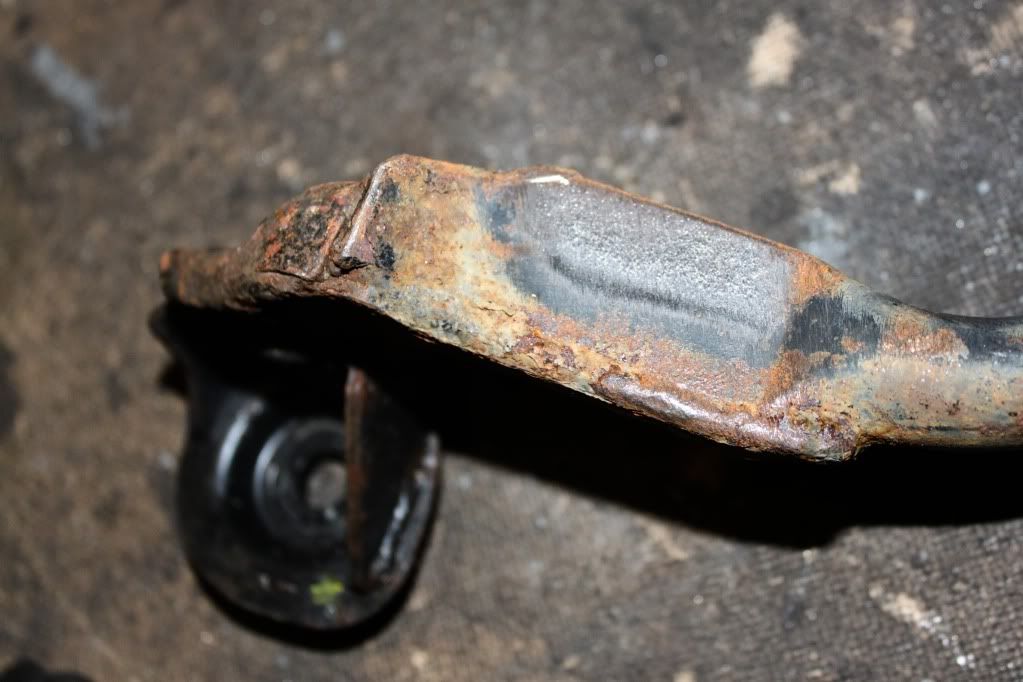
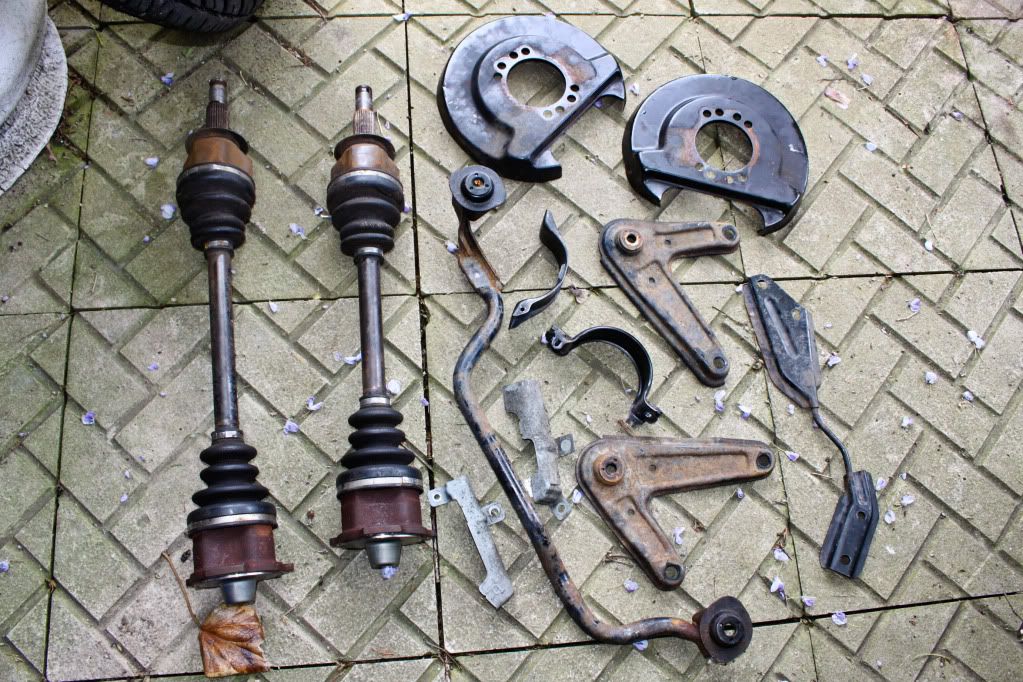
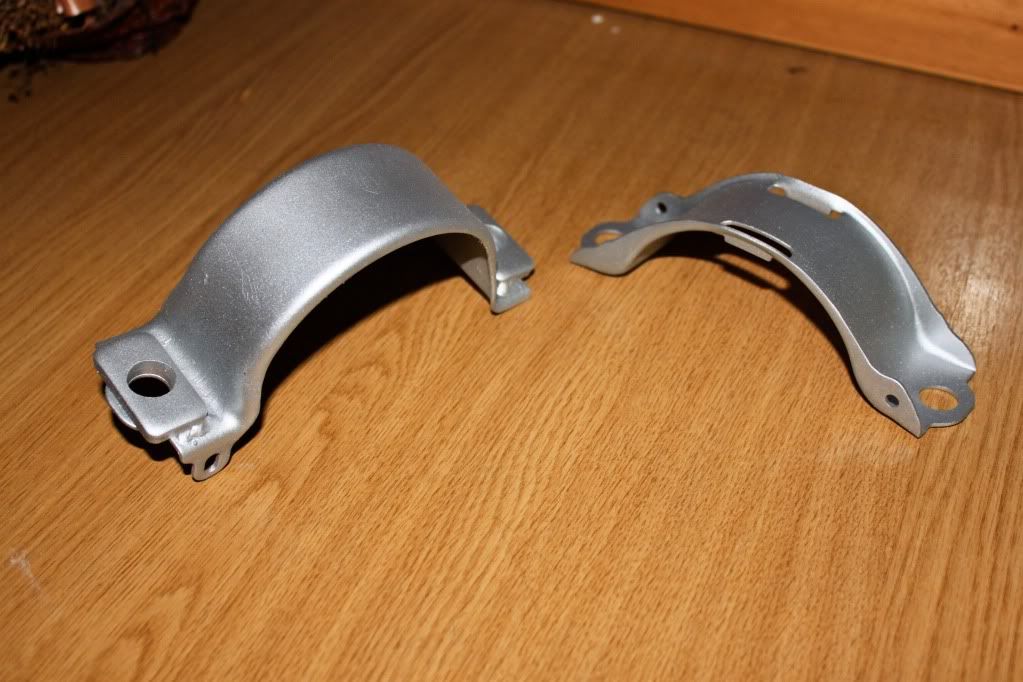
Anyway these are a few little bits that needed de-rusting and painting

IMG_7373.jpg


After a lot of work they were ready to paint with this -

IMG_7609.jpg


Which left them looking like this -

IMG_7636.jpg


IMG_7637.jpg


IMG_7638.jpg


IMG_7639.jpg


IMG_7640.jpg


These will be getting another few coats in black!

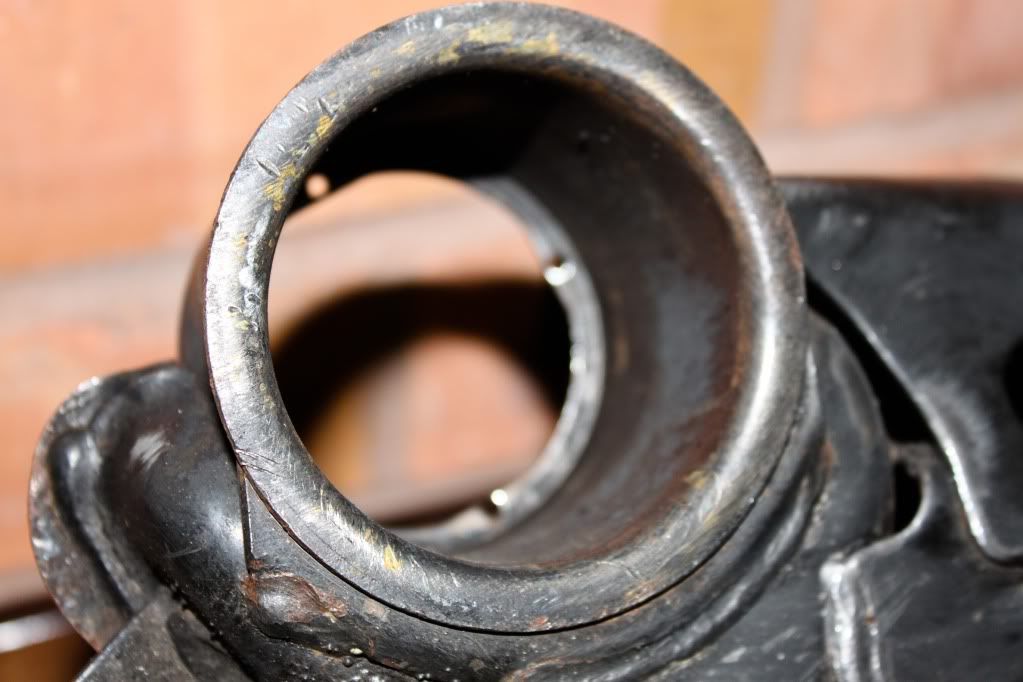
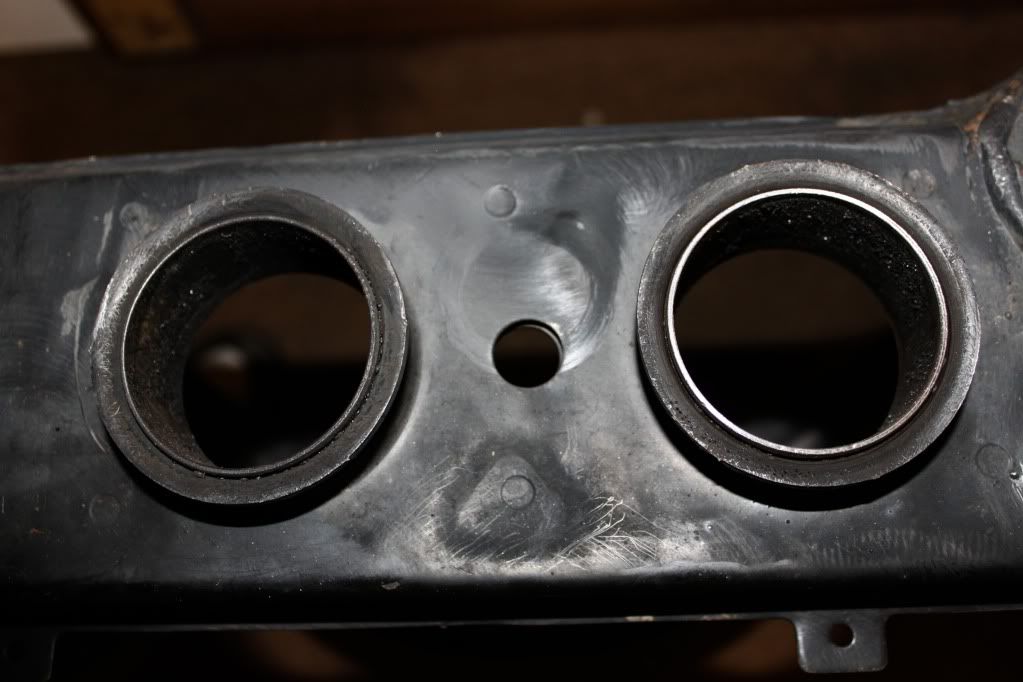
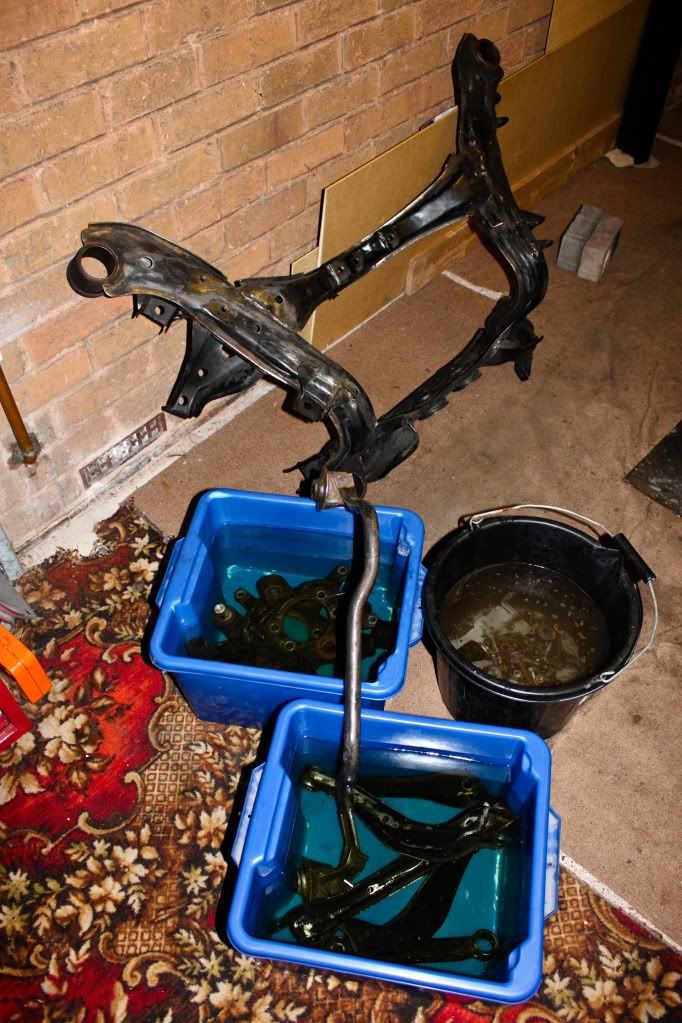
Bushes! Aghhh what a pain in the ass these are! :smash:

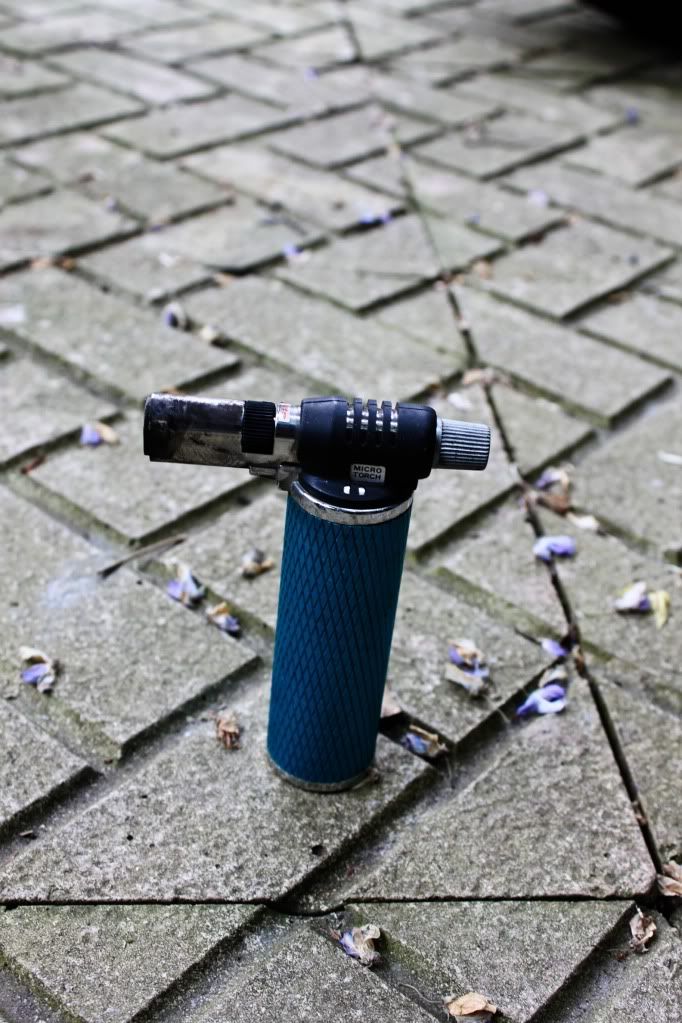
At first I was using this to try and get them out...
IMG_7614.jpg


It worked but was slow...VERY SLOW!

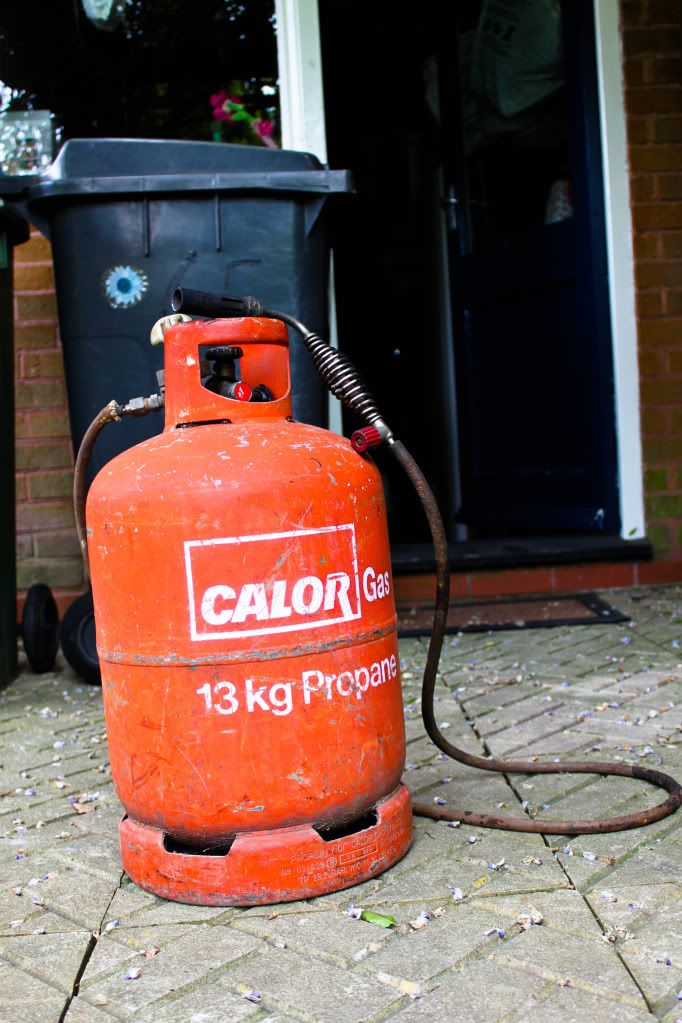
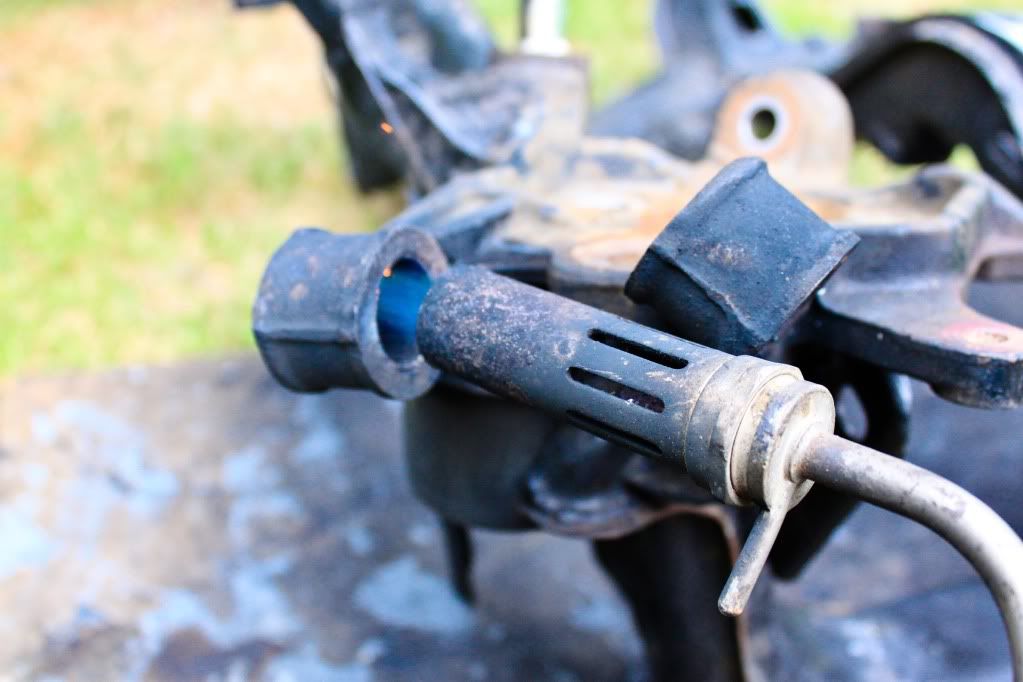
Decided to switch to something a bit more erm...powerful that I borrowed off a neighbour :D

IMG_7612.jpg


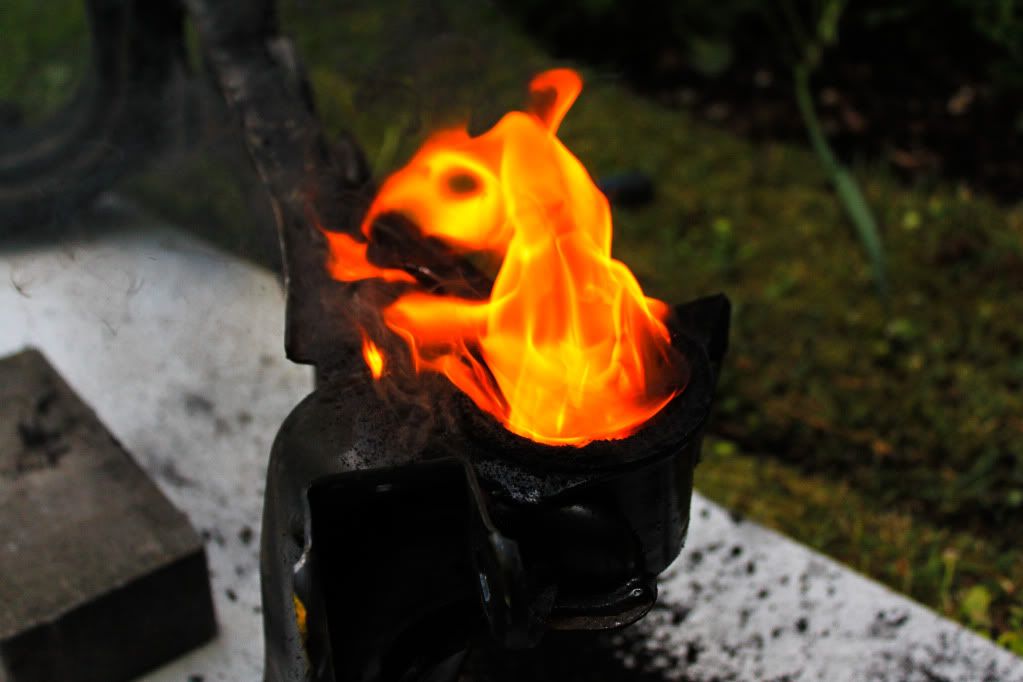
A lot of photos are missing but it made massive fires when the bushes were buring :D

IMG_7611.jpg


IMG_7383.jpg


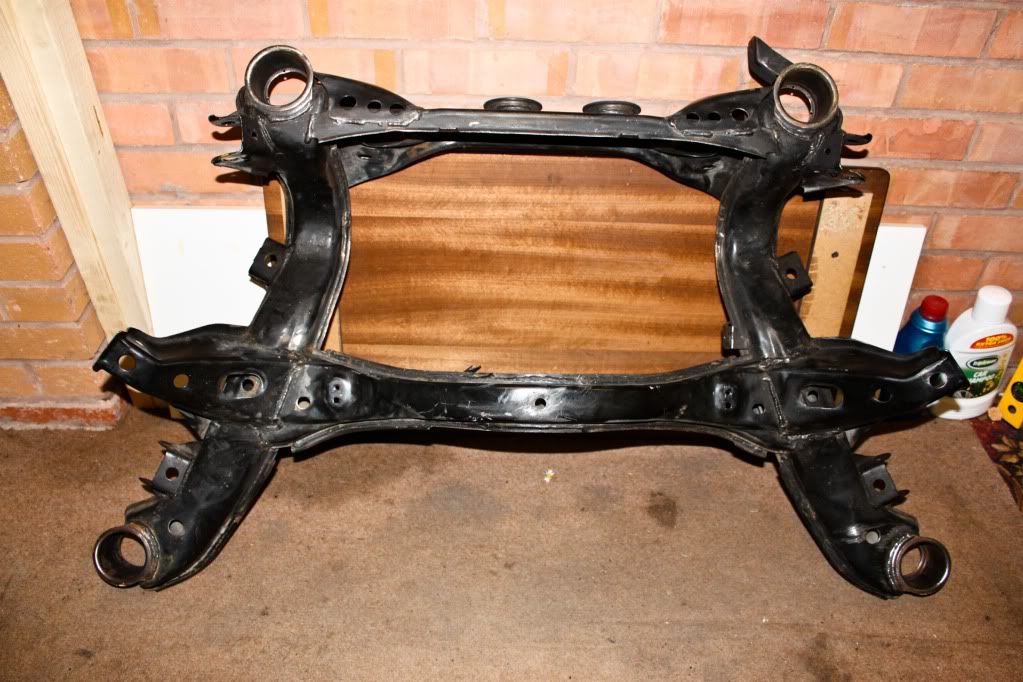
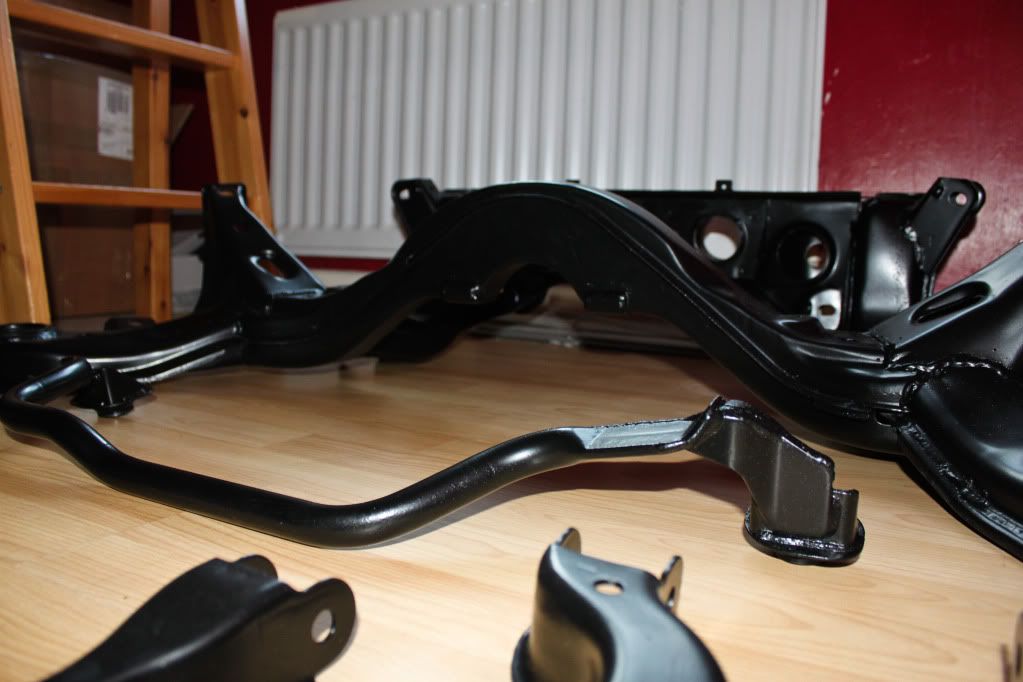
Ended up with a nice bush free subframe, control arms and lower arms..

IMG_7619.jpg


IMG_7620.jpg


IMG_7621.jpg


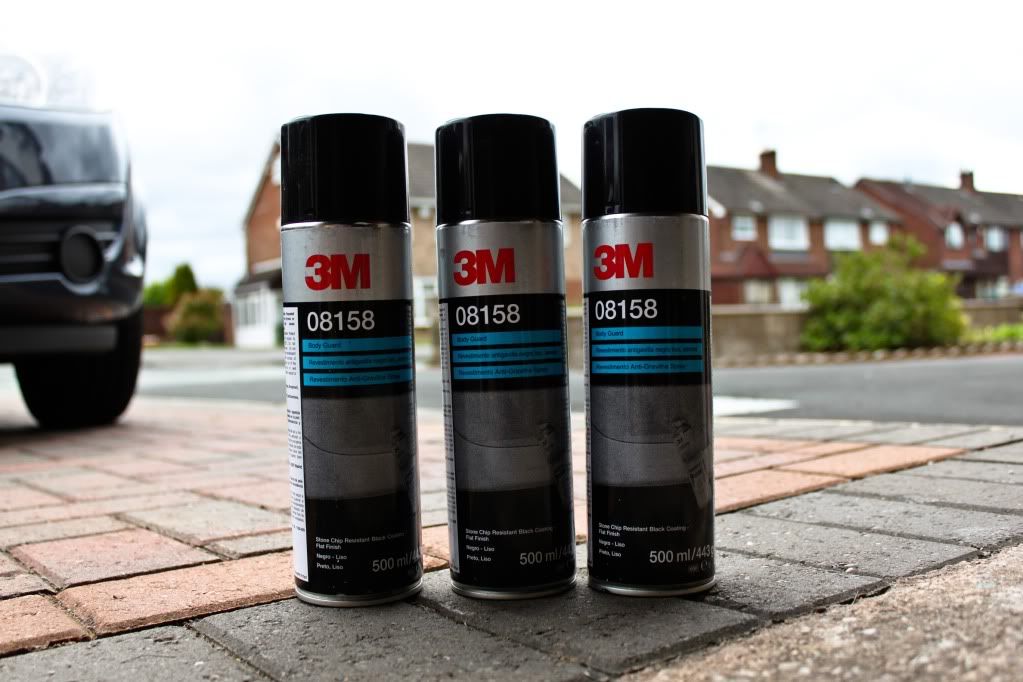
Decided to stone chip the underside using some nice 3M stuff -

IMG_7610.jpg


I first masked and plugged relevant things that you dont really want stone chip on / inside

IMG_7603.jpg


IMG_7607.jpg


IMG_7605.jpg


IMG_7606.jpg
 
The annoying thing is I thought 3 cans would be enough but could have done with 4 tbh!

IMG_7622.jpg


IMG_7625.jpg


IMG_7626.jpg


IMG_7629.jpg


IMG_7631.jpg


IMG_7634.jpg


IMG_7623.jpg


IMG_7635.jpg


I just didnt have enough to do the whole underside, what I did to overcome this problem was to miss out on top of the fuel tank as really it wont get hit by stones will it...I know its added protection but id rather the sills and box sections be protected :)

So there is a light patch missing -

IMG_7627.jpg


IMG_7628.jpg


I am tempted to order a few more cans and do it just because it bugs me..and tbh I would like 2 coats minimum especially in the arches! But I still have Dynax UB to put on also so might just leave it :confused:

Bits are going off to get powder coated and plated tomorrow so I got them ready -

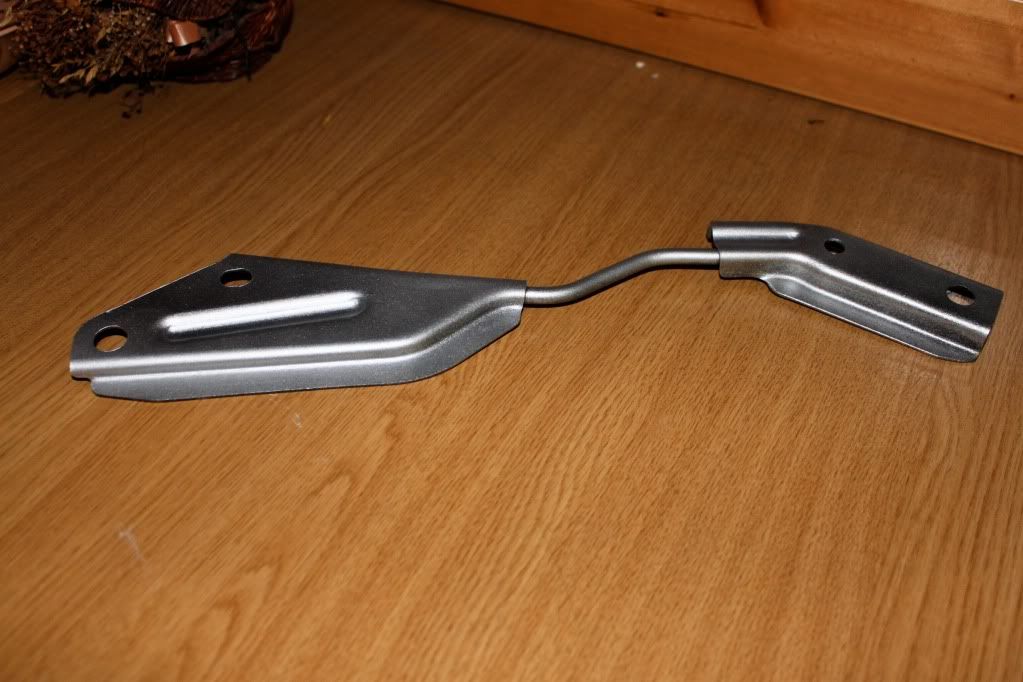
Subframe brace had to be rubbed down a bit -

IMG_7616.jpg


After a clean up wire wire brushes etc the parts were put to soak in some Deox C solution to get them ready for tomorrow! Reason i did this was because it may bring the cost down slightly if its less work for them to do...I am gonna request everything be sand blasted anyway if possible at the powder coaters and the platers im using (different to you Craig) will very likley clean them up again anyway so im sure they will be fine.

IMG_7618.jpg


Not much left now really :nod:

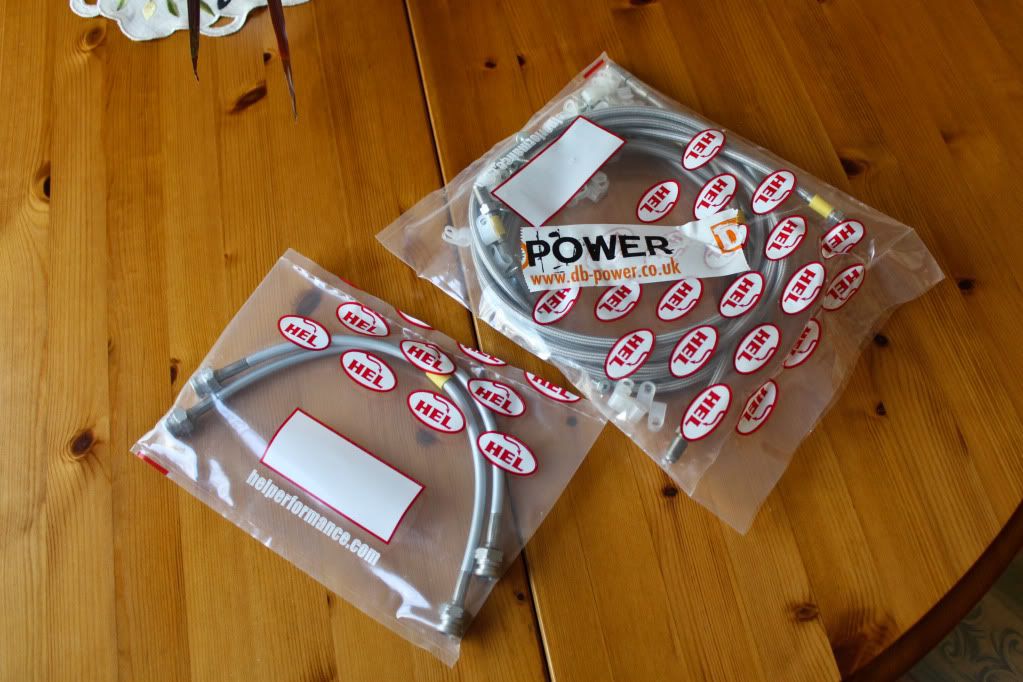
Just waiting for bushes and brake lines to turn up! HEL suck!

:dw:
 
Haven’t updated this in a bit...

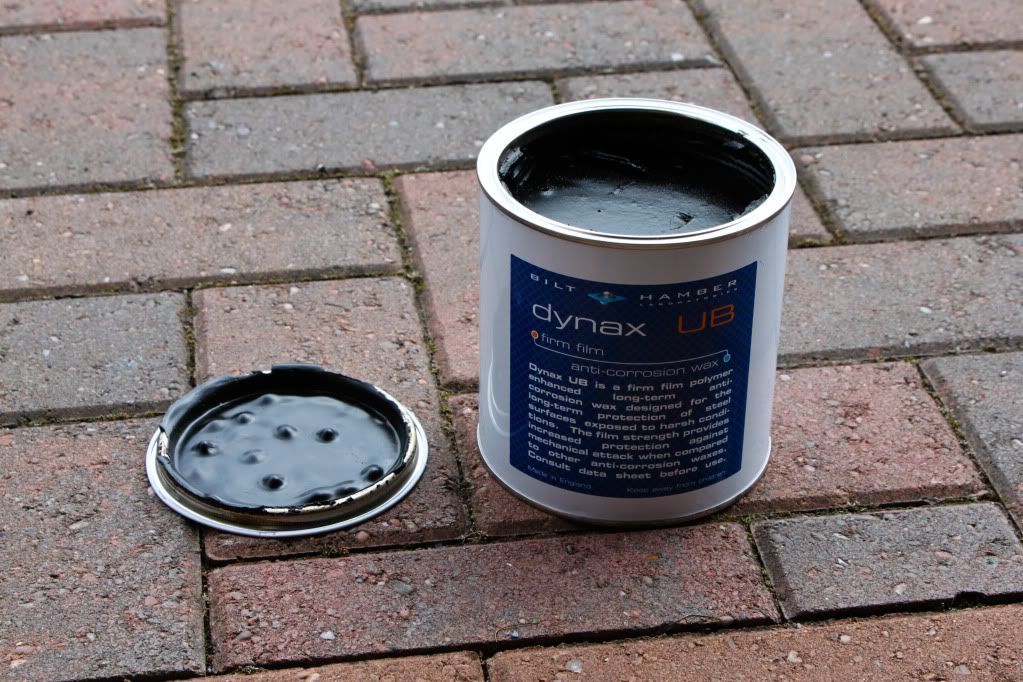
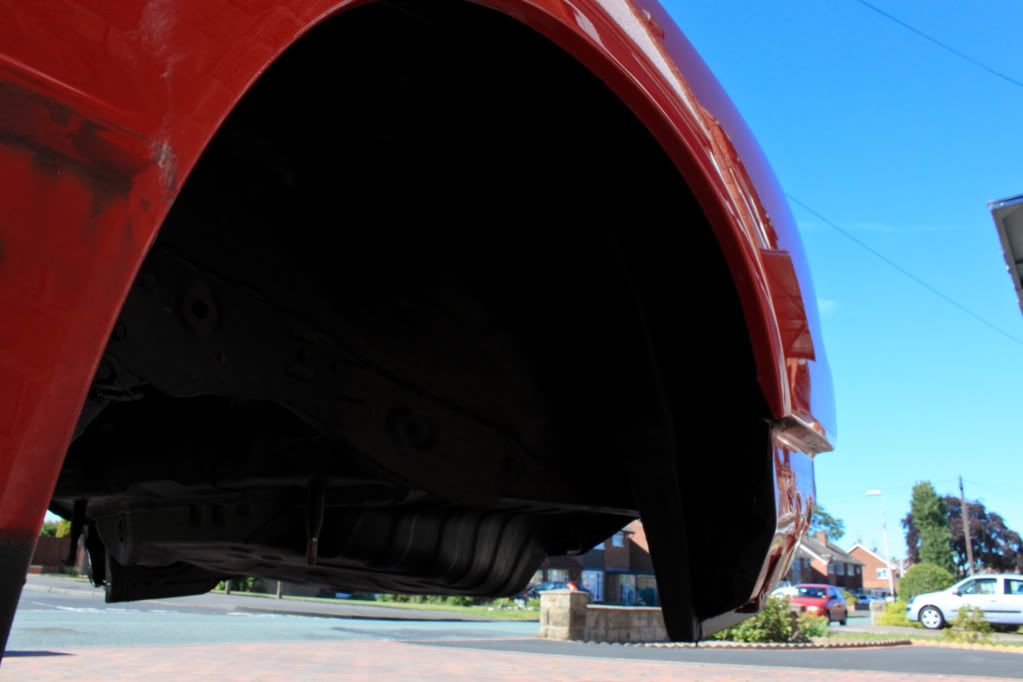
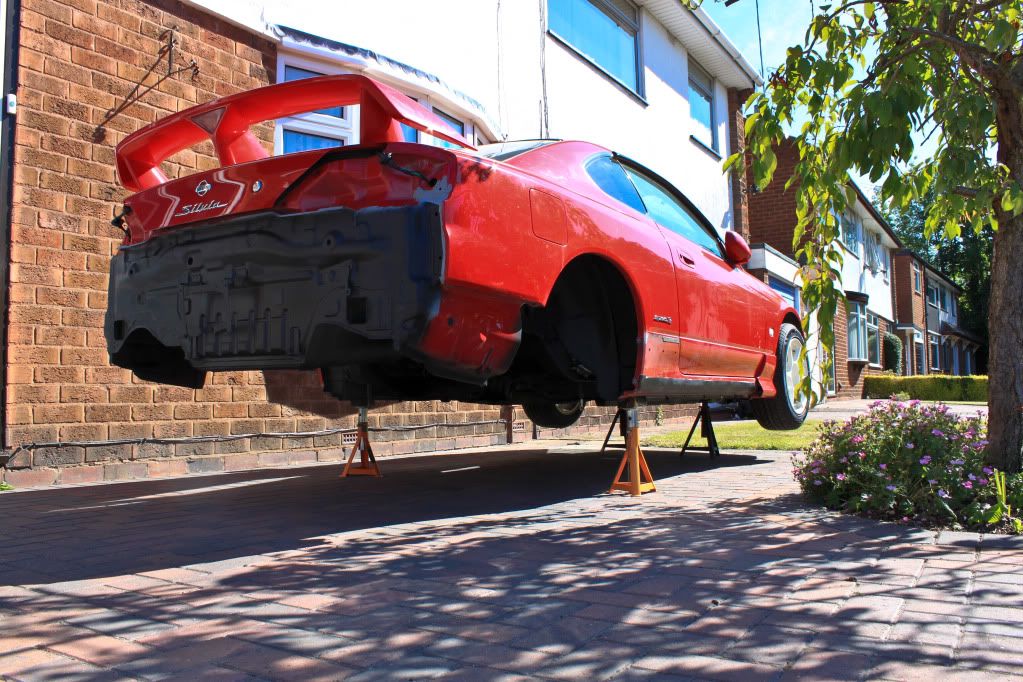
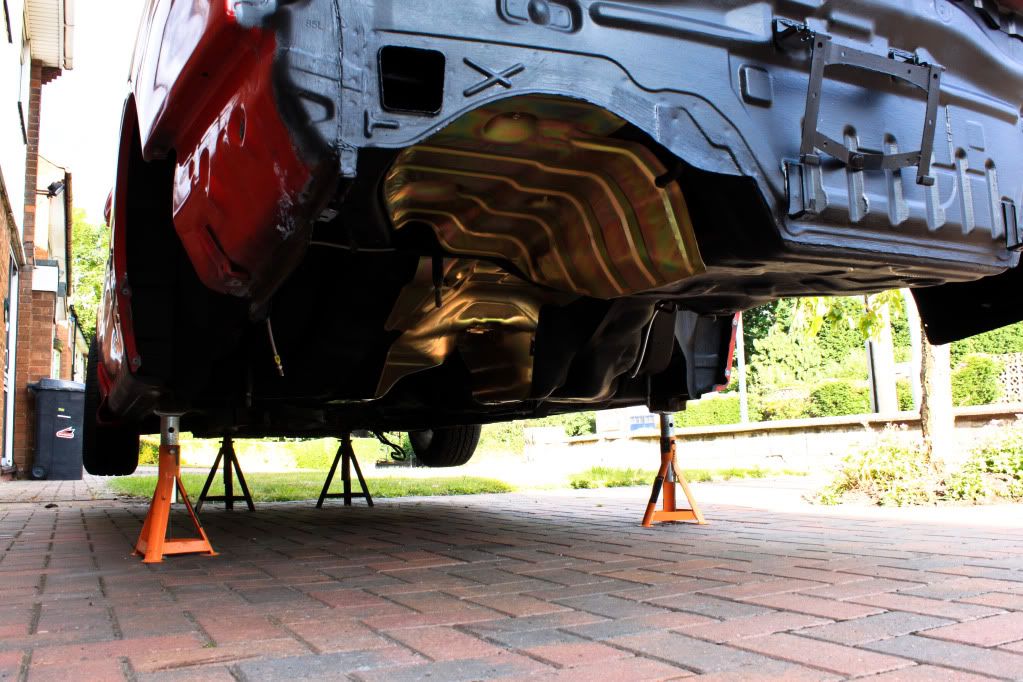
Right the underside is now done, after the stone chip I applied 2 generous coats of Dynax UB which is an anti-corrosion wax with elastic polymers that create a tougher wax coating that is more resistant to abrasion than normal wax coatings.

After 2 coats I’m pleased with the results, if I find any rust under here in the next 3-5 years I’ll give my car a makeover with a hammer

IMG_7648.jpg


IMG_7694.jpg


IMG_7691.jpg


IMG_7689.jpg


IMG_7702.jpg


IMG_7699.jpg


IMG_7698.jpg


IMG_7707.jpg


IMG_7688.jpg


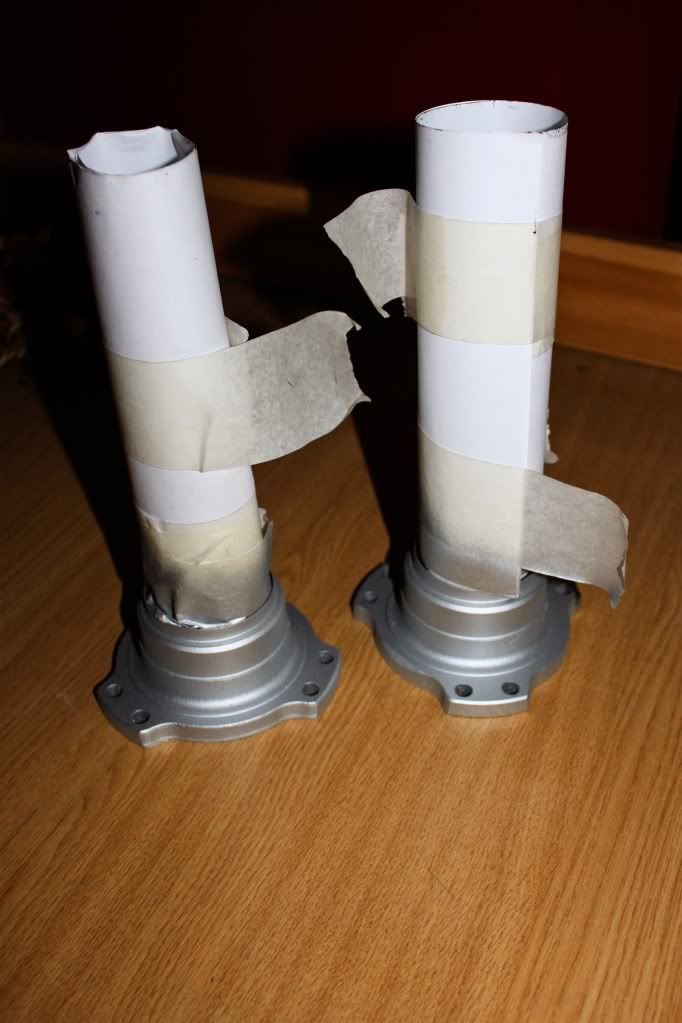
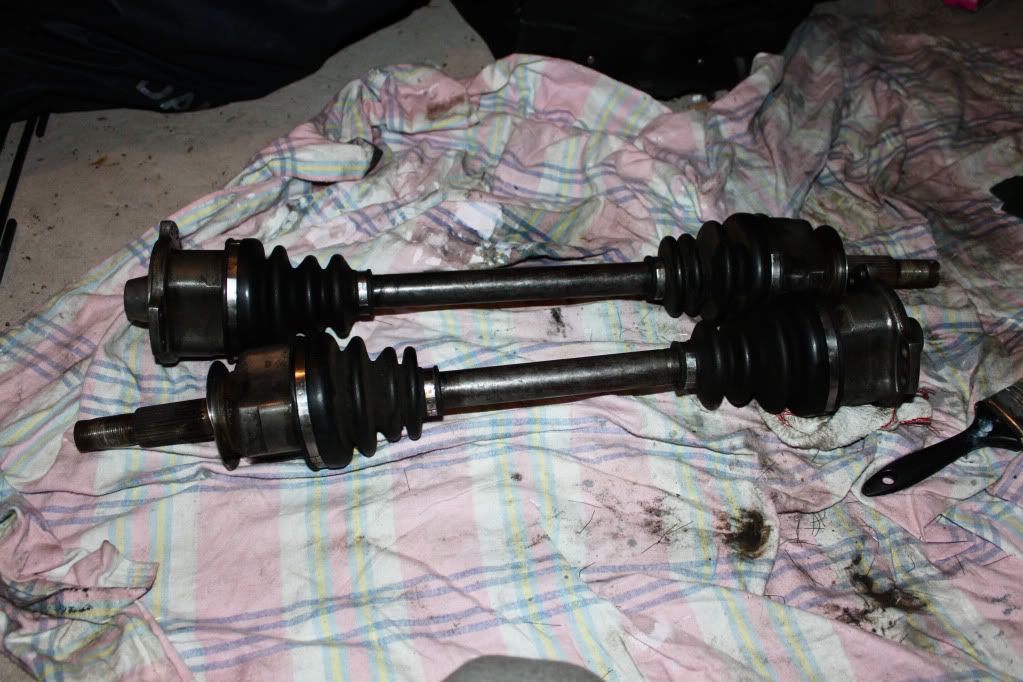
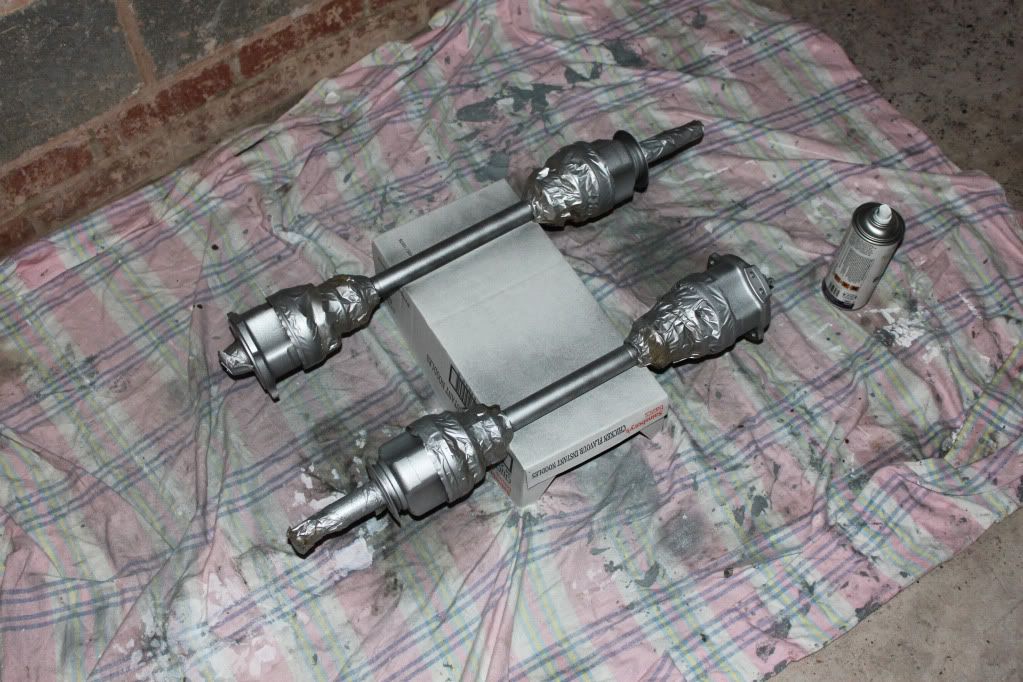
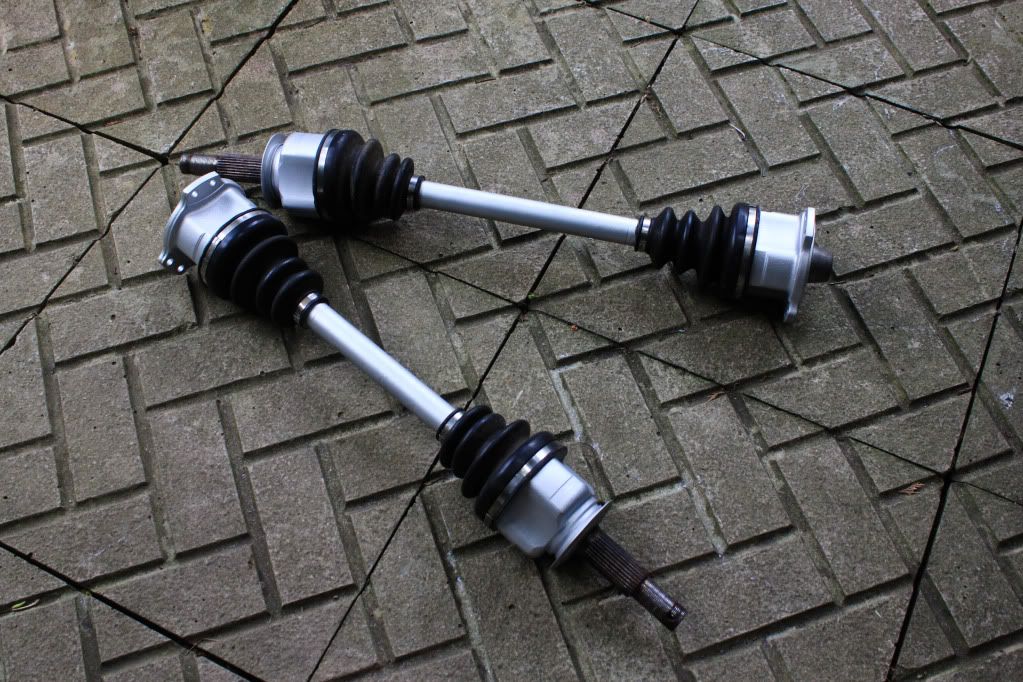
Cleaned the shafts up the best I could and painted -

IMG_7646.jpg


IMG_7647.jpg


IMG_7716.jpg


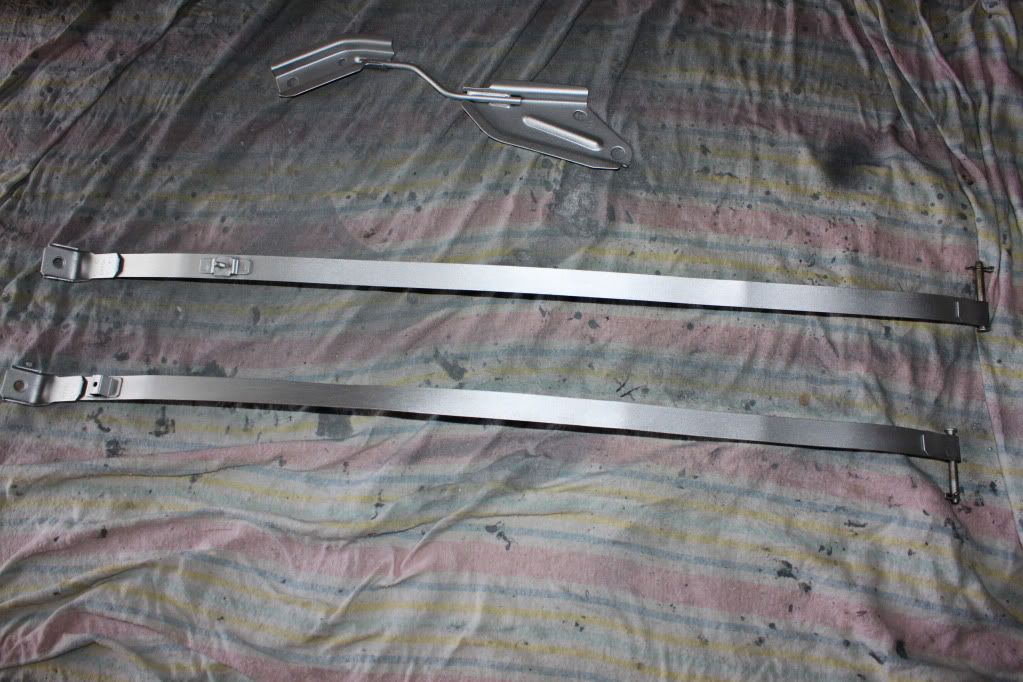
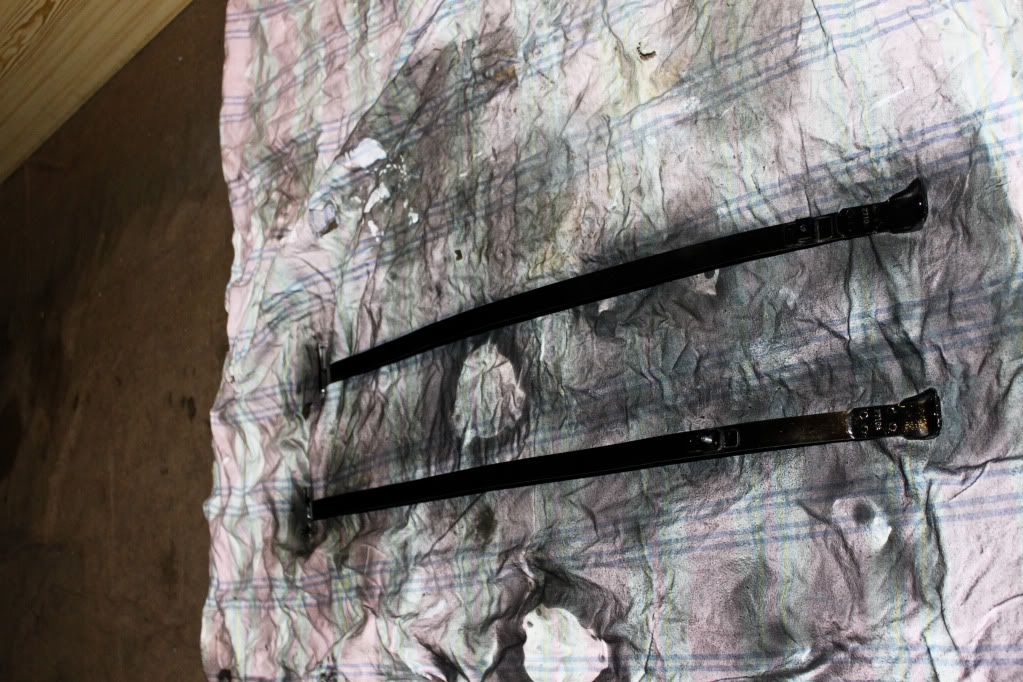
Fuel tank straps cleaned up and painted -

IMG_7719.jpg


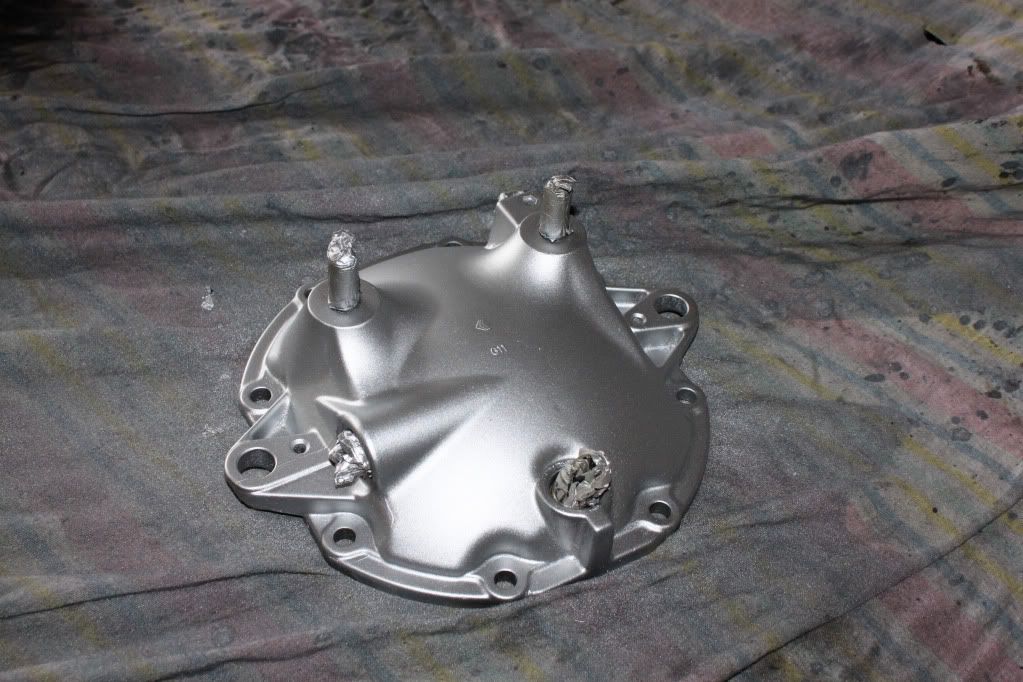
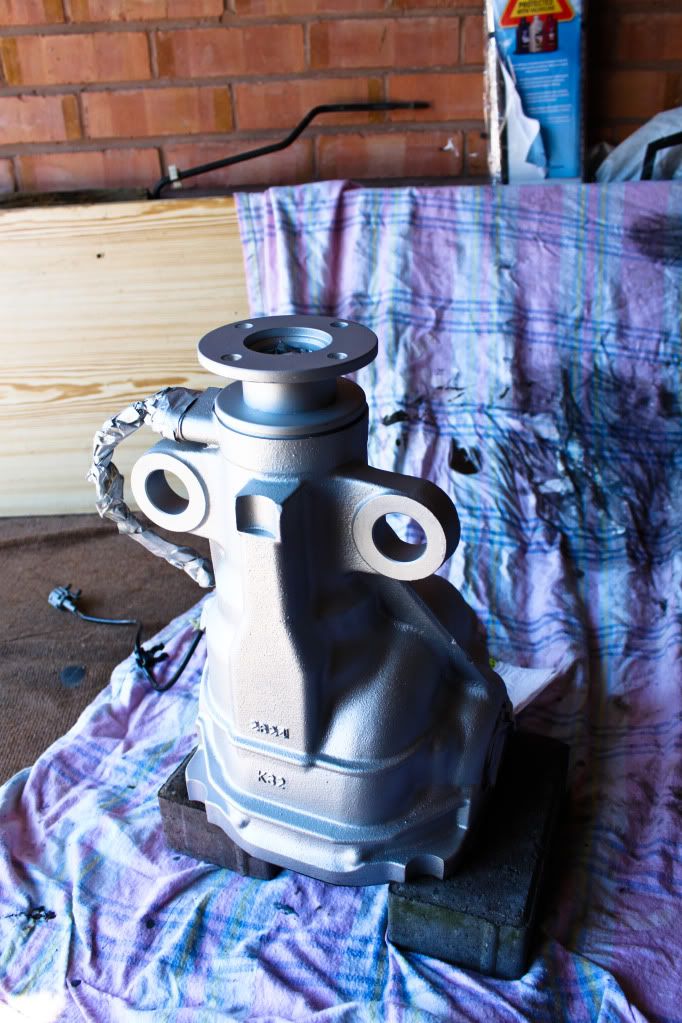
Diff painted with 3 coats, which will then be sprayed with another few coats of black -

IMG_7717.jpg


IMG_7709.jpg


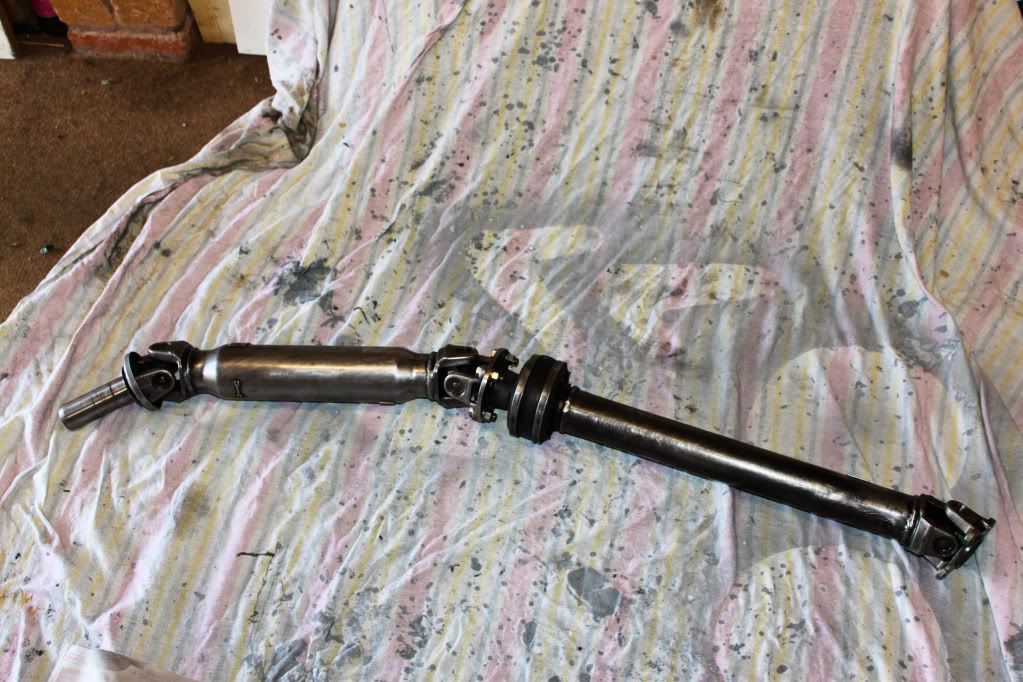
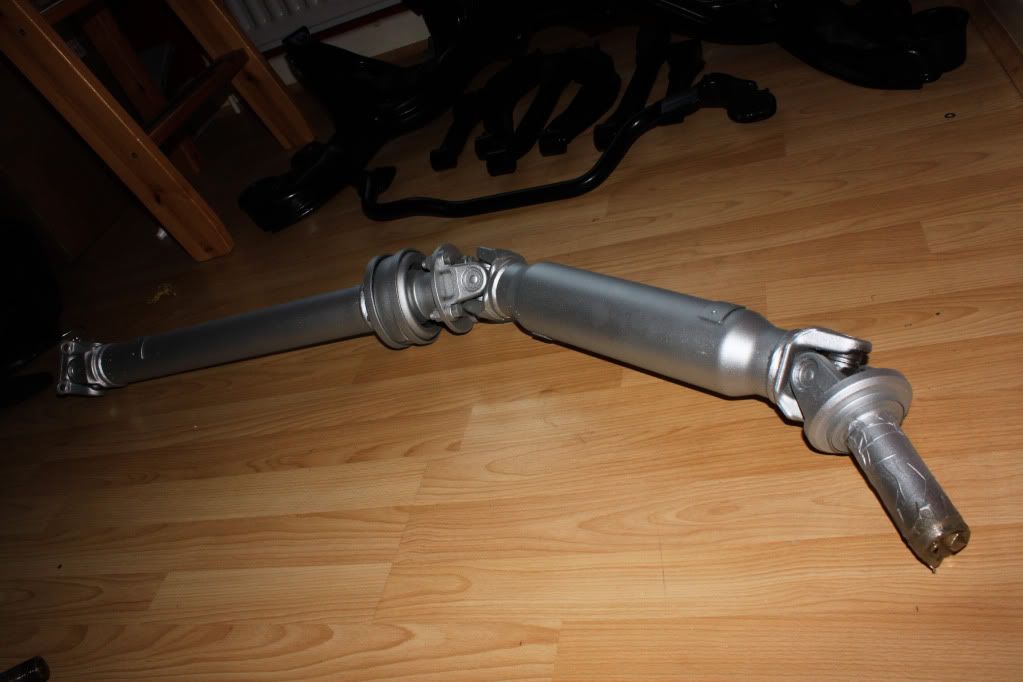
Prop -

IMG_7643.jpg


IMG_7676.jpg


This will also be done black..

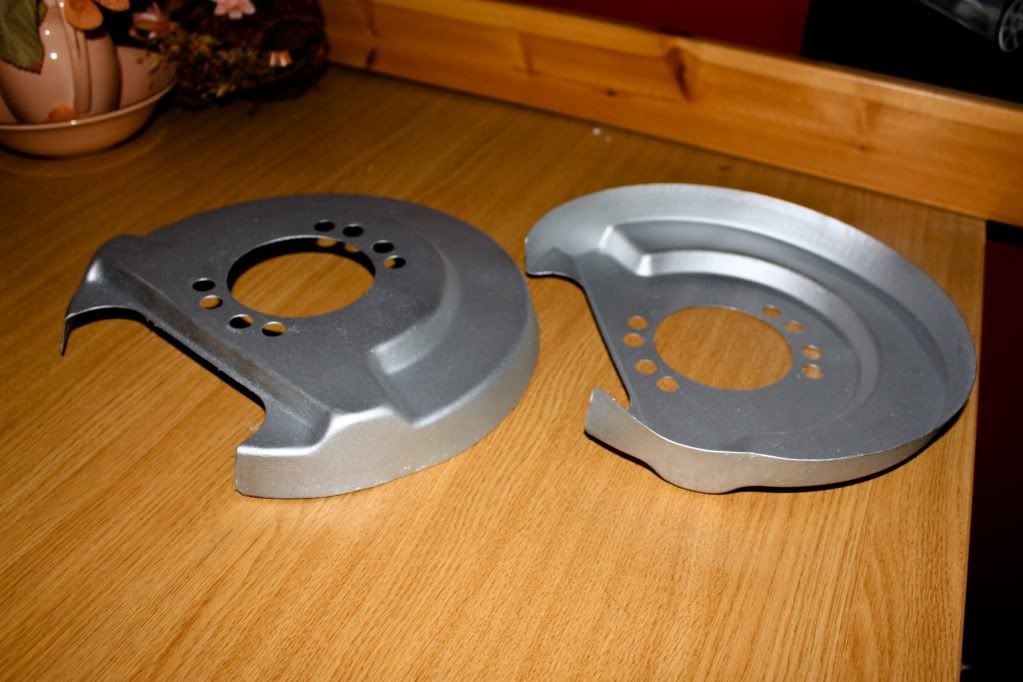
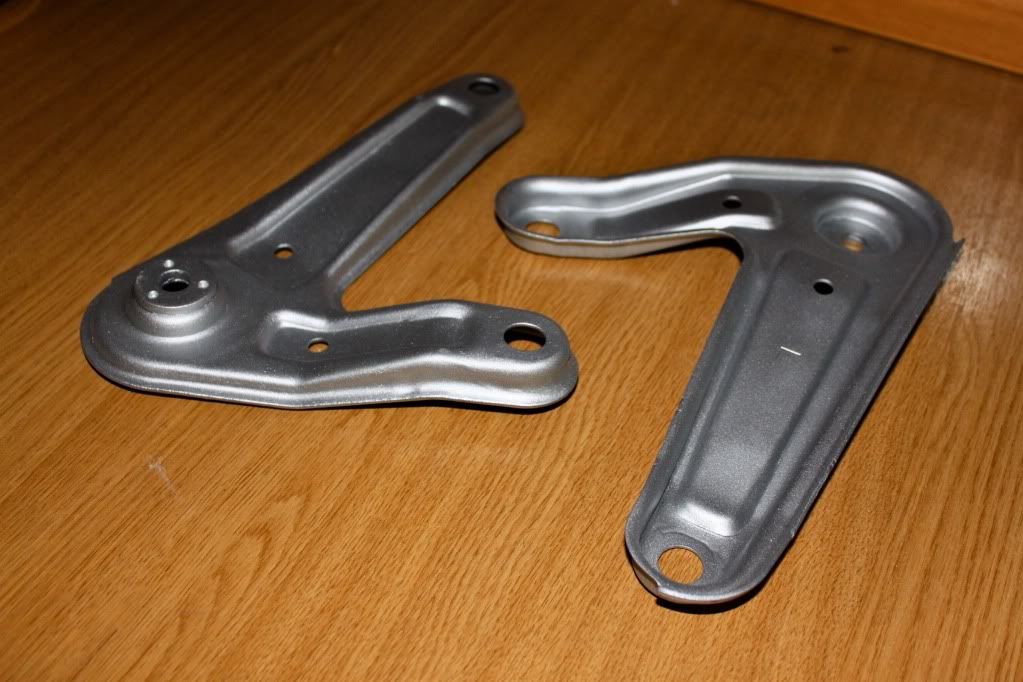
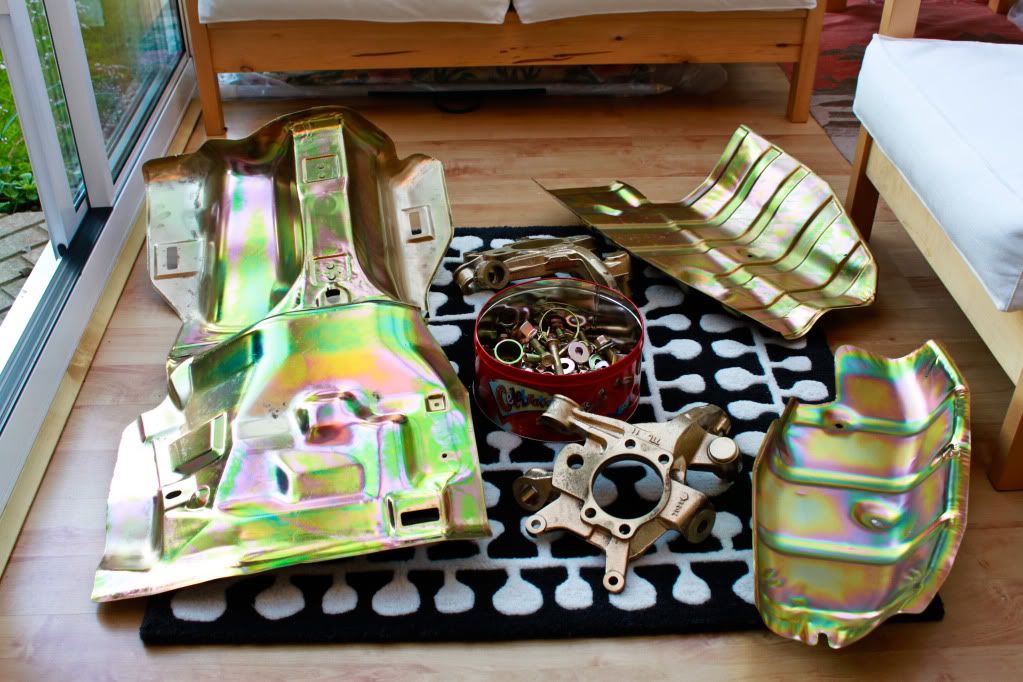
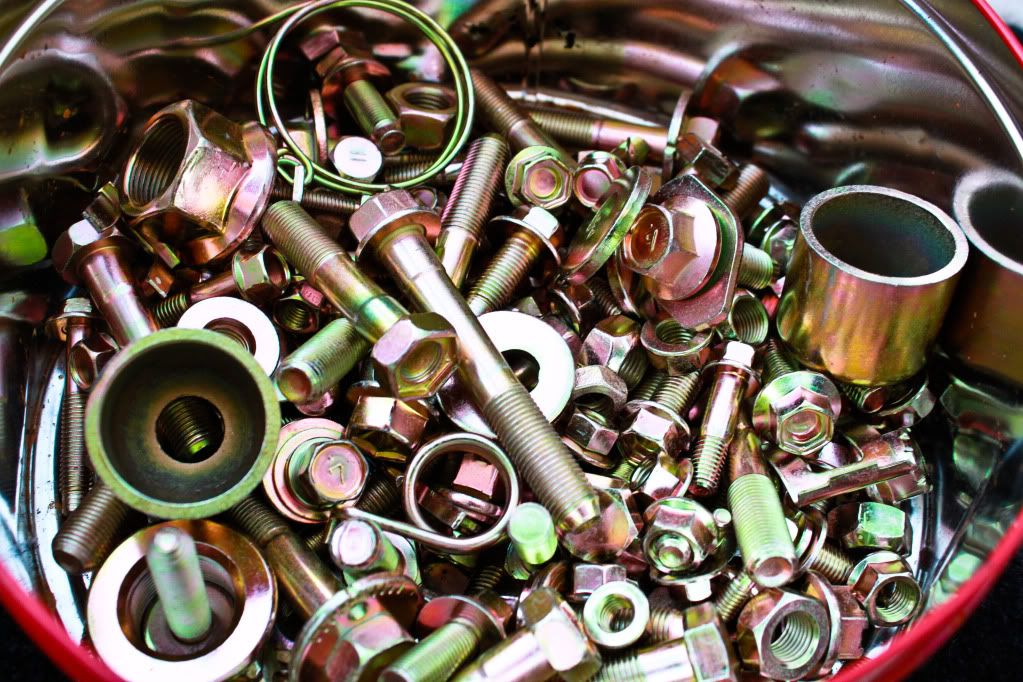
Got parts back from powder coating / plating

IMG_7672.jpg


IMG_7665.jpg


IMG_7684.jpg


IMG_7678.jpg


Tbh the finish isn’t the best, don’t get me wrong its good but in a few places on the carriers for instance it could be better. The sub frame should of been blasted back first but they didn’t do that but I paid £40.00 for the plating and £50.00 for the powder coating which is cheap and cheerful really and its all protected and its not like I’m building a show car

Also after 2 months my brake lines finally turned up!

IMG_7686.jpg


Now I’m just waiting on the energy bushes, bits painting black and it can all go back together.
 
mate...i really love your work!!!!
your work is amazing!
I love it! :D
And of course....your car is wonderful!
:)
Ciao from Italy
Arian
 
wow.

Just wow! It'd be a dream to work under your car lol, no rust going in my eyes, no oil dripping on my face
 
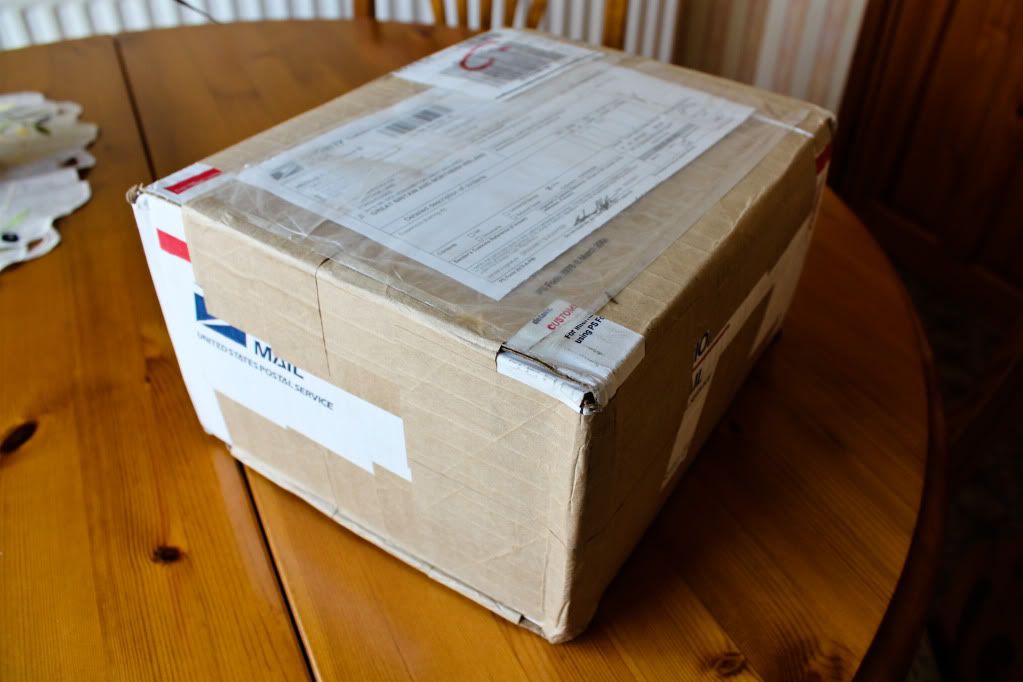
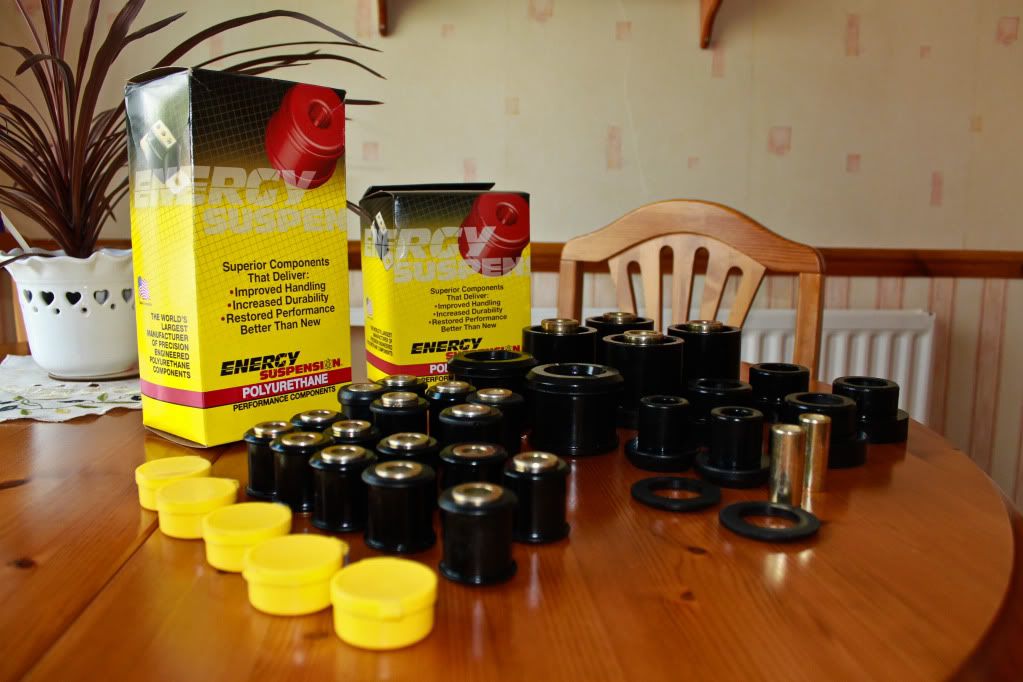
Package from US :cool:

IMG_7822.jpg


Inside -

IMG_7825.jpg


Energy suspension bushes for the subframe, diff, control arms and all arms that attach, should stiffen the back end up a tad :nod:

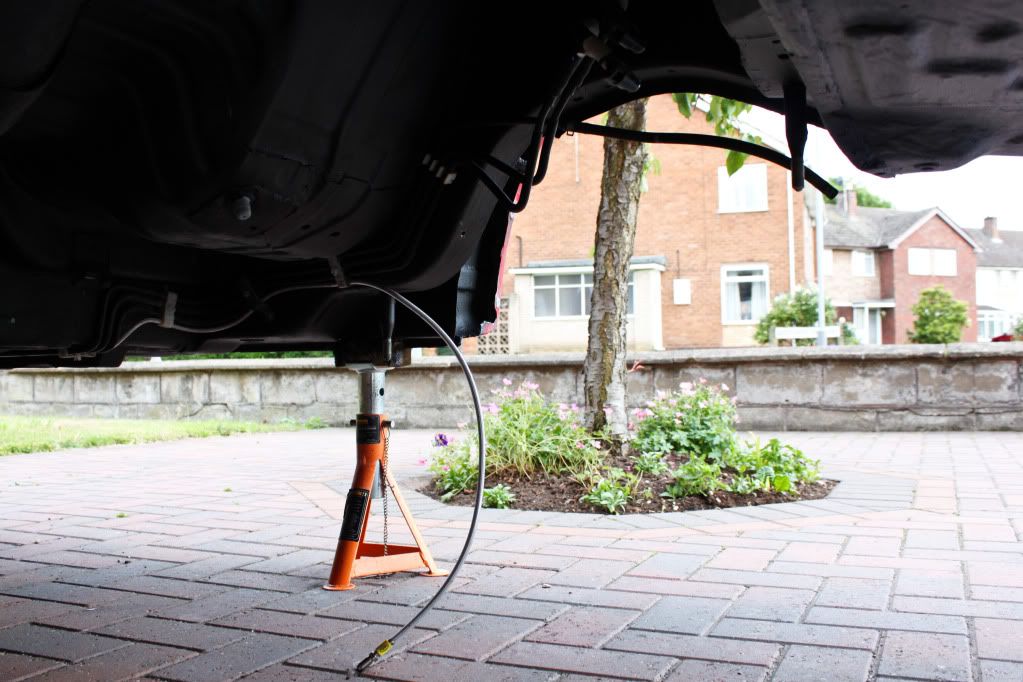
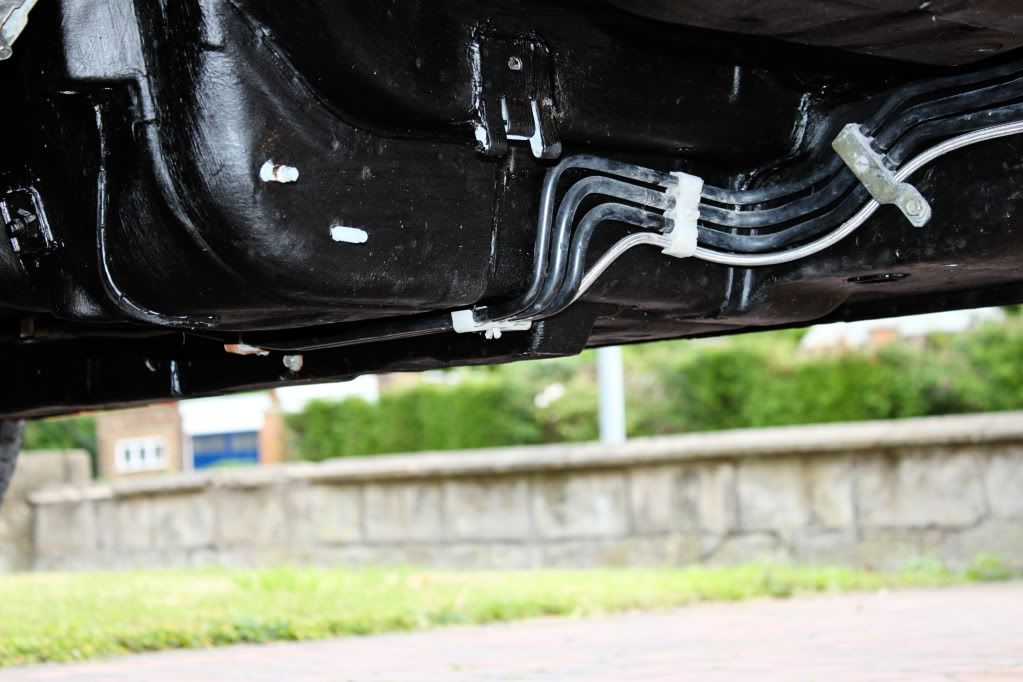
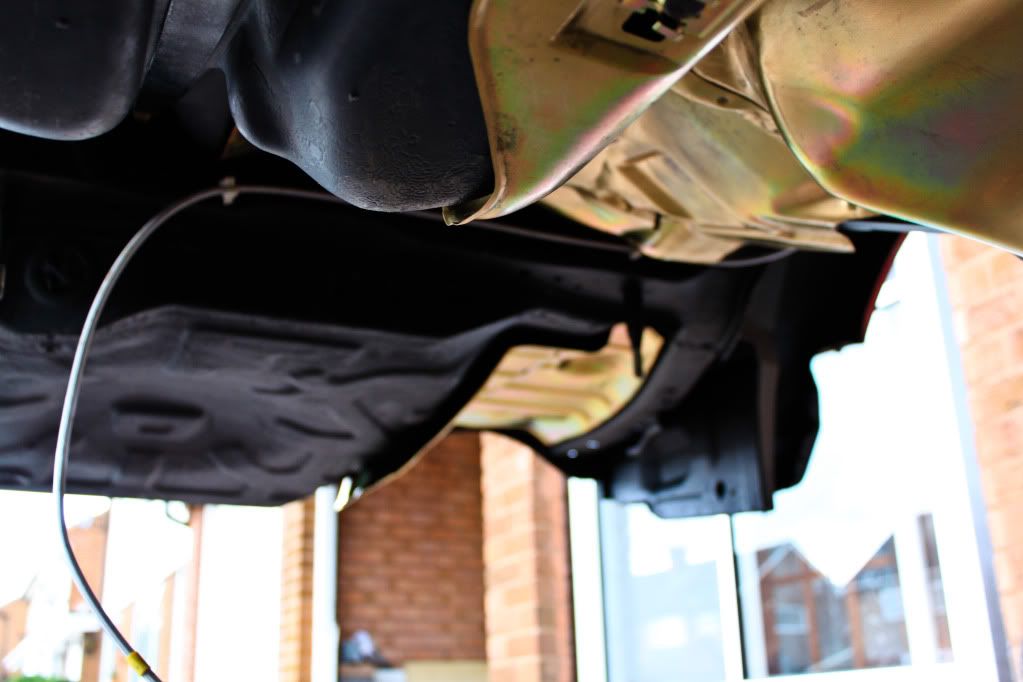
I re-fitted the fuel lines and ran the braided brake lines along the old path -

IMG_7820.jpg


IMG_7821.jpg


Could do with some more of the white push in clips that the old lines use as the new clips that come with the lines are some weird screw in types that cant be screwed in anyway on the car?

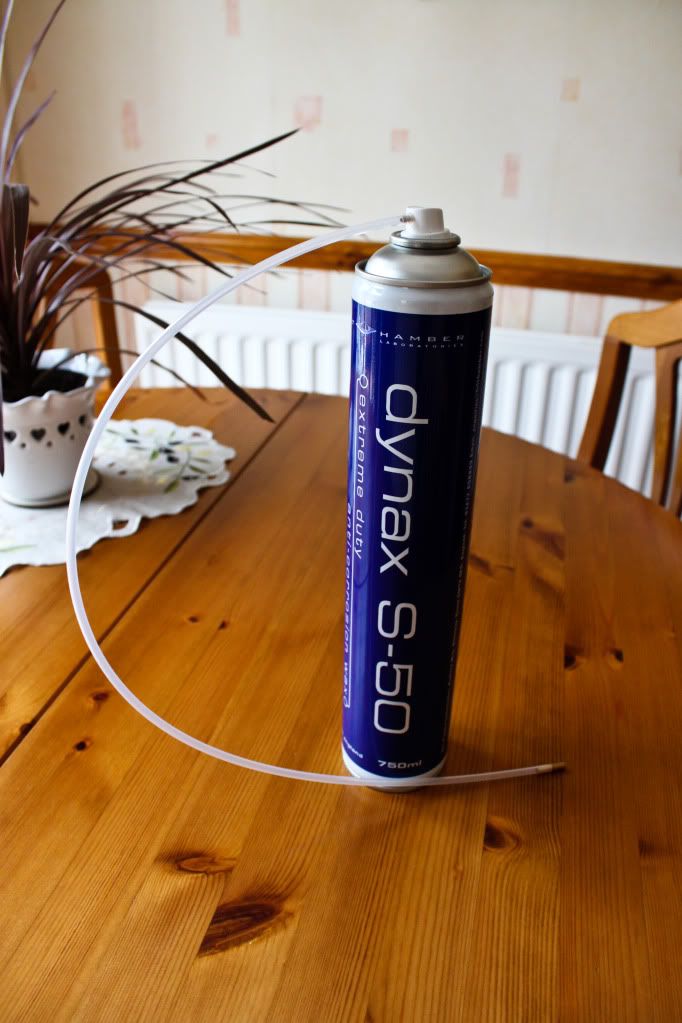
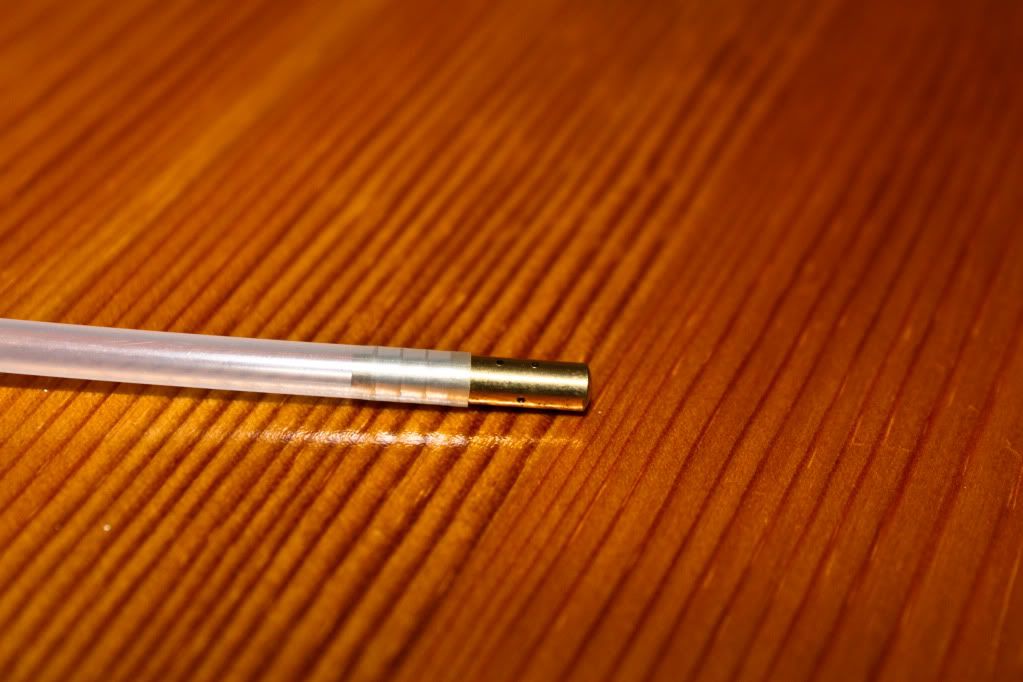
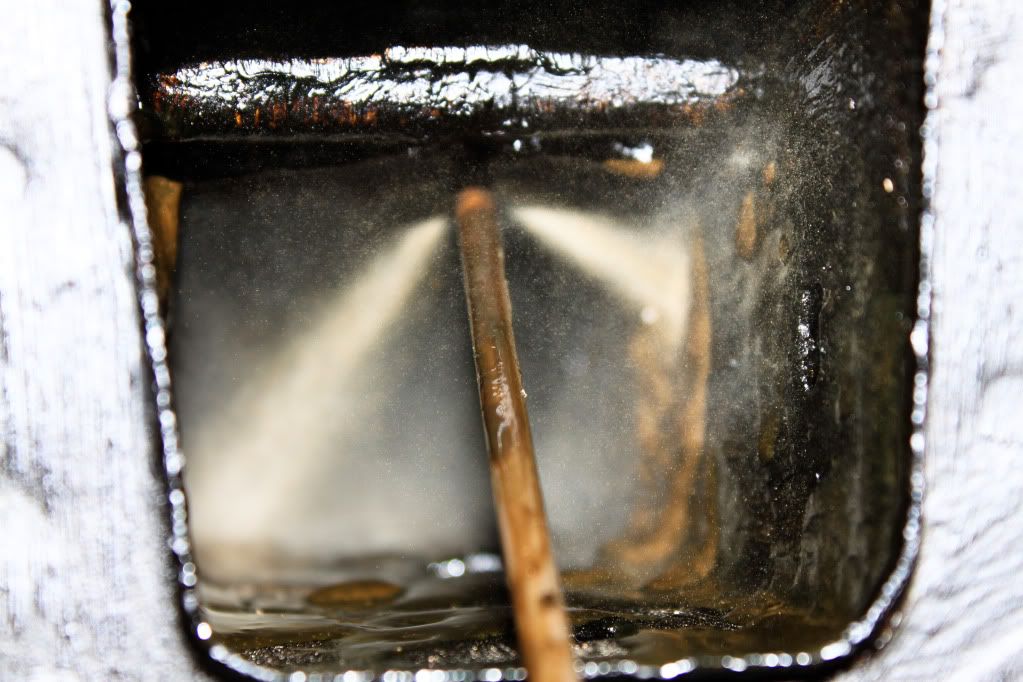
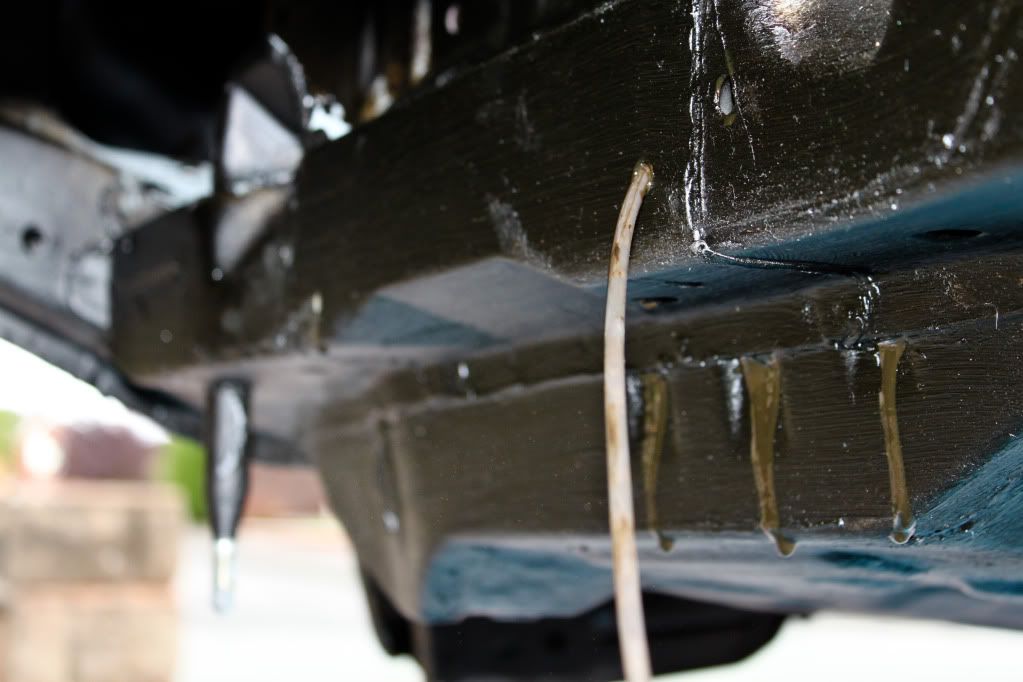
I gave the box sections and chassis rails etc some treatment with Dynax S50 which is a top rated cavity wax from Bilt Hamber -

IMG_7813.jpg


The end makes sure of complete 360 degree coverage -

IMG_7814.jpg


IMG_7816.jpg


Sprayed inside all the sections until it came out the holes

IMG_7819.jpg


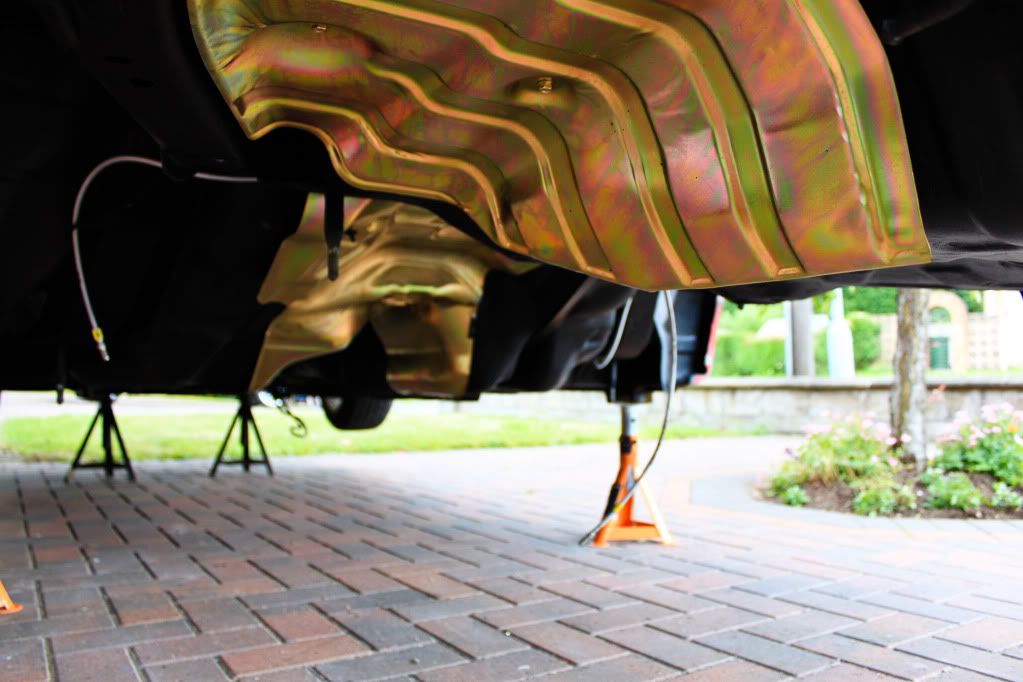
Fuel tank was fitted along with the freshly painted straps

IMG_7812.jpg


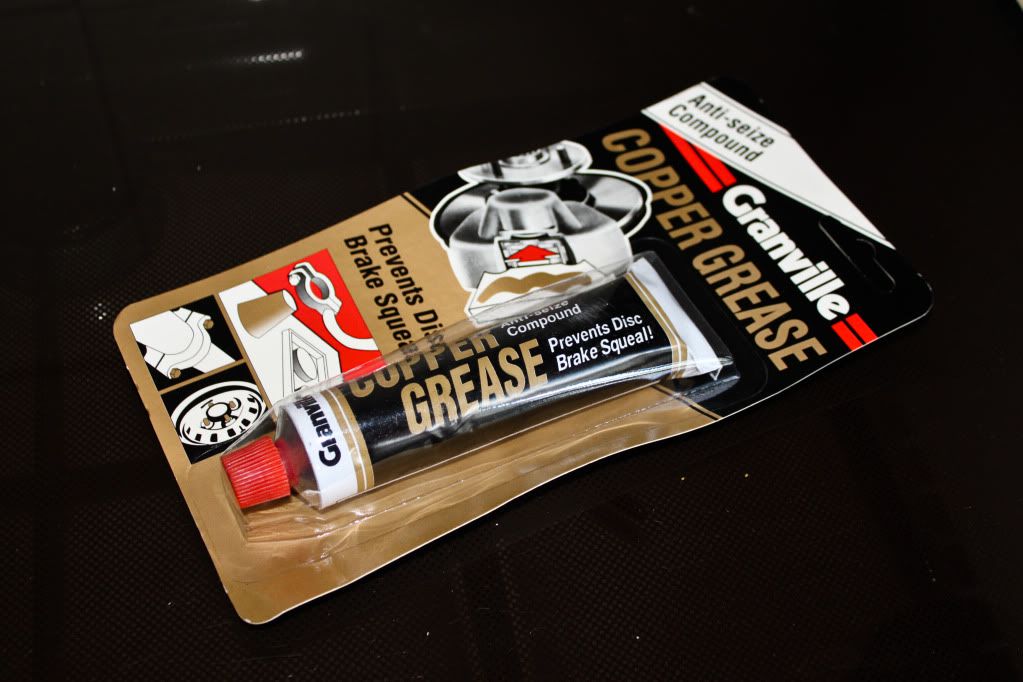
Ive got some copper grease so coat the bolts with to make sure nothing seizes

IMG_7828.jpg


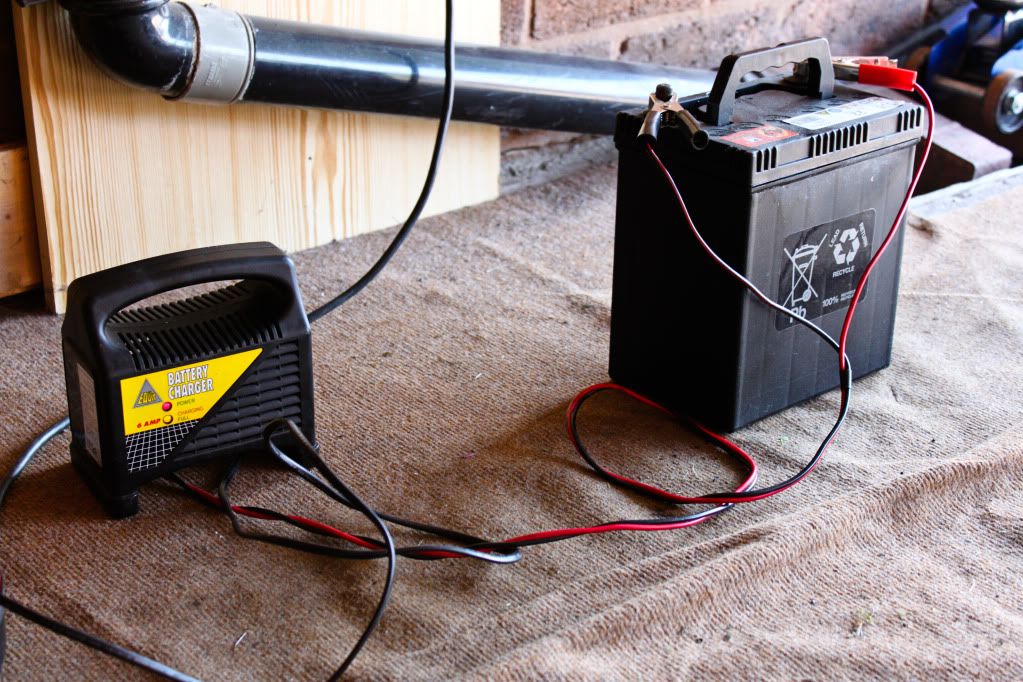
Gave the battery a charge ready to start it up for the first time since December :|

IMG_7827.jpg


Good news! It started up straight away after it cleared its throat a bit and got its breath :D back in to life!

Let the engine warm up and checked everythign else still worked.
 
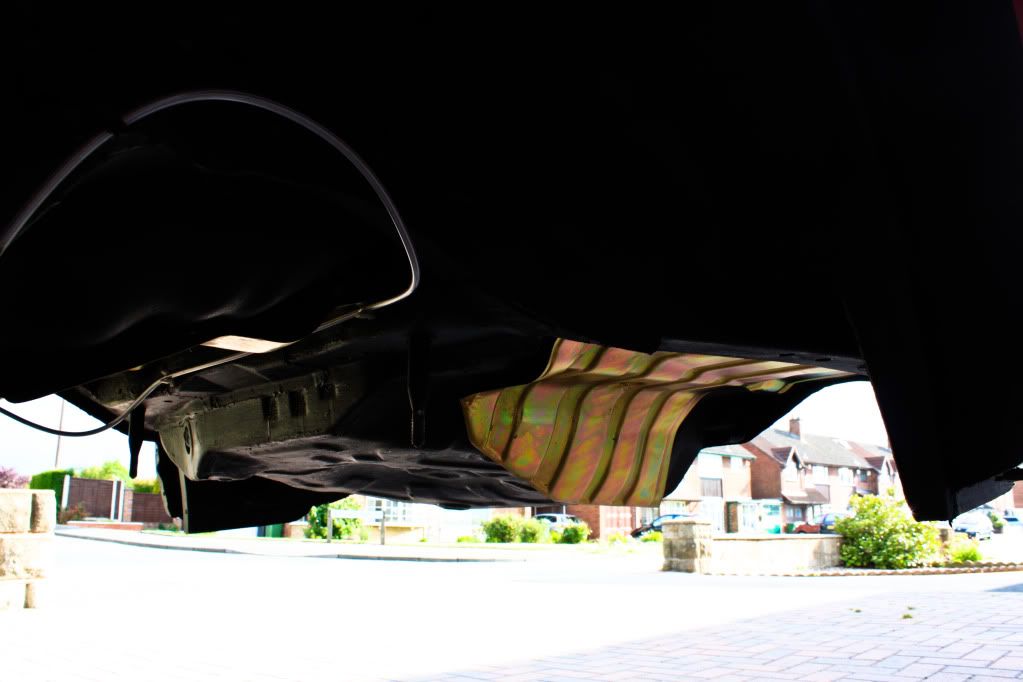
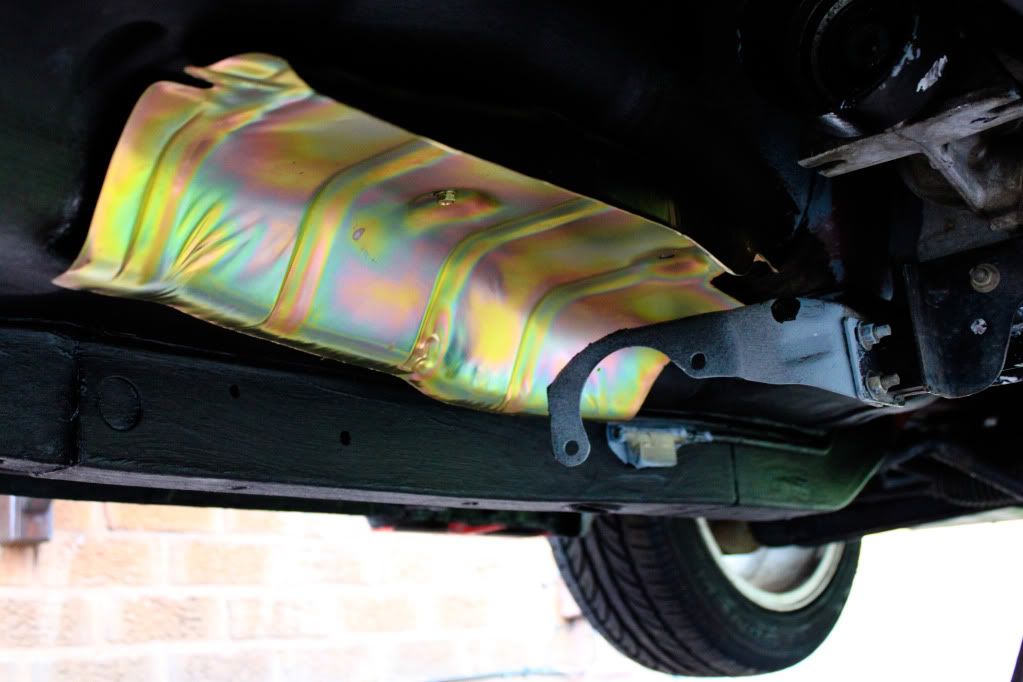
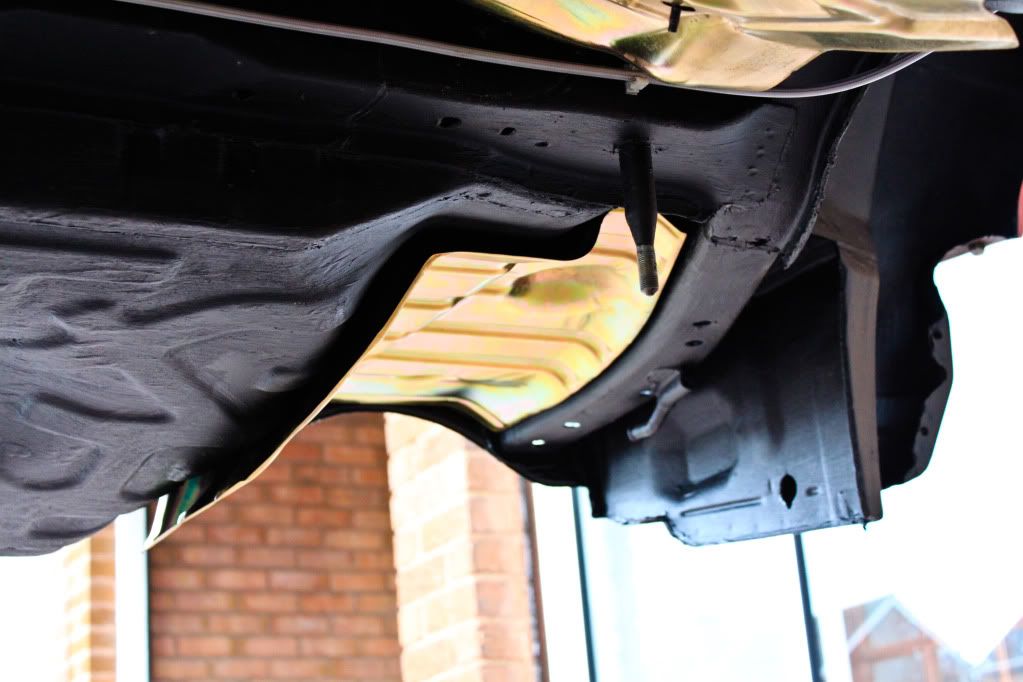
I then fitted the heat shields -

IMG_7830.jpg


IMG_7835.jpg


IMG_7842.jpg


IMG_7834.jpg


IMG_7836.jpg


IMG_7840.jpg


Does look good if I do say so myself :D although the heat shield are not perfect they do look better than they did!

I then got stuck!

The bushes are the hardest thing ive come across...I thought that fitting a half full petrol tank on your own was hard but nooooo! These bushes are that much of a perfect fit you just cant get them in...after about 4 hours of off and on trying I got one in lol but now I need to try a different method using threaded rod which someone has told me about to get the rest in.

Thats the only thing im waiting on now before it can be put back onto the road...lets hope I can sort them soon :)
 
chuck your bushes in the freezer, tis the trick with the aliminium ones its makes the shrink slightly thus making them easier to fit. also when you had the subframe coated did they coat where the bushes sit as this will make the bush hole to small and will need probably sanding back to allow the bushes to fit.
likeing the heatshields they look funky.
 
Back
Top