Fruitbooters S15 (Refurb time)

Nice job mate! You will certainly not regret it! Nice peace of mind to have a solid car. So many people never ever seem to bother doing the basics such as rust proofing and I cant understand why? I mean before I start bolting on bigger turbo's and intercoolers etc I'd rather be sure of a decent solid base to work on. Keep us updated :)
 
Right time for an update!

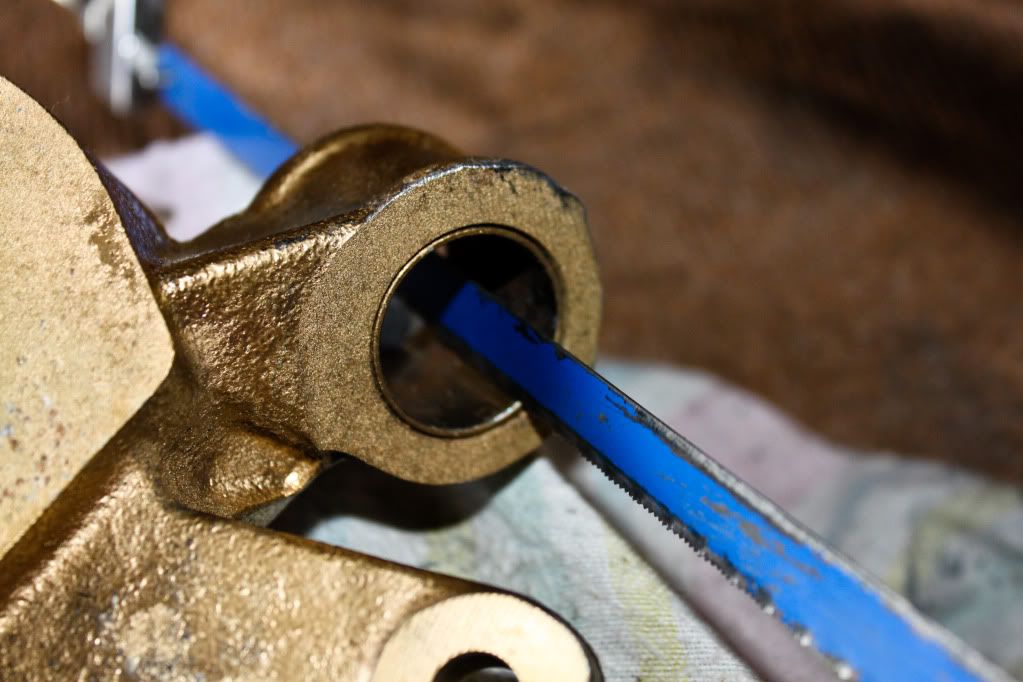
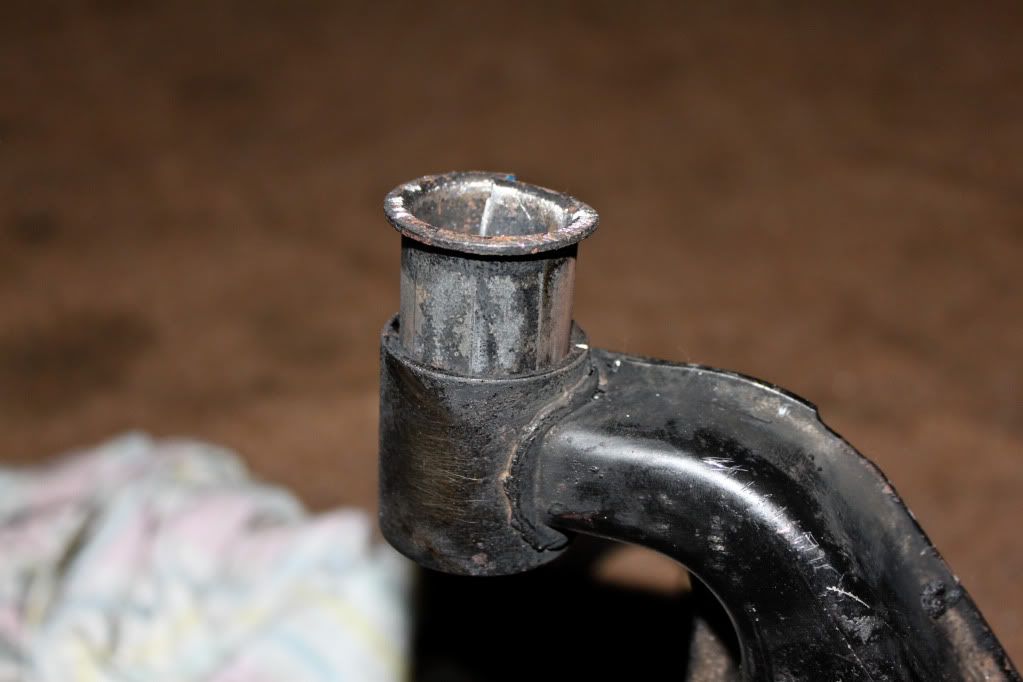
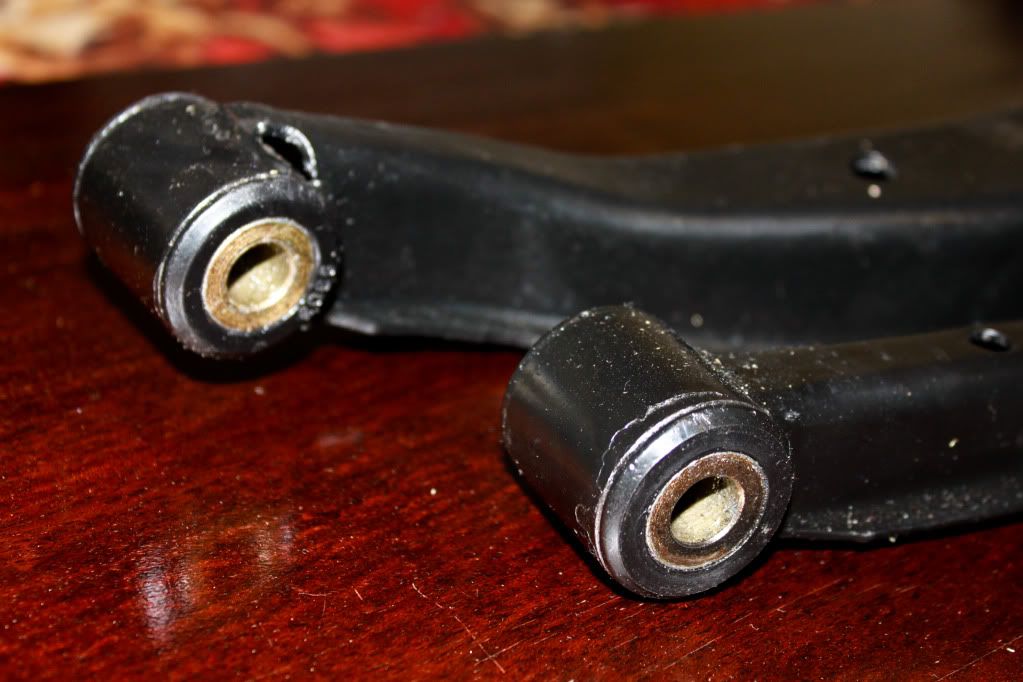
Its been a good 3-4 weeks since I had problems with the bushes, they were a right P.I.T.A! Turns out though I'd left the metal sleeves inside which was making it too tight to fit the bushes.

Cut the sleeves in 2 places to take the pre-load off -

IMG_7857.jpg


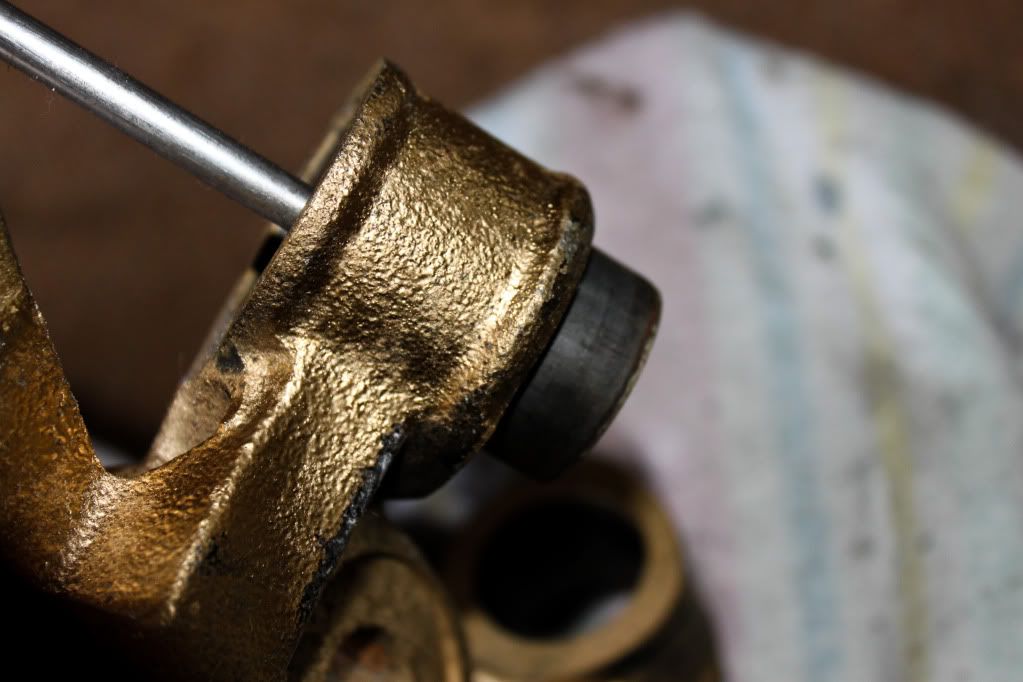
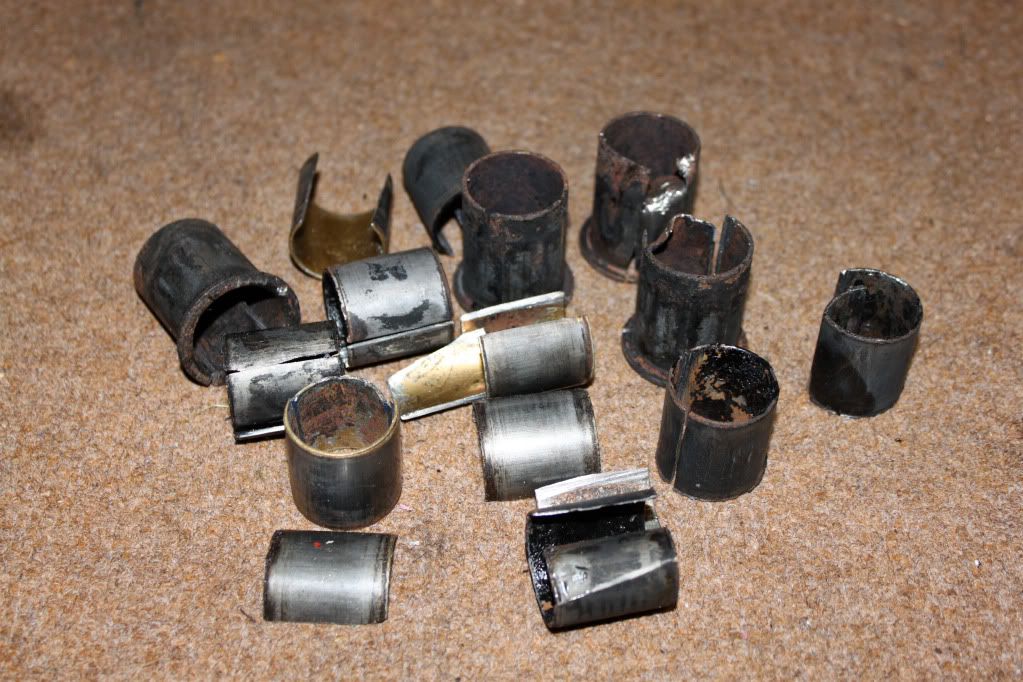
Pop them out -

IMG_7859.jpg


IMG_7860.jpg


Ba*tards! :wack:

IMG_7865.jpg


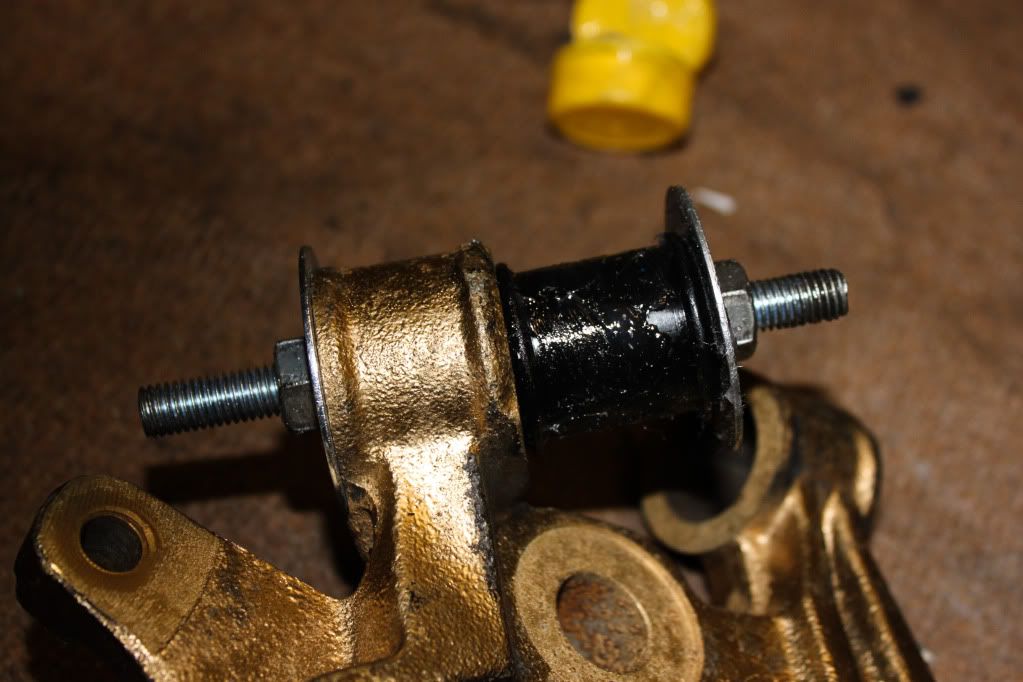
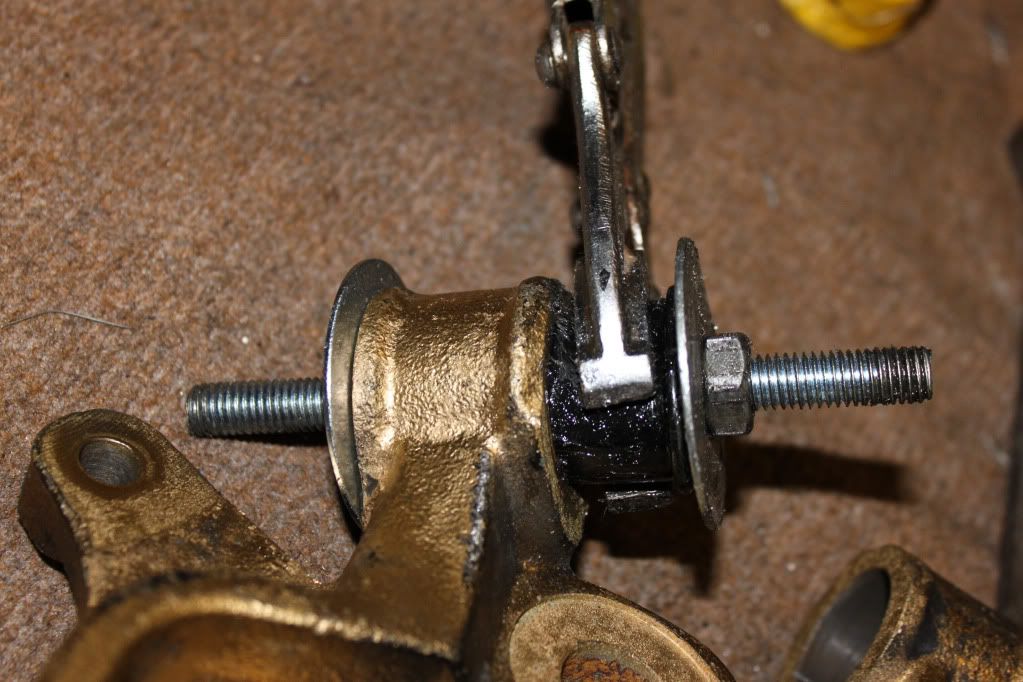
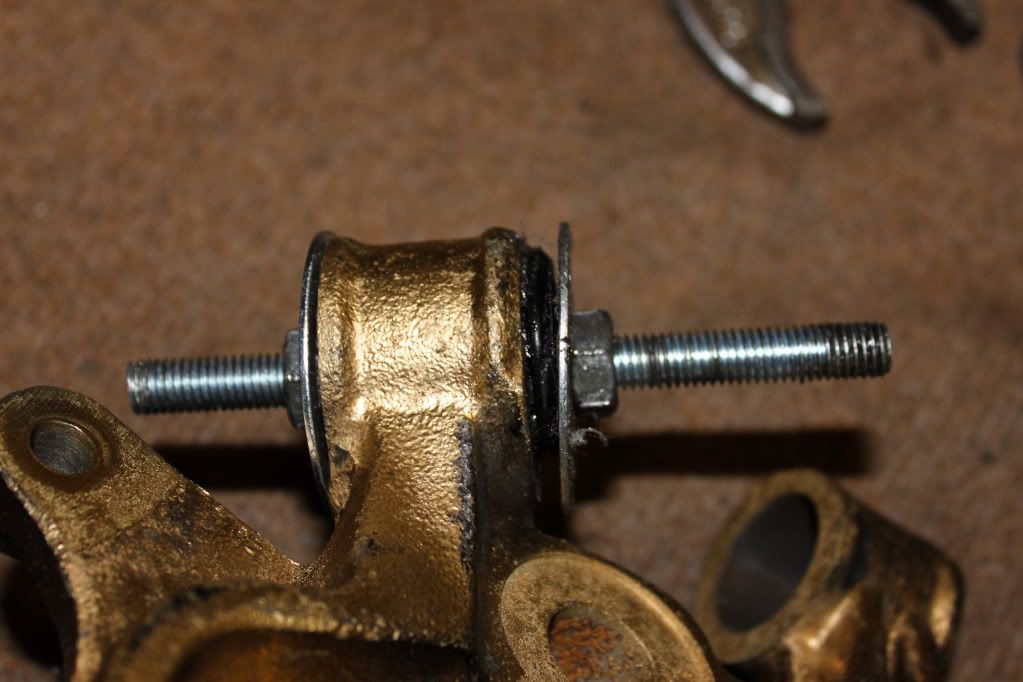
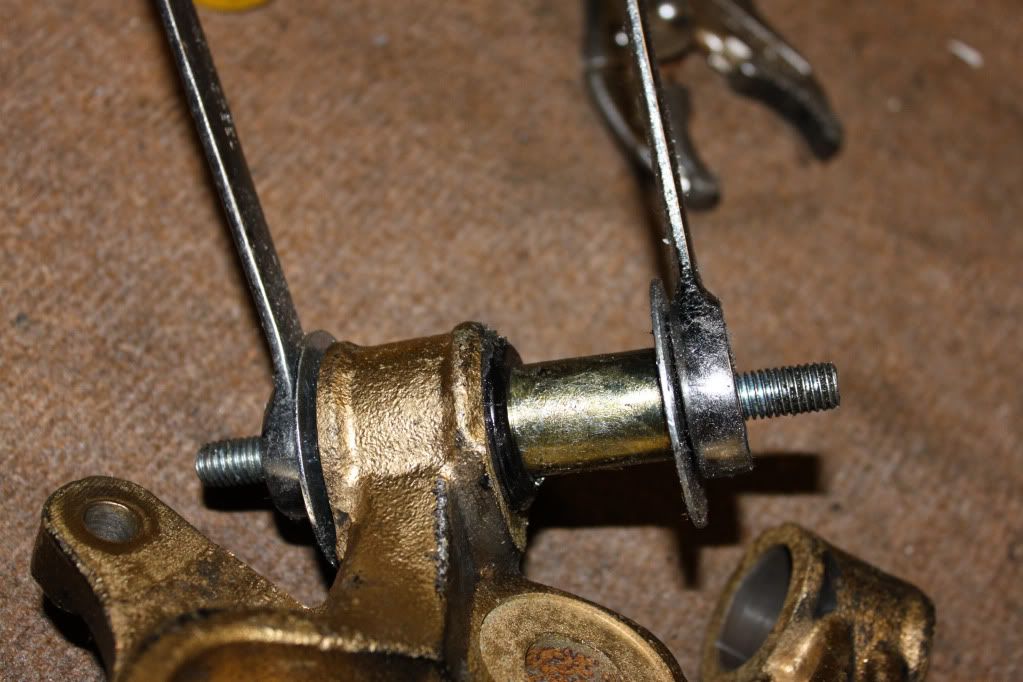
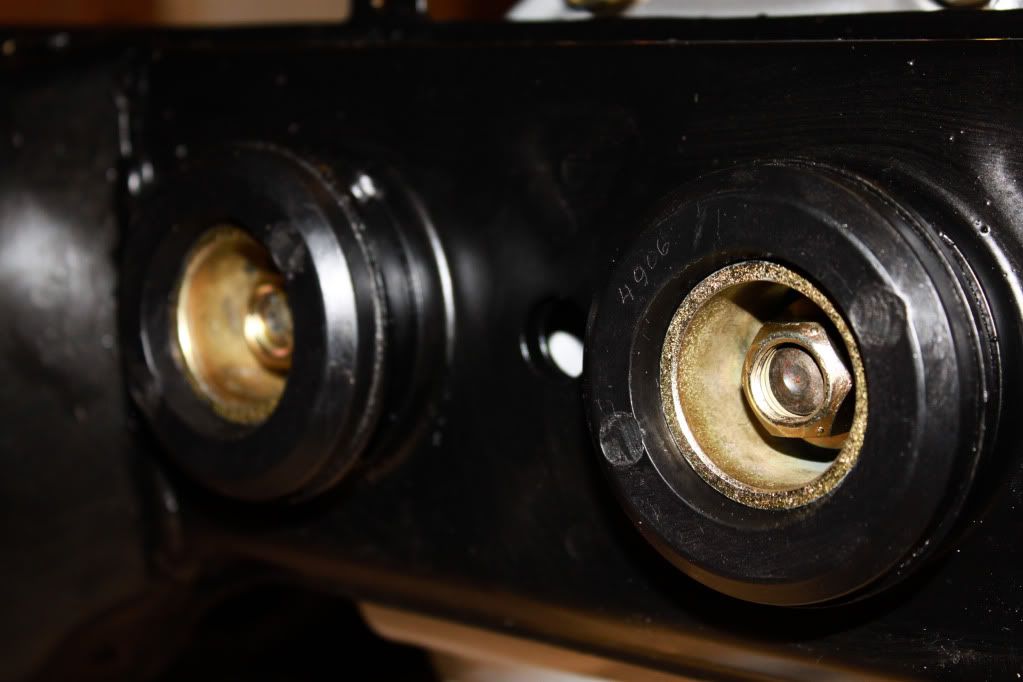
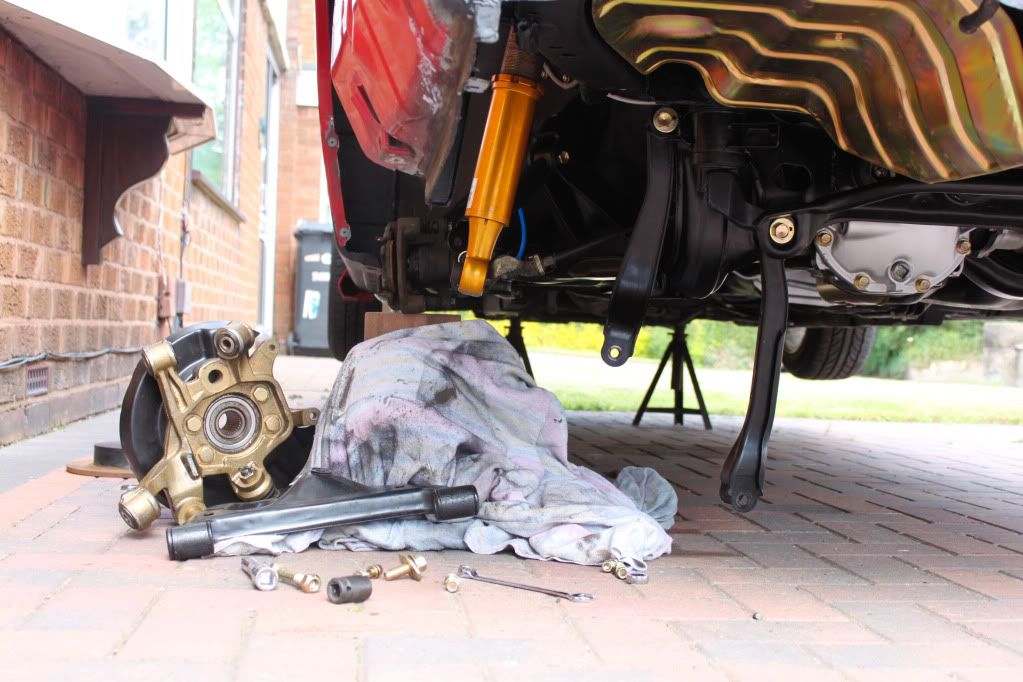
New ones went in very easy using a technique shown to me by Craig -

IMG_7861.jpg


IMG_7862.jpg


IMG_7863.jpg


IMG_7864.jpg


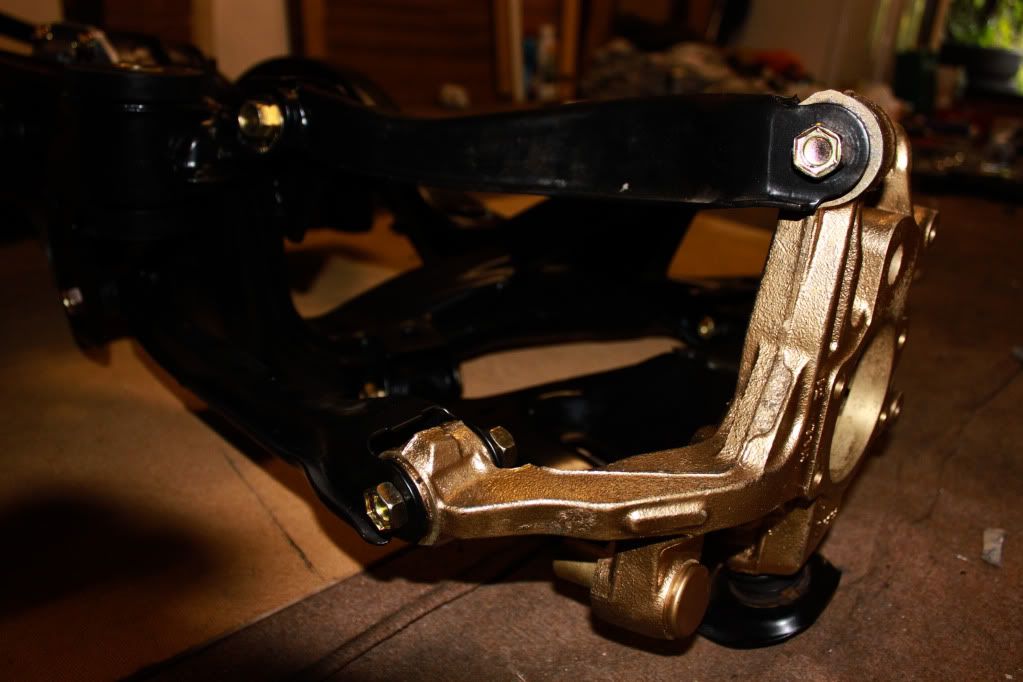
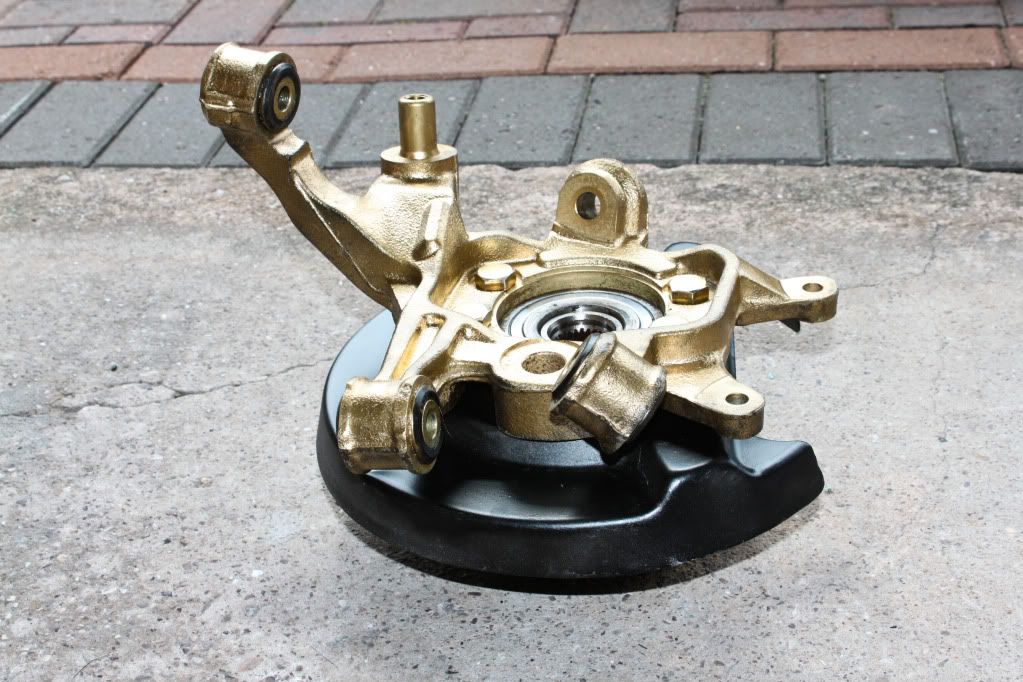
As you can see they are a perfect fit when fitted properly!

Excuse the chipped powder coat :(

IMG_7892.jpg


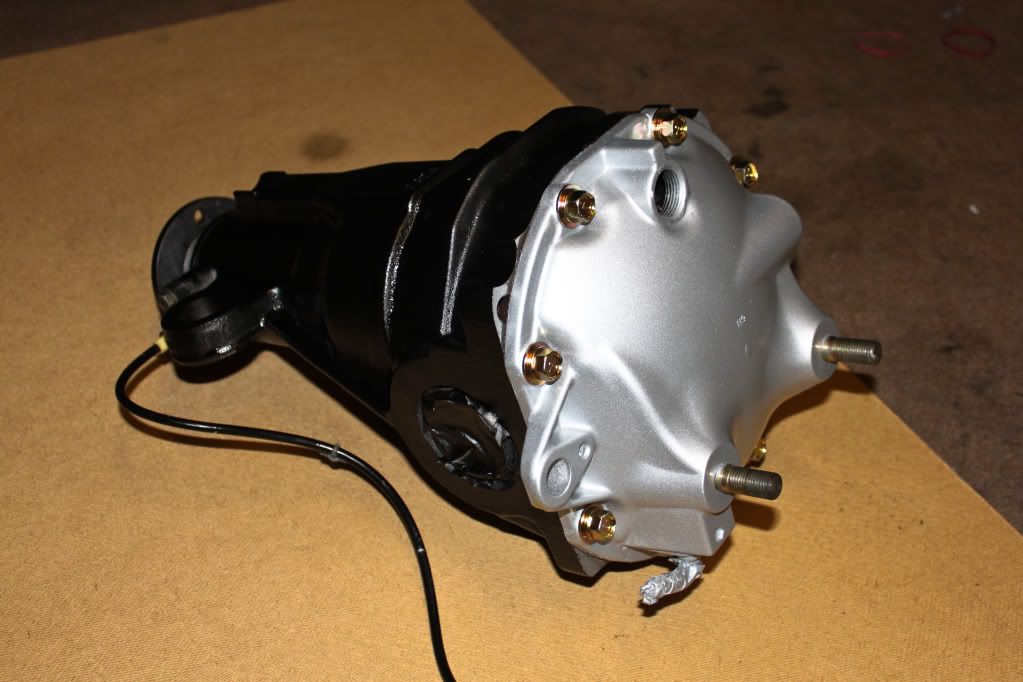
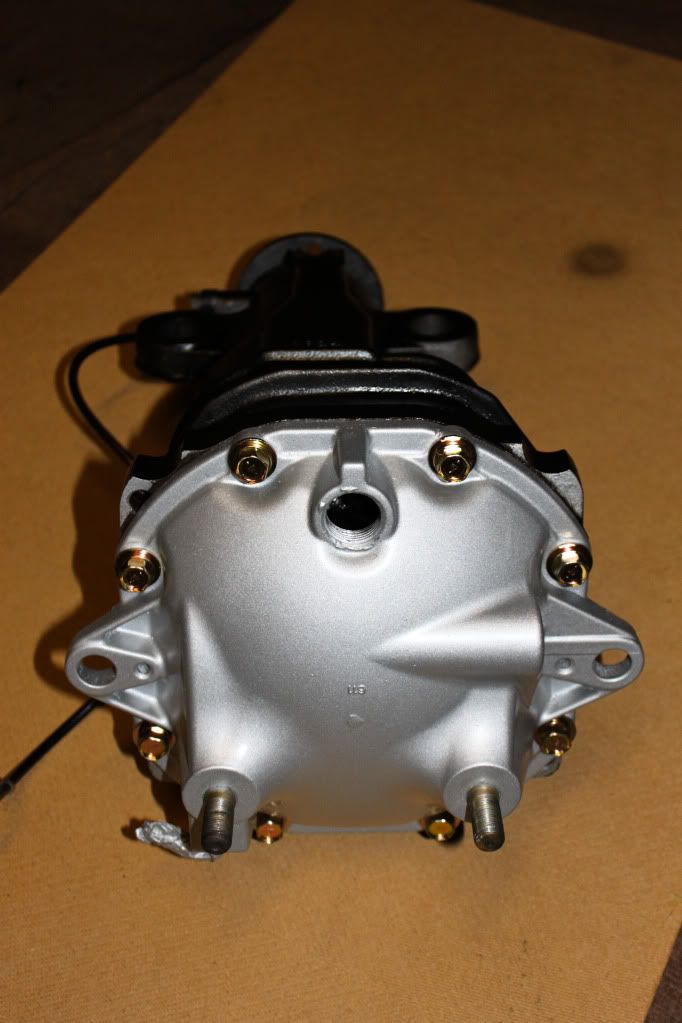
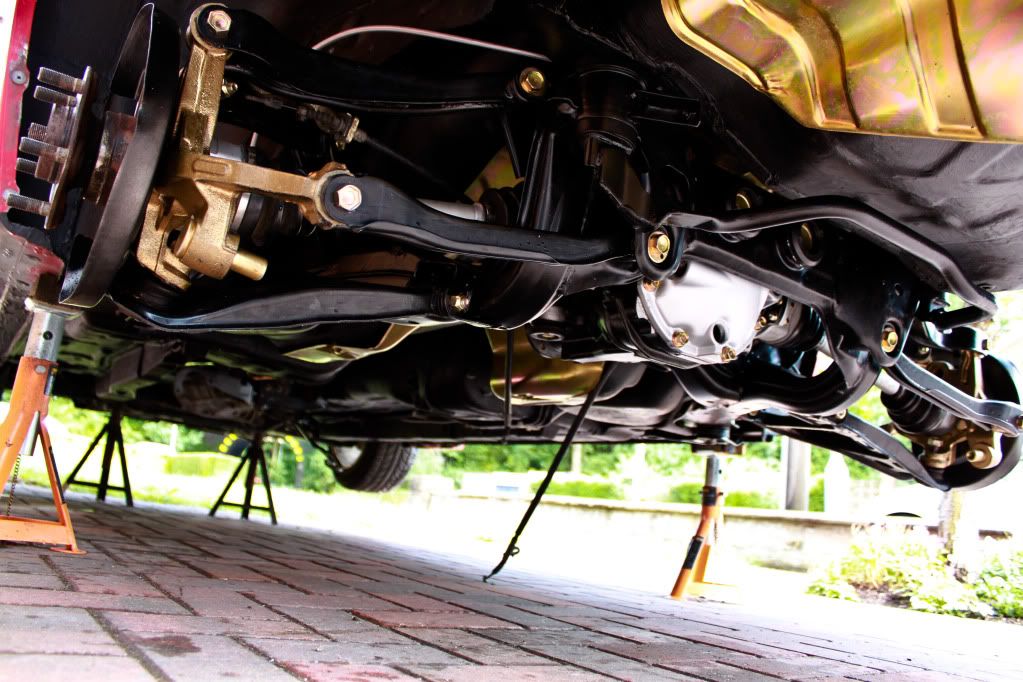
Diff painted with 3-4 coats of No Nonsense Zinc followed by satin black -

IMG_7867.jpg


IMG_7871.jpg


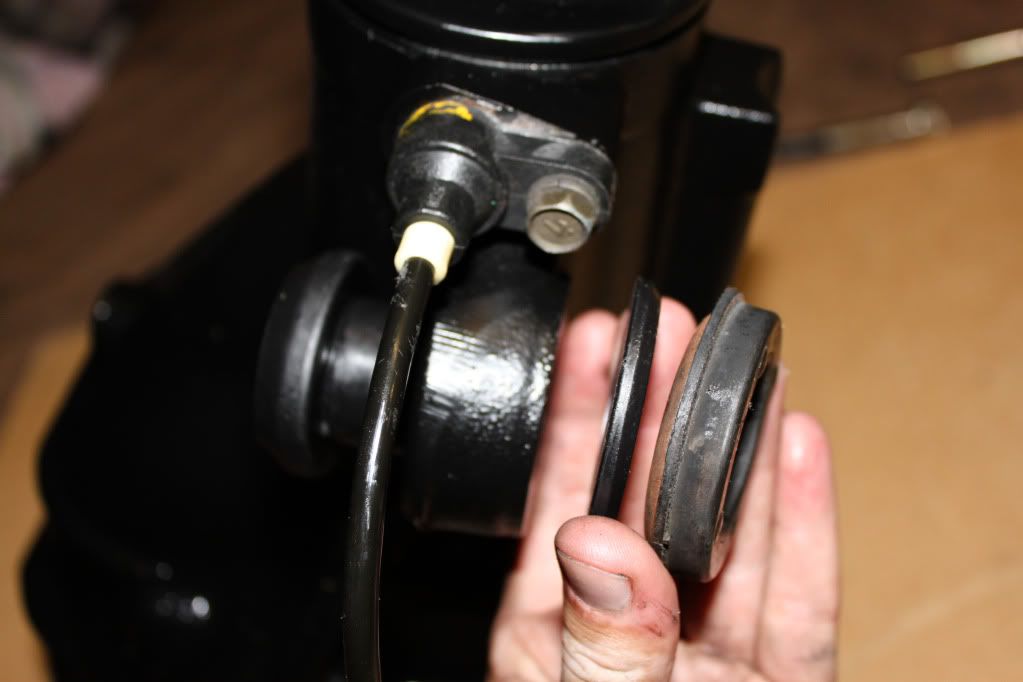
Fitted diff bushes -

IMG_7874.jpg


Think i got them the wrong way round at first but soon realised when I tightened them up..

IMG_7881.jpg


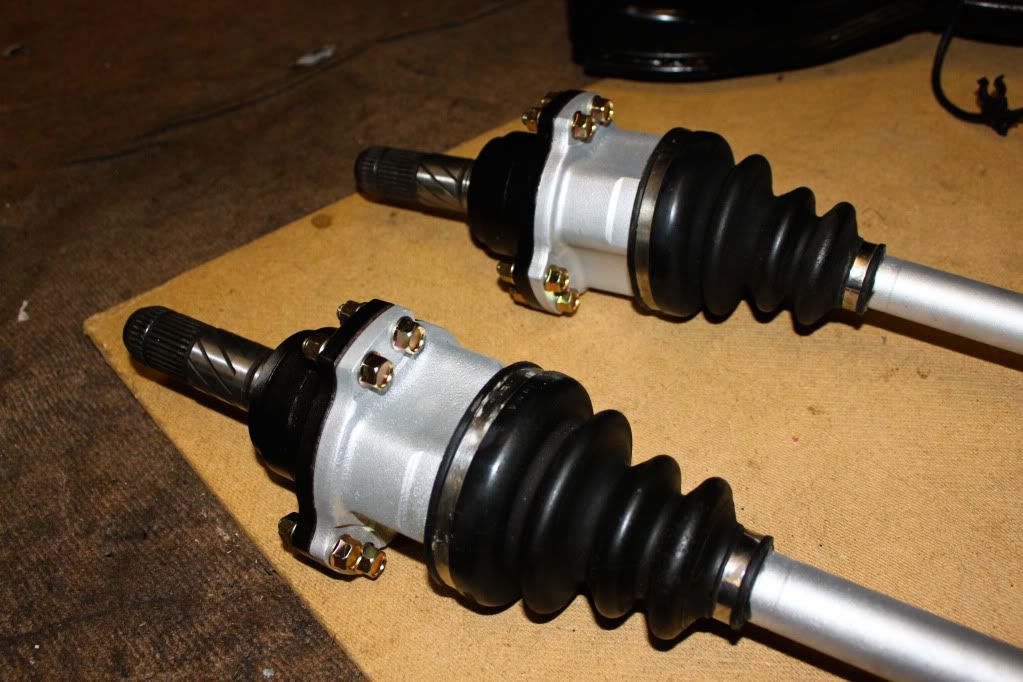
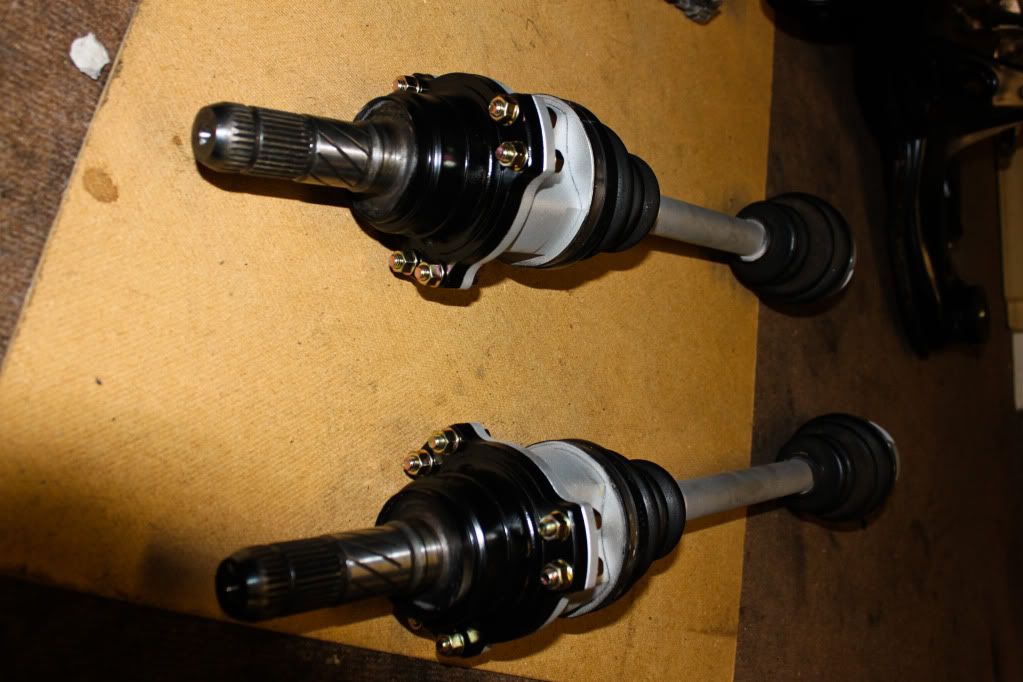
Shafts -

IMG_7886.jpg


IMG_7887.jpg


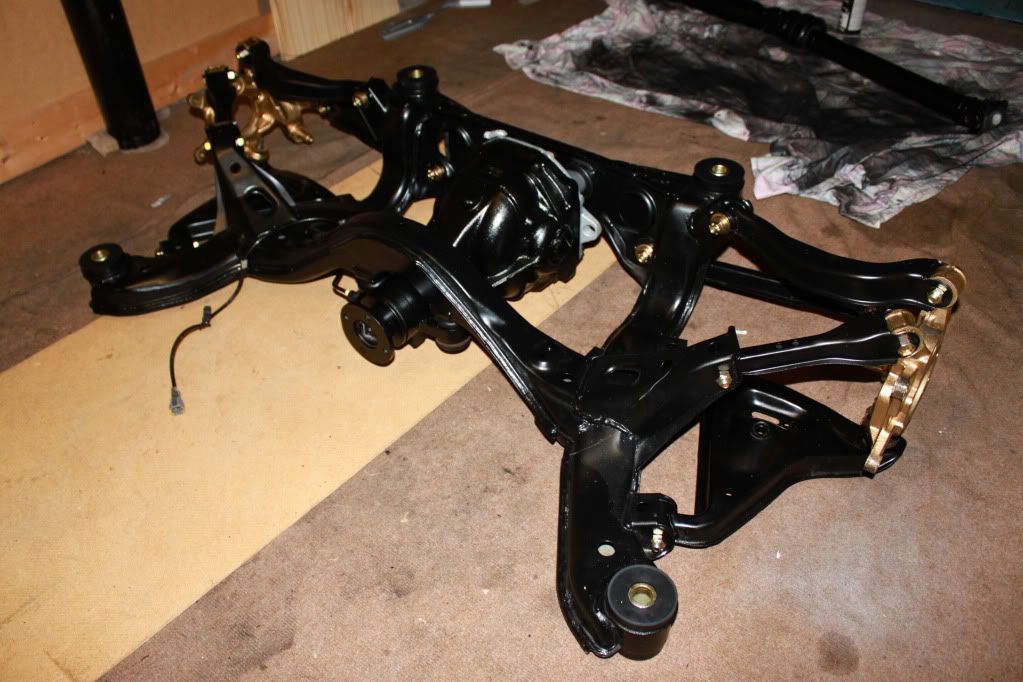
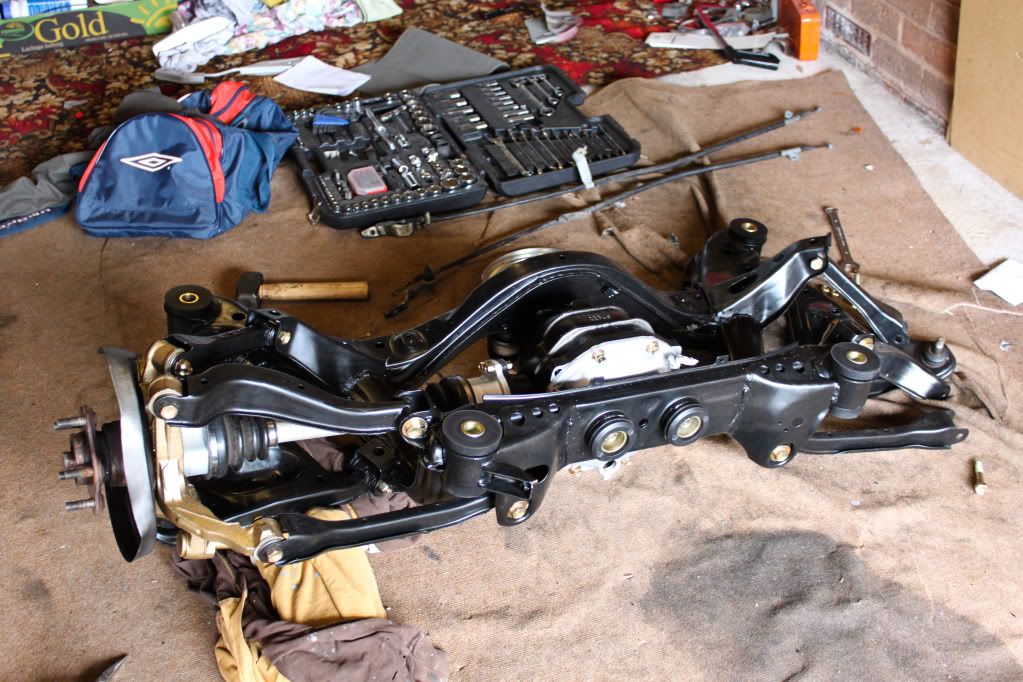
Started building the sub frame back up -

IMG_7878.jpg


IMG_7882.jpg


IMG_7893.jpg


IMG_7896.jpg


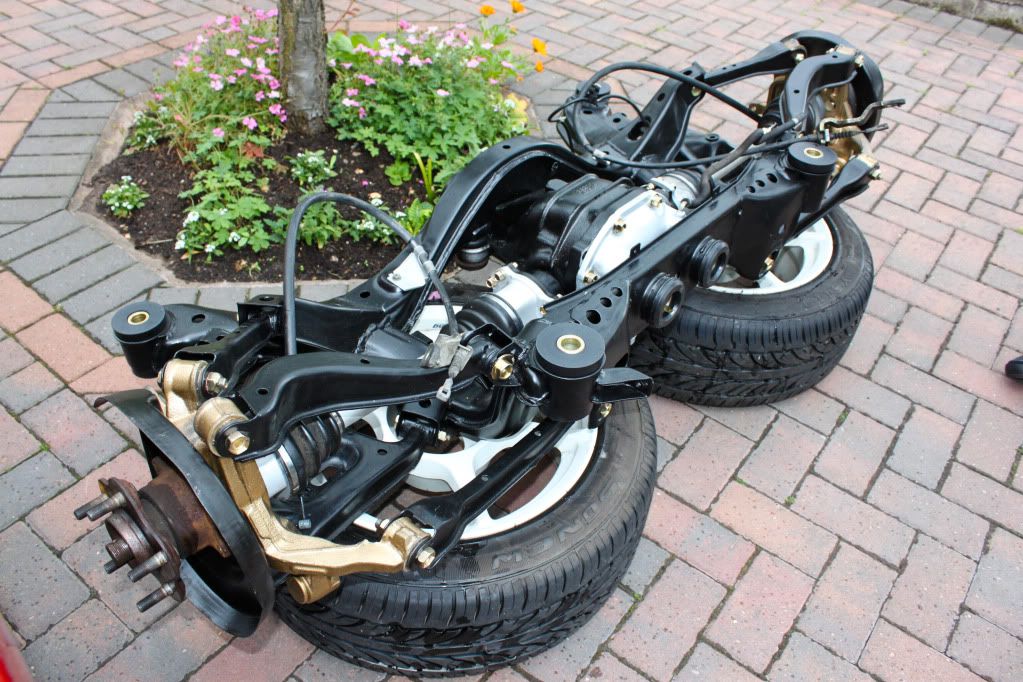
Ready to go back on..

IMG_7899.jpg


On! :D

IMG_7903.jpg


Took a lot of effort to get it back on lol, its much harder than taking it off
 
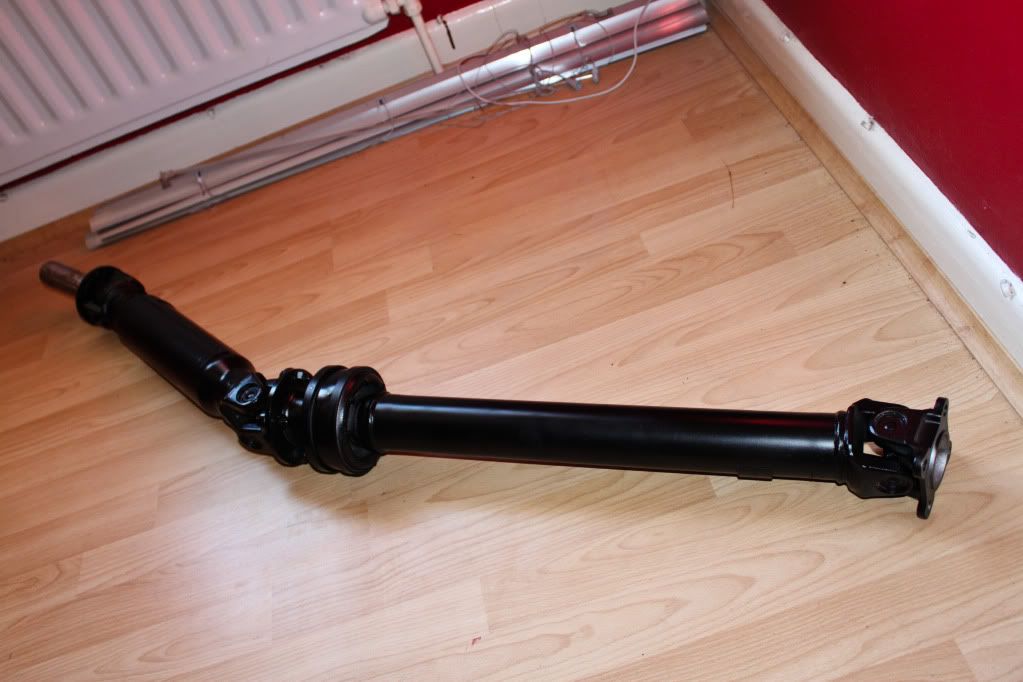
Prop painted with 4 coats of no nonsense zinc followed by satin black

IMG_7920.jpg


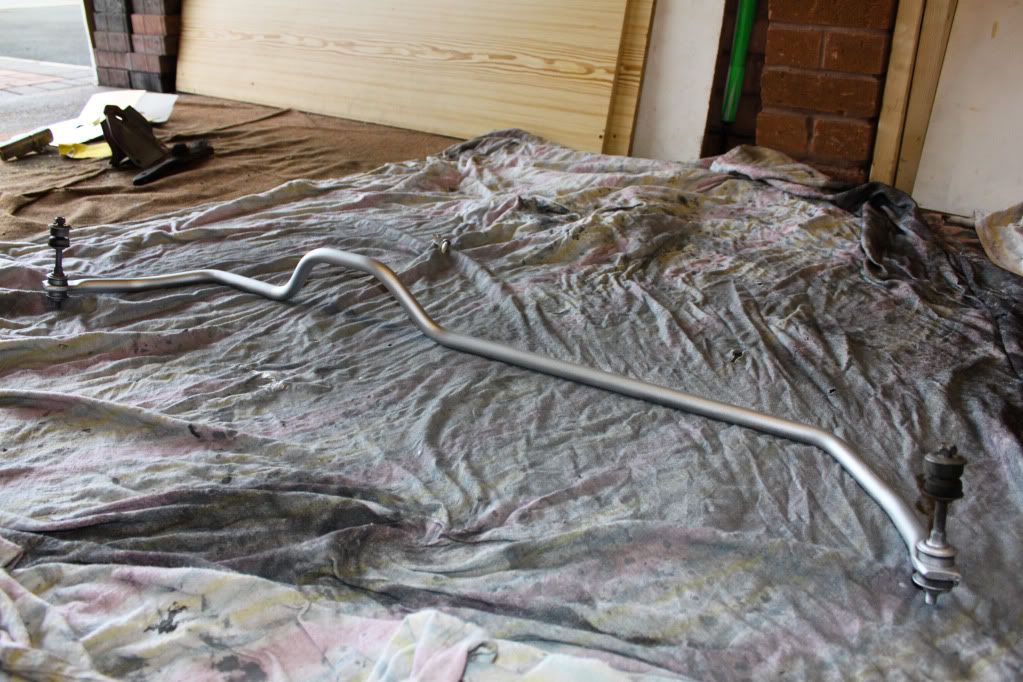
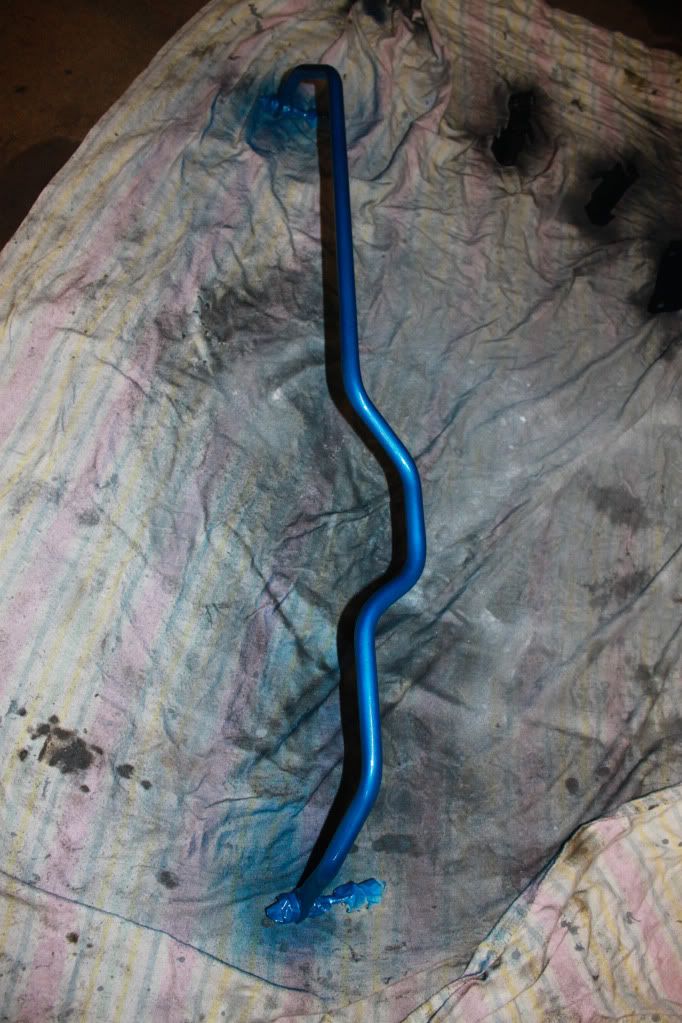
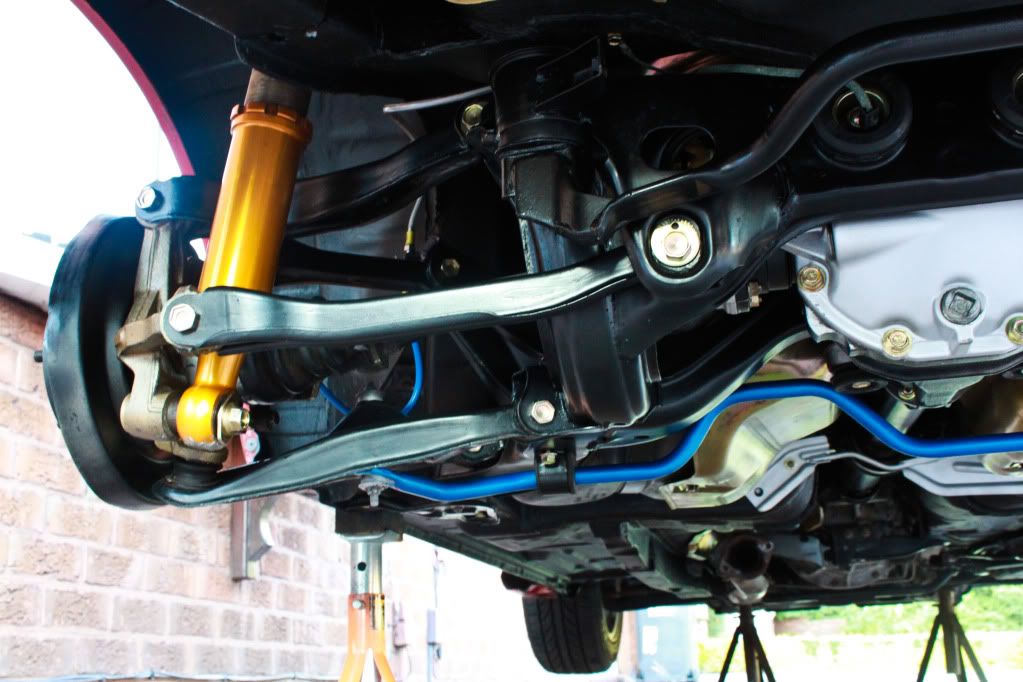
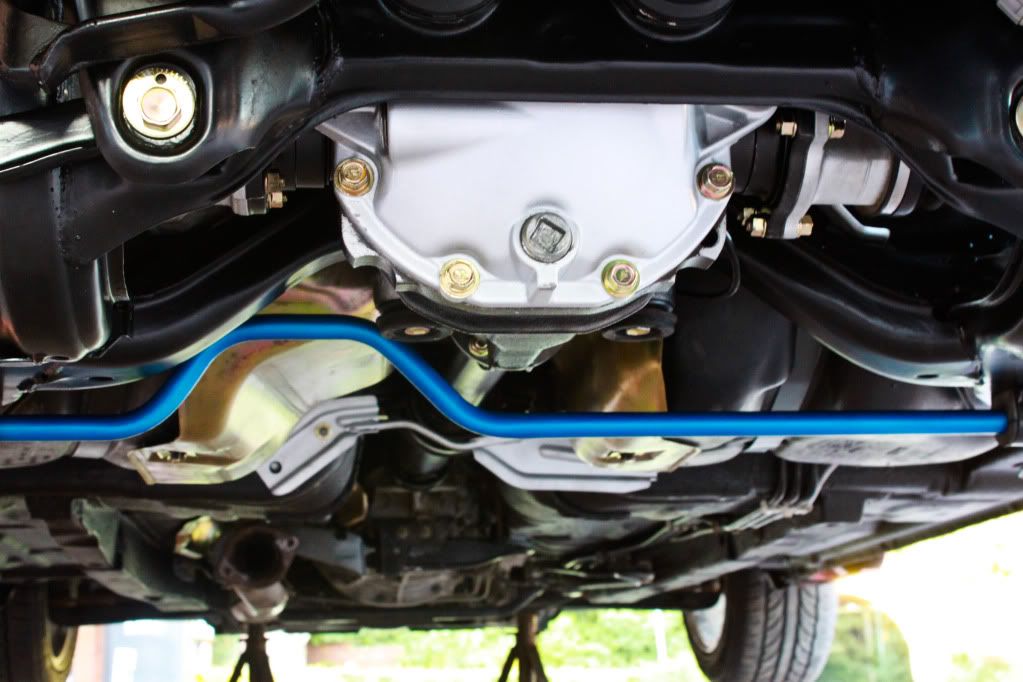
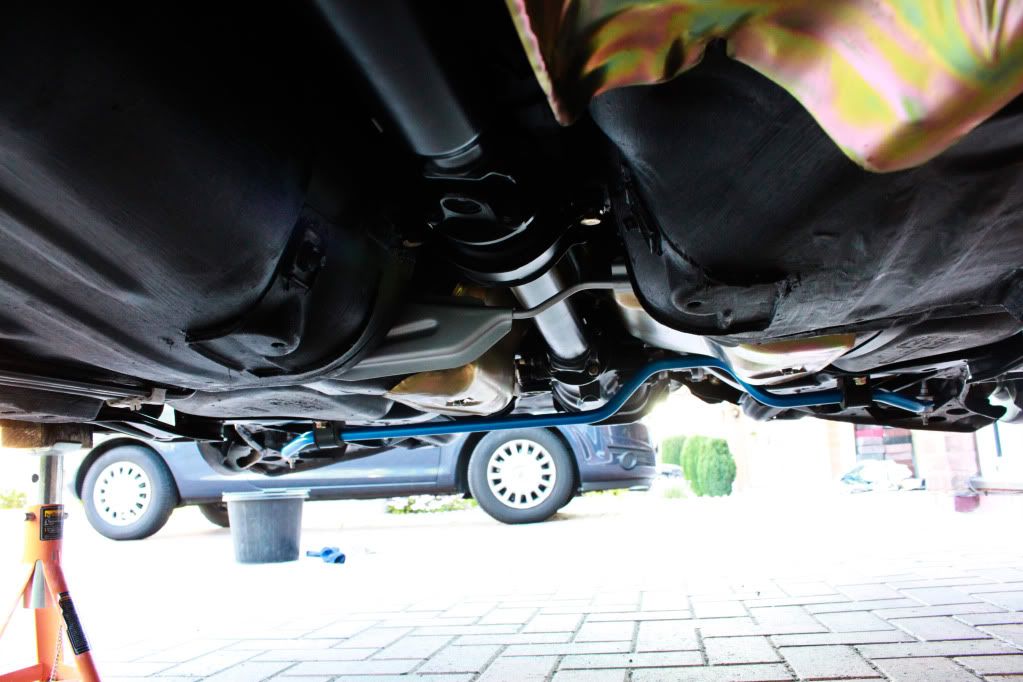
ARB painted with zinc followed by some left over blue I had :smokin:

IMG_7922.jpg


IMG_7995.jpg


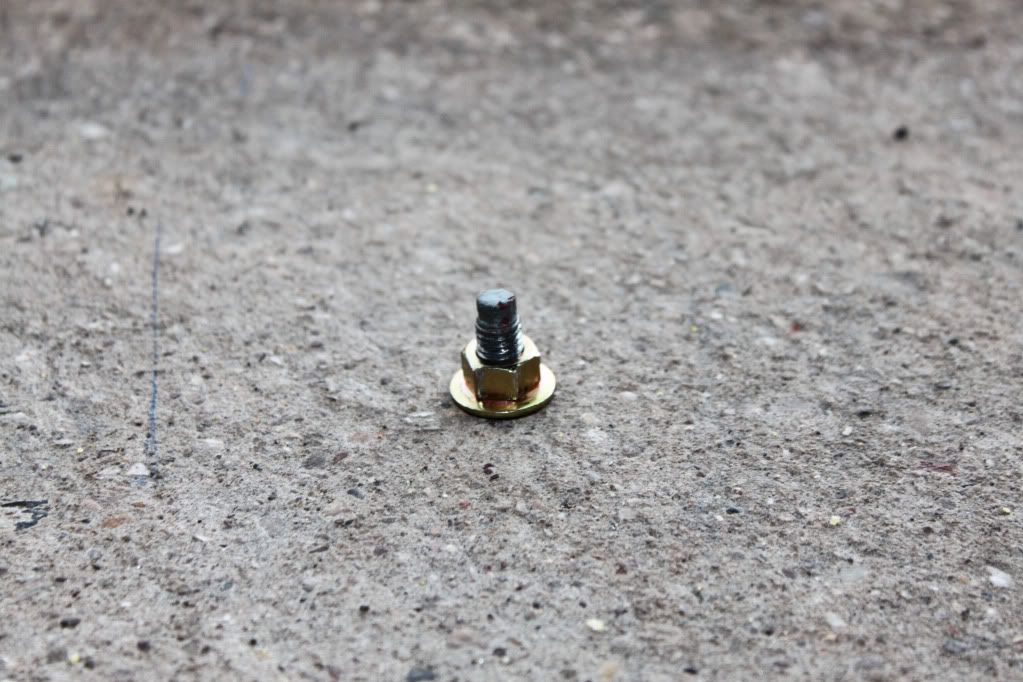
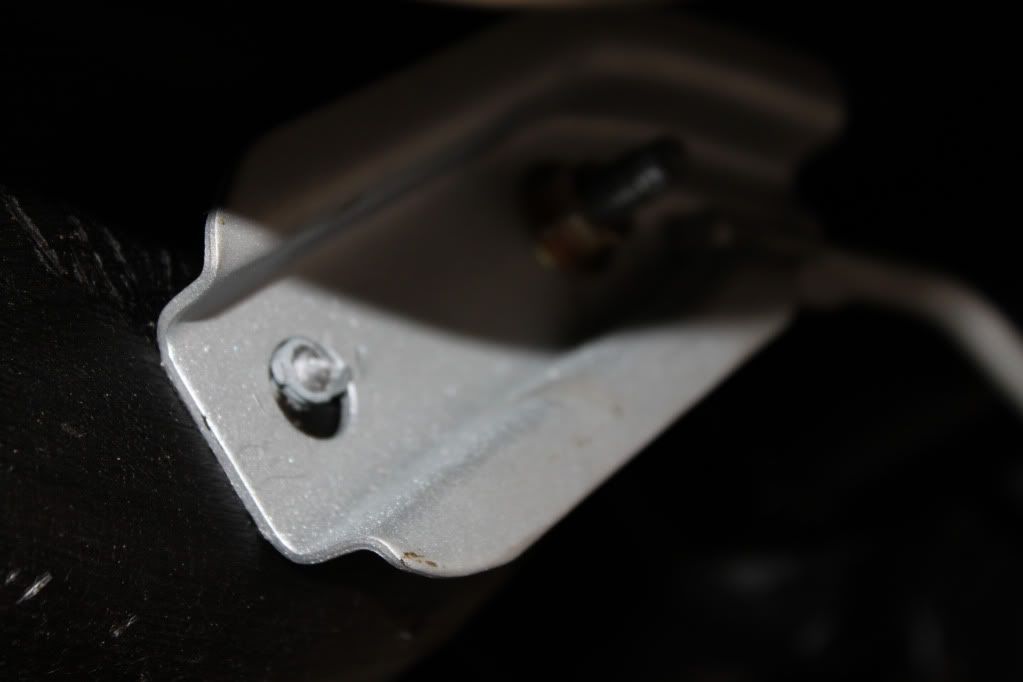
I managed to shear a bolt from this -

IMG_7923.jpg


IMG_7926.jpg


I managed to still secure it but its still annoying! No idea what its for..think its just there case the prop comes loose and falls down? Or to protect the prop in some way...

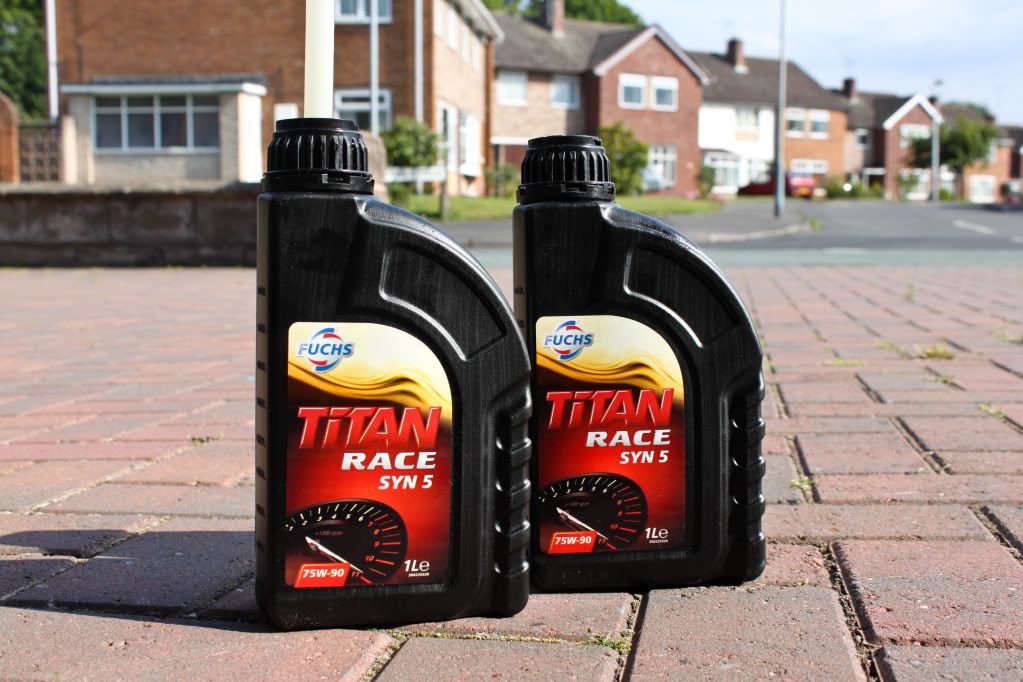
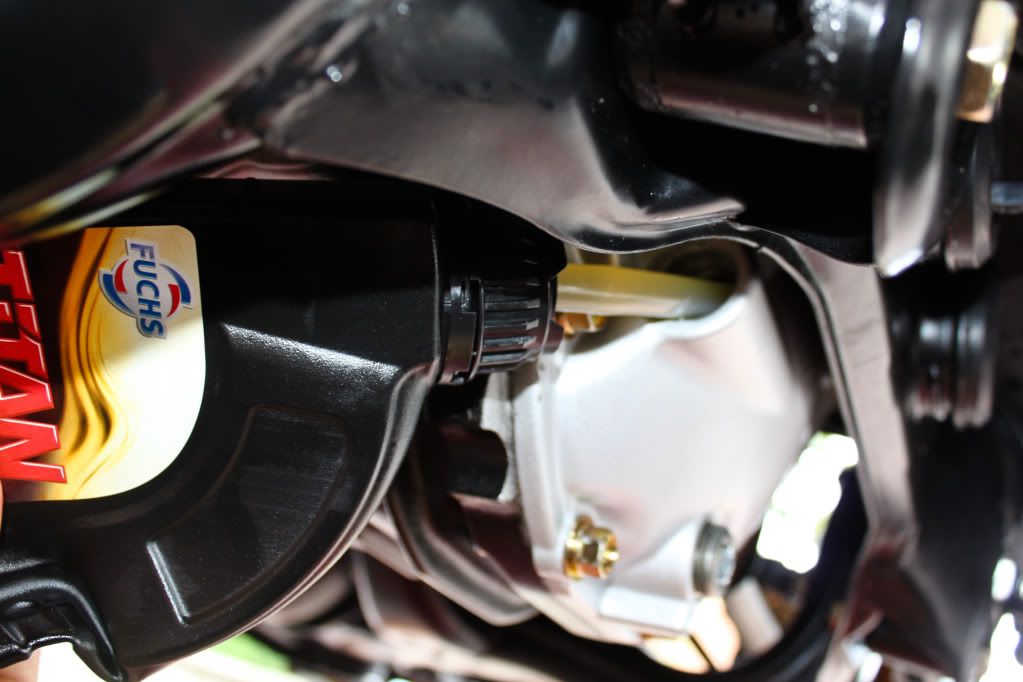
Filled the diff with Fuchs Titan Race SYN 5

IMG_7996.jpg


IMG_7999.jpg


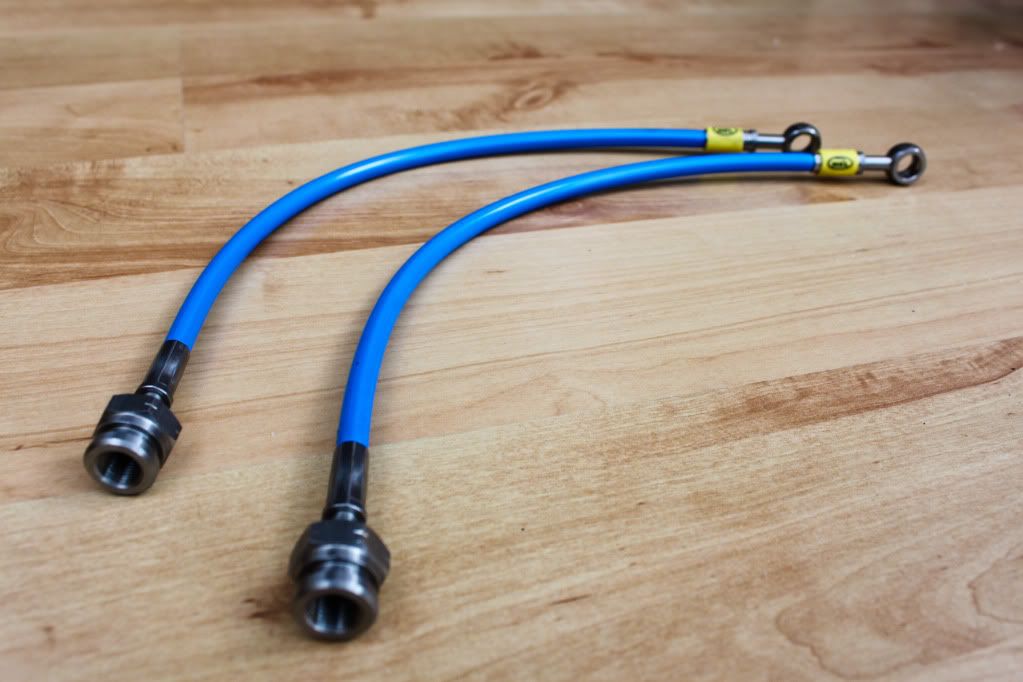
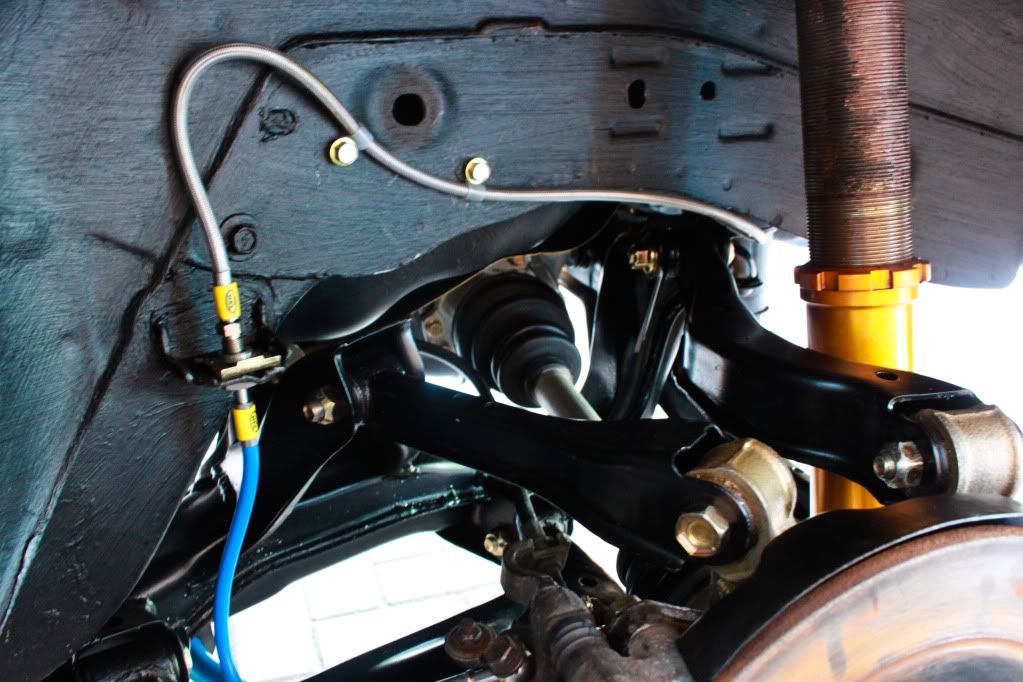
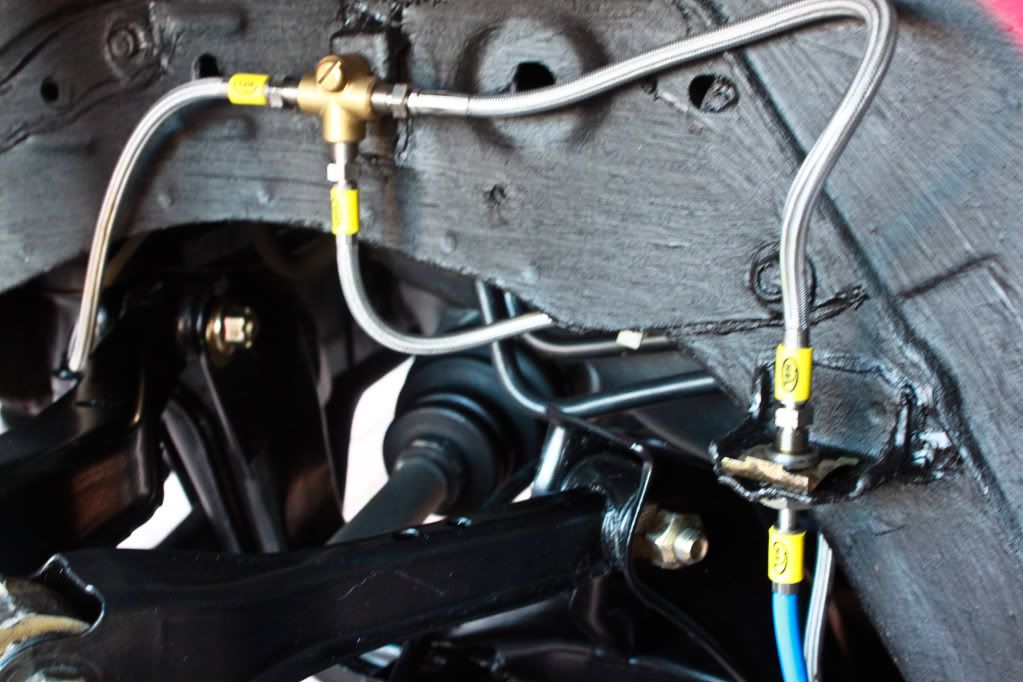
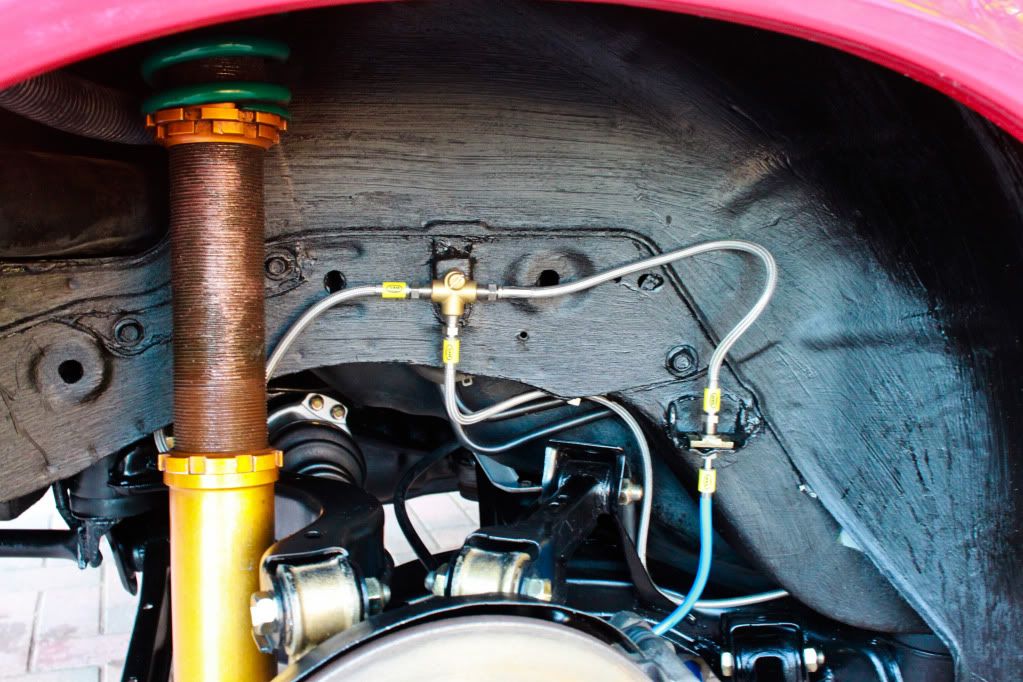
New rear brake hoses as I got sent the wrong ones..

IMG_8002.jpg


I then ran into a problem, after bleeding the brakes and getting to a point where its almost ready to drive I couldnt get the passenger side rear hub nut on! :smash:

Turns out id damaged the thread so the nut wouldnt pick up the thread...managed to solve this by hours of work..I had to take apart the rear end again so I could get the shaft free to allow me to file a clean taper round the end and clean the thread up -

IMG_8008.jpg


My neighbour who used to be an engineer has almost every tool you could ever want so he managed to sort it for me..

Although it worked, the other day when I put it back together and put the nut on I ended up damaging the thread again :cry:

I kept tightening and loosing the nut to make sure it went on okay but it managed to get real tight at one point and it sheared off part of the thread so it looks like (((|(( kind of..fogot to take a pik..but the nut still goes on and off it manages to go over it..but I feel that was down to luck so Ive put it on tight and in the near future when If I do any work to the back end I will get a new shaft an nut and whack it on for piece of mind :nod:
 
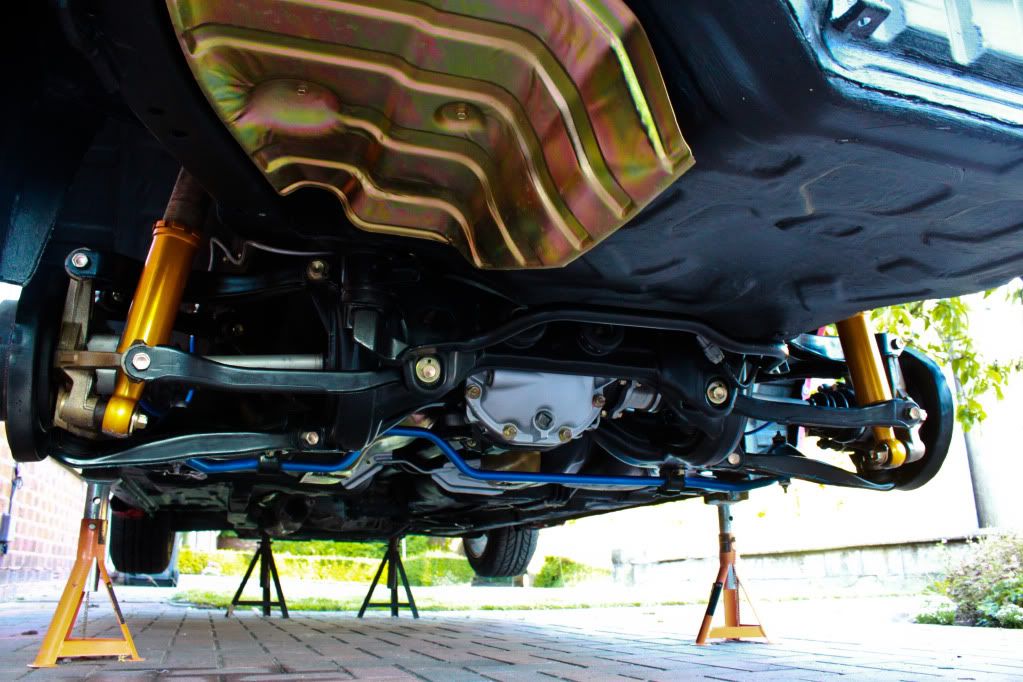
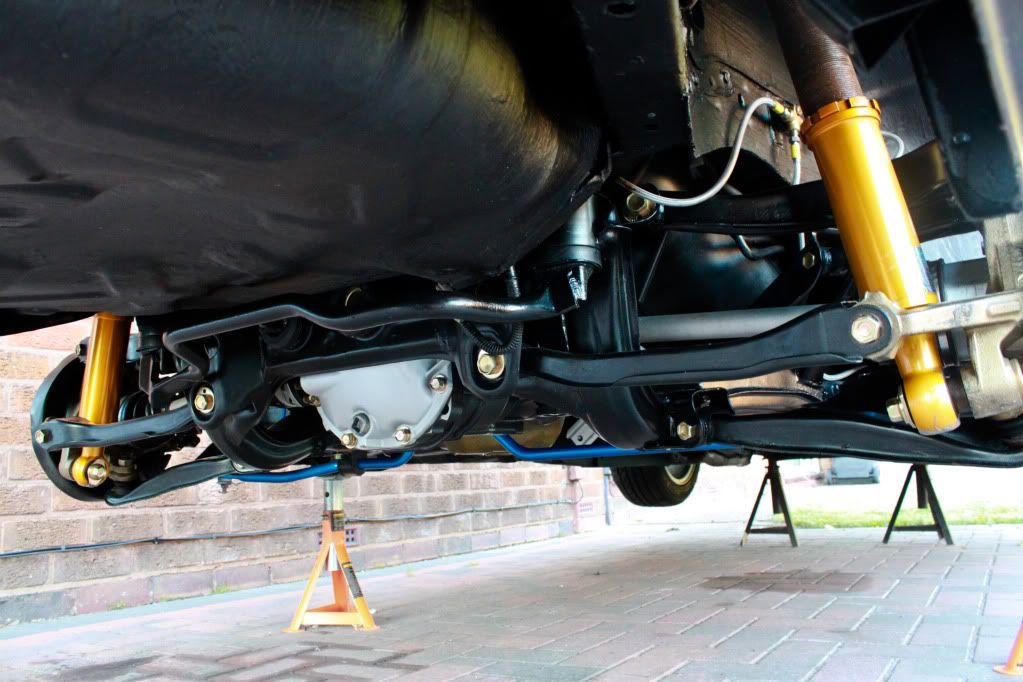
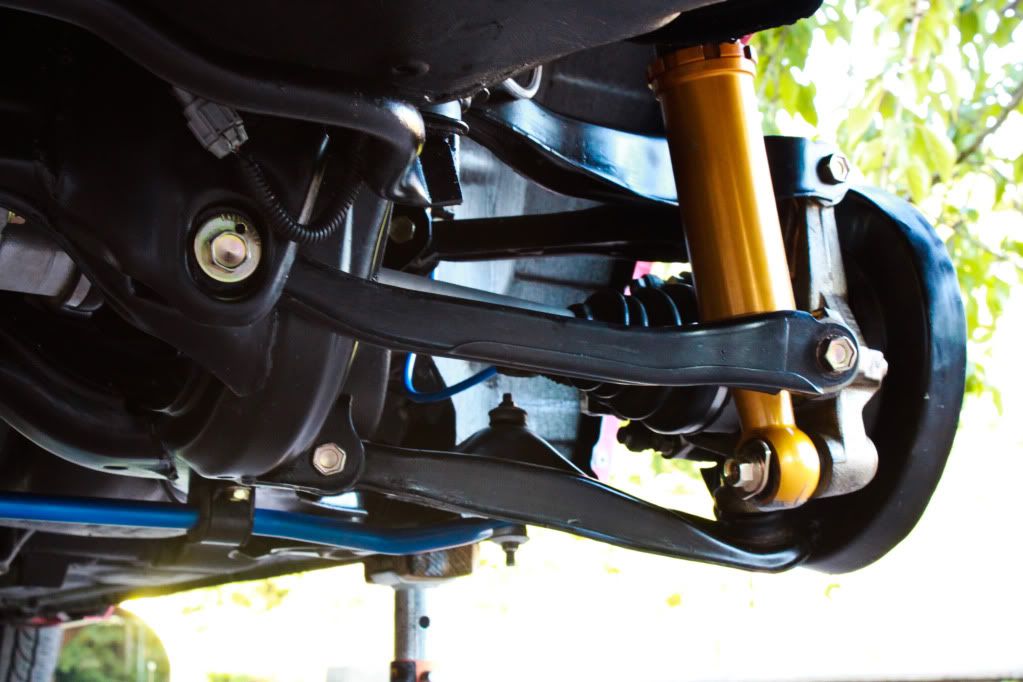
Done!

IMG_8010.jpg


IMG_8024.jpg


IMG_8011.jpg


IMG_8013.jpg


IMG_8012.jpg


IMG_8016.jpg


IMG_8015.jpg


IMG_8014.jpg


Not sure if they will pick me up on the lines for MOT? Mabi ned to secure them better?

IMG_8021.jpg


IMG_8029.jpg


IMG_8030.jpg


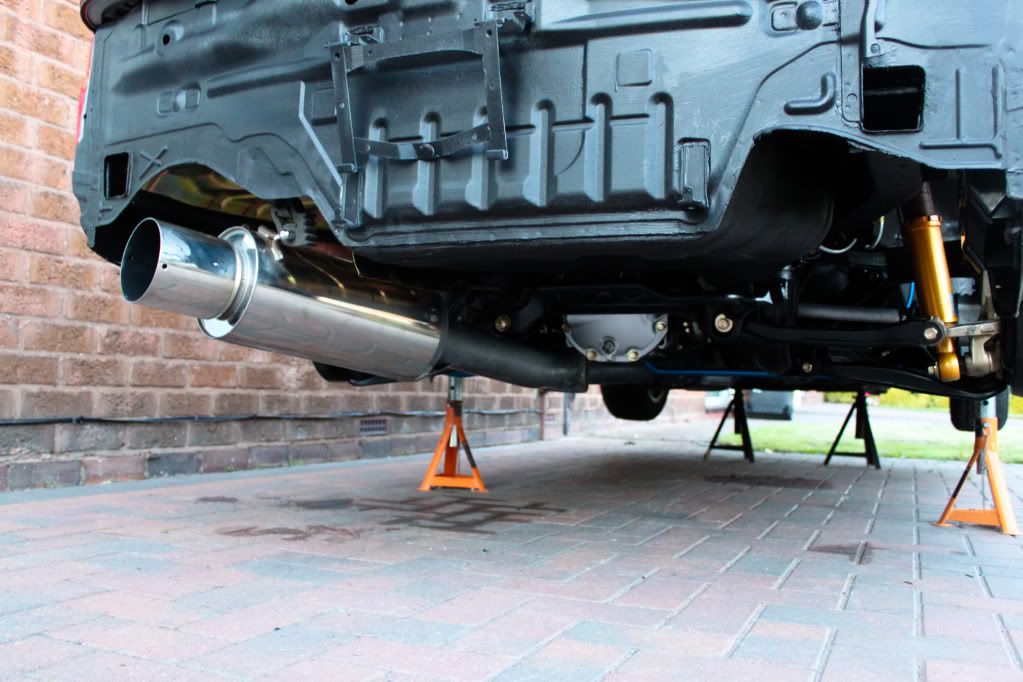
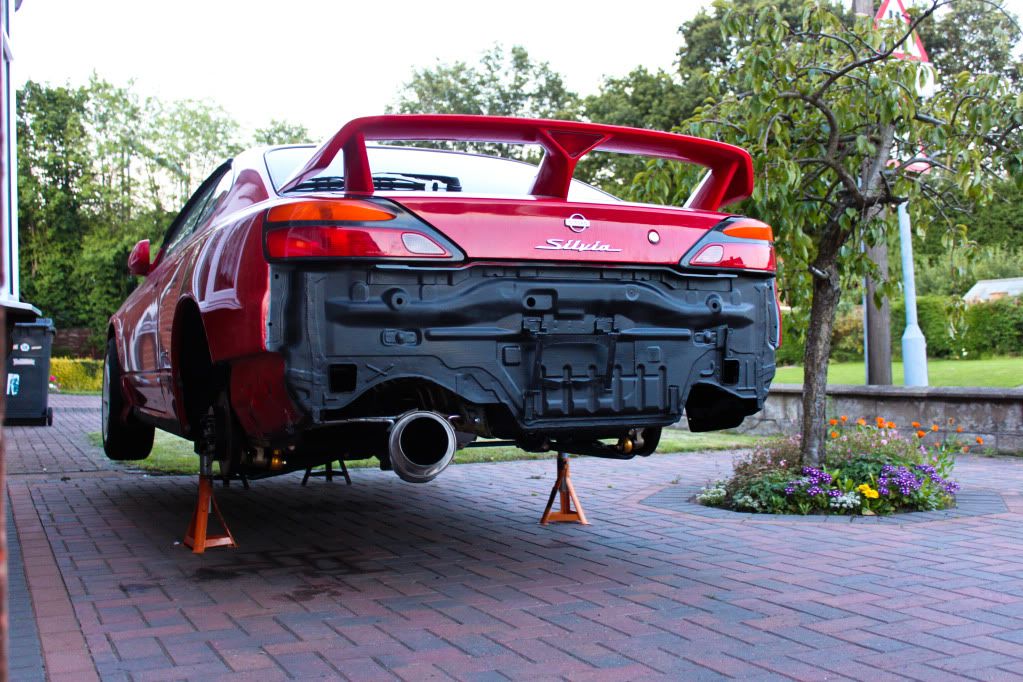
Exhaust cleaned up with Autosol and fitted
IMG_8032.jpg


IMG_8033.jpg


Thats as far as I am atm, I need 2 new gaskets for exhaust as its blowing like a bitch where I fitted a CAT (fot MOT) as the old gaskets were almost falling apart anyway..

Also the breaks feel spongy as hell so im hoping the settle down after a drive but if they dont its either down to air still in the system, I didnt bleed the fronts only the rear as its a seperate system although the mc did run quite low so mabi air got to the fronts? Also mabi the abs module needs bleeding?...or its down the the lines not being secure and the are moving which would increase pedal travel...who knows weel soon see :confused:

I was meant to be going to sort it today and try and take it for a quick shake down but as its England its absolutley piss*ng it down!
 
awesome clean up there mate,check this thread out along with part 1,he has done it has extreme as yours and got the car perfect underneath like you have!

http://www.gtr.co.uk/forum/147422-fourtoes-blue-30-two-part-2-a.html

I wouldnt say mine is that extreme tbh, its not that hard to take the sub frame and tank off really..makes life easier and future proofs you I spose from future rust..

I could have quite easily bought some stuff that you just spray on but I bet further down the line it would all come back x10..

That guy has gone the extreme though lol..some mega work there :smokin:
 
Right where are we..

Exhaust had a blow due to missing gasket...

IMG_8036.jpg


Bought some ebay specials -

IMG_8034.jpg


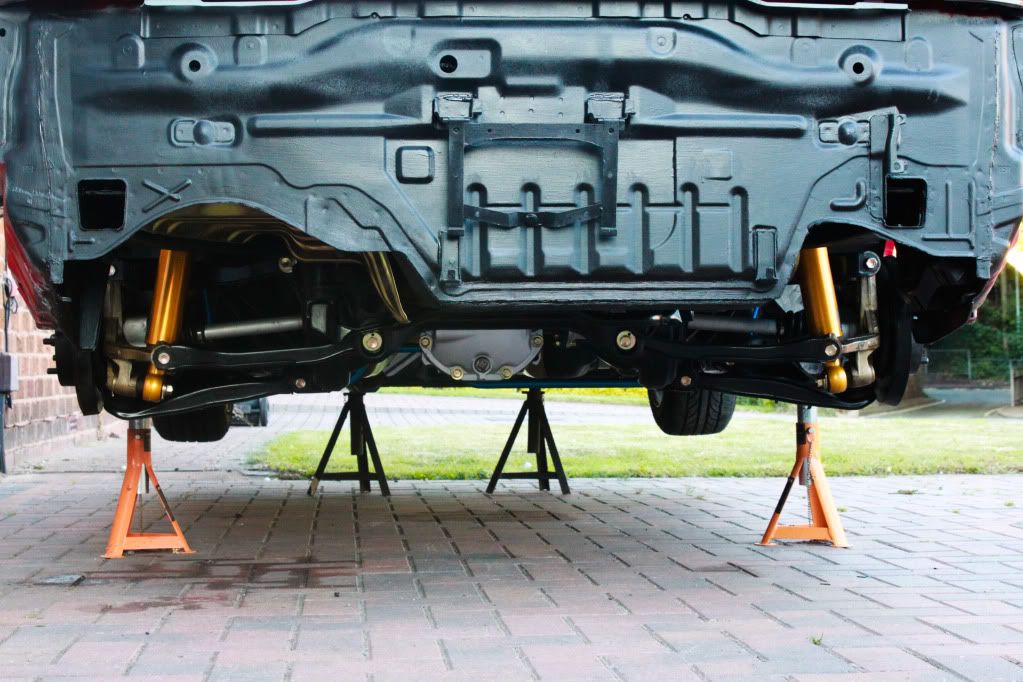
Lowered the car onto bricks so I could tighten the arms up when it was on its wheels.

IMG_8037.jpg


IMG_8038.jpg


Brakes seem fine now btw after another bleed and a bit of usage, I need new disks and pads really but Im waiting till I can afford a big brake kit..

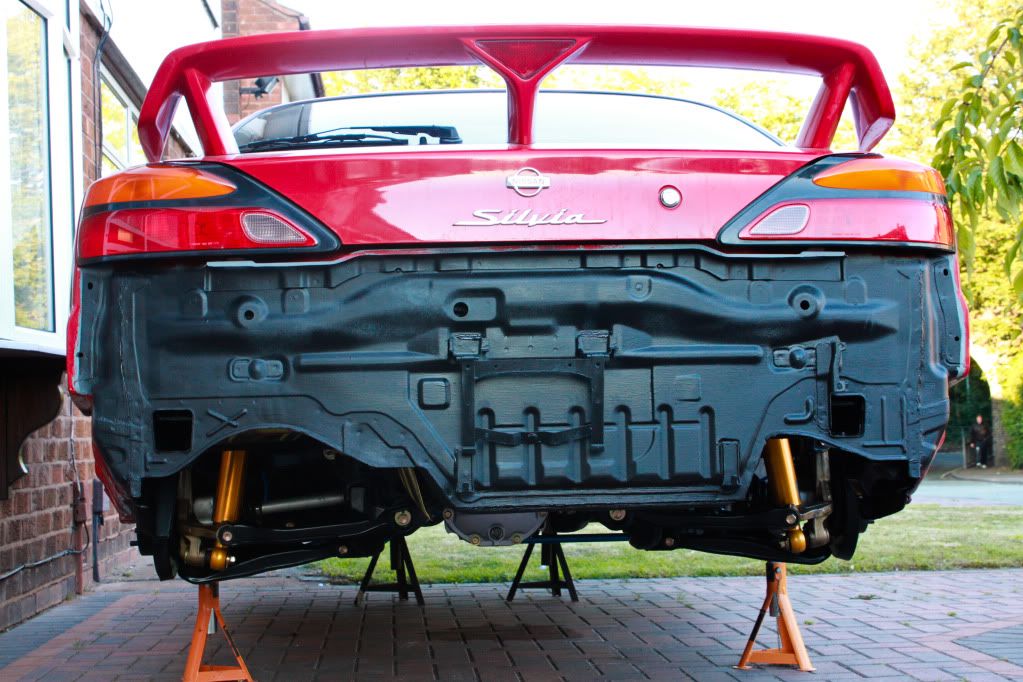
Done and almost ready for the road

IMG_8039.jpg


IMG_8040.jpg


IMG_8041.jpg


After this I sorted a few little things like the horn not working (down to fuse) and number plate light, put the rear bumper on gave it a quick check over and it was time for its MOT.

Which is passed :thumbs:

IMG_8062.jpg


IMG_8063.jpg


A few people were comenting on how clean it is underneath...I bet it wont stay like that for long though...

So its taxed now and on the road from Monday.

Happy Days! :D
 
Back
Top