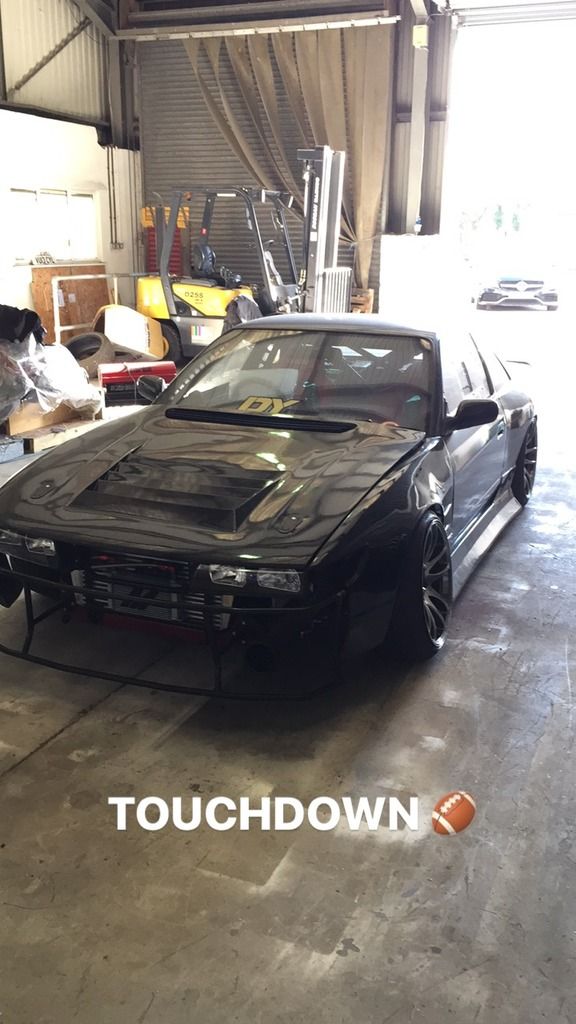
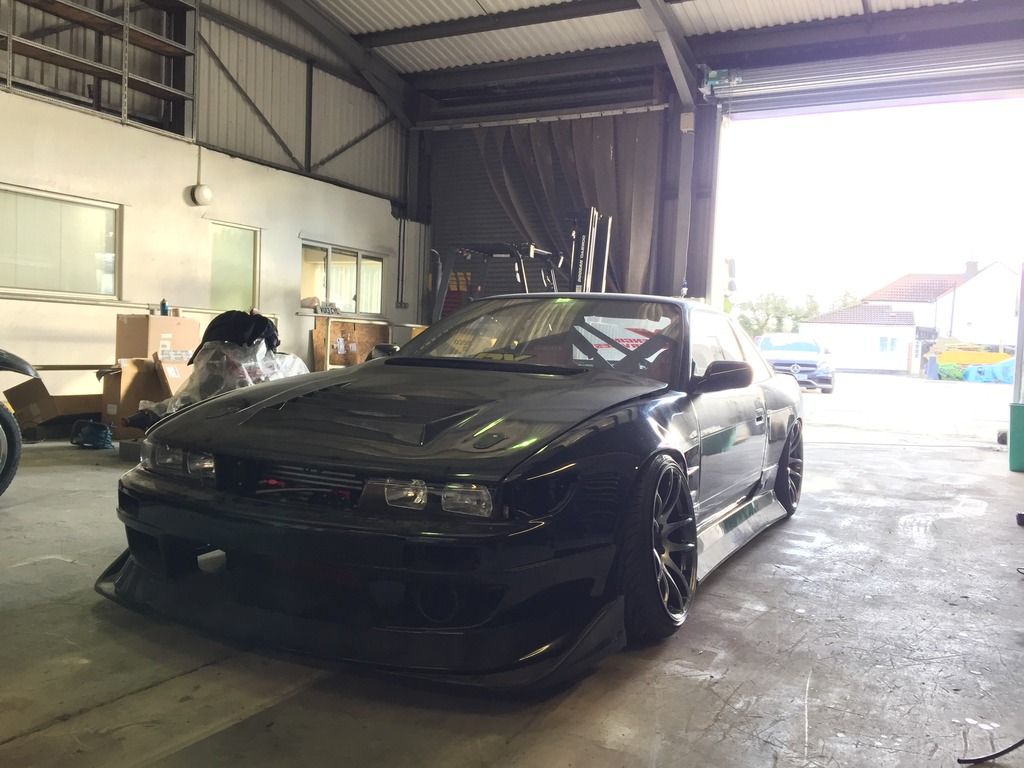
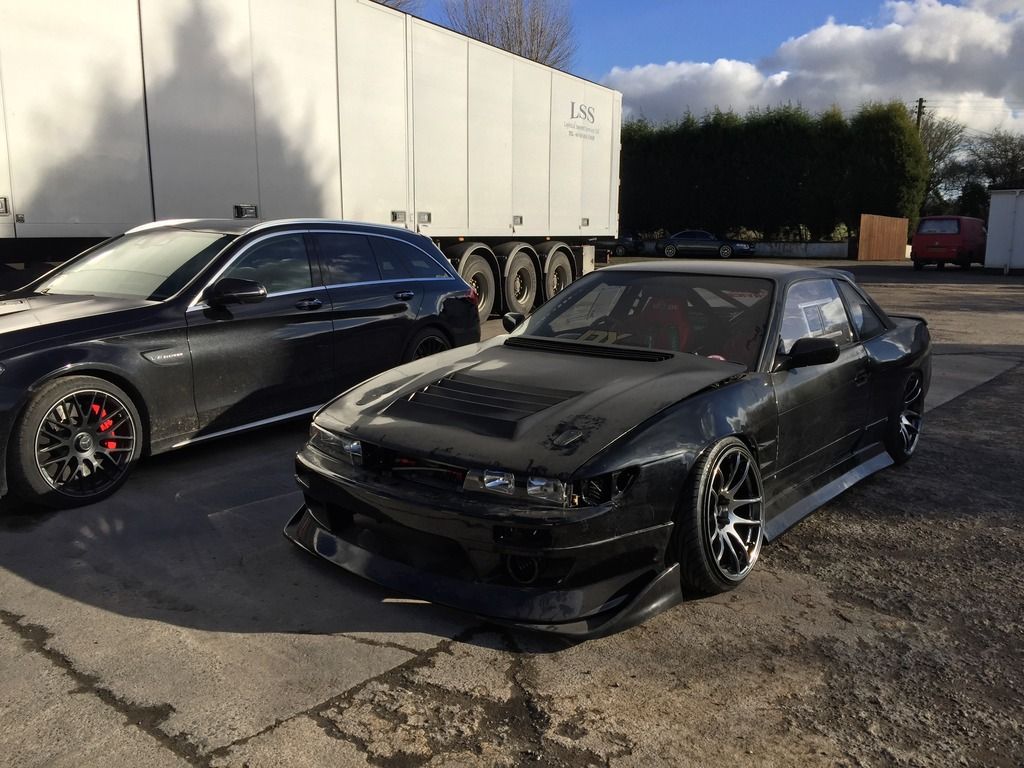
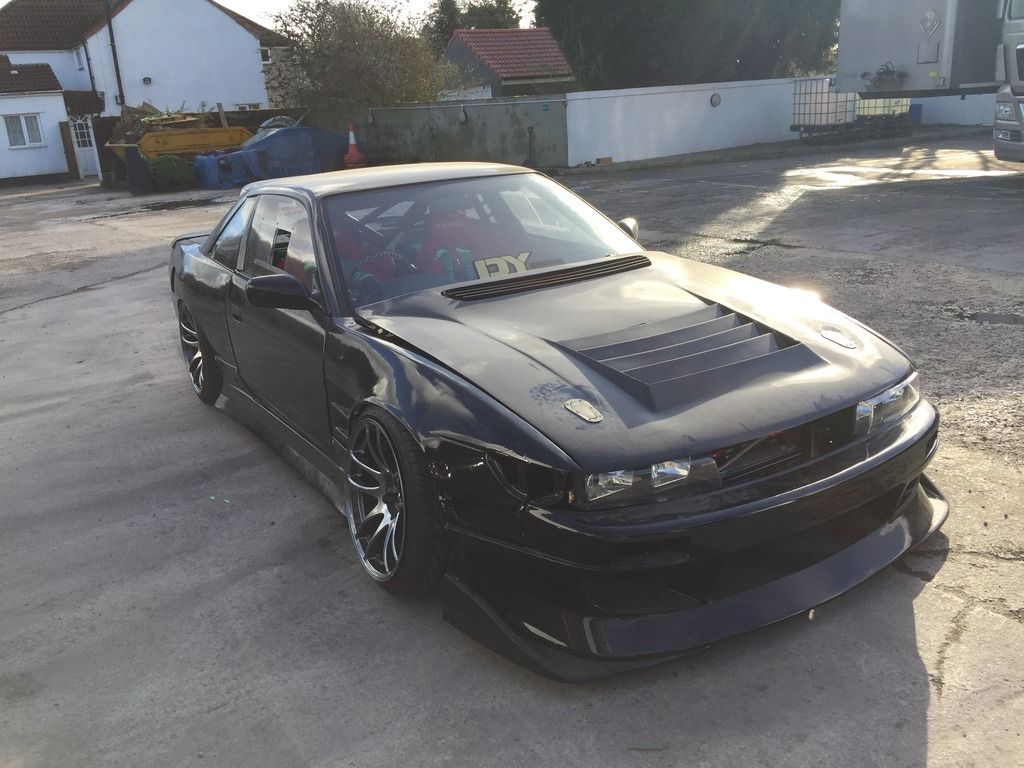
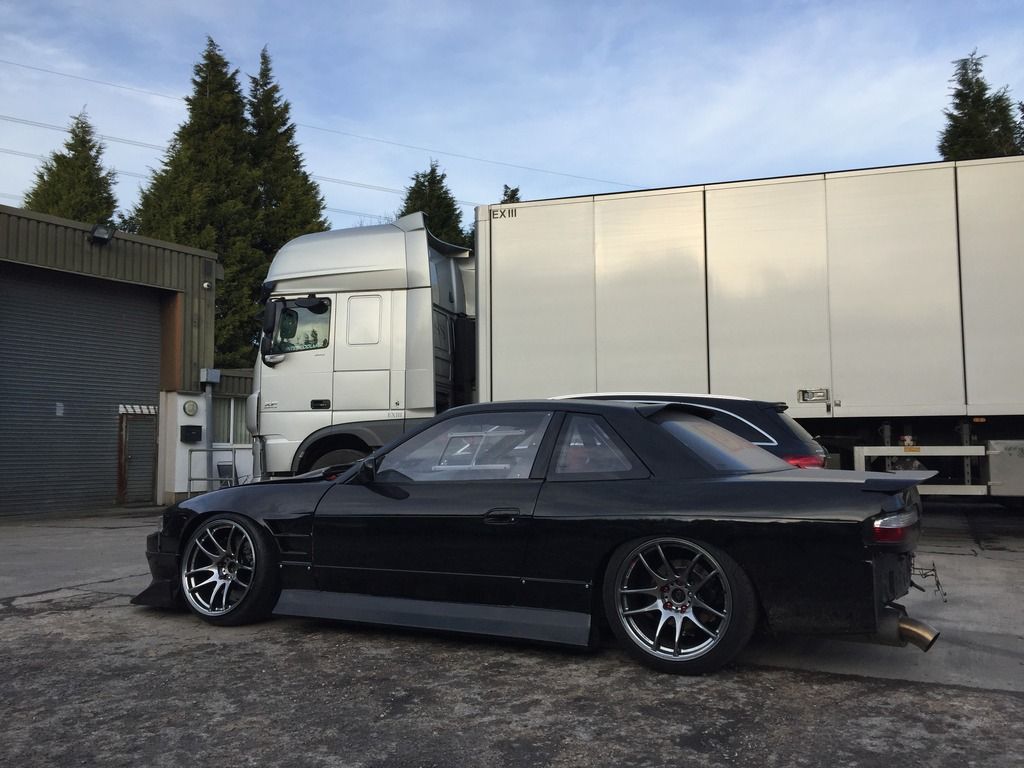
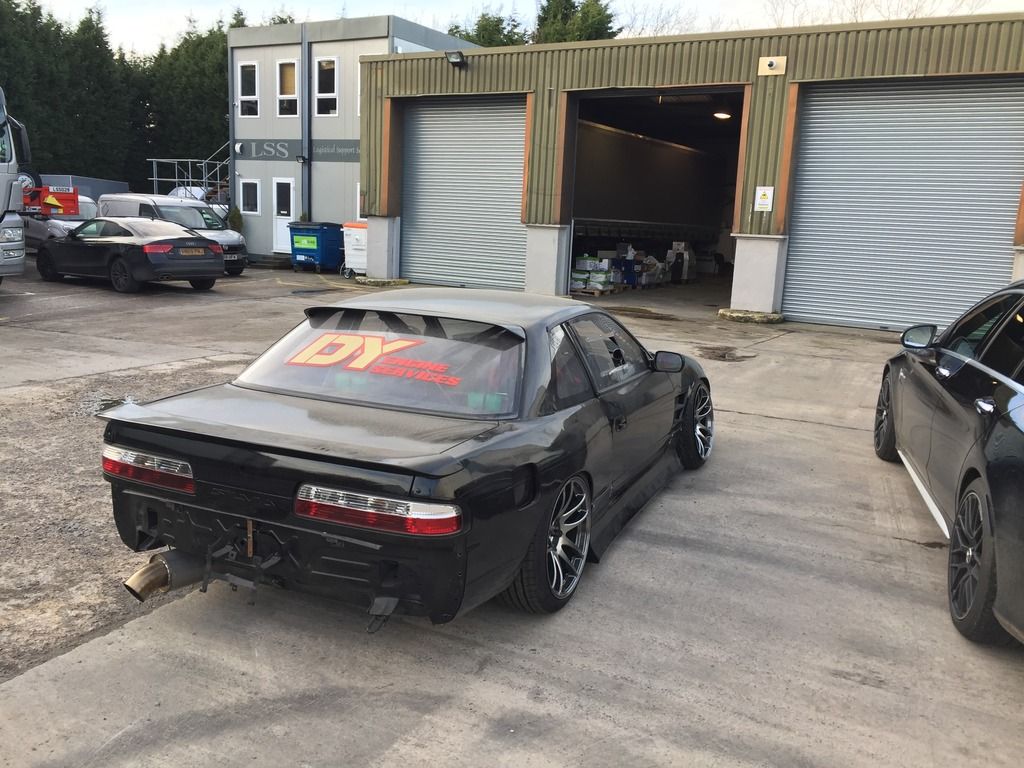
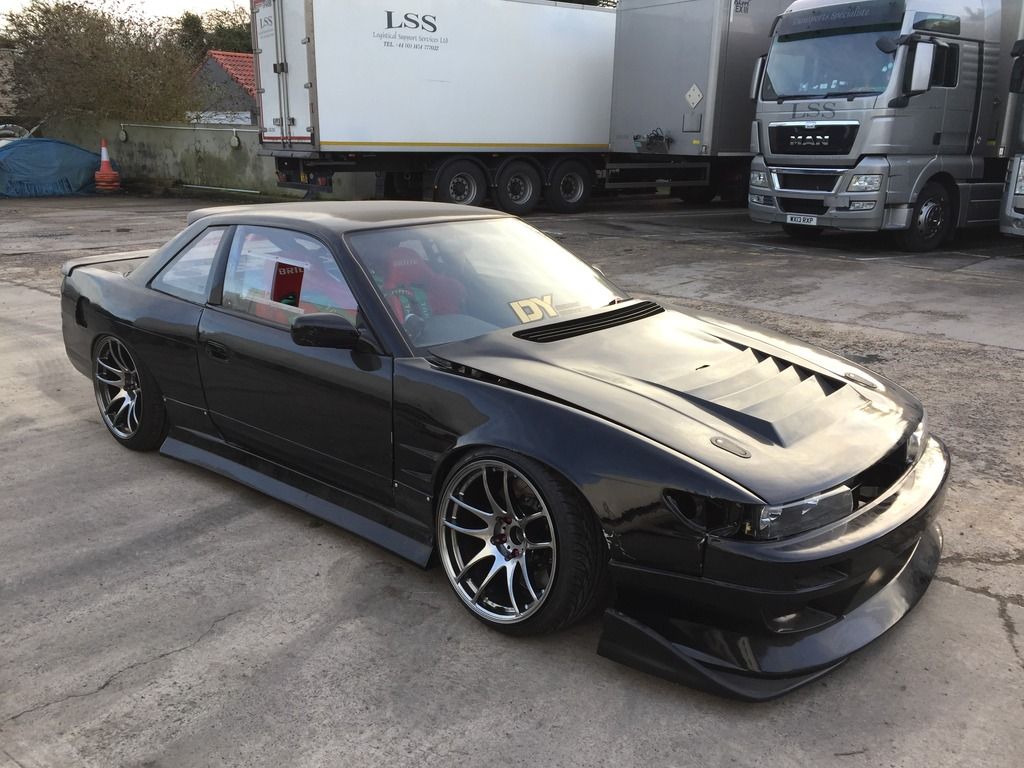
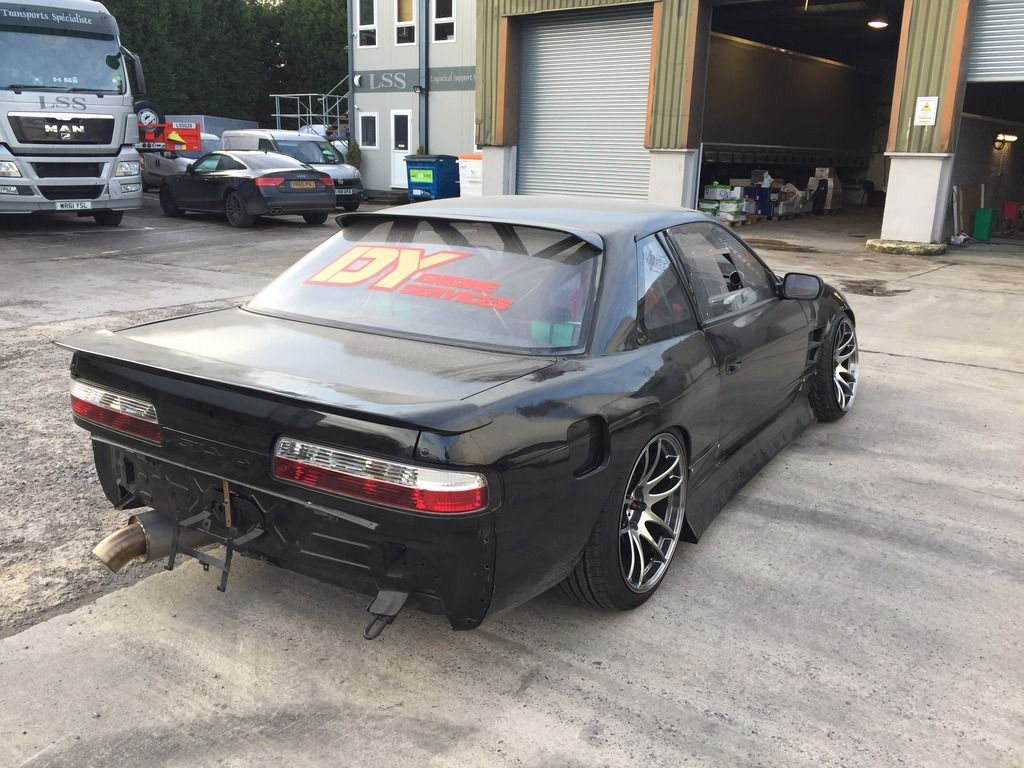
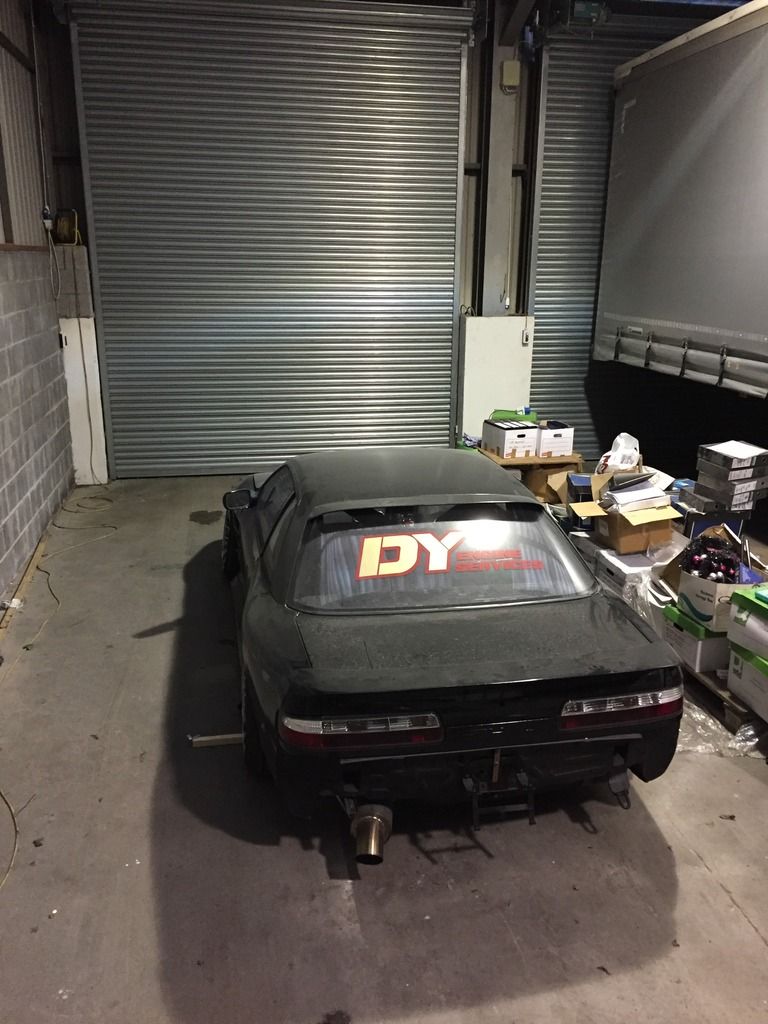
Jordan's S13 Silvia ♠️♠️

Amazing efforts mate. Keep it up. Hope you find that leak too.

But as for the temp control you should be running some ducting from the front bar to the bottom of the radiator at least, and side panels too with a tucked setup. You can't rely on the fan to draw enough air to reduce the temps of the radiator and the intercooler too. The gap will help reduce heat soak a little but if it continues to be a problem you may have to look at a pusher fan on the intercooler
 
dude by any chance you can tell me what you done with your cam gears ? did you advanced intake and retarded exhaust ?
 
Amazing efforts mate. Keep it up. Hope you find that leak too.

But as for the temp control you should be running some ducting from the front bar to the bottom of the radiator at least, and side panels too with a tucked setup. You can't rely on the fan to draw enough air to reduce the temps of the radiator and the intercooler too. The gap will help reduce heat soak a little but if it continues to be a problem you may have to look at a pusher fan on the intercooler

dude by any chance you can tell me what you done with your cam gears ? did you advanced intake and retarded exhaust ?

Well the plan is to remove the gearbox next Friday - so hopefully I'll have some clarity about that leak then. As for the ducting, it was always on my list to do, but mapping highlighted the importance of it. But as you say, we'll do the ducting and see how things develop. I'm positive once the car is moving it won't be anywhere as bad. I'm possibly thinking about reflective wrapping on the Intake and cold side so help reflect he heat. I've read about how it may rudixe he materials efficient to dispel heat, but the air will be moving so fast it would be negligible in my opinion?

As for the Cam timing - we set them as per standard timing mate :)
 
Tbh man regarding the cooling I've always tried to aim for an oem setup/style. Admittedly we use our cars way harder than oem but they put thousands into r&d to make something that works!

My bet is that ducting from the bumper to your rad will sort everything nicely! Could always add some more foam along the top of your intercooler to seal that gap up too, forcing the air through the rad?

Keep up the sick work man! If I didn't have instagram id be worried you'd ditched it and sold up!

Sent from my SM-A300FU using Tapatalk

Exactly, OEM always tends to work best! I've always stayed conventional with the viscous fan and shroud setup, as like you say - it works best! Likewise, some ducting and it'll work wonders :)

Haha, I could get that impression. I've just been keeping my head down to be honest haha. But don't worry, this thing wont be going anywhere - I've spent far too long building this!
 
Out standing mate, really good progress.

Thanks mate! :)

---------------------------

I managed to spend a couple of hours on the car this morning. Nothing spectacular - just slowly making progress through my list.

Here's how the Cold Air Intake sits behind the headlight - I've left a sizeable gap between the piping and the air filter to allow the air to spear around the filter. Hopefully this works haha!


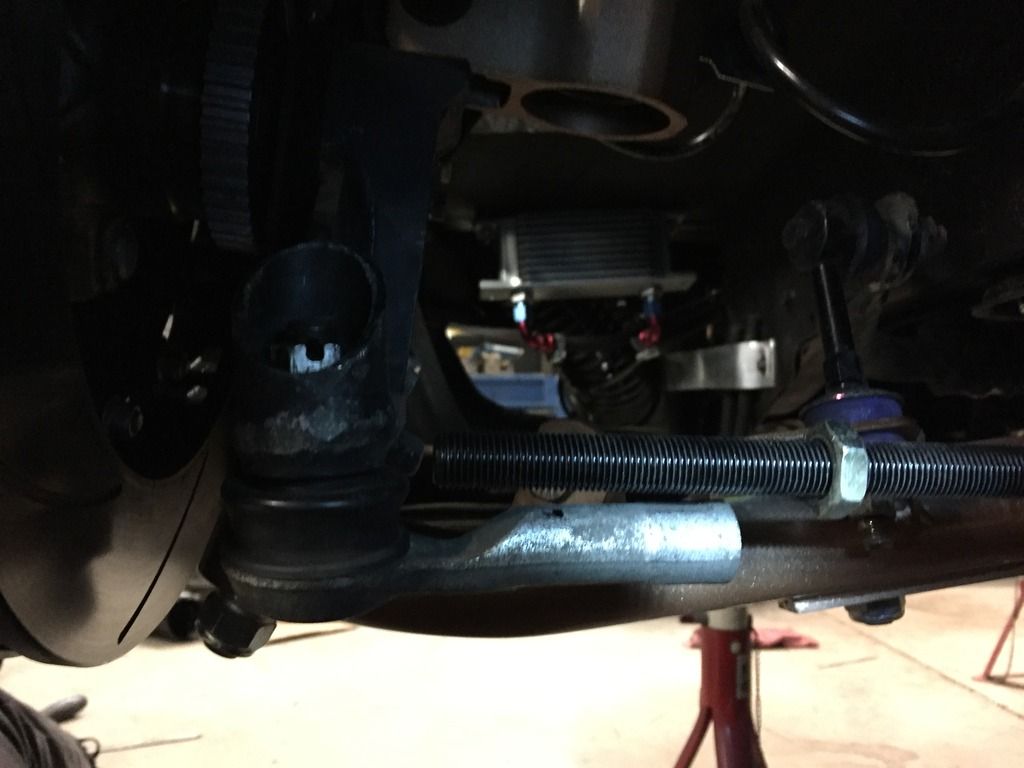
Next up was to measure up and fit up the GKtech tie rods. I wanted to try and keep as much thread in the tie rod end as possible to help give it strength. This is the initial thread overlap without any cutting:


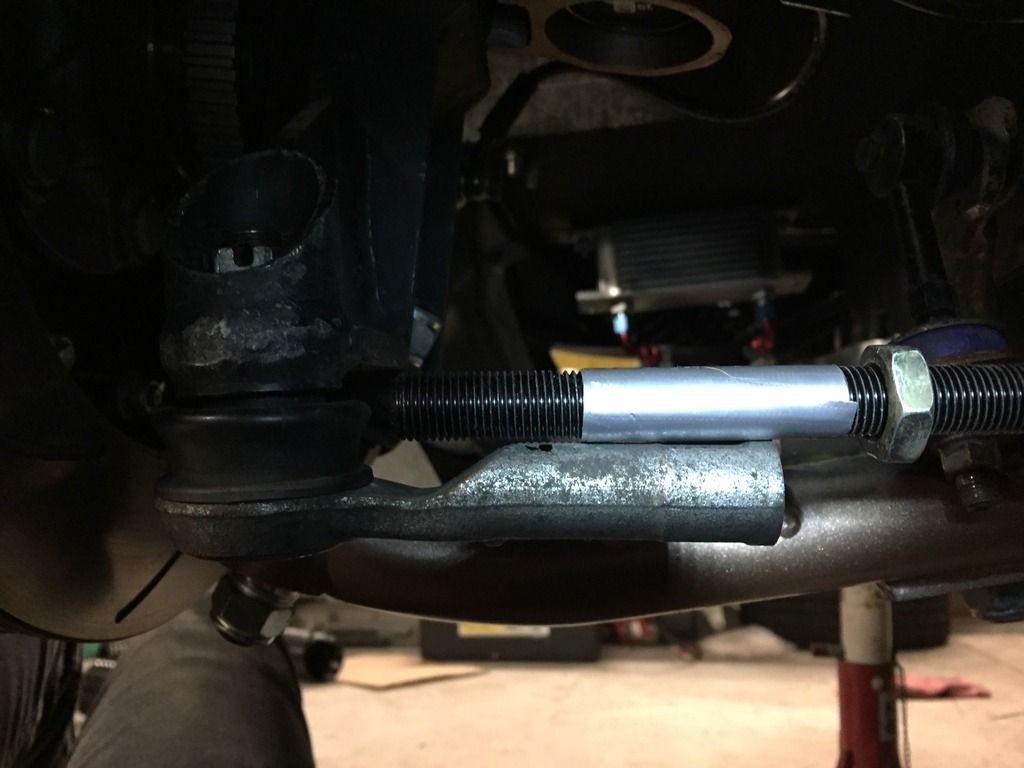
And here's roughly to where I cut them to. This measurement was eye-balled with each wheel in a rough 0* toe setting - this should give me enough measurement to play between a toe out and natural setting.


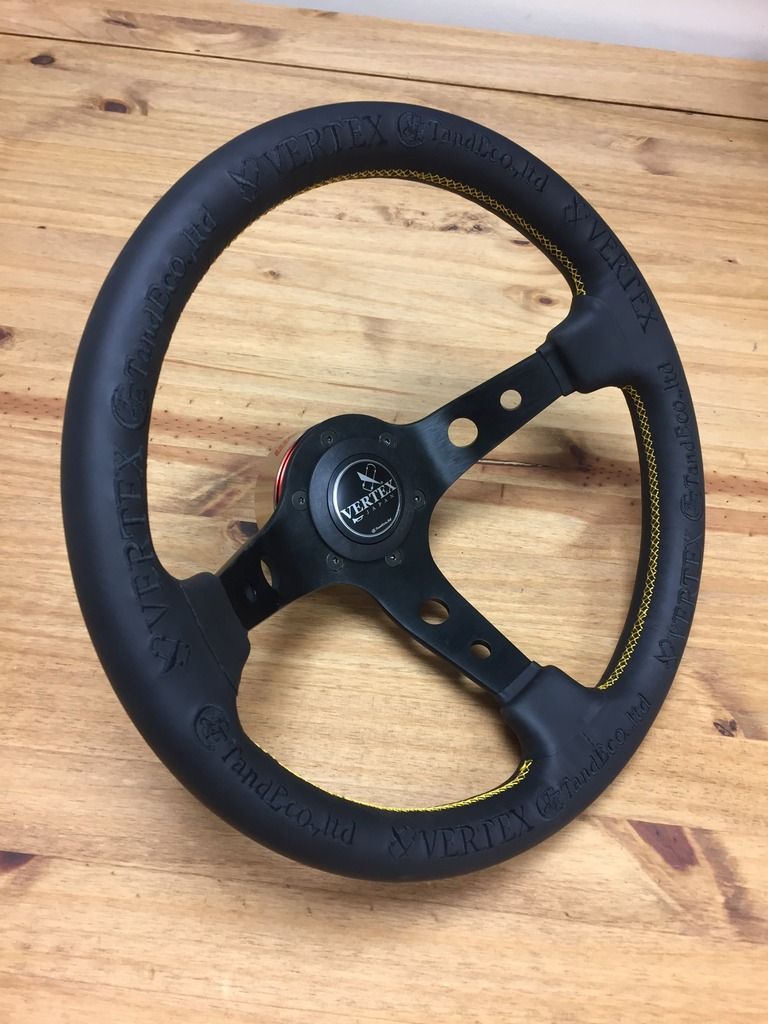
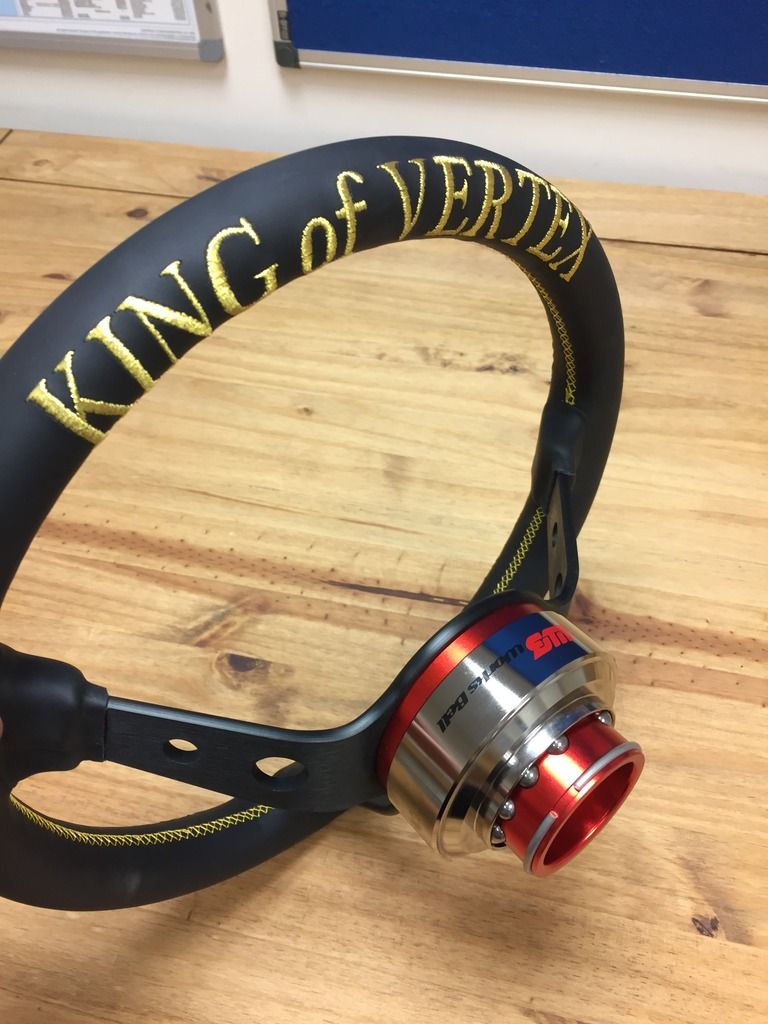
Before I finished up today - I did one last important task. Fit the new steering wheel! I was super excited to fit the wheel to my WorksBell Rapfix II Snap Off, it's the perfect setup in my eyes. As always, I'll let the picture's do the talking:


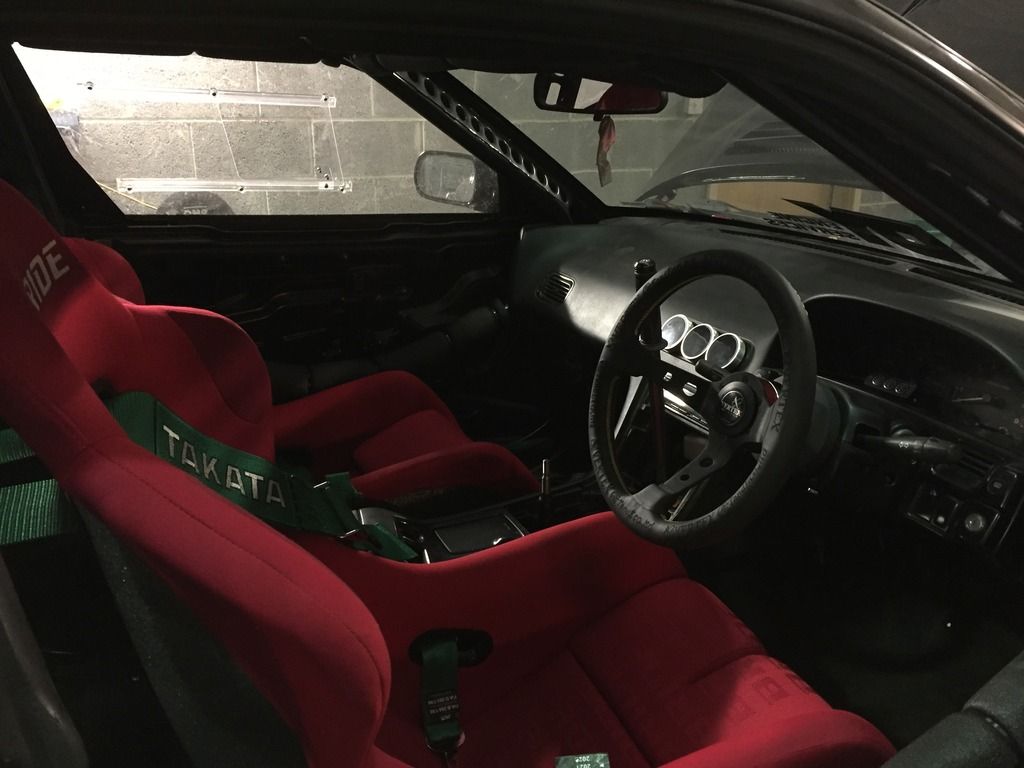
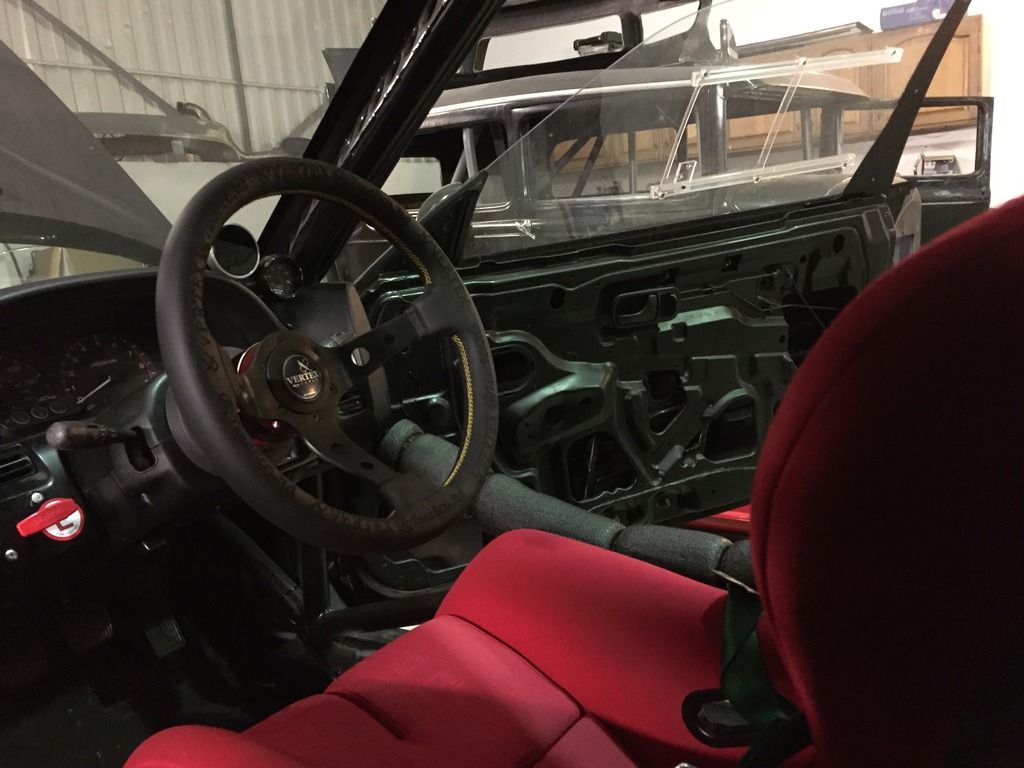
Fitted to the car - (I need to re-centalise the steering wheel as the PCD between my steering wheels differ. No biggie though)


Like a little child, I had to sit in the car and see how it feels! It sits a fair bit closer to me as opposed to my Grip Royal due to the dished nature, but I'm confident the new setup will suit me better. I may invest in some gloves to help aid grip and avoid any premature wearing on the wheel though.

Today was also the day where I dropped the oil out of the motor today to see how things are after mapping. Although I did an oil change during the mapping process (Mineral Oil to Synthetic), Martin recommended doing another after mapping to make sure the motor is happy, plus fresh oil won't hurt the cleaning process :)

One issue I did notice was that my oil filter has made contact ever so slightly with the inlet manifold. I can only presume this is where the motor has settled on the engine mounts, as I made sure there was a fair amount of clearance. I spent a while trying to rotate the filter housing to help clear the manifold, but wasn't that easy unfortunately. My solution - get a file, and shave the inlet manifold ever so slightly.

The area which is fouling is a small tab where on of the OEM engine brackets attach to, so nothing vital. After a little while of filling, theres about 10mm or clearance, which should be enough as the engine mounts are fairly solid. I'll keep an eye on this, and if needs be, I can trim the inlet manifold some more!
 
Liking the updates man! Shame its taking longer than first anticipated but its looking to be getting there now!
 
Liking the updates man! Shame its taking longer than first anticipated but its looking to be getting there now!

Thank you! Yup it's a shame but frustratingly life and other aspects always tend to get in the way. The end is nigh though!

This was literally the build that convinced me to buy a PS. Absolutely sublime car man

Thanks man! You know the PS/Silvia route is the winners route! :cool::cool:
 
So I think it’s about time to do an update?!

---------------------------------------

Shortly after the last post, it was time to stop procrastinating and drop the Z33 gearbox and find out what this leak was.

Removing the gearbox is like any other, remove the prop, shifter, cross member and the bolts. The latter can be a bit tricky though! The bottom/side bolts aren’t too bad with the correct tools, but the top ones… those are a pain in the backside! Nevertheless, after a bit of persevering me and a friend managed to undo them. I can see why people may want to enlarge the firewall, purely for this matter but it’s definitely not a necessity. Once all of the bolts where undone, it took us probably about 15 seconds to physically remove the box!

About here I’ve got to say most of the credit for the box removal has to go to a friend as he sacrificed his Friday evening to help remove a gearbox. As you could imagine, we were pretty impressed how fast the box came out, after all – it is a large gearbox in a small tunnel! I can only assume this is because you can remove the shifter, so there is no need to rotate and jiggle the box. In all, it took us 2 hours to remove the box from start to finish, not bad in my opinion!
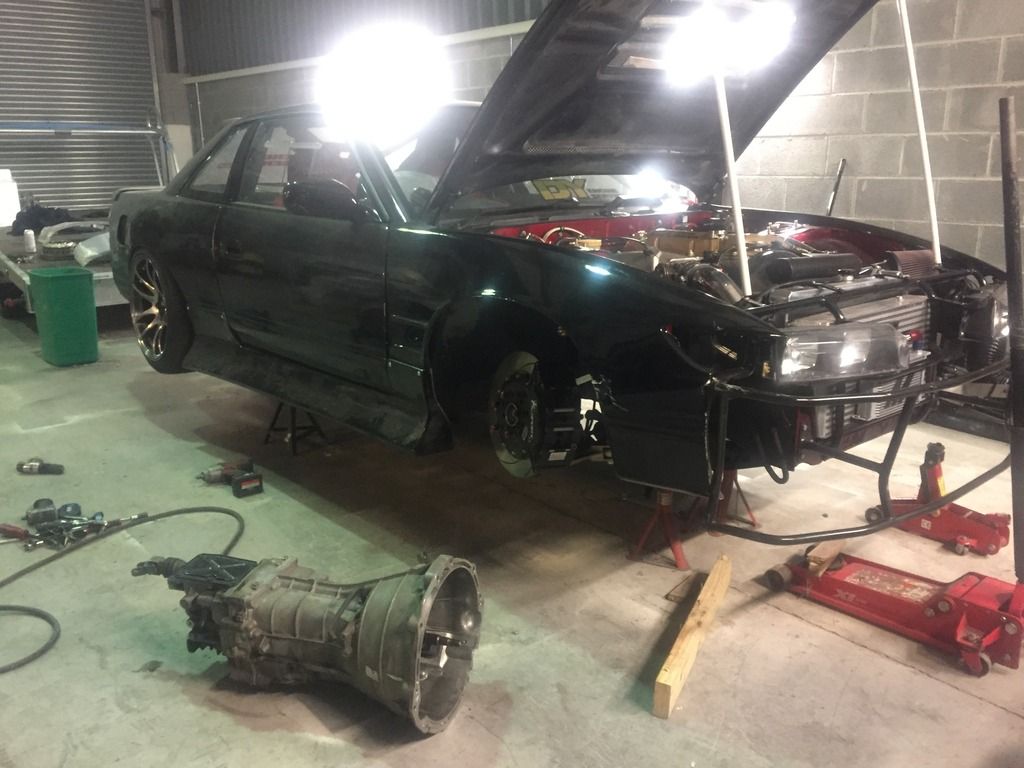


Voila! – 1x Z33 Gearbox removed. Now it was time to see what was leaking. First inspections was that the bellhousing was essentially bone-dry. Which kind of put my mind as ease it means the box has sealed up perfectly fine. However, this is also means the leak is from the engine.

Whilst I was under the car, I managed to see the state of my turbo oil drain/return. I always sknew it sat close to the manifold/runner due to the inherent design of the Mid-Mount, but unfortunately it was rubbing on the dyno. Which, when you think about it, MB was getting that manifold glowing – a pretty scary thought! Here’s the damage:
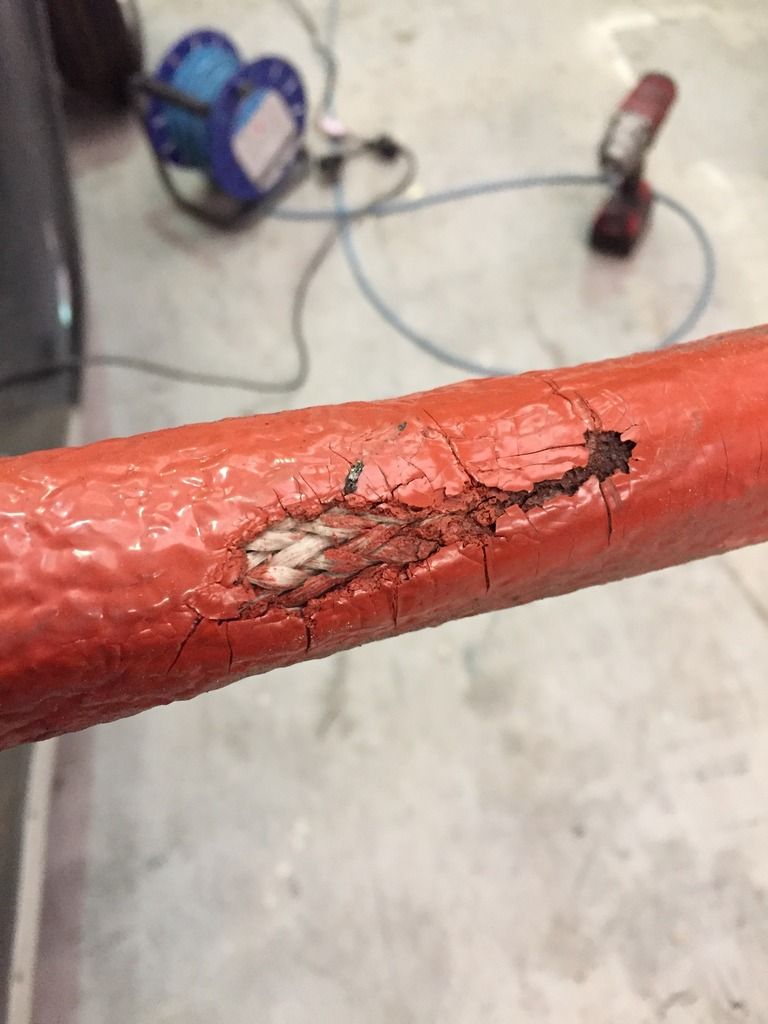
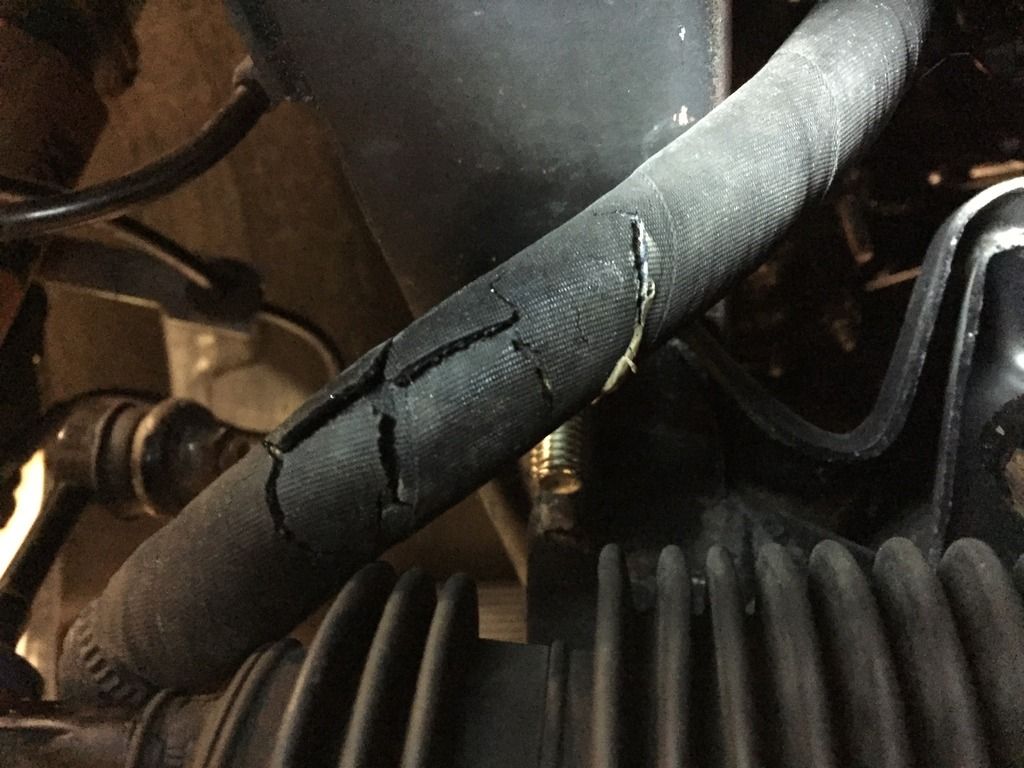


Luckily enough the outer skin of the hose essentially had peeled away under the extreme heat, but didn’t cause any long term damage. If that hose had burned through, then it would’ve meant a fire or terminal damage for sure. Not good!

Back to the drawing board I go – back to my first idea actually. Initially I wanted to convert the oil drain fitting in the block to an AN10 one, so now is the time to do it. Reason being is because of an angular fitting, where I should be able to gain some more clearance over the standard barbed fitting.

Back onto Torques’ web shop I went and spent yet more money on AN fittings!
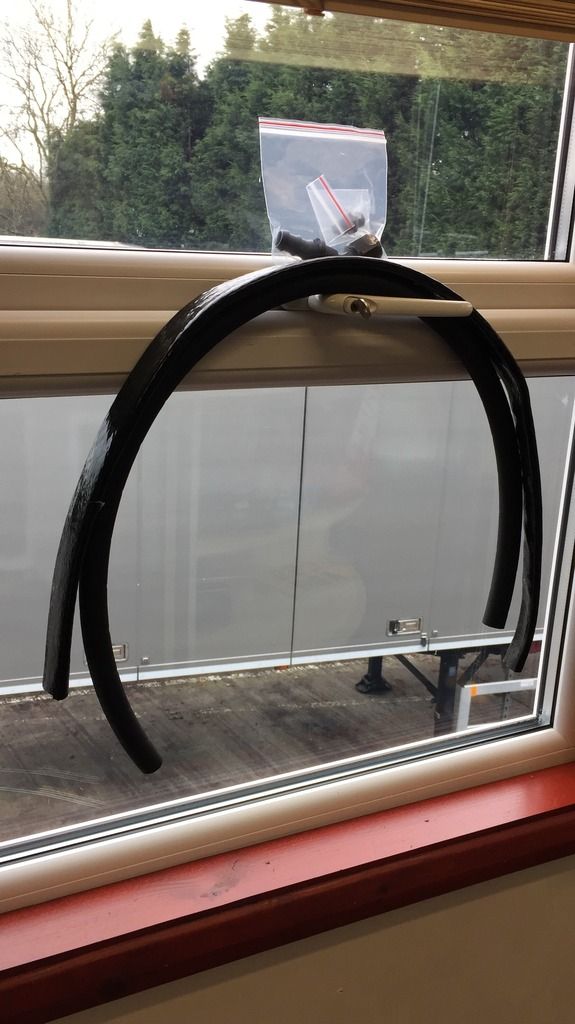


I struggled like hell to remove the standard fitting (after all, it had been in there for 20 years or so!) So my friend came to the rescues yet again, and before we knew it the AN10 fitting was installed.
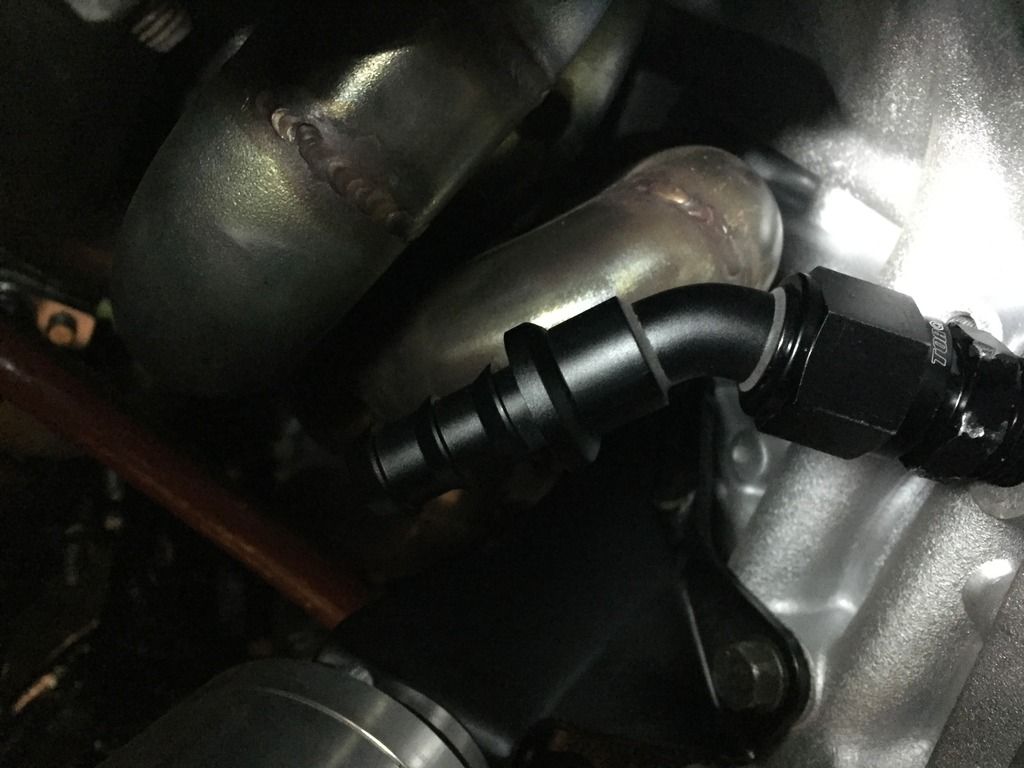
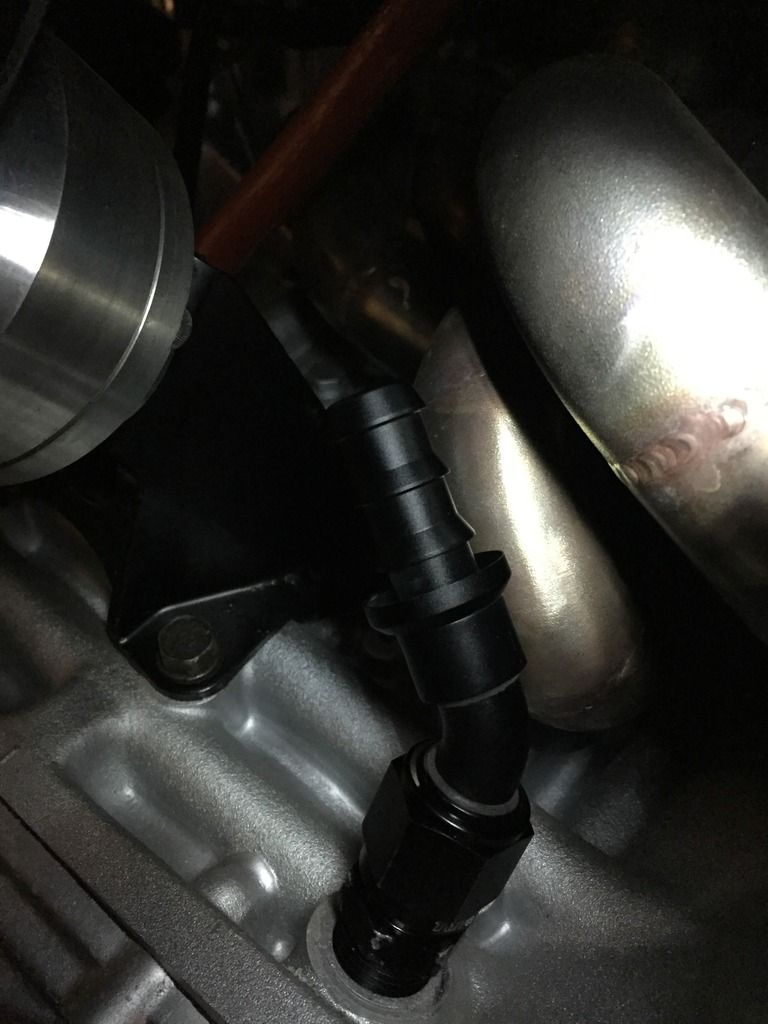


After looking at the angles involved, I went with a 45* fitting hoping it’d gain me the clearance I wanted, and it did! OK, it’s not lots and lots of clearance, but there’s an air gap and the rubber won’t be touching the runner.

After a bit of trial and error, I had a new oil drain made up :)


With a slightly longer hose, I was able to initially point the drain away from the manifold at the turbo, helping to create a long sweeping bend without any major kinks.

Whilst the gearbox was off, there was one thing I wanted to change. I’ve never been happy with the gearbox mount as it was an OEM item, which isn’t the stiffest, and given the boxes additional weight, I can’t imagine it’d be doing itself any favours. I considered getting the Nismo gearbox mount, but went with the Apex/Hardrace item as it worked out quite a bit cheaper for something that some may consider a superior item. I opted for the Race version, as I don’t really want the gearbox to be moving around. Plus, it means the gearbox mount should be equally matched to my engine mounts.
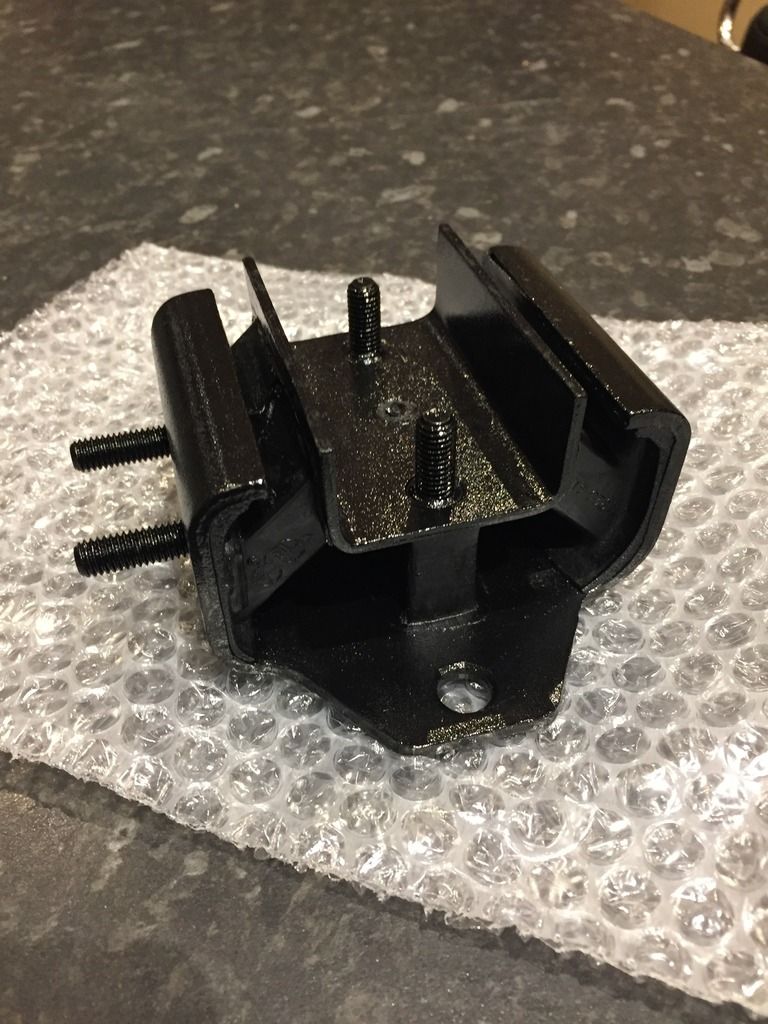


Plus some fresh hardware as the first set of washer were too thin and bent under the pressure of torqueing the nuts.


- - - Updated - - -

Anyway – back to the mysterious oil leak. I can’t remember if I mentioned it previously, but I suspected the oil leak to be the rear crankshaft seal. Mainly due to the way the leak behaved. During running in, the leak was quite prominent, but seemed to reduce when running a thicker synthetic oil.

Once the box was off, I had a quite look and saw traces of oil on the rear crankshaft seal and the surrounding area. BINGO – leak identified. I gave Dave @ DY Engines a quick text to let him know where the leak was and before I knew it he had ordered another seal through Nissan!


Dave being Dave, popped up as soon as he was free and changed the seal over for me. Some people claim certain people build the best engines because of this and that, but Dave is a guy who is passionate in his work (I mean, this motor performed flawlessly on the dyno during the run in procedure and mapping, both of which were straight after eachother). He changed the seal out of his own pocket and time, I honestly cannot fault him for that!

The most likely reason for the seal to leak was the fact the motor had been sat up for quite a while between getting built and fired up. Seals can dry out, and with the rear crank seal, we think it dried up ever so slightly and burned out when the motor was first fired up. All seems to have been cured now, but we wont know until the motor sees some load on the track.

Once Dave swapped out the rear seal, he also kindly put my flywheel back on for me. But the one tool I don’t own is a clutch alignment tool. My clutch never came with one, but alas Dave came to the rescue again and sent me one up.
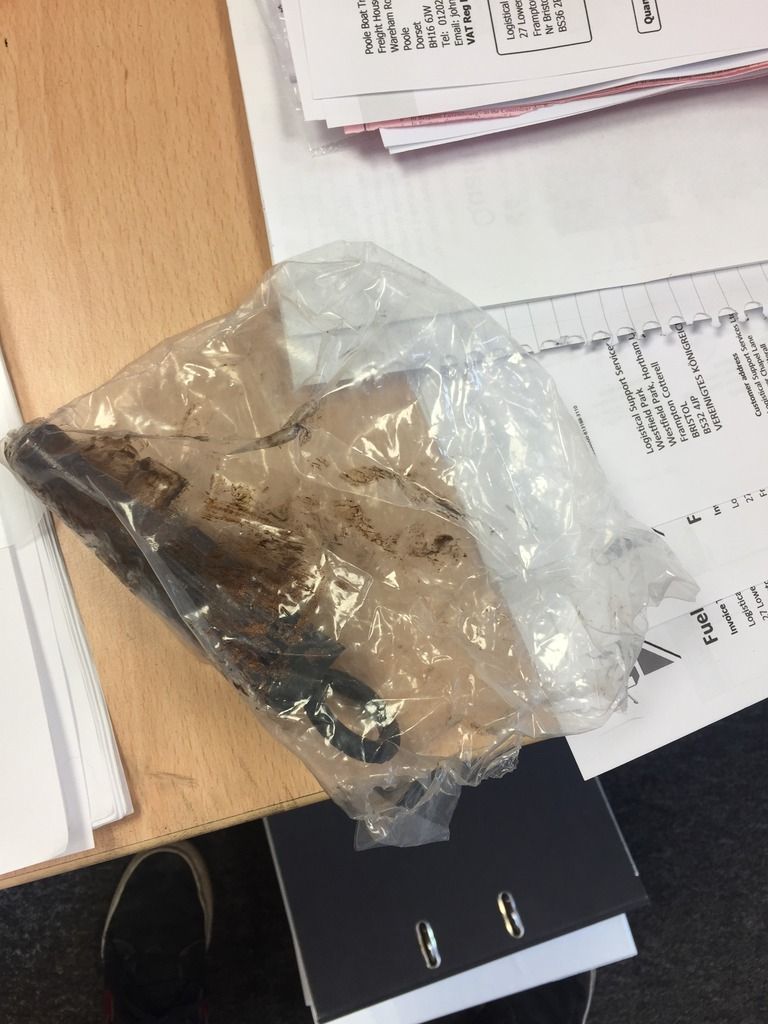


My friend popped back over to give me a hand putting the box back on, so the first thing to do was align the clutch plates:
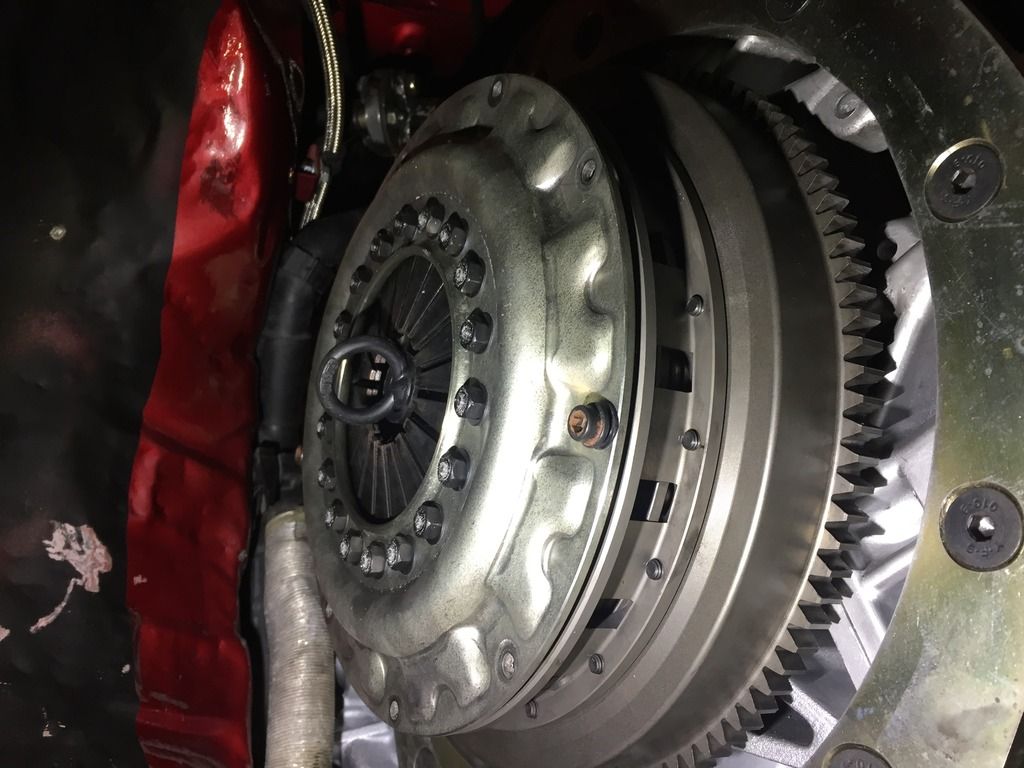


It took us about another hour/hour and a half to put the box back on with all the bolts and associated parts (prop, shifter, gearbox oil etc). Once everything was back together with some fresh engine oil, we fired it up and everything seemed perfect. (The cynic inside me says things are never perfect) But the box seems happy, engages all the gears with no sign of any oil leak.
 
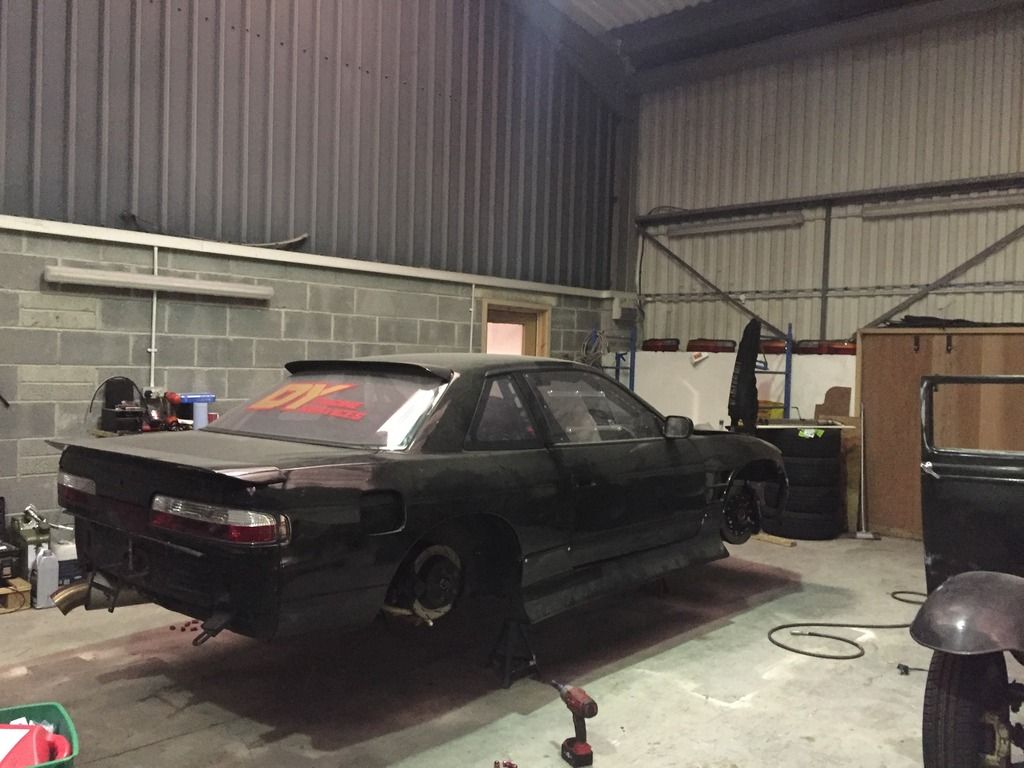
Here’s how it stood the next morning, forever on axle stands!


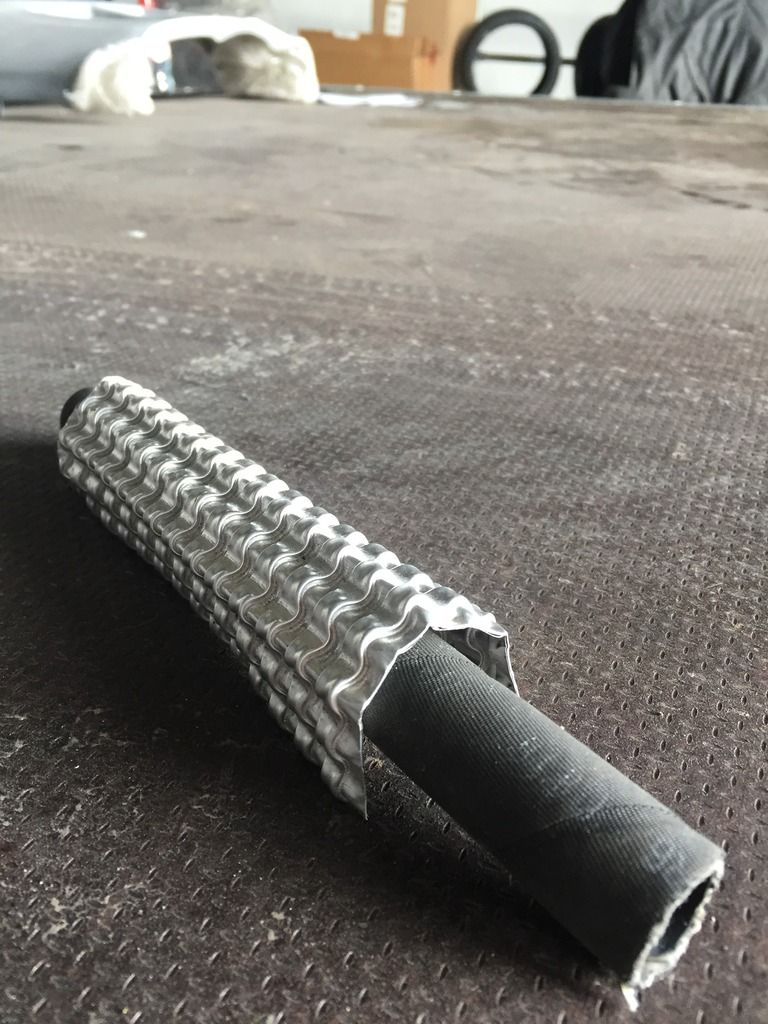
Heat protection is a bit of topic for me, as I’m always trying to make things as reliable as possible. One idea my friend gave me was to wrap some of the heat reflective sheeting that I used on my firewall, it’s supposed to be pretty damn good at reflecting heat, so it’s worth a try. Here’s roughly what our idea was on a bit of left over hose:


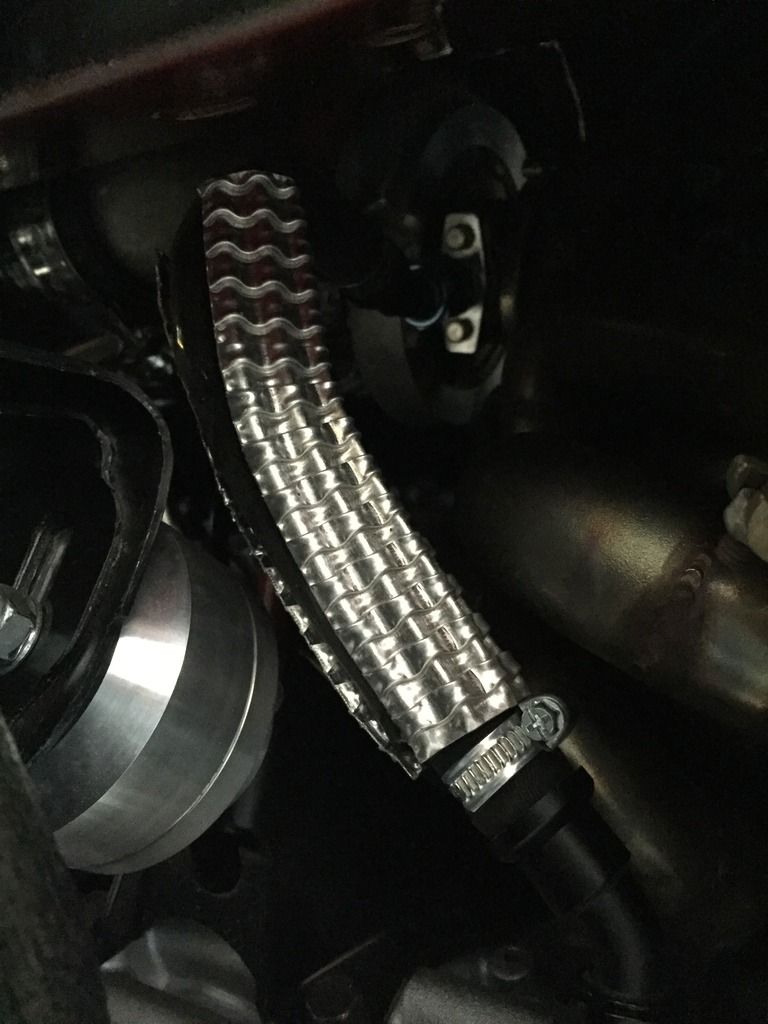
And in situ:


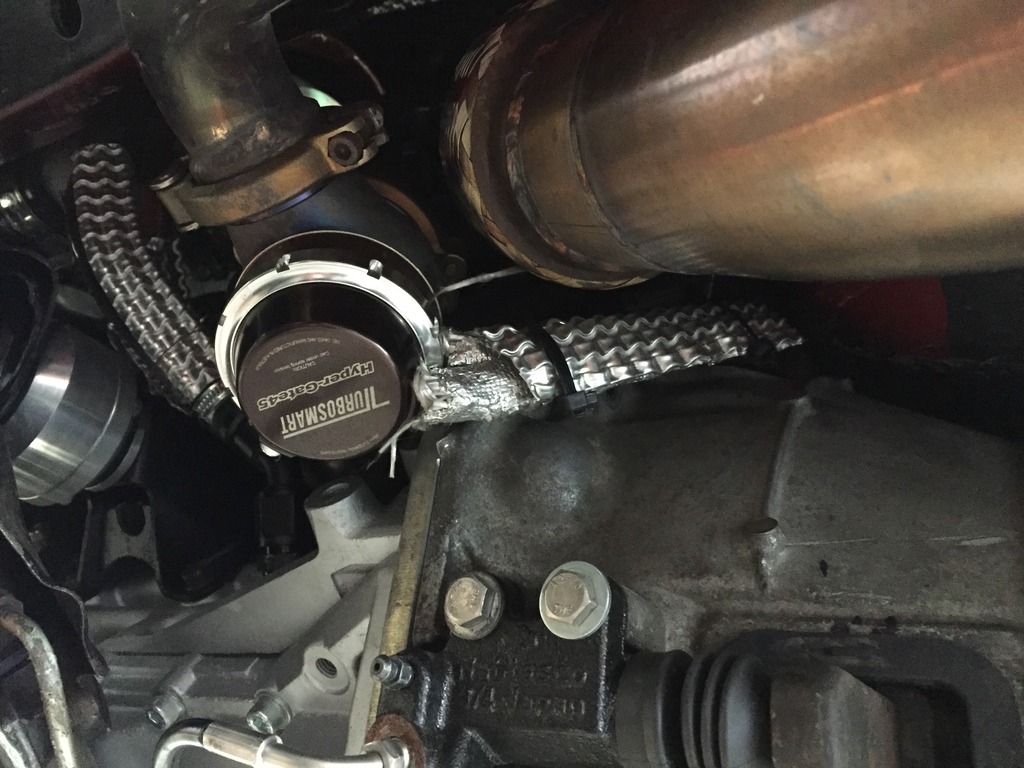
The main thing is there is still an air gap, roughly 0.5/0.75” so fingers crossed the oil drain will have a much easier life this time around. Whilst the vacuum hoses for the Wastegate were pretty well protected, I put some more of the heat shielding around them just to be on the safe side. As mentioned about, any heat protection is a positive thing!


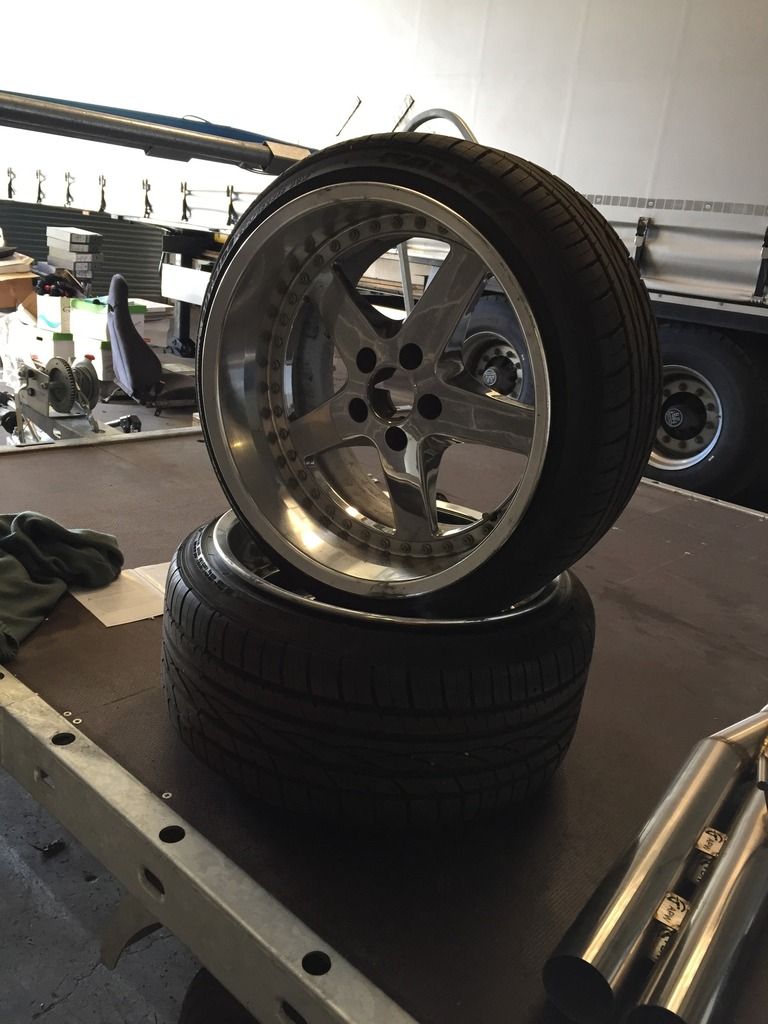
I’ve been meaning to change some tires over for a while now, my friend who usually does this for me has always been a bit busy until now. I wanted to get the rear wheels balanced up as they seemed to be a “bouncing” issue where the rear end bounces up and down. I wanted to balance the rear wheels to rule this out before anything else (I’ve also set up the coilover to have zero pre-load as per PBM’s advice).

- - - Updated - - -

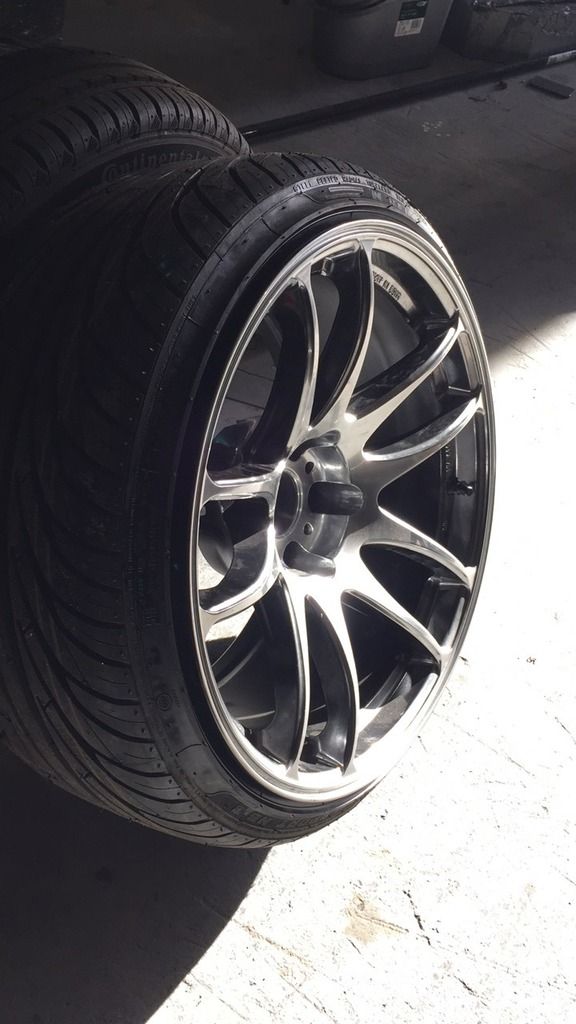
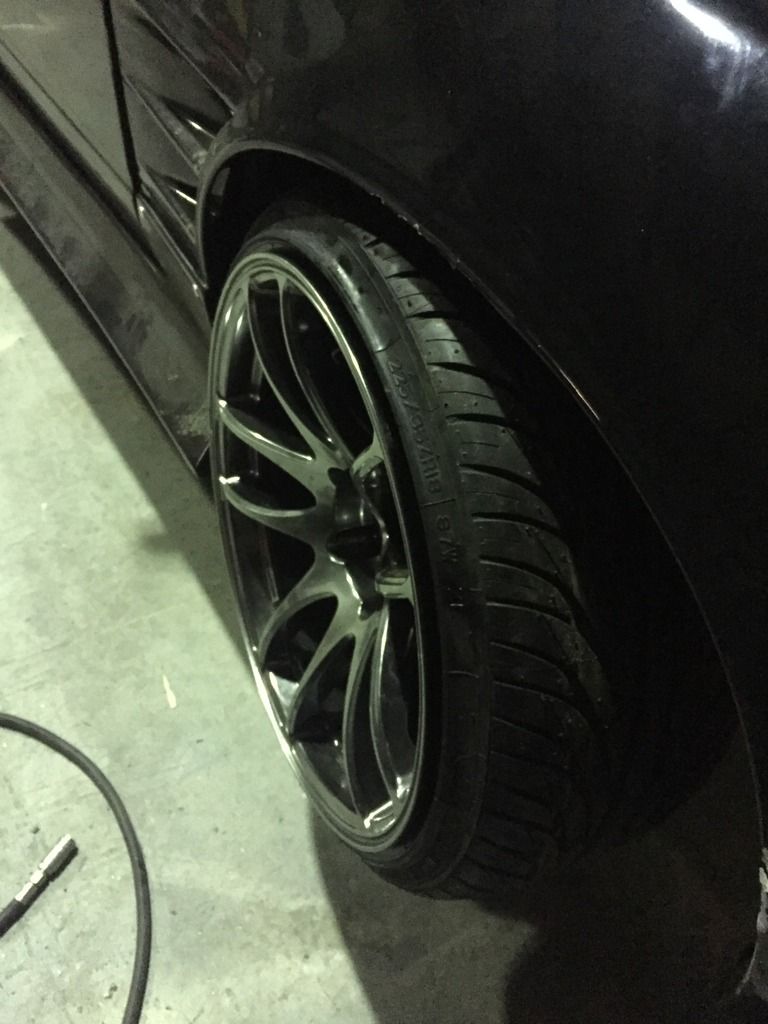
As for the front wheel’s, I wanted to drop a profile in order to gain some clearance in the front arches. Now, a 235/35/18 can be a bit tricky to get so I settled for a 225/35/18. Visually, they look more stretched but it’s not excessive which I like. And bizarrely, they went on easier than a regular tire would have done! Not that I’m complaining…


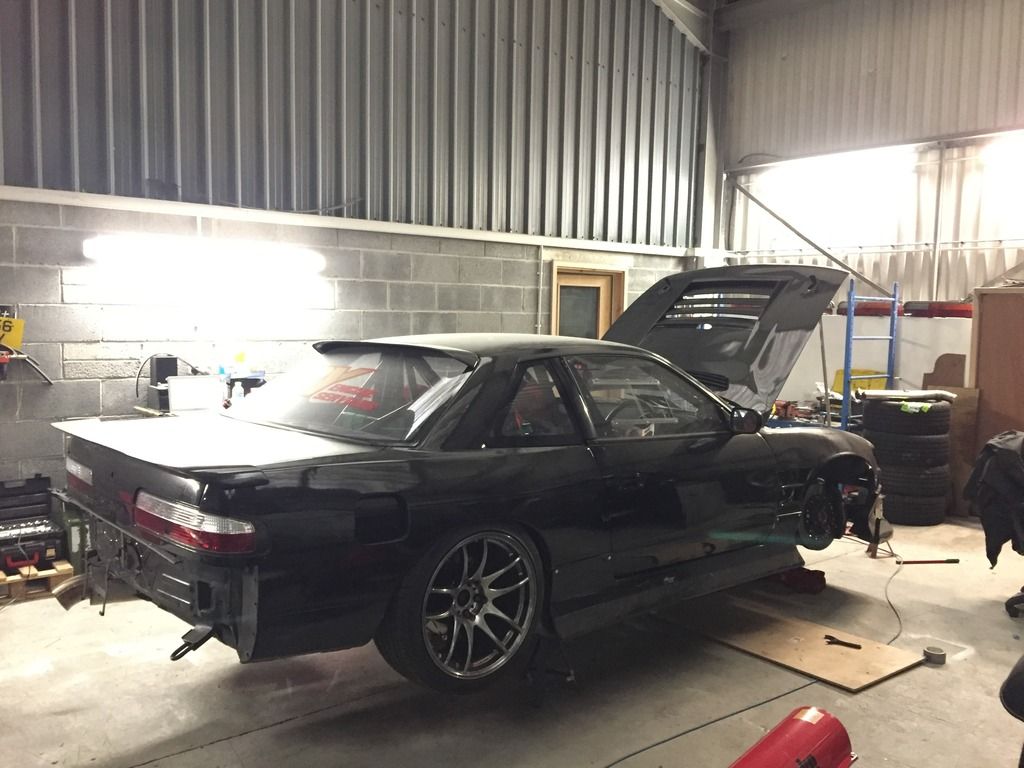
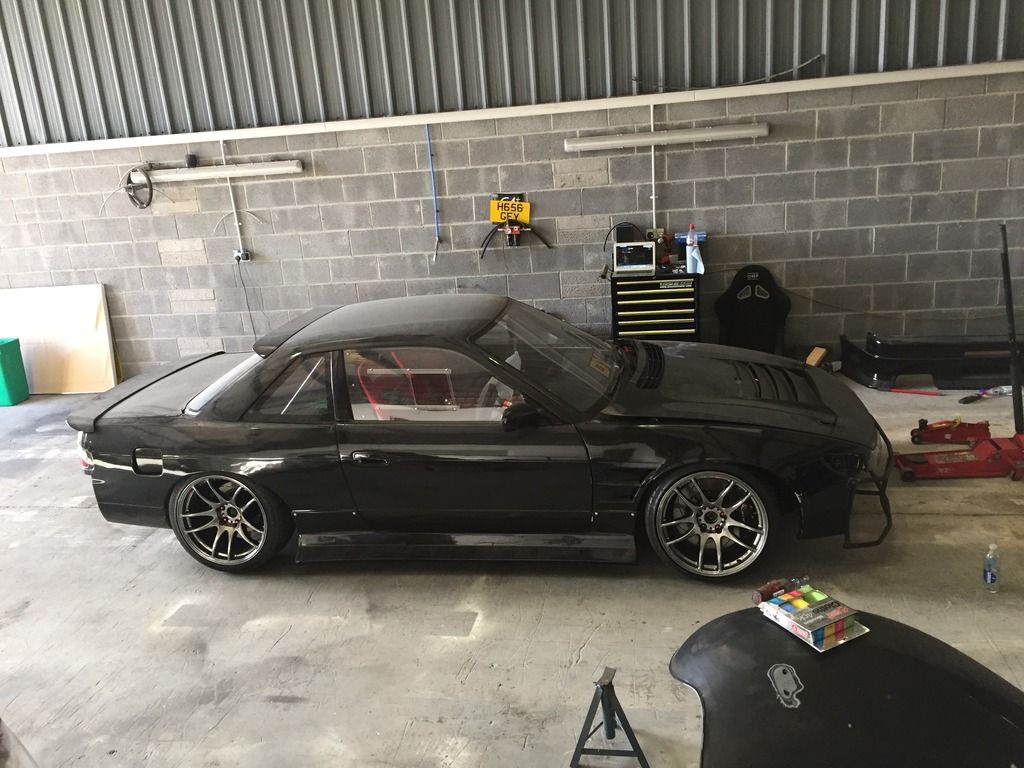
The Silvia in it’s ever lasting floating stance..


- - - Updated - - -

New tires fitted, and straight away some clearance has been gained. If I did the maths correctly, I’ve gained just over 15mm in diameter which should certainly help avoid the inner arches.


After adjusting the front toe, it was time to put the car back on the floor. I’m really hoping this is the last time it has to be in the air for a prolonged period of time *touch wood*


I’m still madly in love with this steering wheel, it feels so good!


So my car is almost done, so now it’s time to start painting another! I find spraying to be quite therapeutic (apart from setting up the gun), so for those interested we threw down some Bar Coat on the Hot Road, ready for some high build primer and top coat.


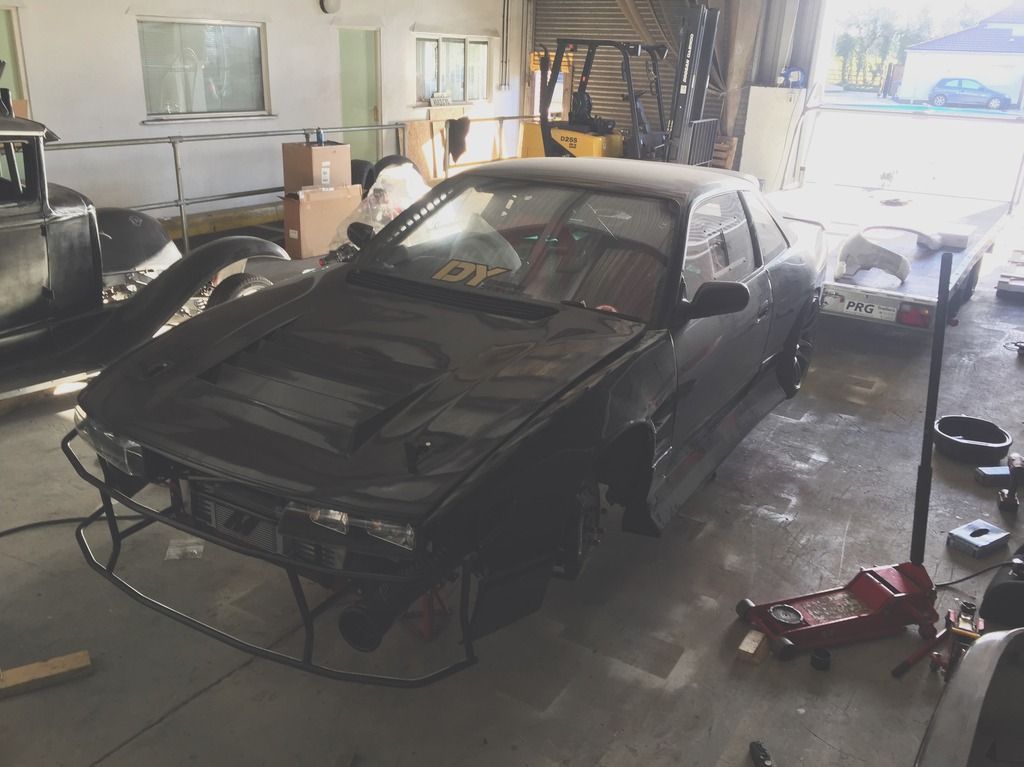
And finally, I get to drive the Silvia again. Ok, it’s not very far but I like the fact it runs and drivers again. And the sound of the Twin Plate on start up is pretty menacing. The weather was quite nice for a change, so couldn’t resist taking a few pictures!


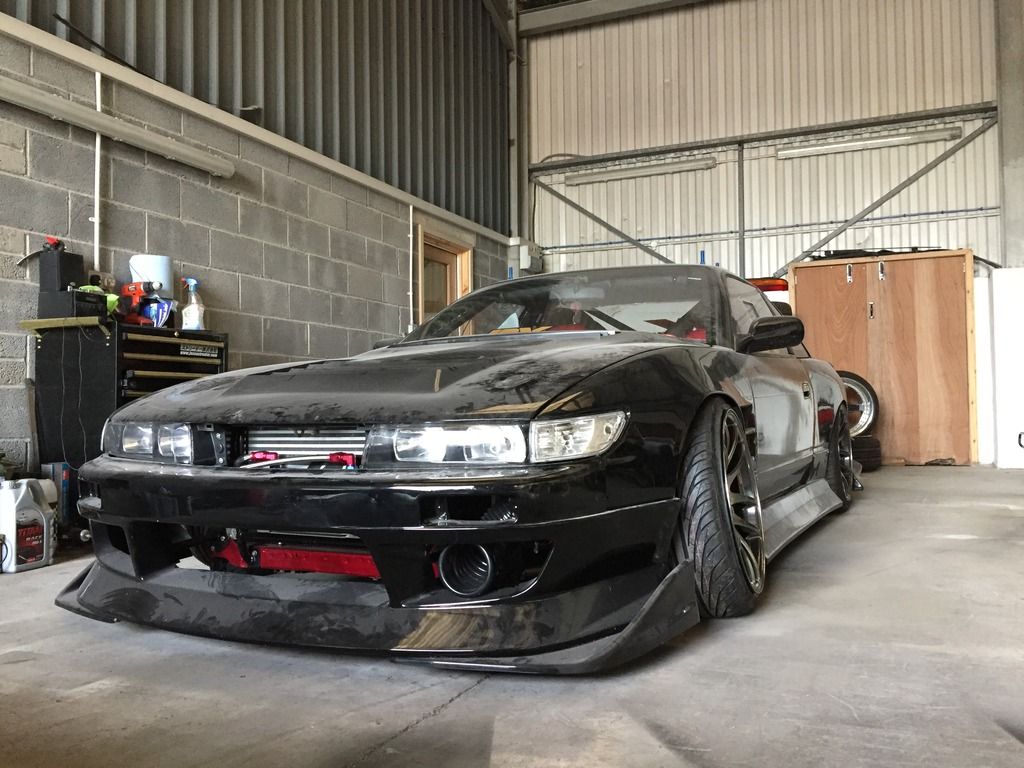
From a distance, the cold air feed in the bumper make the car look so much more purposeful, I like it!

- - - Updated - - -

So the car is now living in the space next door whilst the Hot Rod is sprayed. I’m just waiting on a new gearbox bolt to turn up as I was one short when putting it all back together. But the list is getting ever shorter, and my desire to drive the damn thing is getting ever larger!


Oh, and I also found these again – I almost forgot I owned them lol!


Hope you guys have enjoyed everything so far!
 
I wish you'd lose the bonnet lift. You've got a vented bonnet and the lift ruins the lines of the front end for me. Not to mention it categorically does not work.
 
Last edited:
I wish you'd lose the bonnet lift. You've got a vented bonnet and the lift ruins the lines of the front end for me.

Funnily enough that's something I've been thinking about for a while. Now the gearbox is back on, I may see about doing away with the bonnet spacers. It depends on how badly the engine fouls the bonnet. As for the whole bonnet slackers don't work, that's not the reason they are there. In an ideal world I'd love to get rid of them, because like you say - they harm the cooling efficiency. But it was a quick measure put in place to stop the bonnet fouling the valve cover. :thumbs:
 
Last edited:
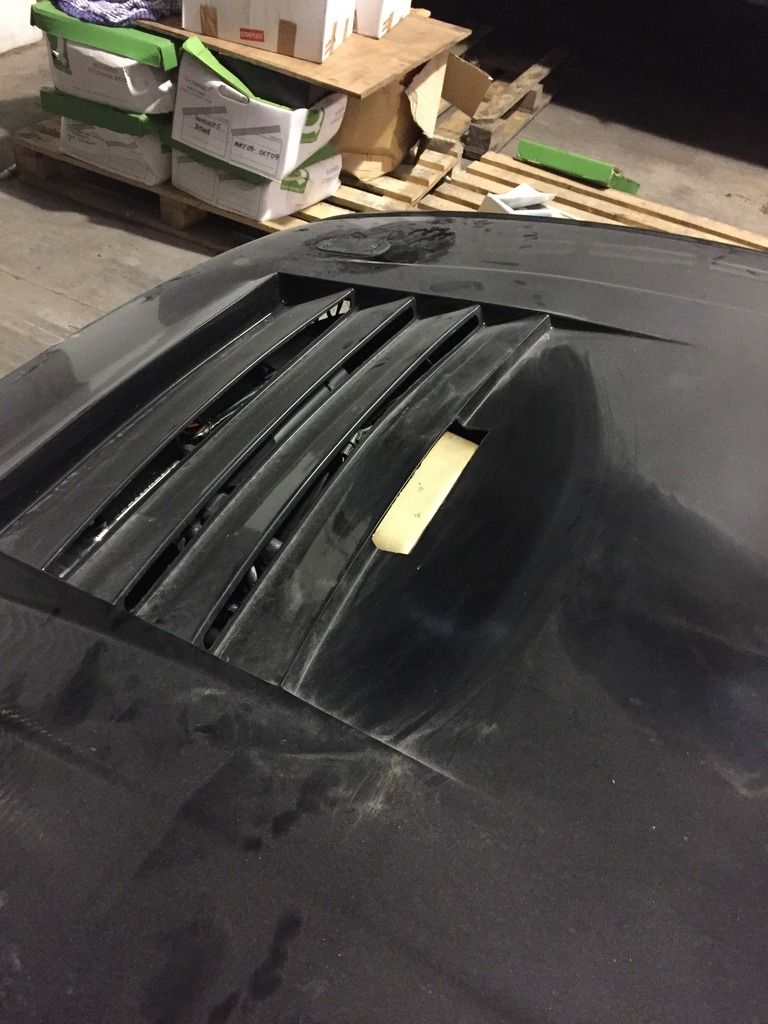
Well not a lot has happened since the last update, in fact the car hasn't moved an inch. I finally fitted the last gearbox bolt and re-visited the idea of removing the bonnet spacers. As mentioned above, it's always been in the back of my head as the raised bonnet does throw off the lines of the car, plus at the time I wanted to avoid cutting up a brand new D-Max bonnet :smash:

After using the small air grinder (first time i've properly used it), I managed to make some small neat cuts. They need to be slightly tidied up, but that can be a job for this coming weekend. Another problem caused by lowering the bonnet bark to the standard height is the positioning of my pull switches. With the rear of the bonnet lowered, the cables now foul the bonnet. I could've done option A which is to cut a large section of the lower skin, but that'd just be damn right ugly. Instead, I've tried to cut two small grooves in the lower skin where the cables can sit in - it looks much neater and more presentable :)


As you can see from the pictures, I've also enlarged the opening before the very first vent to help buy the valve cover a little bit of space where it fouls the bonnet. Hopefully this should stop the bonnet fouling the engine :)


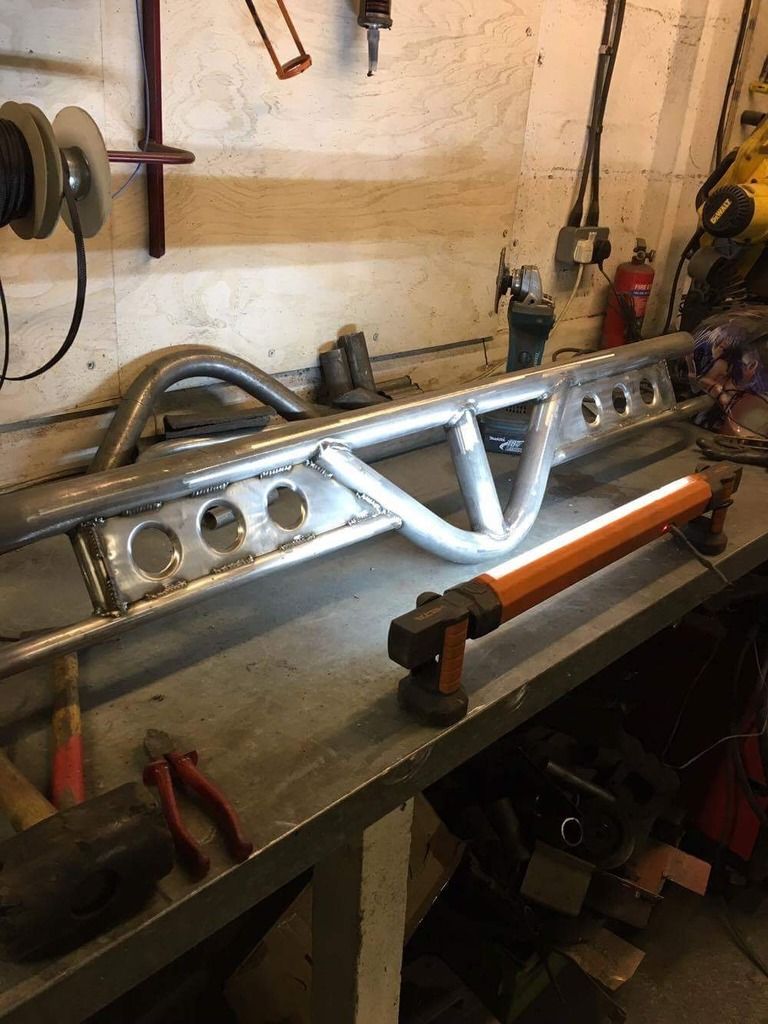
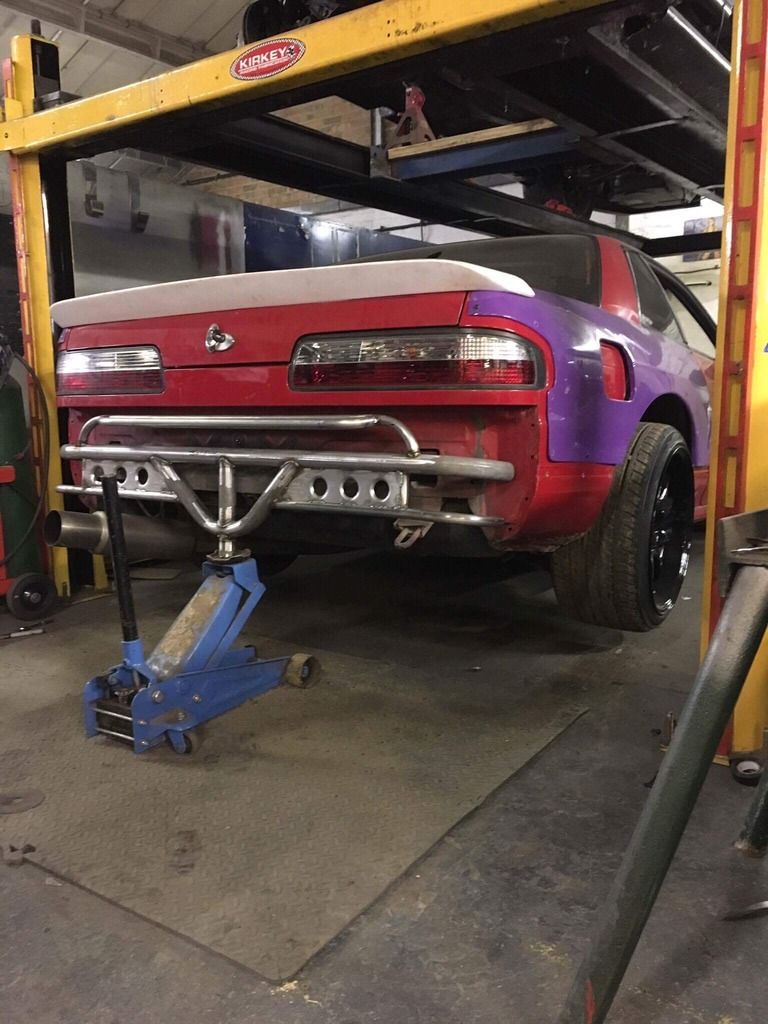
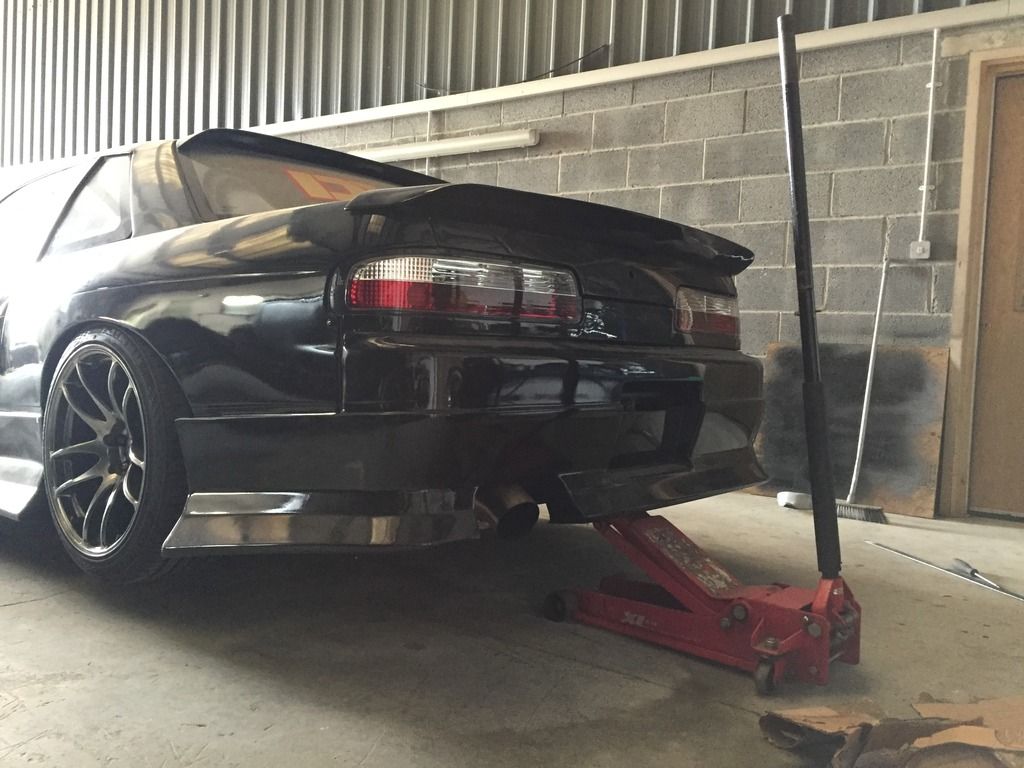
Over the past few months i've been looking for a quality rear bash bar, which will also act as a jacking point. The first reason being it'll offer the rear of the car more protection, and the second being the fact a low s-body is an utter pain to jack in the air. Ever tried to jack off the diff without the fuel tank ever getting in the way? Thought so!

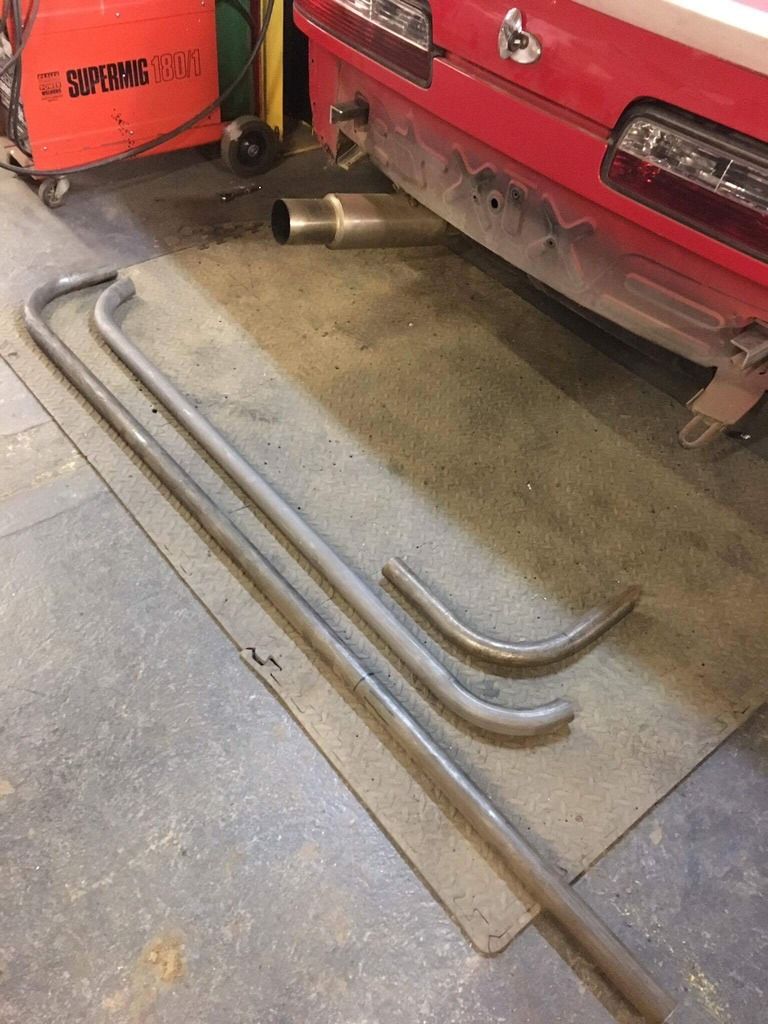
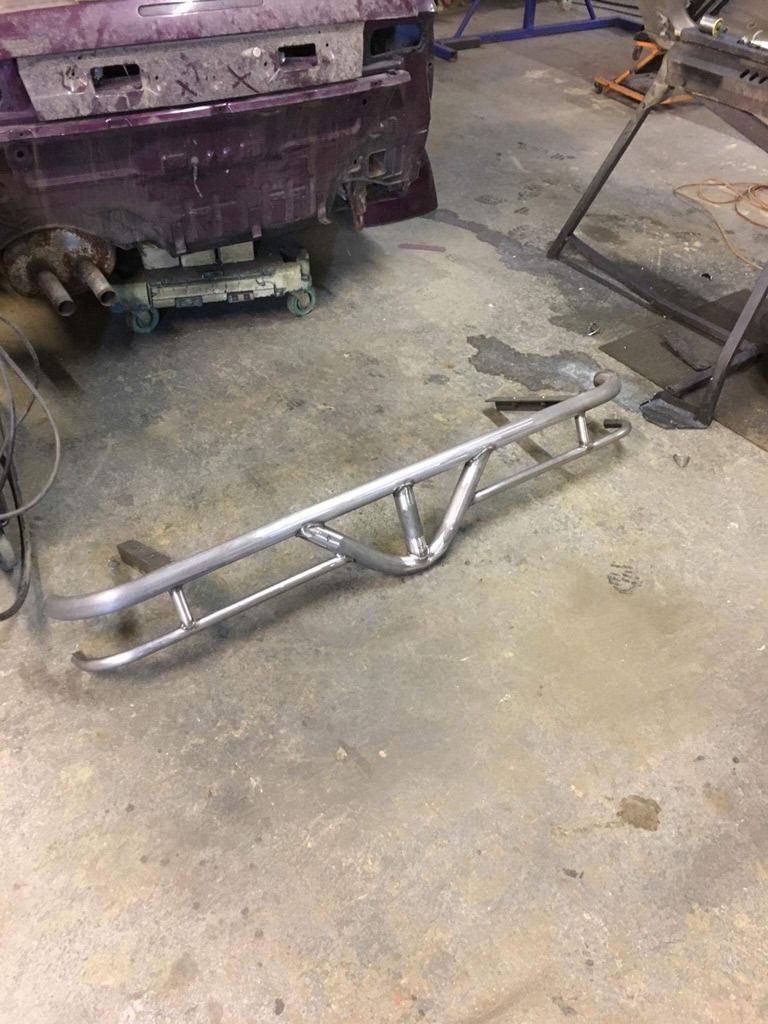
I browsed Street Faction's products over in America as they make bash bars off the shelf, perfect! Except it's pretty hard to justify that kind of postage costs when something can be made over here. After a friend recommend me, I got in contact with a gentleman named Steve Richardson - an utter wizard in Nissan fabrication it seems (Currently building a space framed S15, how cool is that?!), Anyway, I got in contact and he talked me through what he can make out of decent CDS tubing, aka roll cage material.

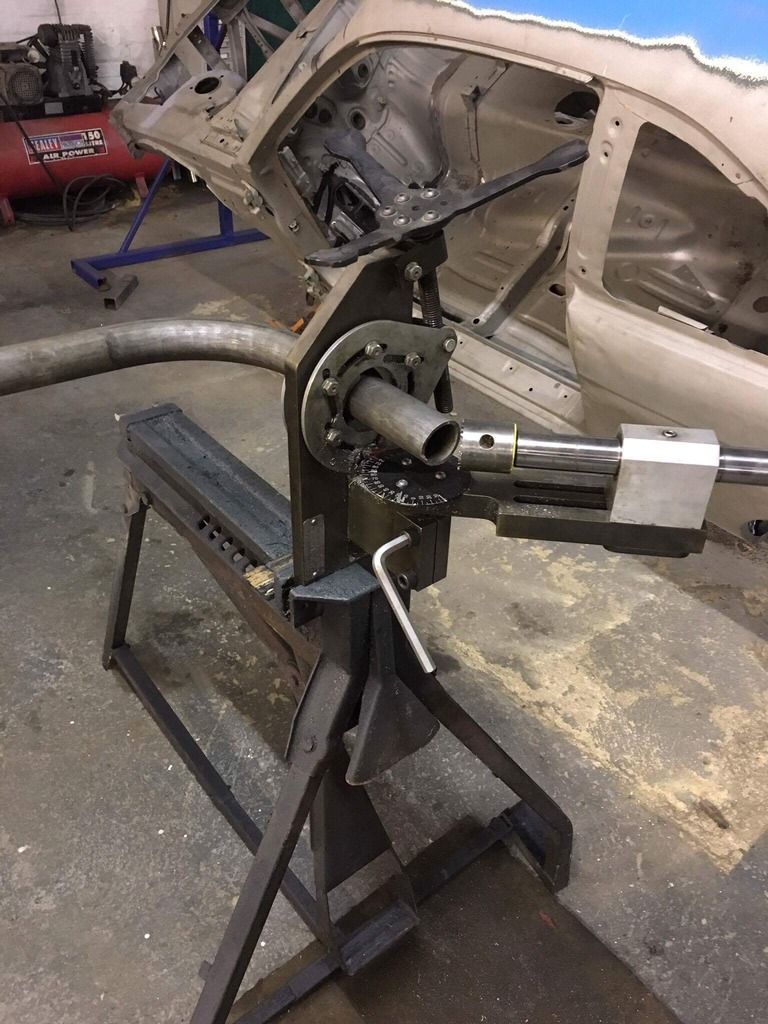
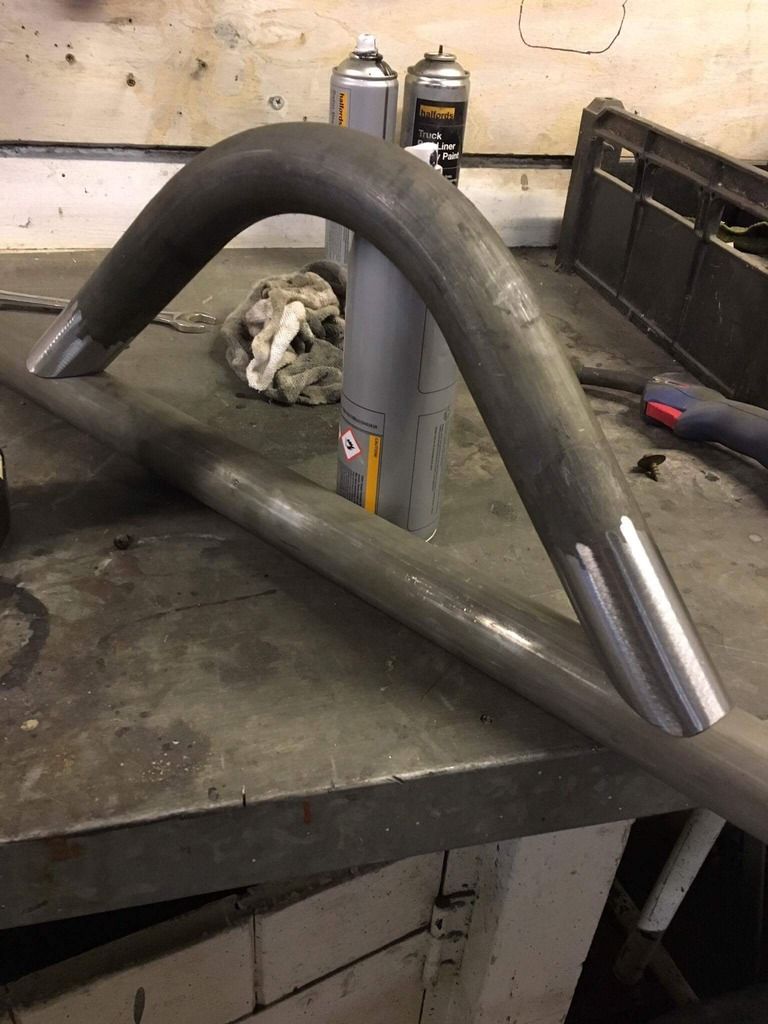
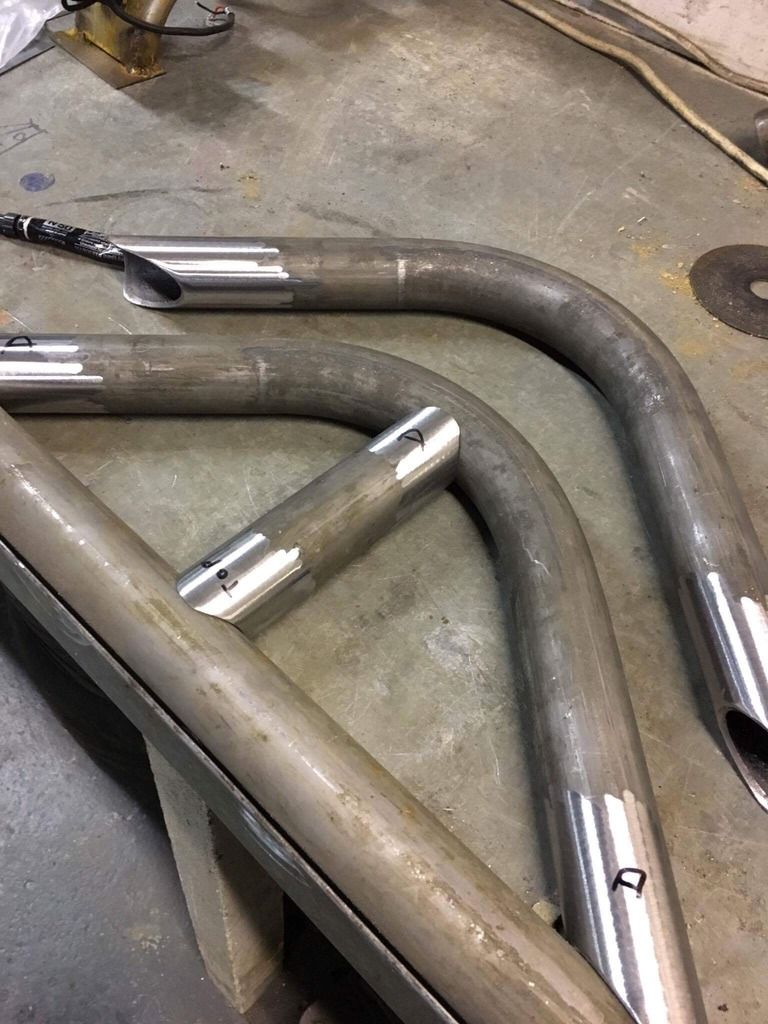
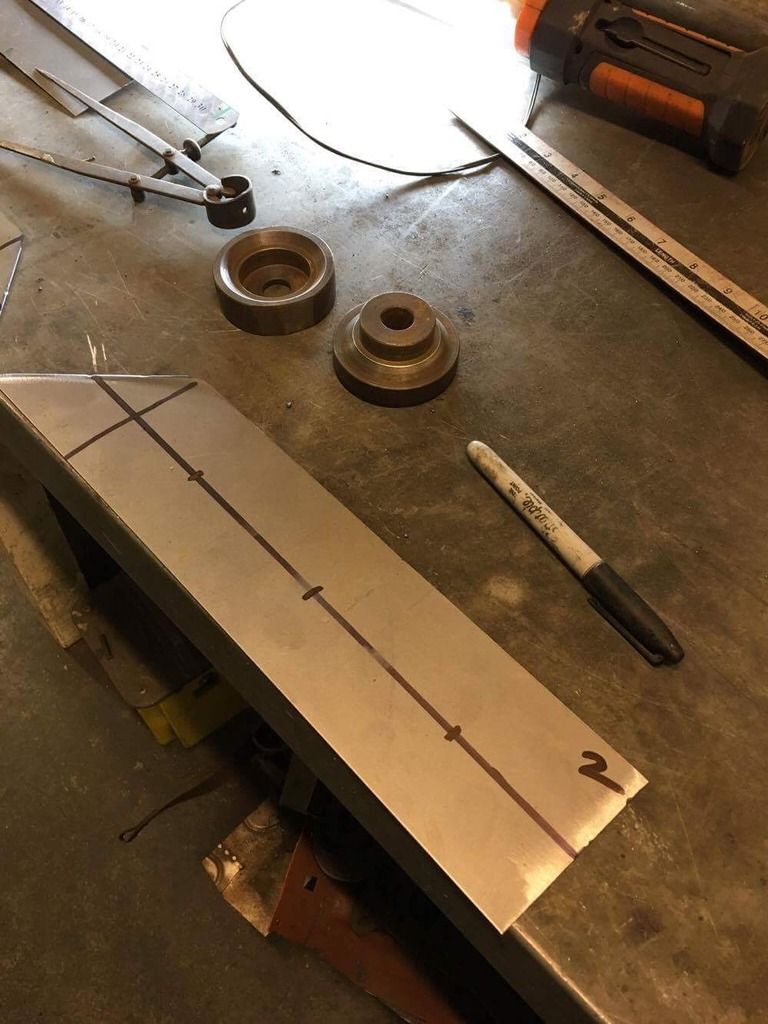
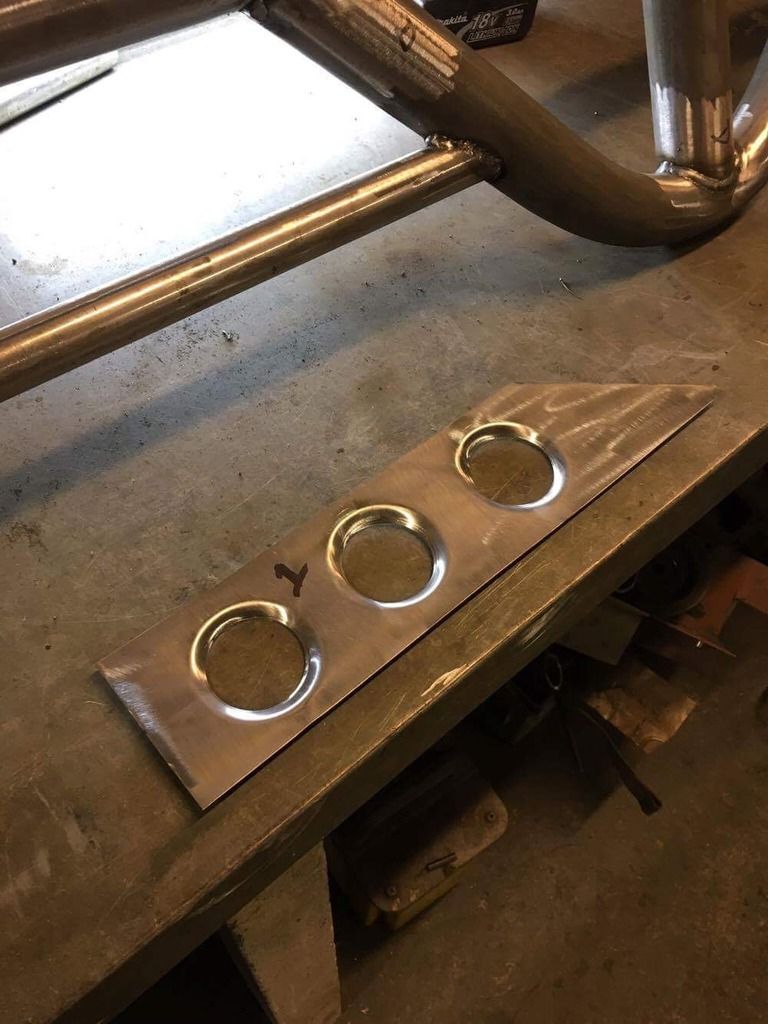
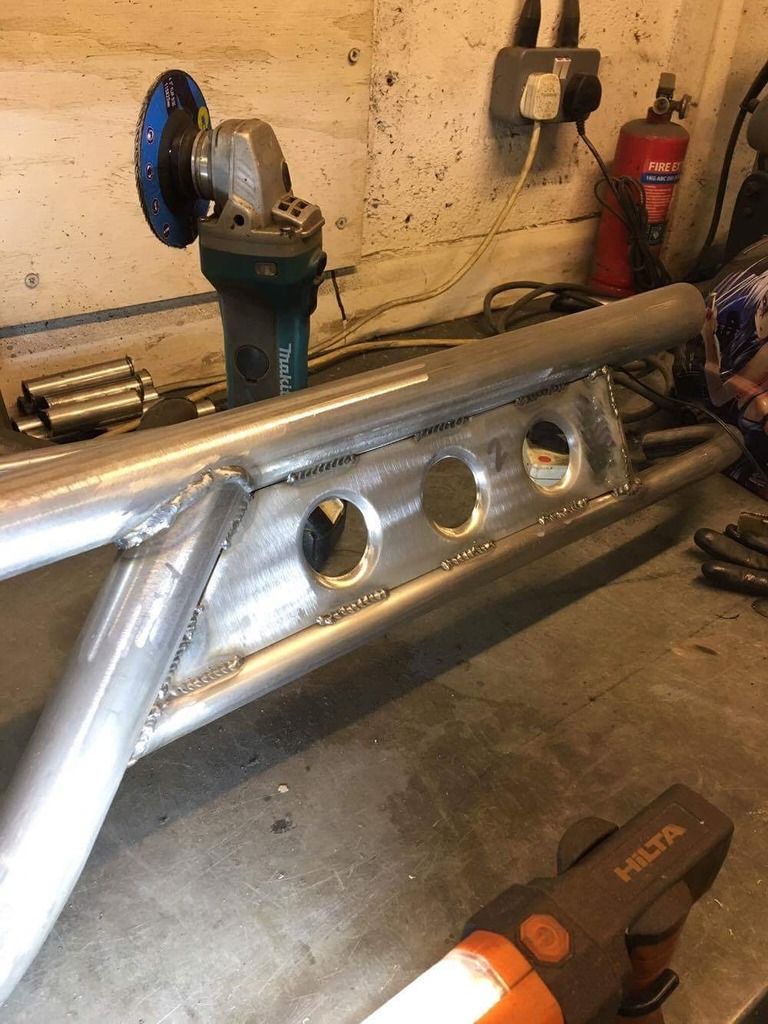
After seeing a few examples of his work, I was sold! The overall quality is extremely high, and something I would definitely want to run on this car. He set upon building one off a customer's PS13, and documented the whole process for me to see. I won't post many words and the majority of the pictures are self-explanatory. But one thing to note is that Steve loves to custom make the bars to match the exact car. However, with the customers car only having a BN rear bumper as a mock up, we couldn't take the chance assuming the bumpers sit identical (he found 3x replica BN bumpers form the same supplier had quite a large tolerance!).

We decided to play it safe and make my bumper support bars ever so slightly lower in order to buy us some margin for error - after all, it's easier to pack the bars with some foam to take up the space as apposed to cutting the bars off as the bumper wont fit. Steve went one step further and altered the design of the bumper support bars to give my rear bumper even more support/rigidity.

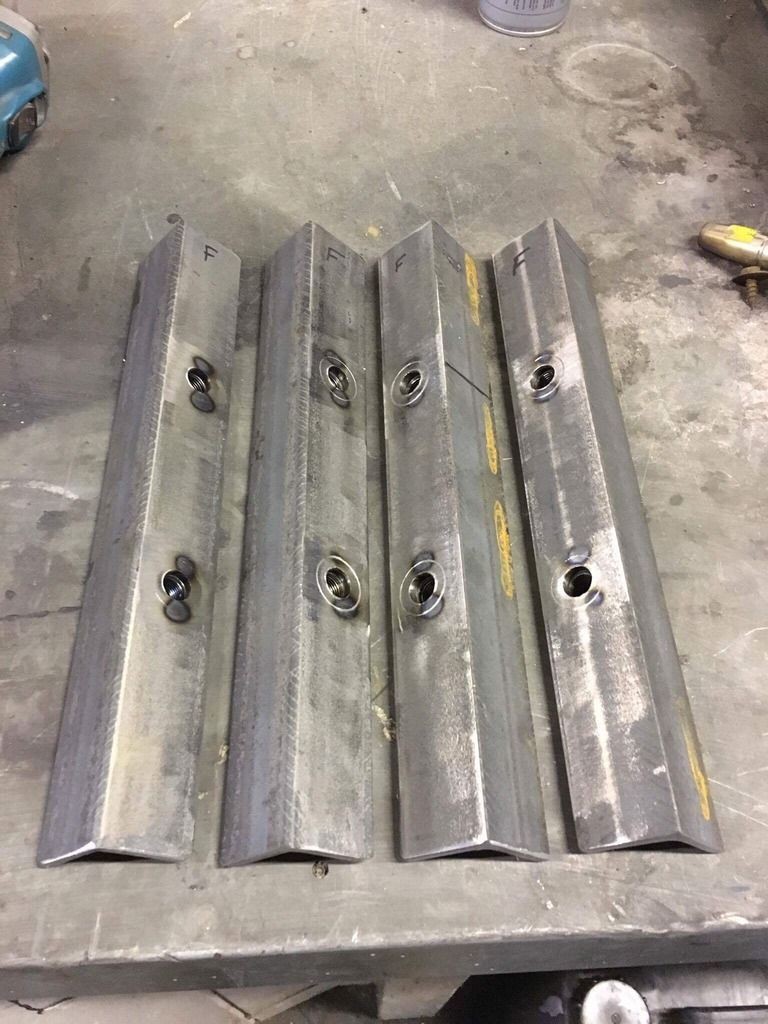
- These are the bars that will attach to the OEM mounts on the chassis legs


No fabrication is complete without gussets - everyone loves gussets!


And here's the final piece - it's yet to be coated but even in the raw form it looks pretty cool!


Last edited:
And now for the final piece - it's yet to be coated but even in the raw form it looks pretty cool! (Plus some trial fitment on a PS13 :) )


Unfortunately Steve is away for the week, so I'll be receiving this next week - no biggie as I doubt the car will be going anywhere. I seriously cant wait to trial fit this to the Silvia (in a strange turn of events, this is probably the part where I find the Silvia has bent chassis legs of something ridiculous haha! :smash::wack:)
 
Last edited:
Very nice! Didn't feel the need to add some bumper support adjustment bolts on the corners?

MG_8227.jpg


A mate had a go at making one himself this week and ended up not using box for the chassis mounts (just used tubing) and it ovalled his chassis rails first time he jacked it up lol

Definitely a lot trickier than most people think
 
Very nice! Didn't feel the need to add some bumper support adjustment bolts on the corners?

*picture*

A mate had a go at making one himself this week and ended up not using box for the chassis mounts (just used tubing) and it ovalled his chassis rails first time he jacked it up lol

Definitely a lot trickier than most people think

I remember C's Garage did something similar on the rear bar? It did cross my mind, but it was more of a compromise between what Steve knew worked and what I wanted. In order to make up the difference I'll use some roll cage foam to add support to the bumper, and covering the entire width of the rear should give plenty of support.

That's interesting to hear about the chassis rails, that's something you just brush past and assume it wouldn't happen! :cry:


------------------------------------------


Hardly anything has happened since the last updated, well the only thing really is that I pulled it outside to put back in the unit the cars are kept in. I've been pretty busy lately spraying the hot rod, which reminds me I need to paint my spare pair of front wings at some point. But that can wait until these two are broken in half :wack:

So here's a few photo's until the next update:


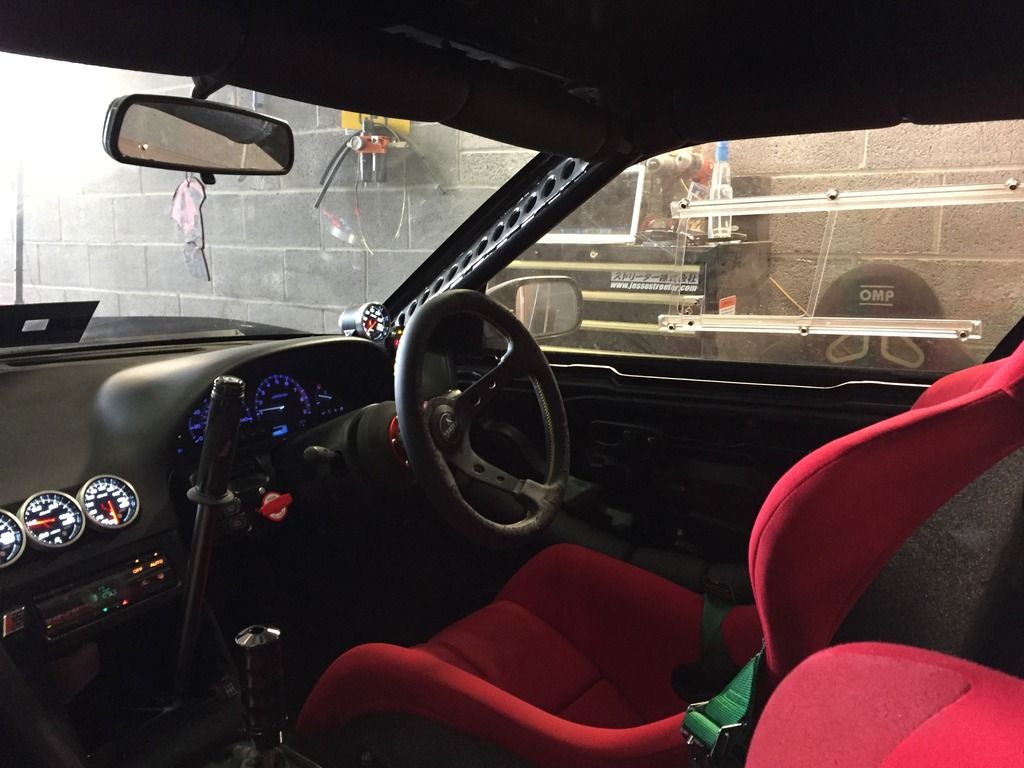
This place makes me so happy, and i've hardly sat in here! It's bare, but has the necessary comforts and looks damn good!


The rear bash bar is due turn up this week, we had a slight delay with the courier but Steve went out of his way to get it sorted for me, a true gentleman! :worthy:
 
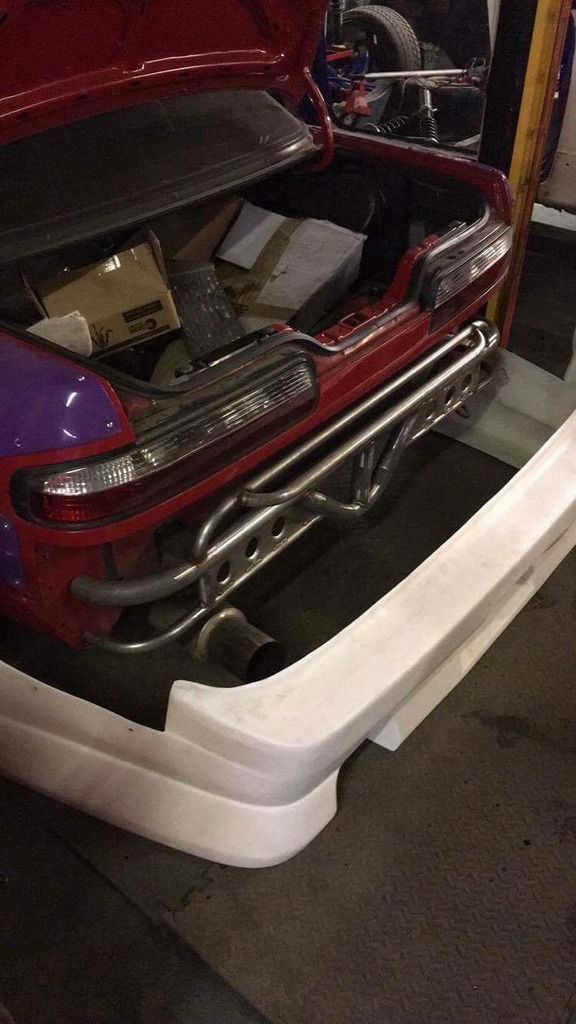
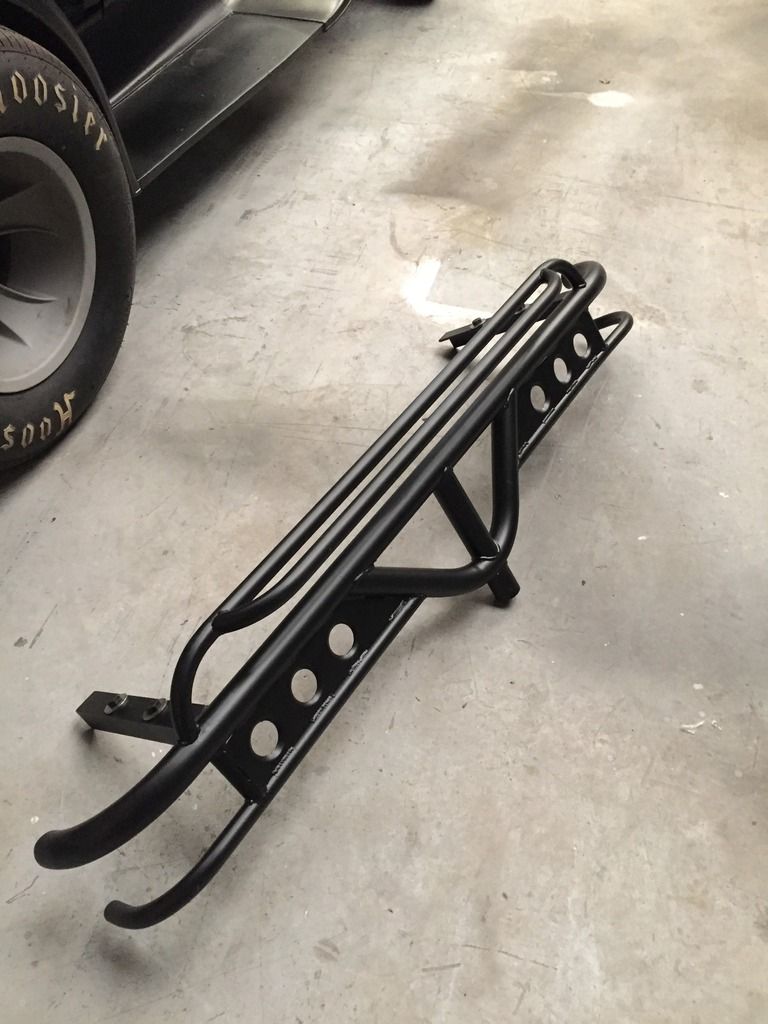
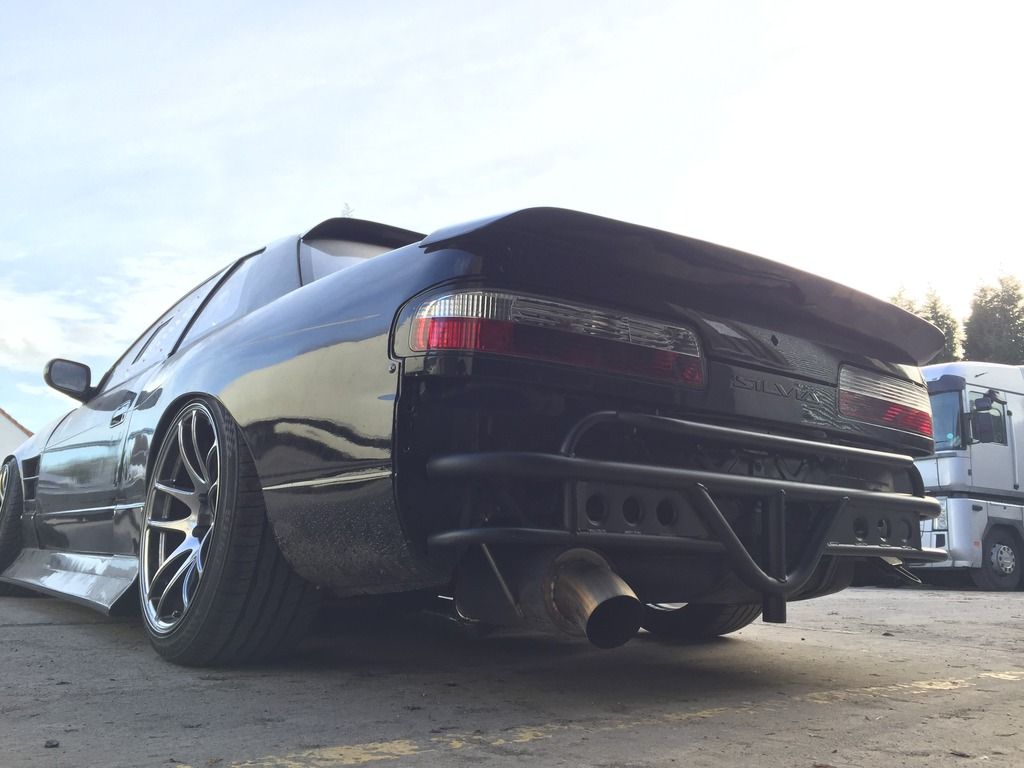
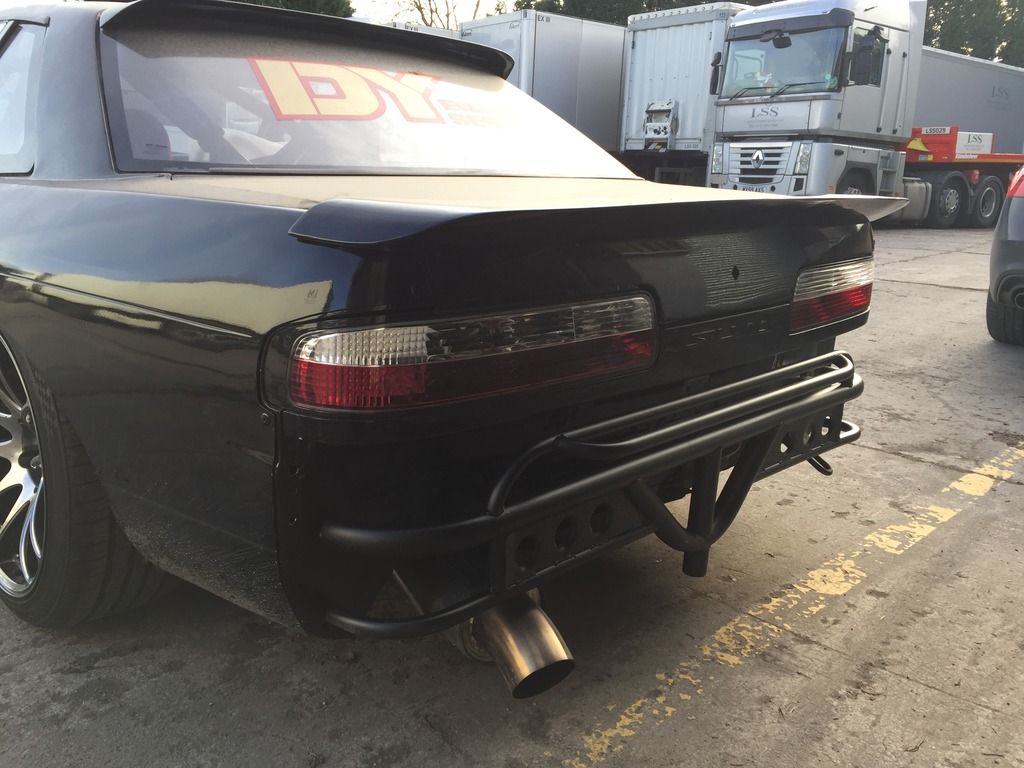
I received a rather large parcel today - my bash bar turned up! :)


As you can see, the packaging is pretty thorough. I think it took me a solid 5/10minutes just to unwrap everything. The wait was killing me though, after watching it develop through pictures, I wanted to see the end result!


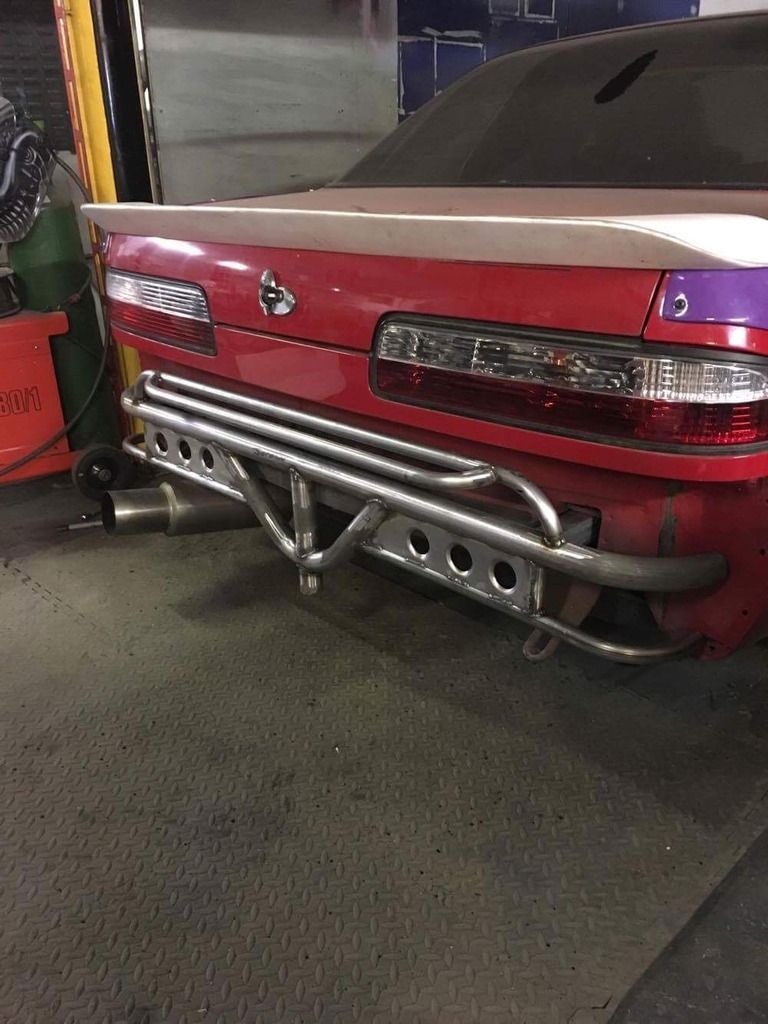
The quality is so good! When I was looking for a rear bar, there are quite a few options out there, except quite a few don't have that level of quality that makes you think wow. And that's not a good thing when you're trusting it to jack the rear end of your car up, or take some of the damage during an off moment. But this bar, it's quality!

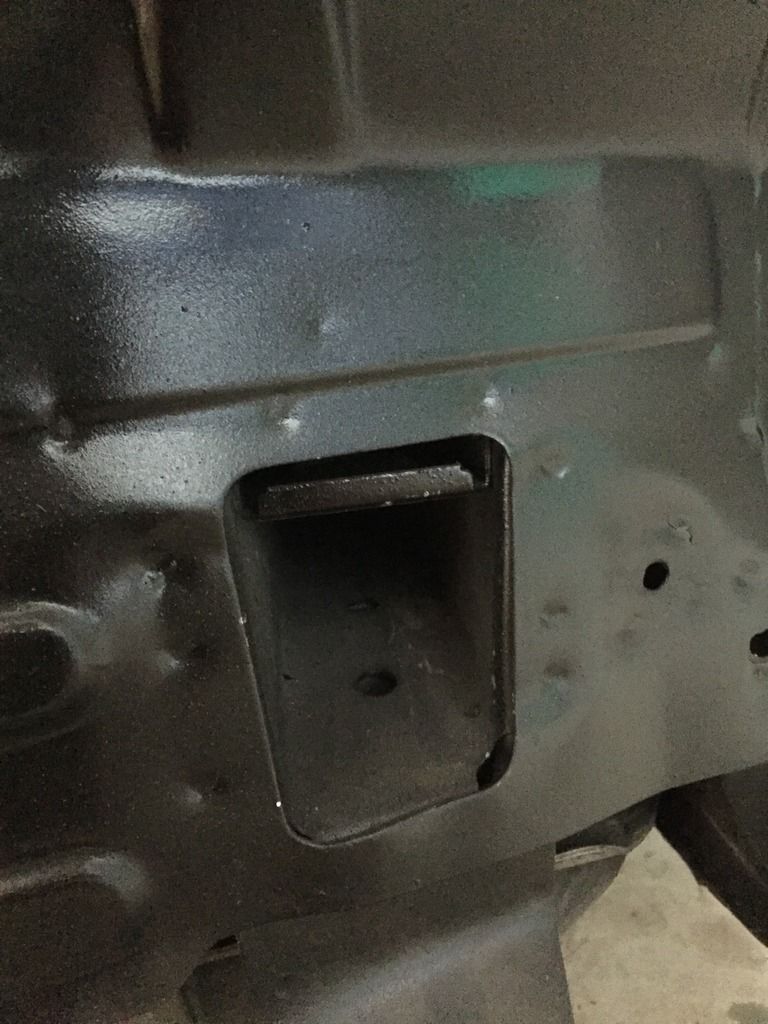
Steve also included some fresh bolts to fit the bar, along with some thick washers to help spread the load of the bar. After speaking to Steve, this is something most people tend to forget about. The bar is only as good as the fixings bolting it to the chassis rails. Another trick Steve told me about was placing the large washers inbetween the boot floor and the top of the chassis leg. The small gap between the boot floor and chassis leg as shown below.


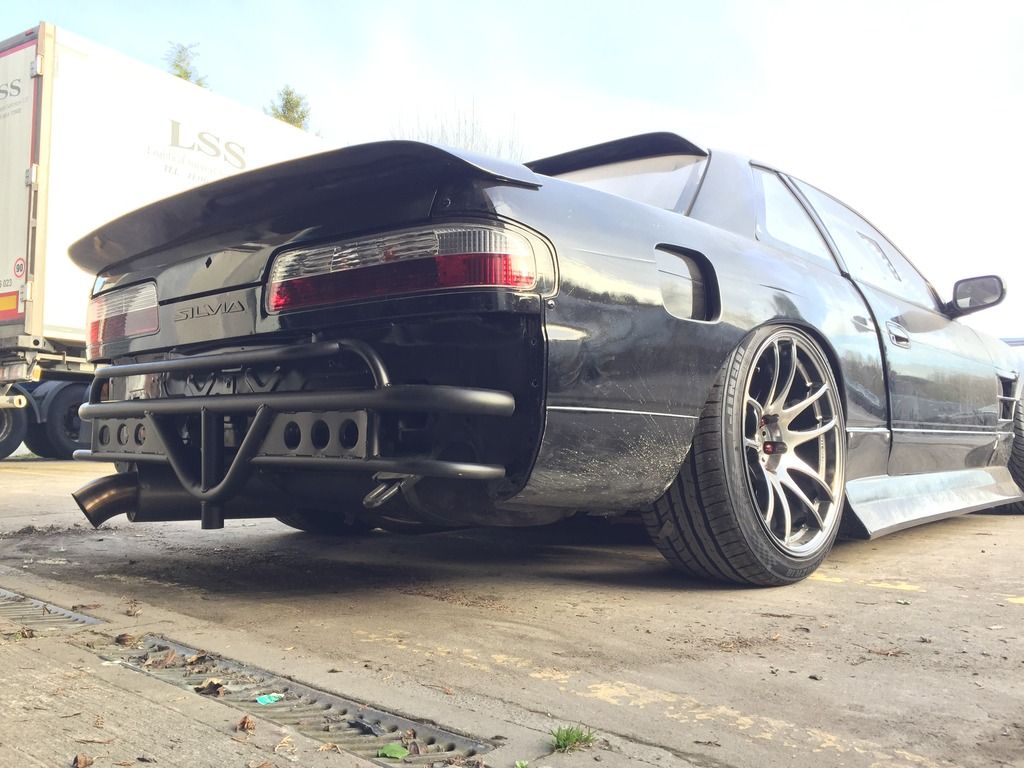
It was a little fiddly, but nothing a bit of common sense helps with. After a couple of minutes, it was all fitted. :)


The light in the unit was pretty terrible, so rolled the Silvia outside to grab some better photo's.


And the best parts:

1. The bumper is so much easier to fit! All I need to do now if find some foam padding in order to support the top of the bumper
2. Jacking the rear end is 100x times better! There's no need to use multiple pieces of wood and various jacks, just slide the jack under the bumper and you're away!


After a friend was telling me about putting the side lights back in, we put one back in. I guess it looks better haha!


I've got a number of small jobs to do, but i'm really itching to book something up. I feel a sideways shakedown coming on next month :)
 
Back
Top