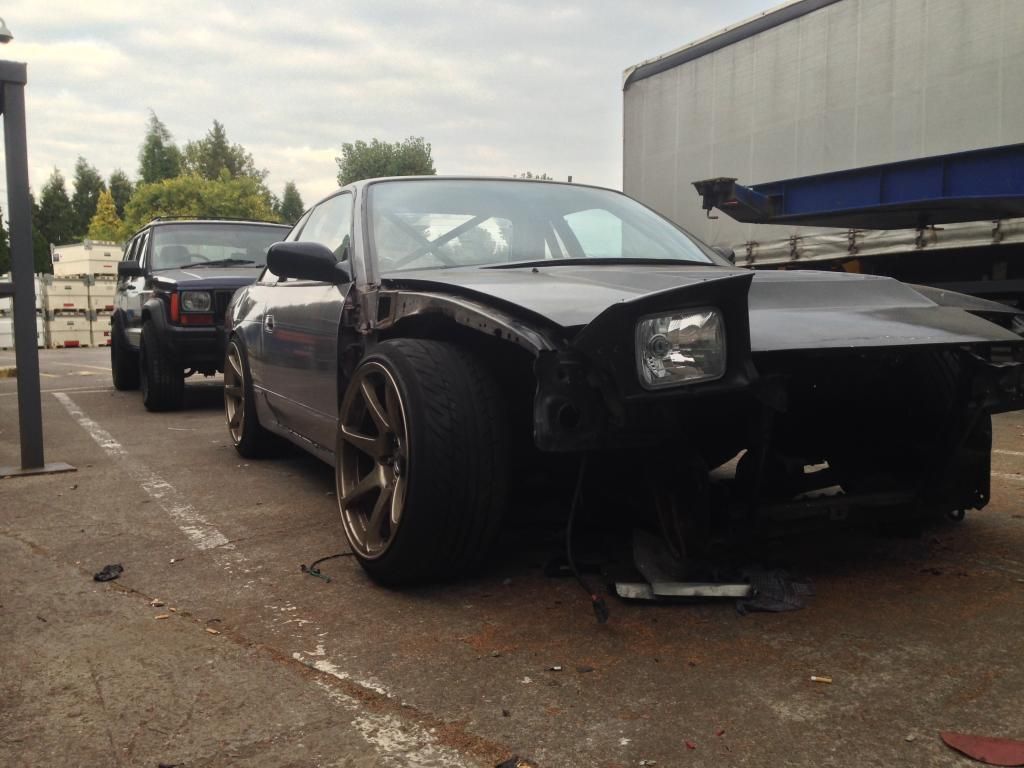
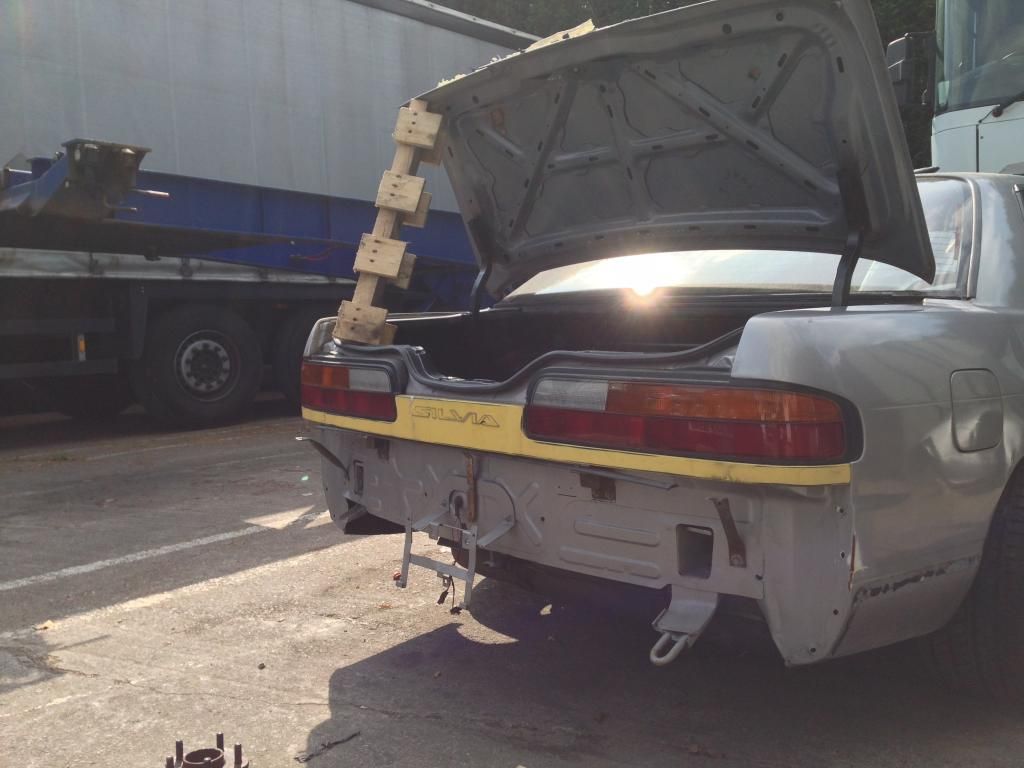
Jordan's S13 Silvia ♠️♠️

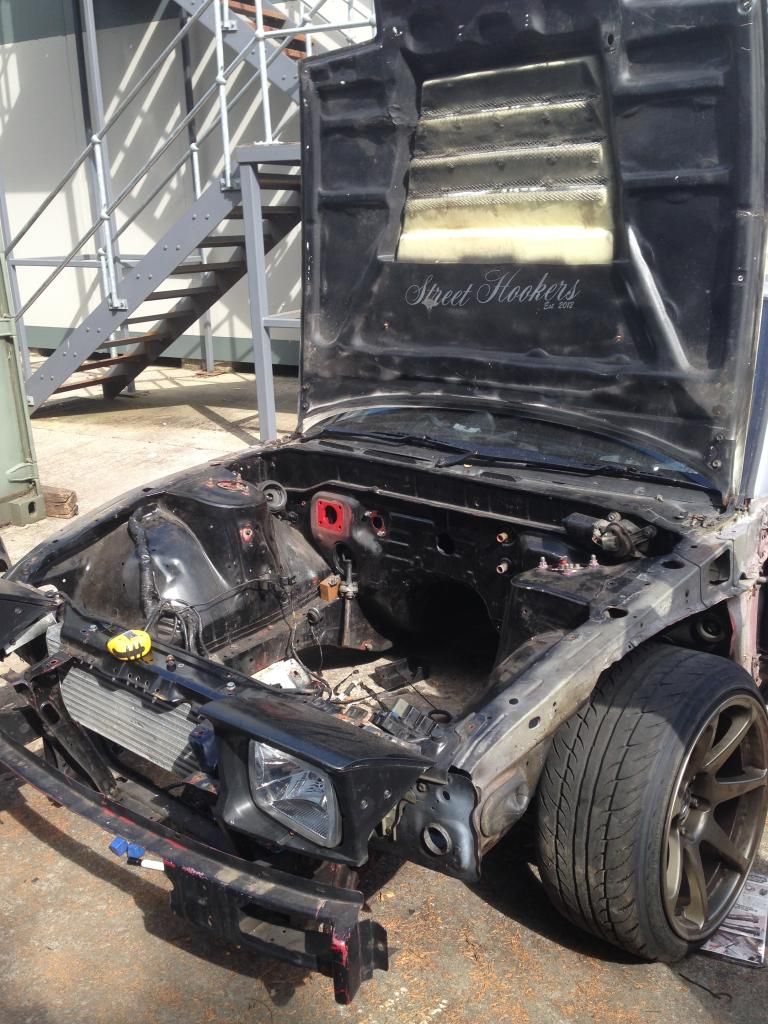
I kind of like that bonnet ,text me a price mate & I'll collect when you're home.
Car looks cool,if you want a hand on the build give me a shout.
 
If will be worth it in the end mate!

Fingers crossed dude, just things that shouldn't go wrong just annoy me. But suppose that's the way of life :)

I kind of like that bonnet ,text me a price mate & I'll collect when you're home.
Car looks cool,if you want a hand on the build give me a shout.

The D-Max bonnet or standard one dude? The D-Max one will be going on the PS, well it's already on it lol! Yeah for sure, when I'm back your welcome to come and have a look around it while I start sorting out the wiring mess
 
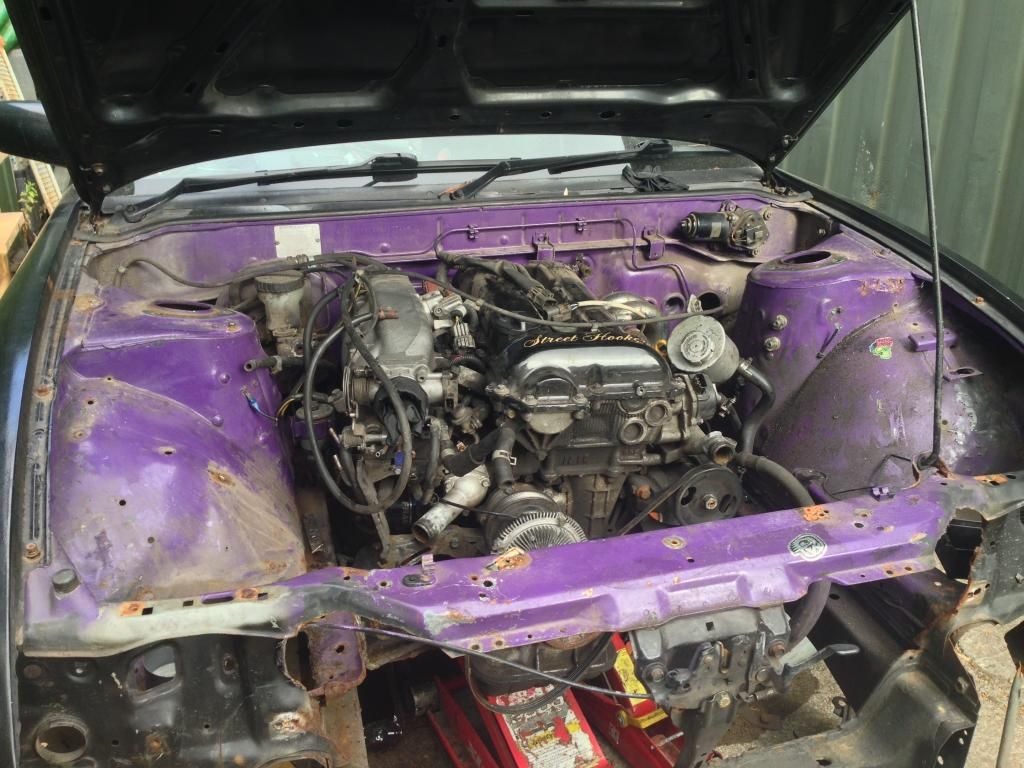
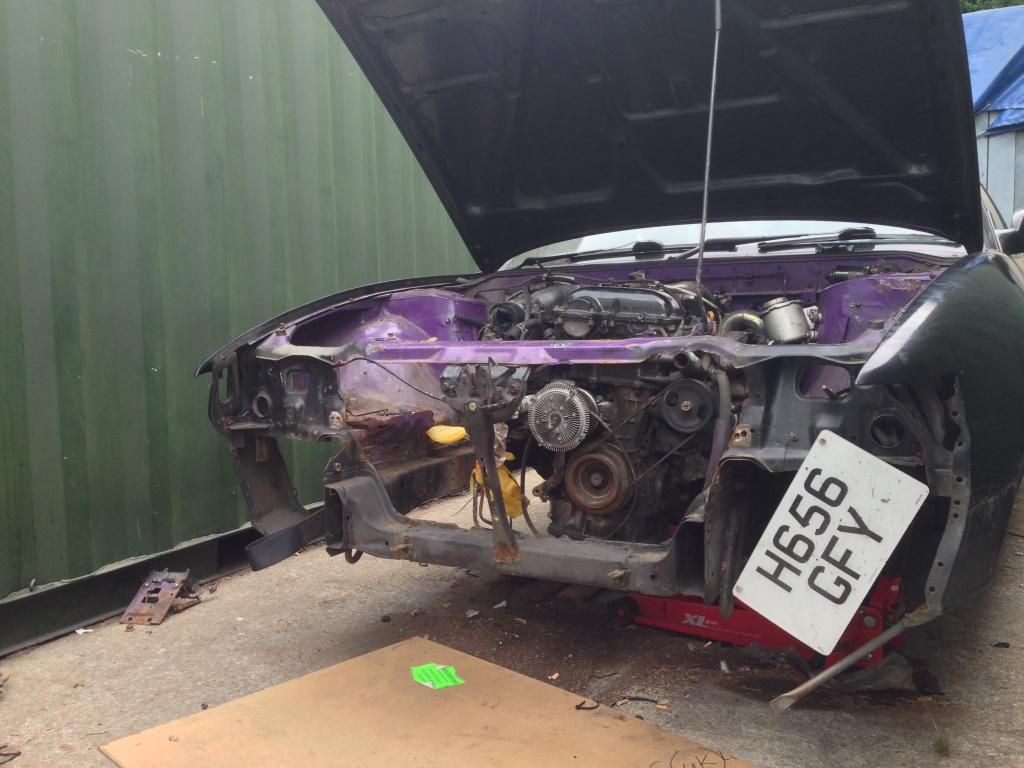
So, current plan of attack is to completely replace the main harness loom that runs from the d/s fuse box to the wiper motors. The way the existing loom had be tucked meant that it would be a simple unplug and replace job, as he spent alot of time cutting and tucking the loom inside the arch to prevent any rubbing issues. My plan of attack would now to either do the same, cut and solder each wire inside the the arch, or to do something that is slowly becoming more popular, which is to relocate the fuseboxes inside and extend the necessary wiring.

Now I chose the latter, and seeing as I dont run the headlight motors that means I can remove a fair amount of wiring too :thumbs:

Began by removing the untouched harness from my old 13;
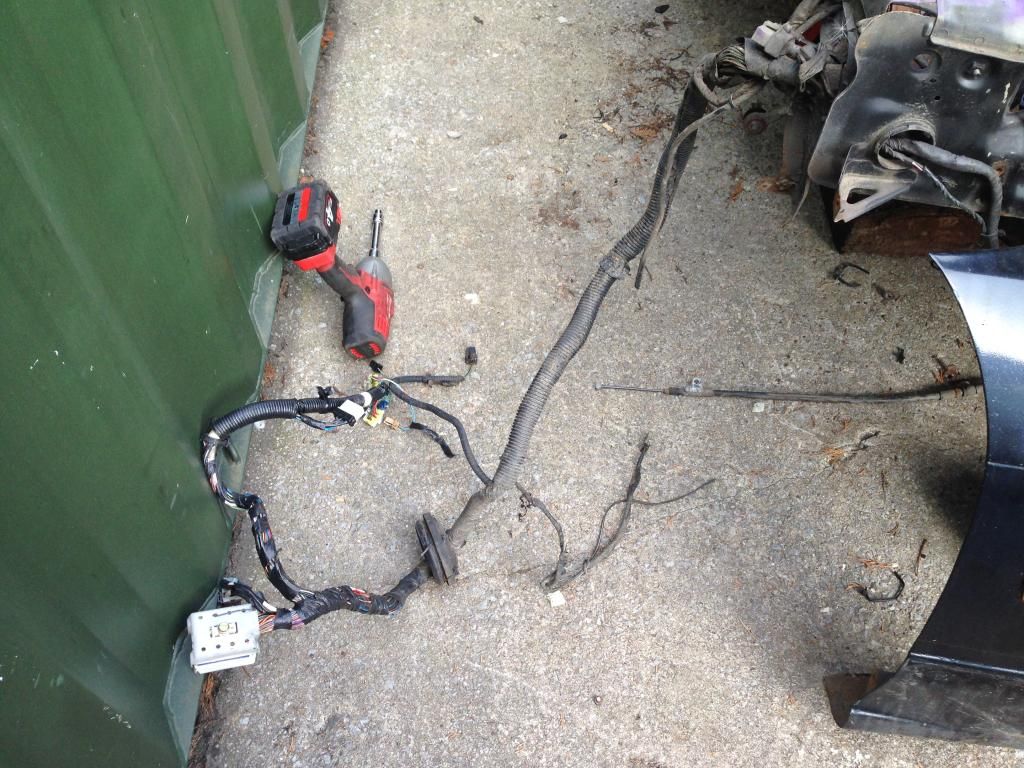


Whilst I waited for my friend to come and help me with my wiring as he's much much better at it than me, I decided to remove the tension rod brackets as one was dented fairly badly. But as with everything, bad luck continued and the captive nut broke free inside the chassis leg. :cry: There was only one option left, and out came the grinder;
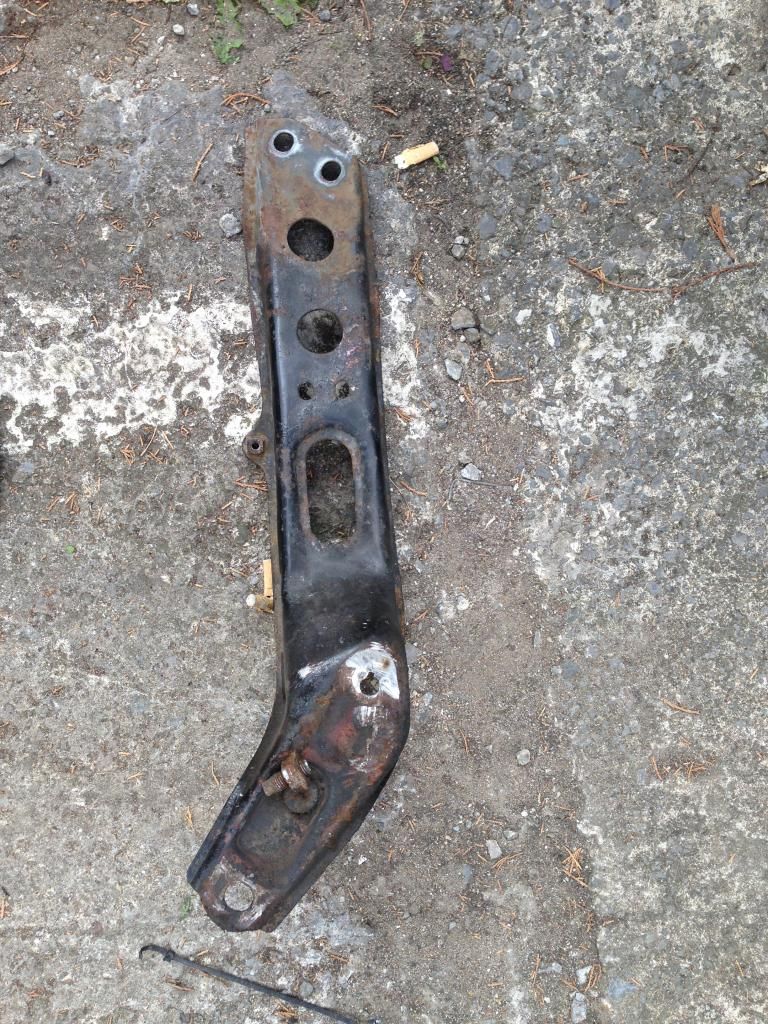


The offending captive nut haha. Wasn't too bad with an empty engine bay, removed the other 3 bolts and span the bracket round and could easily just slice between the chassis leg and the bracket.

Quickly whipped my old front ARB off whilst I was as it
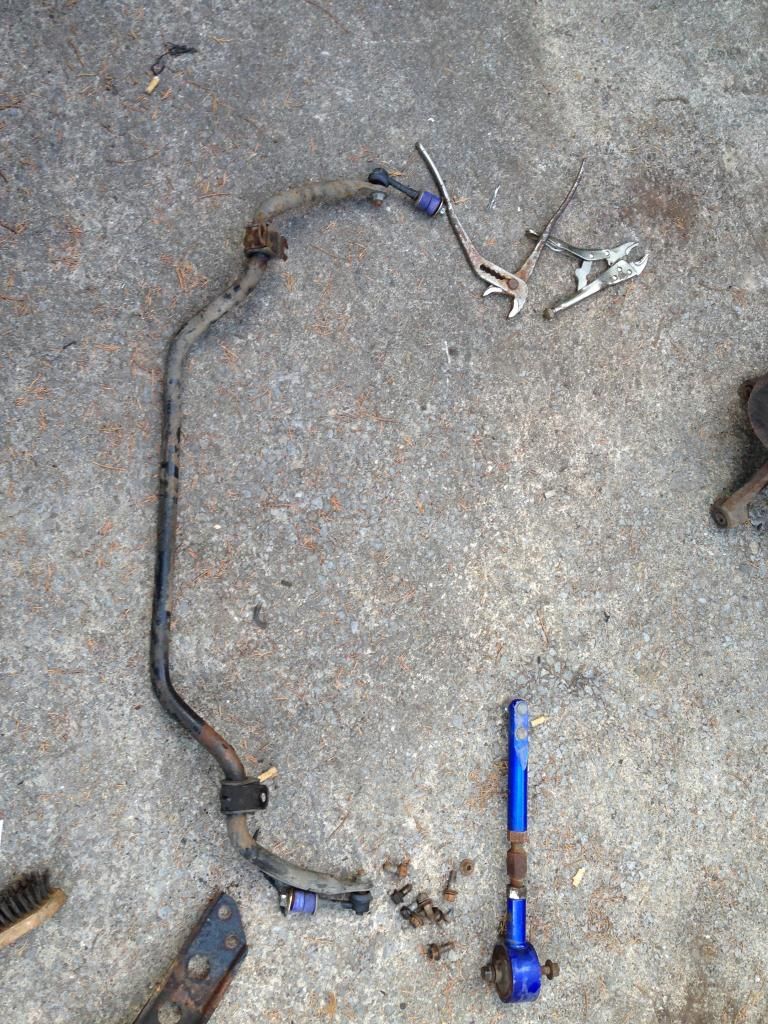


Decided to call it a day after doing a few small odd jobs here and there.


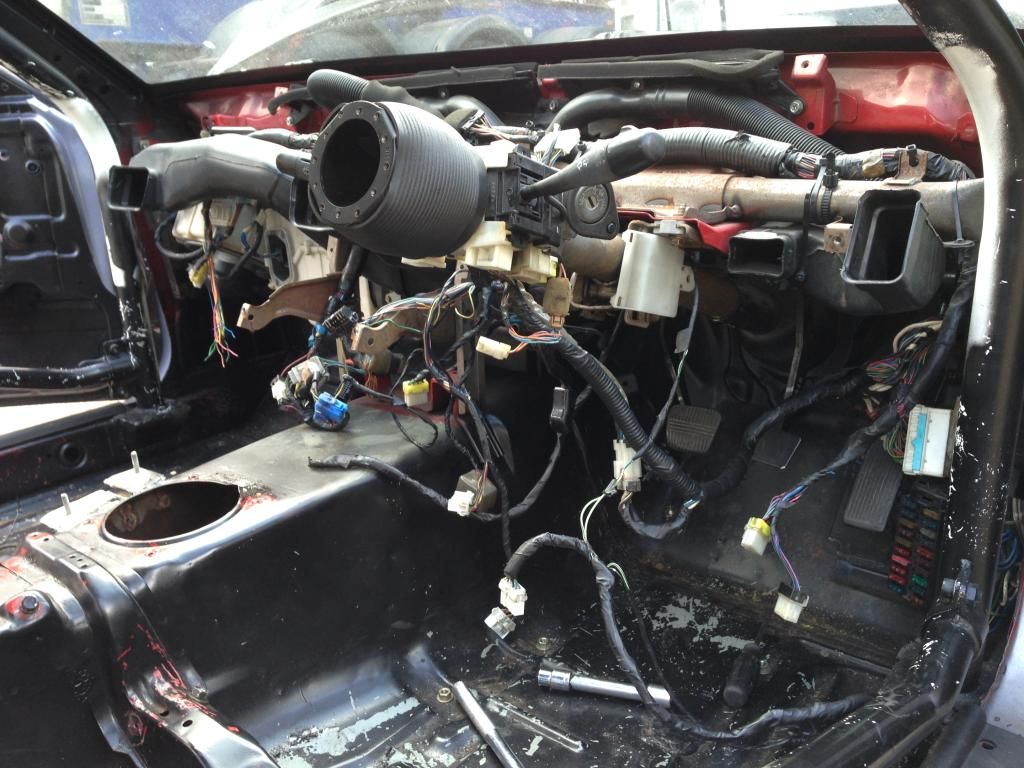
So, the next day I went back to the car with a fresh head and removed the dash and unplugged the harness I'm replacing. Found a few of the heater matrix boxes loose so spent a bit of time making all of them secure, to try and avoid those annoying rattles they might make in the future. Whilst I was under the dash, I quickly popped my old clutch pedal off the 13 and loosely bolted it into the Silvia just to try and make it feel like a normal car haha.


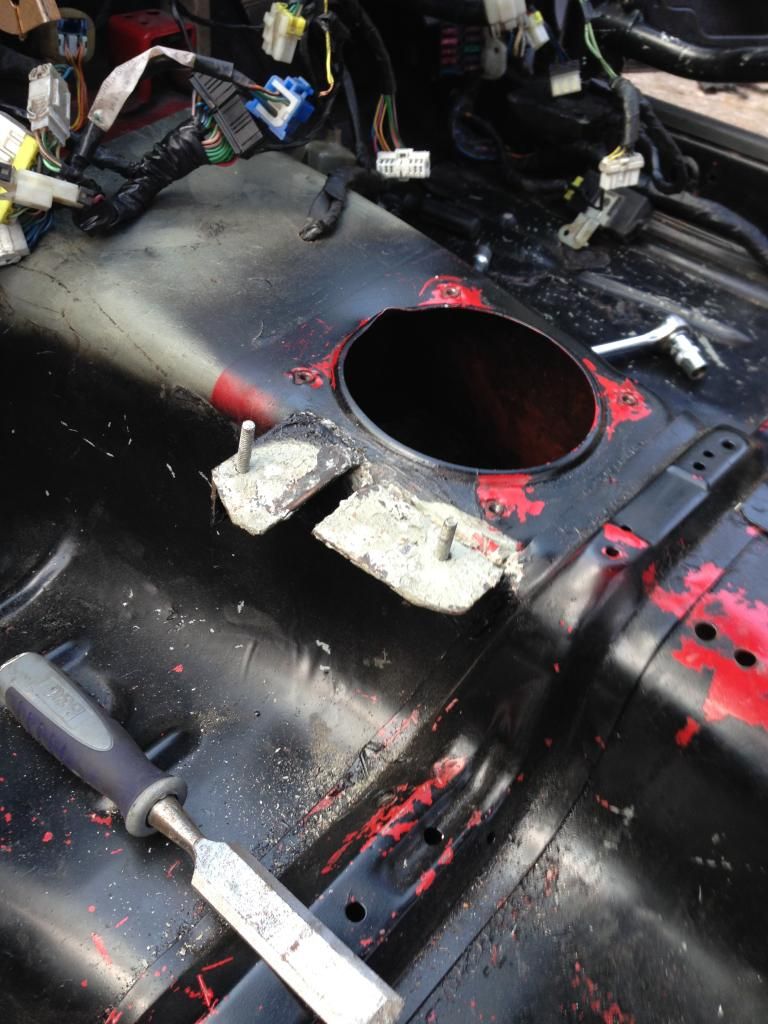
Annoyingly the car had a hydro bracket welded to the tunnel. Now, I'll be running a hydro in this car but planning on a much different setup so this needed to go.


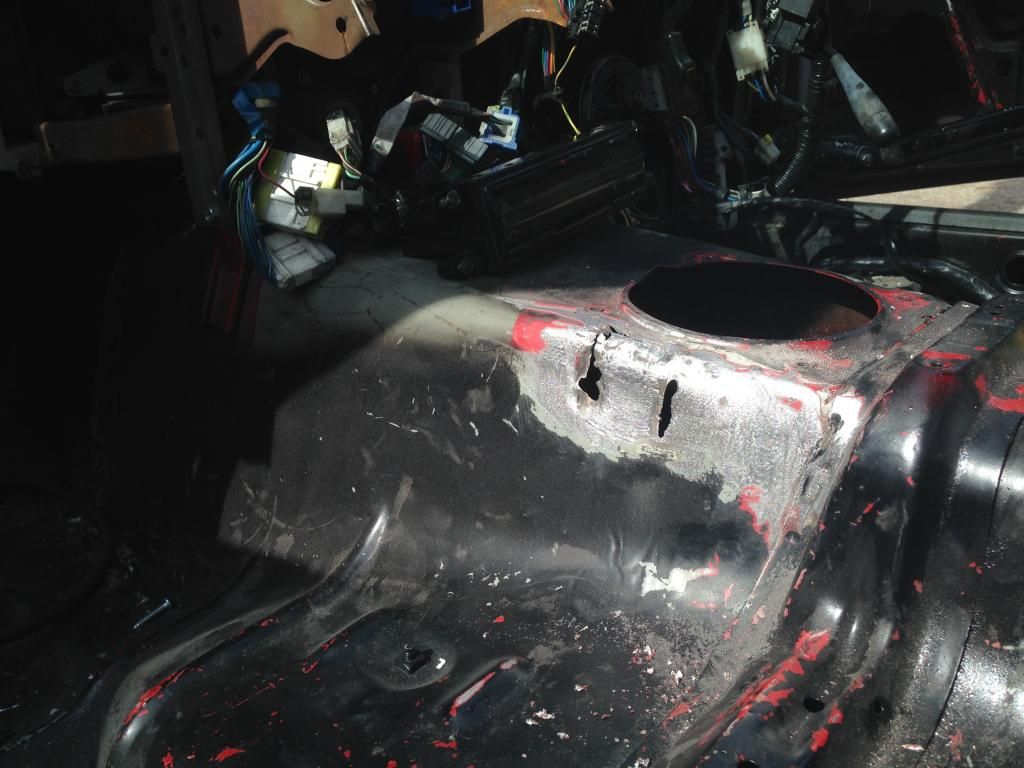
So out came the grinder and slit it down the welds, may have made one cut a bit too big, but nothing that can't be fixed whilst repairing the 2 holes left by rusty welds.


Decided to have a quick break, aka grab a drink and something to eat, and threw my front wheels on with a 25mm spacer off the rear as I'm planning on running this setup. Looks pretty aggressive, but with a shade more camber and wider front wings it should look spot on and match the look I'm going for.
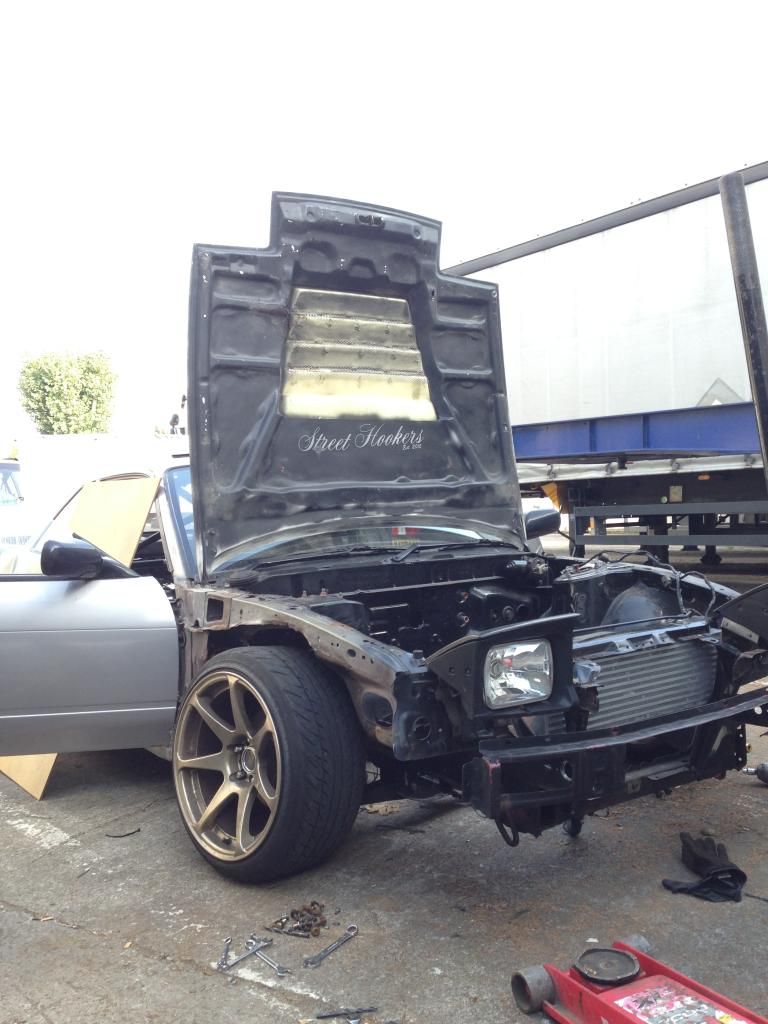


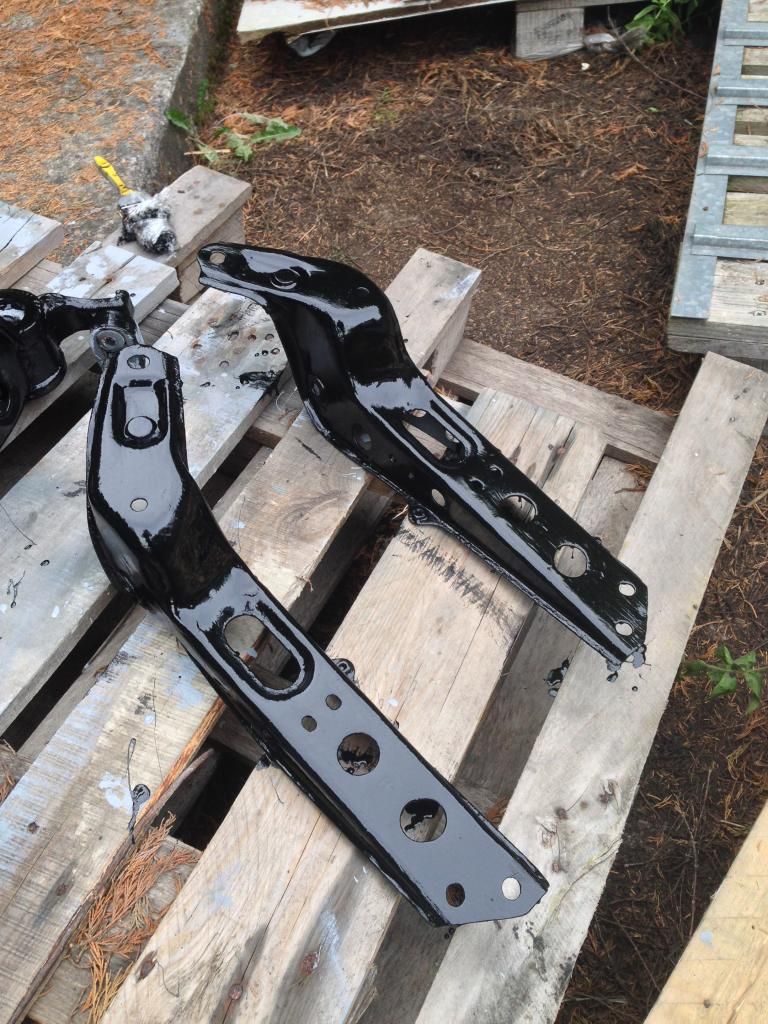
Whilst I had the tension rod brackets off, it'd be rude not to try and make them look a bit better than rusty old nissan metal. So a quick wire brush and a tad bit of sanding and they were ready for some zinc primer.
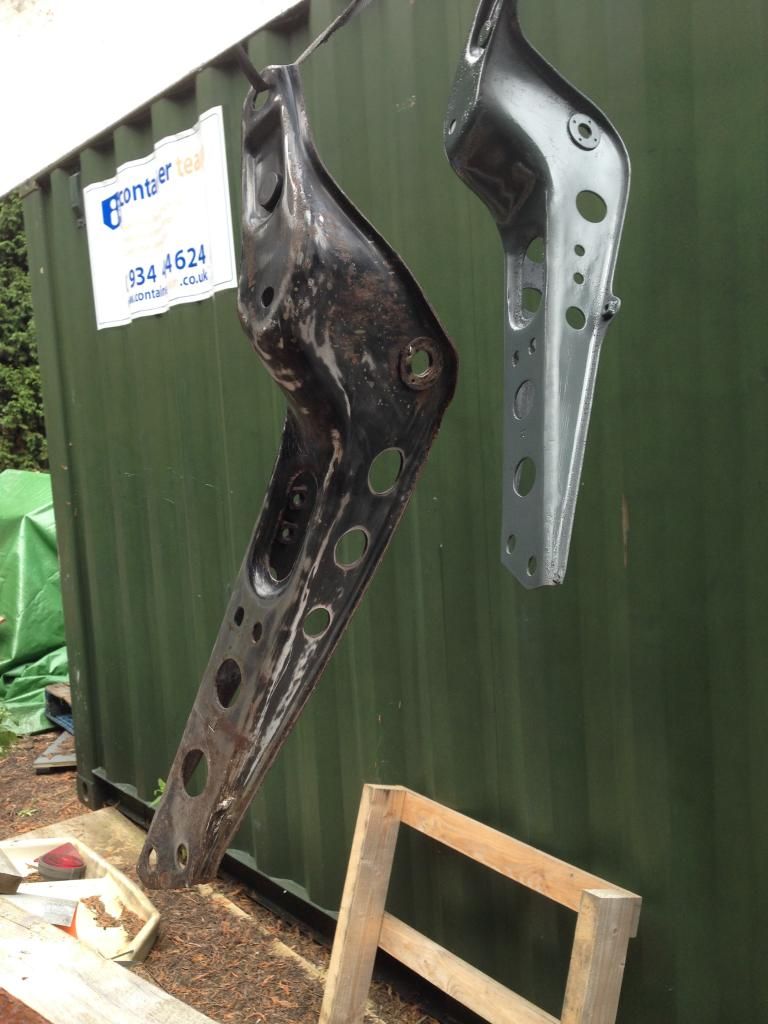


I had my bare subframe off the 13 ready to get cleaned up too, so more wire brushing and sanding and it was in a semi-decent state. The reason not for splashing/wasting money on fancy powder coating is purely because I just wanted to make them clean as its a happier place to work on if that makes sense, plus with some plans that i'll soon to reveal id rather spend the money on somewhere that counts :smoking:
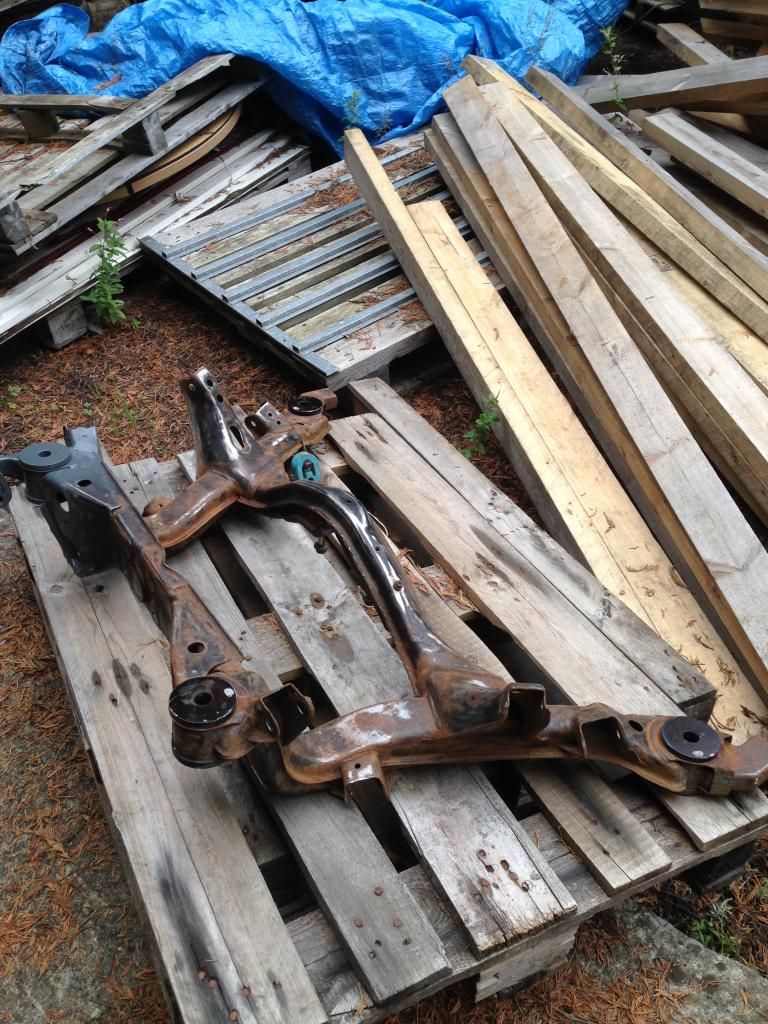


Following this, I had two mates pop over, Tippers and Ian and began by staring at my front arches :wack:


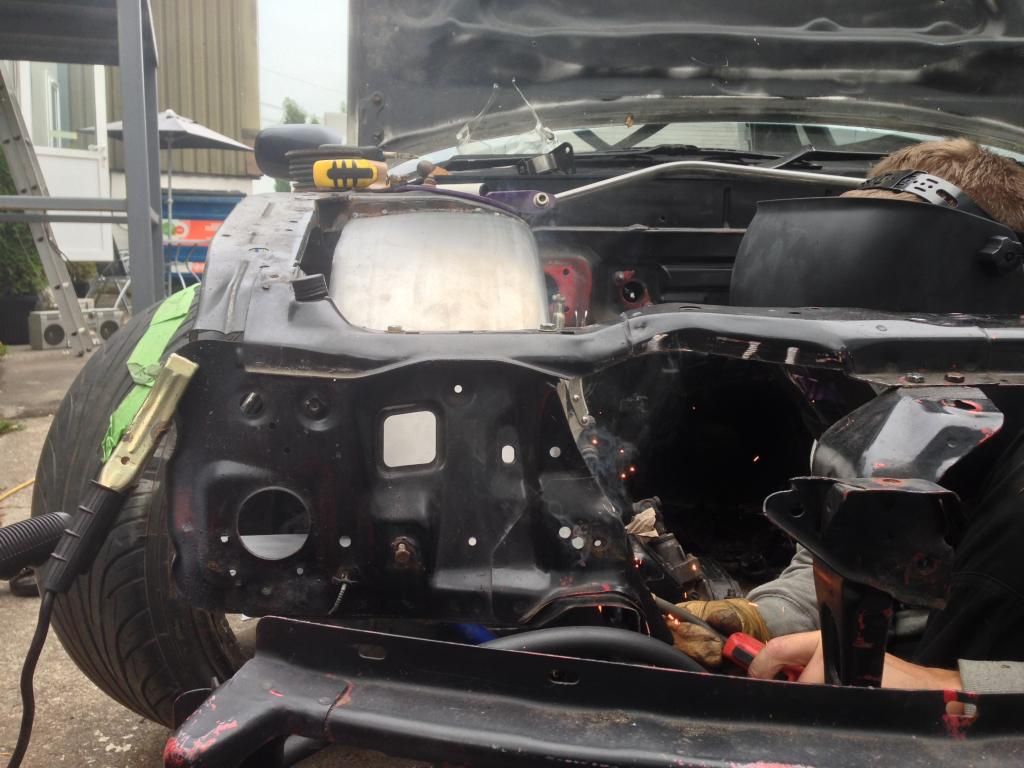
Didn't take long for them to convince me to get the grinder out so Tippers said goodbye to them in a true fashion;
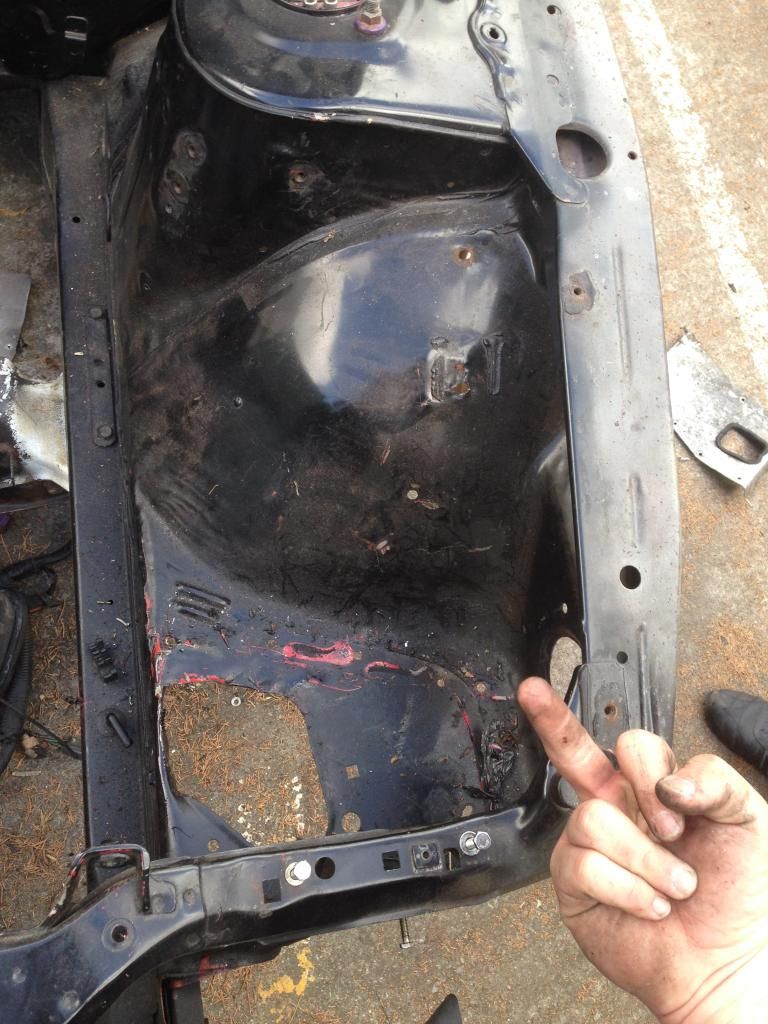


Plus, this gives me the chance to make sure the engine bay is nice and tidy, and due to the PBM High Mount Intercooler, I dont need the unnecessary holes for a FMIC by the previous owners. Even though this car will be used hard, it wont stop me making sure the car is as presentable as I can make it :thumbs:

Whilst me and Tippers had a look and began chopping my loom around, I handed a Ian the grinder and before I knew it, it was like this!
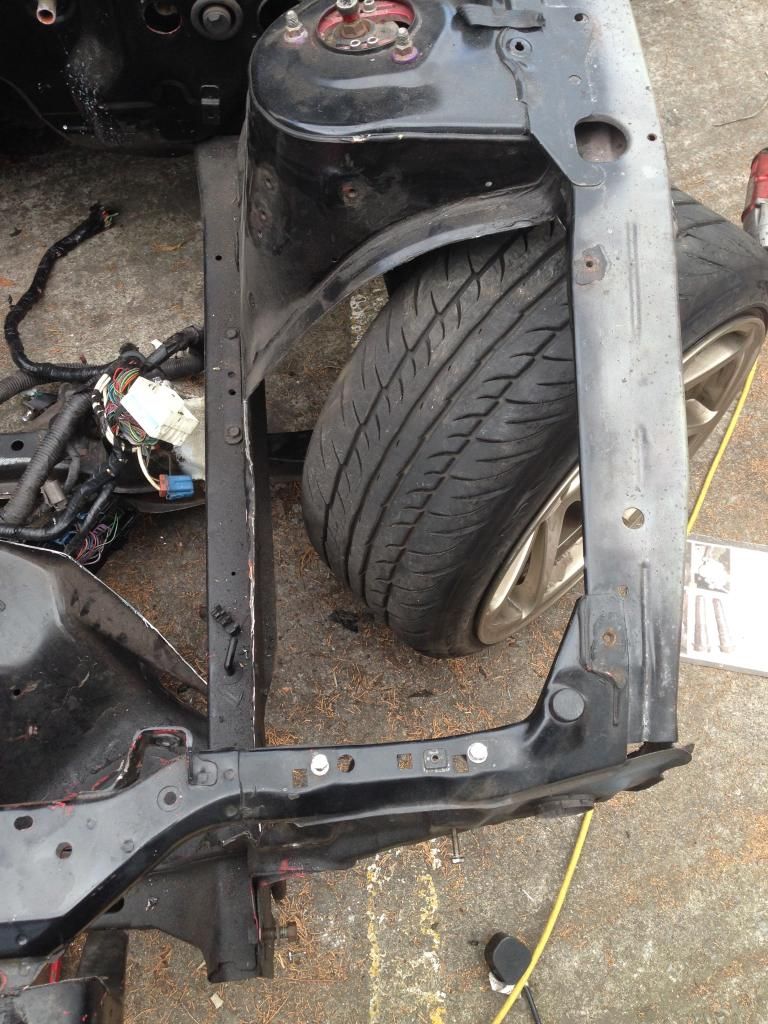


Dreamer spec lock y0!
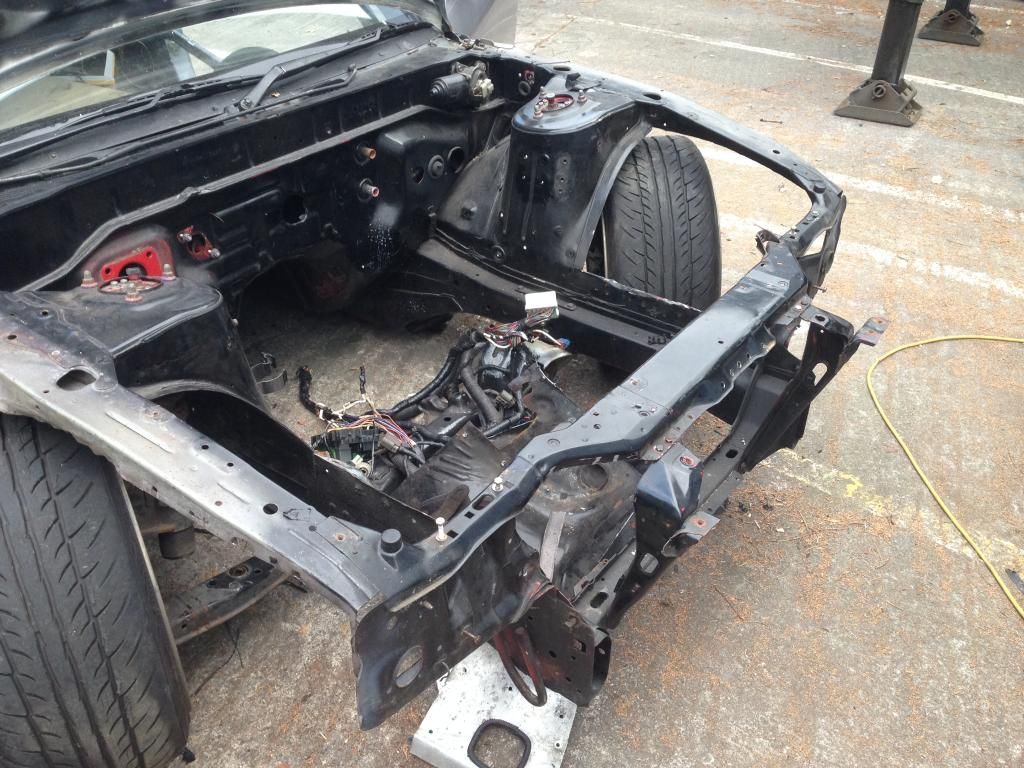


We were discussing the route we are going to tub my arches, and we have tried to cut along the seam lines in order to try and keep as much strength along the arches as possible. Although, the excess metal left of the struts will be removed once the arches are here. Measure twice and cut once and all that :thumbs:


Quickly chucked a bit of Hammerite on the rear subframe and didn't come out too bad in my opinion, for something that you wont see anyway
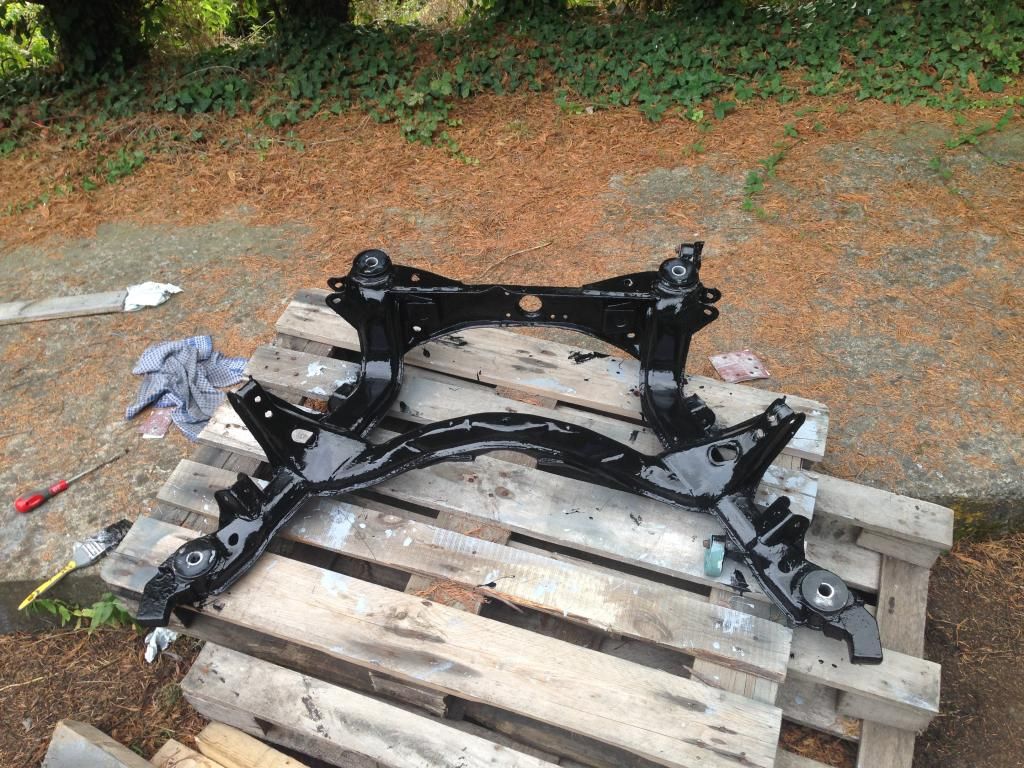


Keep finding small little problems with the shell, like the ignition barrel can be moved with a screwdriver :wack: So more inconvientant things that need to be sorted. The new loom kept blowing the Alternator fuse too, but we've put it down to dodgy earths and now doesn't blow it. However, the starter isn't getting the correct voltage so theres still a problem somewhere, BUT most importantly the Digital Climate Control and power windows work so power is getting through the rest of the system just fine :) Onwards and upwards!

 
Last edited:
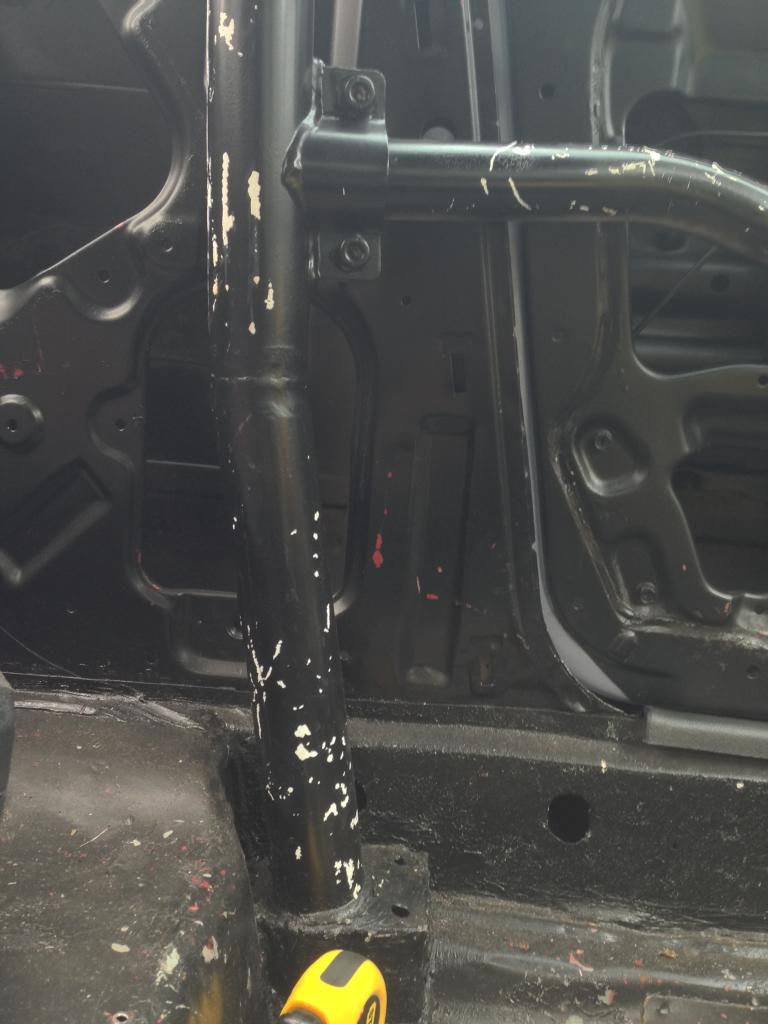
And to end the update on a downer, I think the Fabricage installed in this car is unsafe as someone has cut and rewelded parts of it. So I'm on the case with the metal magician Huxley to see what he thinks and potentially speak about a plan should the cage be dangerous. After all, it's not worth running a dangerous cage.
 
it is on the tube section but I think its in a number of sections though :( only clocked it today as I saw the bottom half of the main hoop legs slightly angled towards the front of the car :(
 
So, the other day me and Tippers started cracking on getting my SR ready to come out of my 13, forgot how simple these things come apart, suppose its another reason why I'm such a great lover of the old SR20 :) #v8illuminati #srerrything


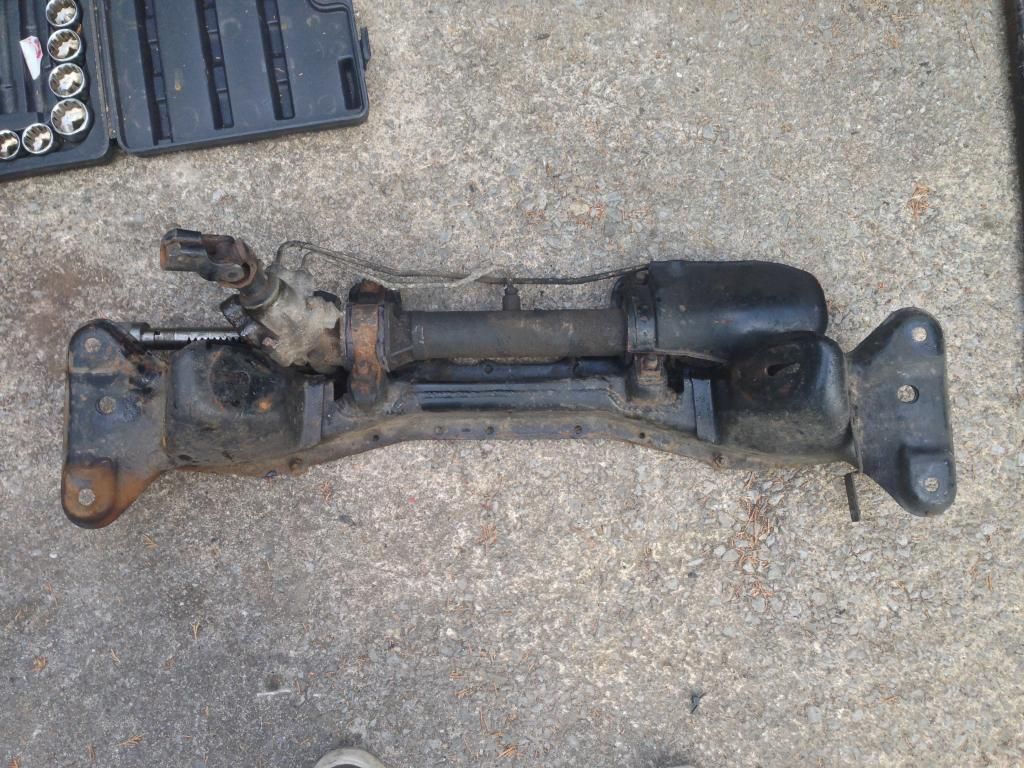
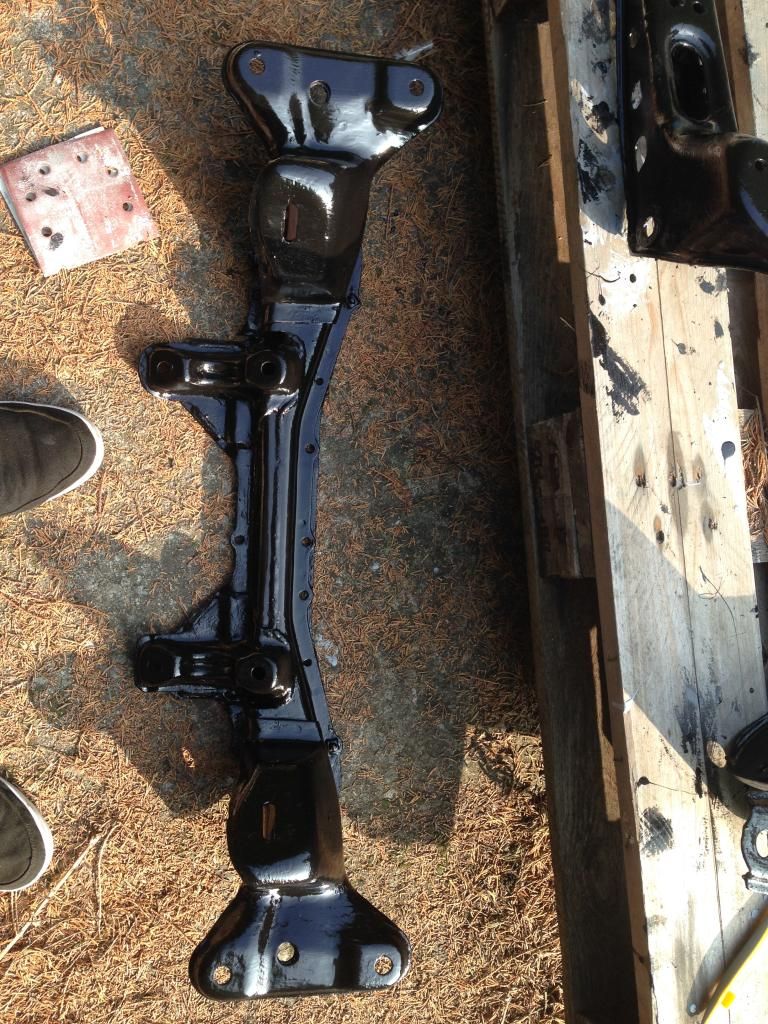
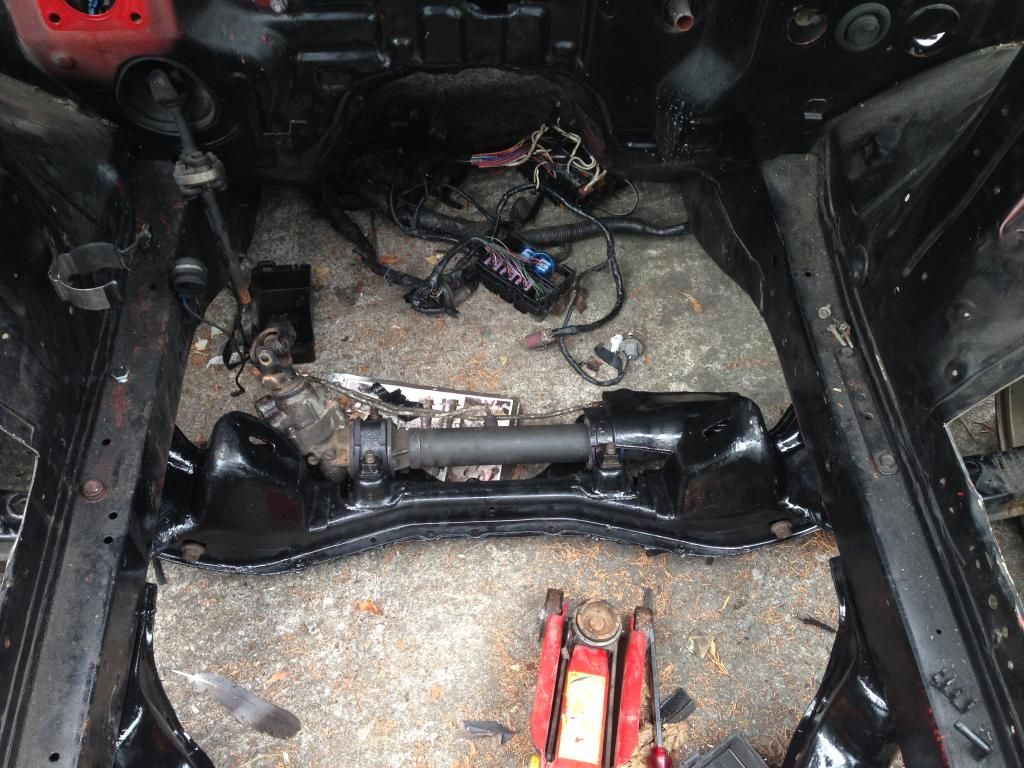
Anyway, after removing another broken front subframe bolt, I dropped the front subframe ready for the same treatment as the rear subframe. Just a quick freshen up, nothing drastic to keep things simple for things that wont be seen. So, drained all the power steering fluid and was left with this;


The bushes were still as good as new which is always good to see, considering I havent driven it that much at all haha! It gave me some time to inspect how the subframe is coping since being modified since I hit a massive drain with it on my way to the Lydden Hill practice day back in Feb. Results were as expected, it coped just fine which pays testament to my friend who did the work :thumbs:

Quick wire brush to get all the rubbish off the subframe, quick lick of hammerite and it isn't looking too bad now;


Fought the rack for a few minutes trying to the clamps to go on square without cross threading a bolt, simple solution was that there was some dirt on the rack cause a bush to become misaligned so thankfully, for once a simple solution to never ending list of problems!

So, quickly whipped the S14 front subframe off that I was borrowing to keep the shell moving and quickly put my subframe on. I need to source some proper bolts to hold the subframe to the chassis legs now, I've gone to remove my subframe twice on my 13 and both times the bracket holding the bolts captive have broken free, even though I replaced it with a "low milage import" one.


And I'm now constantly greeted by my old 13 looking pretty distraught. Fingers crossed a friend will buy my shell of me for a mates rates and hopefully get reborn in the future again!


Also had further developments today on my cage scenario, and since taking a picture it made me realise the sheer angle in the bottom of the main hoop, something that isn't as noticeable to the naked eye.


Ive been in contact with Huxley to dicsuss the cage and to get his opinion on the safety of the current cage. The news back from him was as expected, its as good as scrap due to what the installer had done to the cage. From my understanding, to meet safety regulations and to be deemed safe, a cut cage must be properly sleeved and butt welded but it seems none of this has been done. So I'm considering future options regarding cage, as I want to push myself and this car as far as I can, and a cage being a requirement from a safety point of view. I do appreciate Hux's work and he's local-ish to me, so who knows what may happen in the future after looking at some examples of cages in the S13/PS13 chassis :smokin:

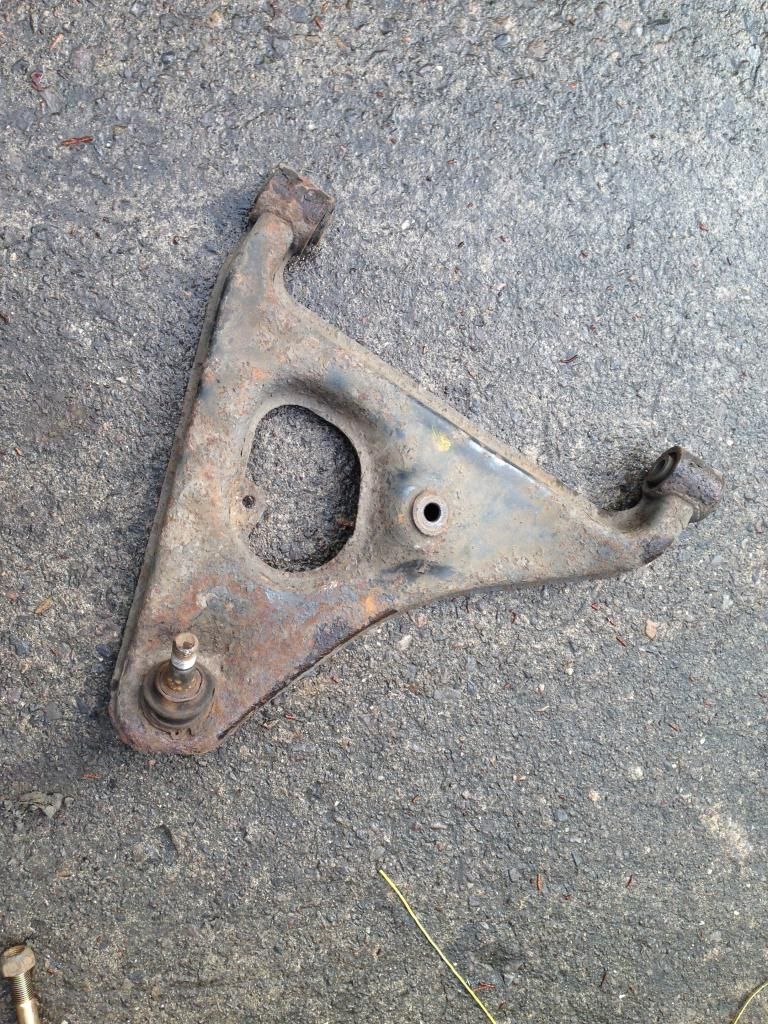
Tomorrow, my rear lower arms should arrive with any luck, meaning I can quickly burn the bushes out and remove the balljoints ready for their replacements. Once this is done, hopefully my rear subframe can go onto the PS and be in a much better state than it currently is. Hopefully I'll get the motivation to start routing the loom inside the car so I can see where earths need to be relocated to, aswell as how to attack the whole fuse box relocation business.
 
Last edited:
Ouch!! Dodgy cage welders and dodgy welders in general should be named and shamed... Bolt in cage was the option for me

Hope more steps go forward in the future dude!

PS... an unmolested s13 loom.... now that's rare hahaha! :D
 
Ouch!! Dodgy cage welders and dodgy welders in general should be named and shamed... Bolt in cage was the option for me

Hope more steps go forward in the future dude!

PS... an unmolested s13 loom.... now that's rare hahaha! :D

I think I know who "installed" the cage, but id rather he just read this and realised what a cock up he really made.


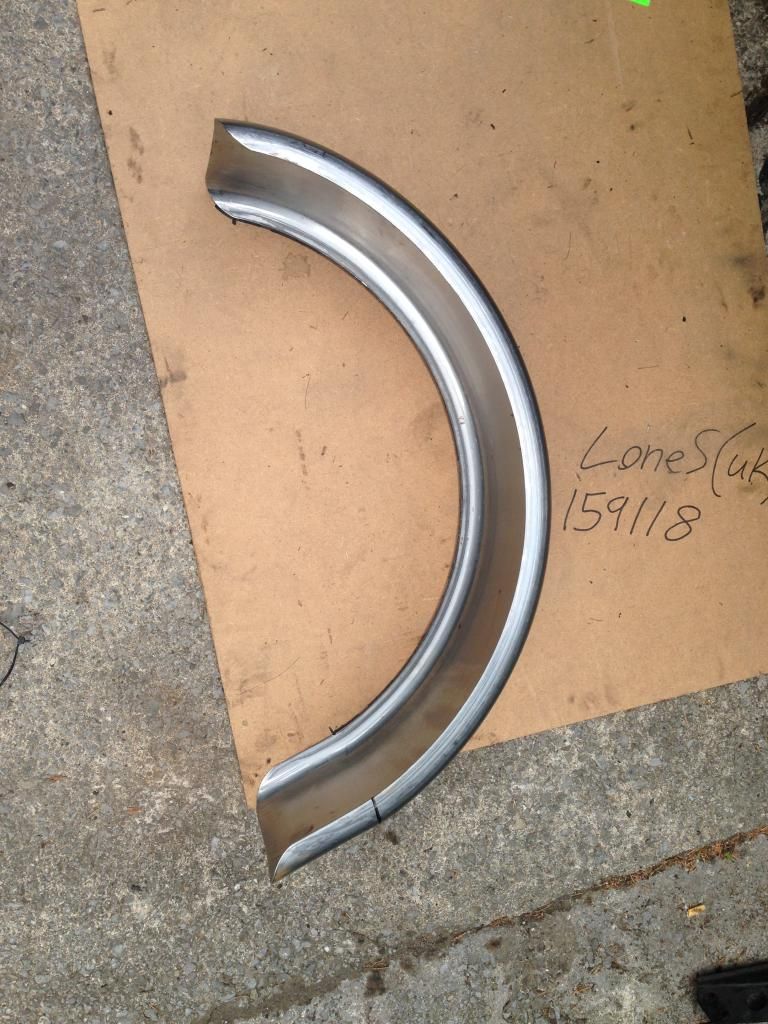
So recently, we began tackling the tubs for the front arches. After a few measurements of what would be a suitable size, this promptly arrived in the post;


Ive stolen this idea off my friend Rich, and can see why he chose it. Just a nice smooth radius for the front arches instead of some the hideous tubs I see people make. Everything has to be about Form AND Function so this will fit right in, making the engine bay look pretty whilst giving me more clearance for lock.


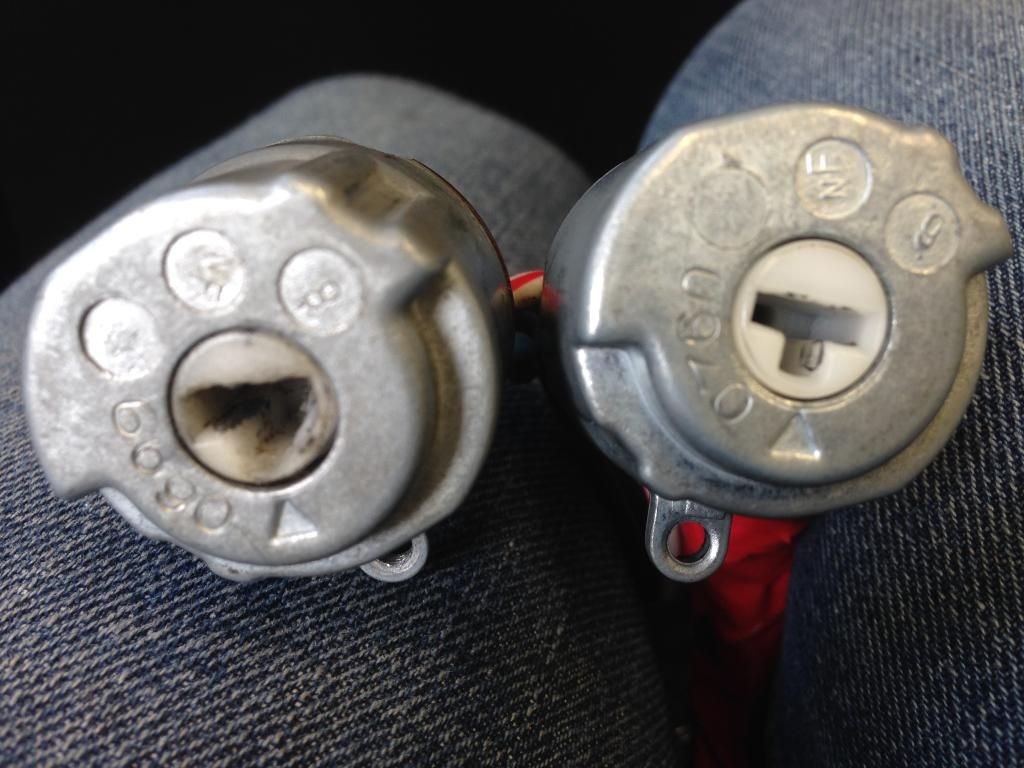
Whilst I was making measurements, I quickly set about replacing the ignition barrel, something that was worrying because a flat head screwdriver could operate it, not ideal!


As you can guess, the left barrel is out of the Silvia, looking very worn or somebody has messed with it, due to the fact the ignition barrel has been off beforehand :( Luckily, my old 13 came saving the day, so switched the ignition barrel's over, and hopefully the door locks to match when I get a chance, saves messing around with 2 different keys for one car.

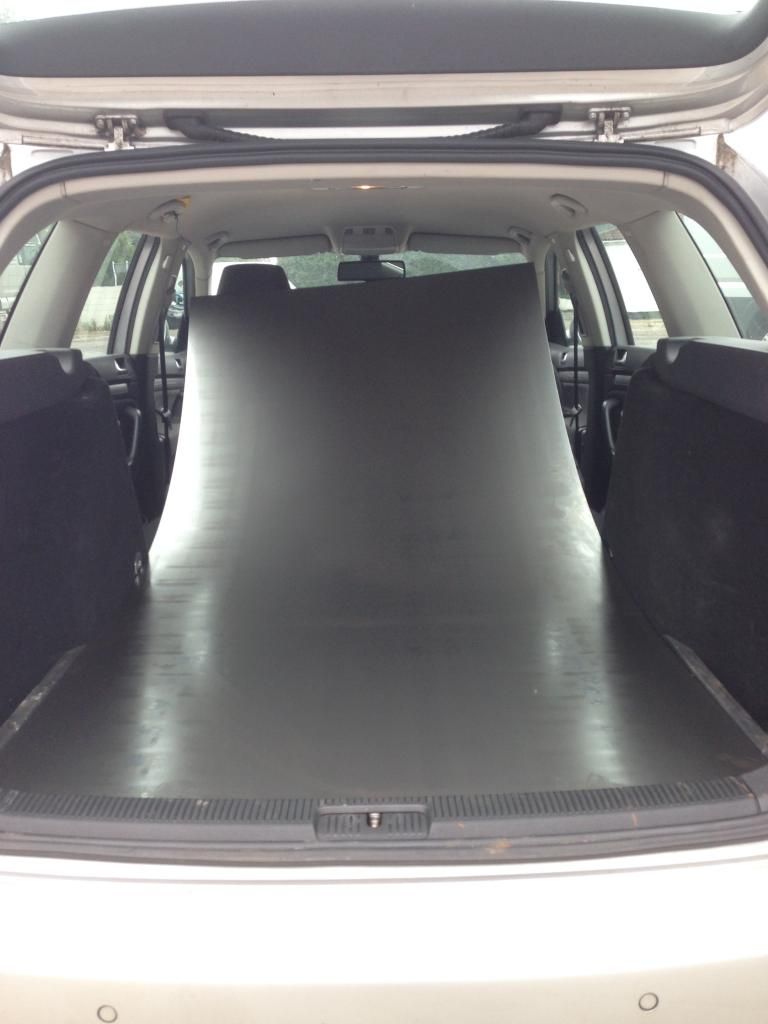
So back to the tubs, I wanted to make sure I had enough metal so we could make the tubs without having to pause and go buy some more. So began by measuring each section of the tubs in order to come up with a rough size id need to buy. Went to a local Steelholder, and he said the smallest size they sell was 6x4ft, so immediately bought it :wack: The daily estate has always had its uses carrying car parts here, there and everywhere but this was a struggle to fit in!
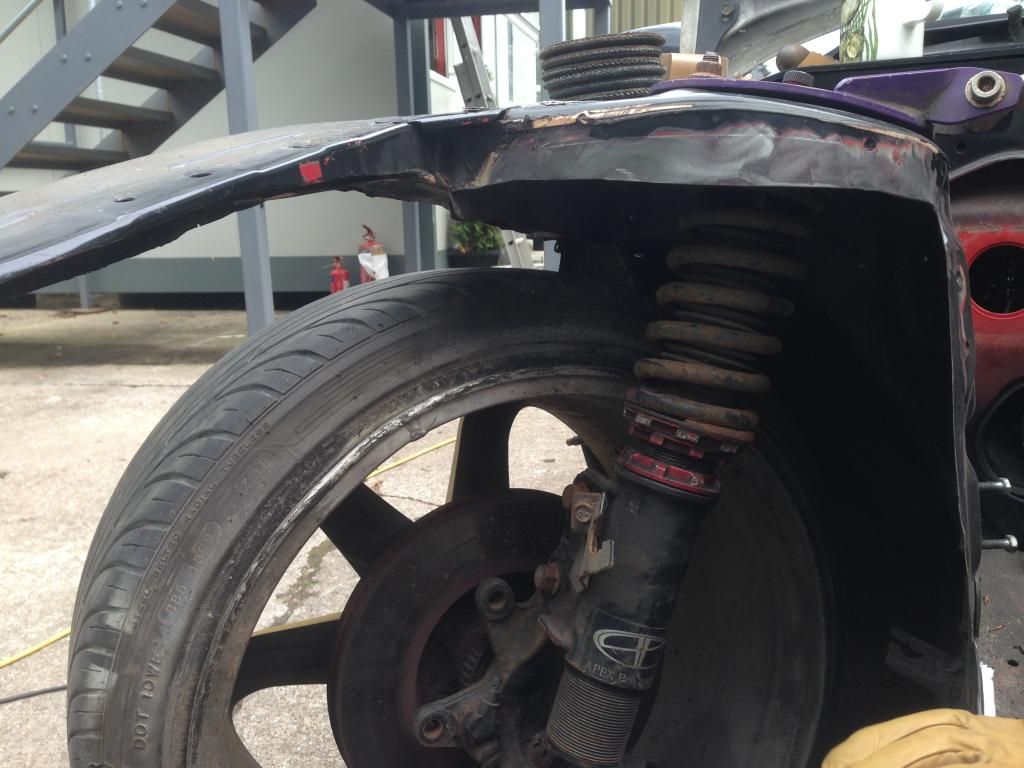
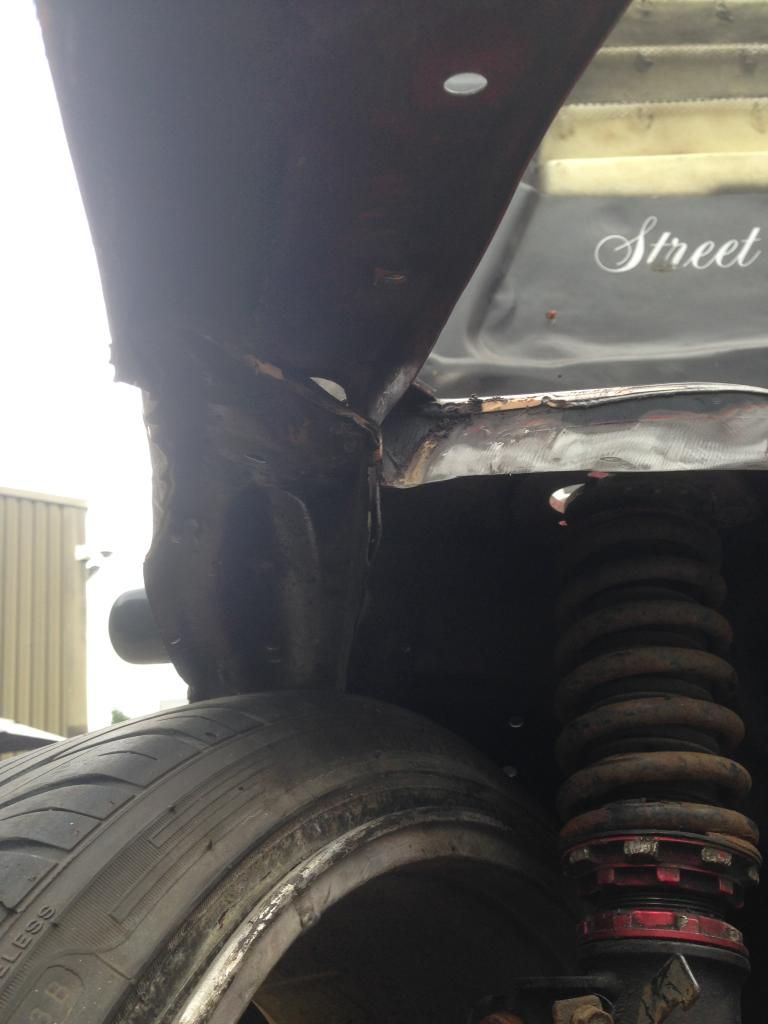
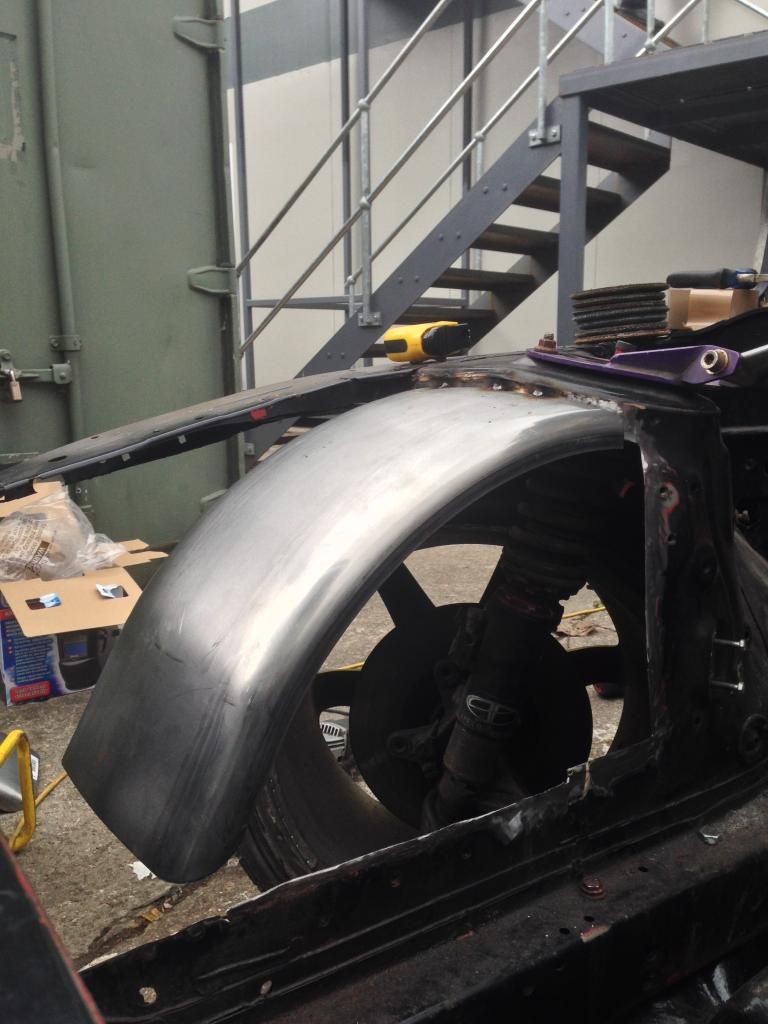
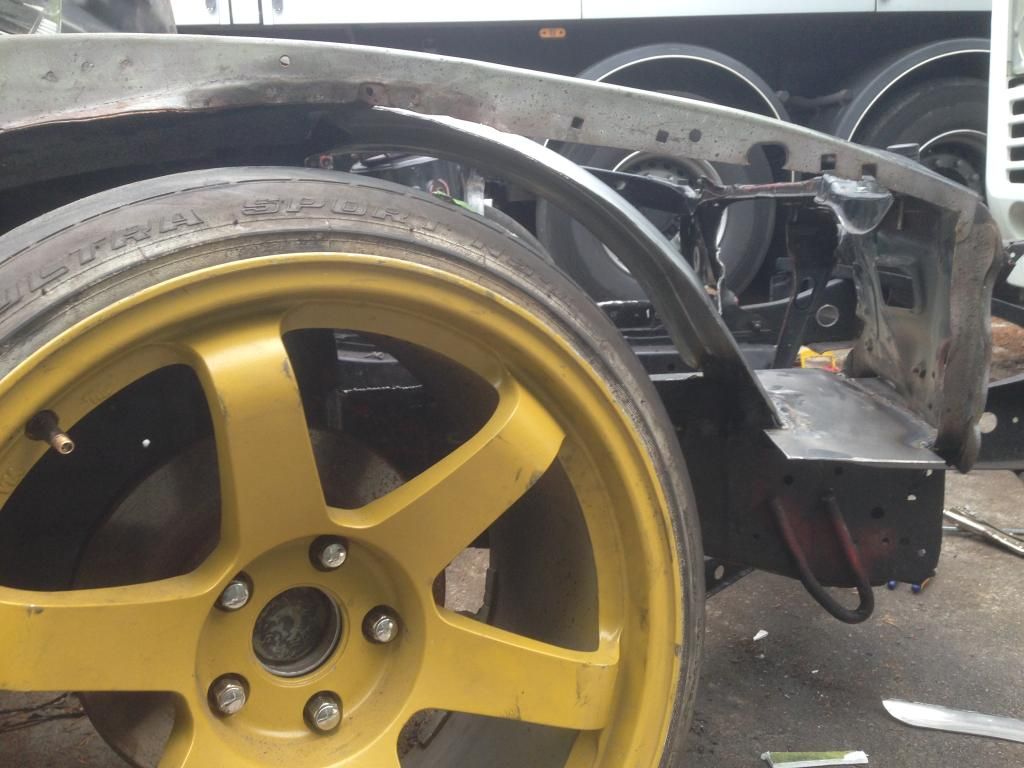
After mocking up the arch, we marked out the exact area of the arch we need to trim down, so began by doing so;


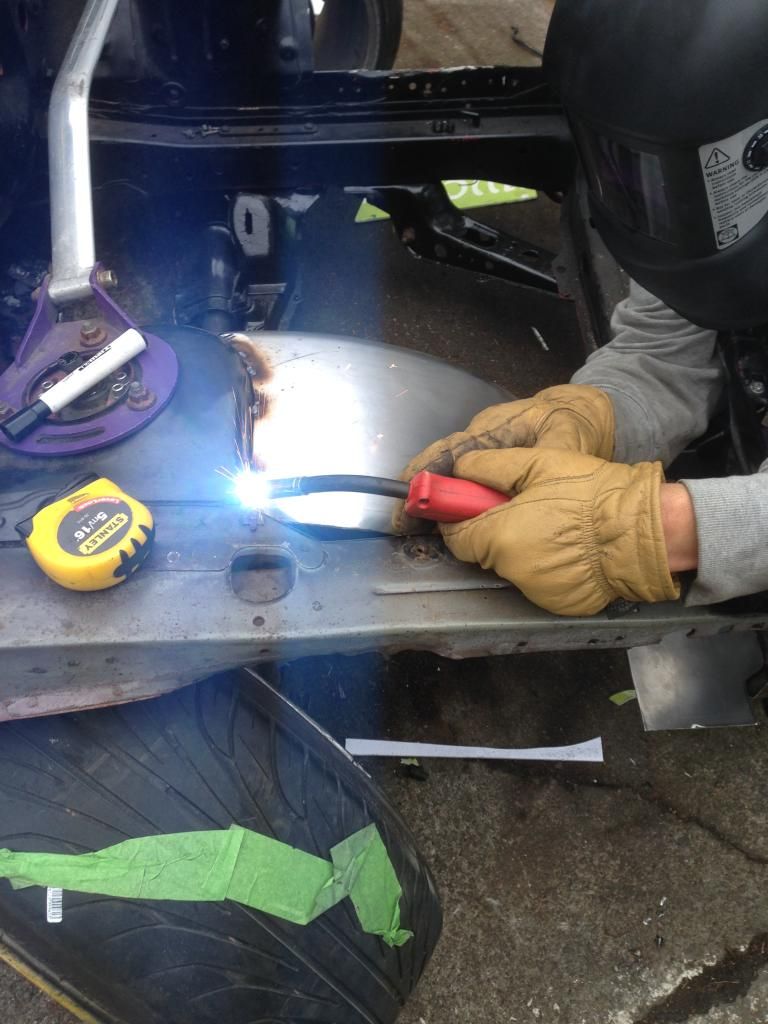
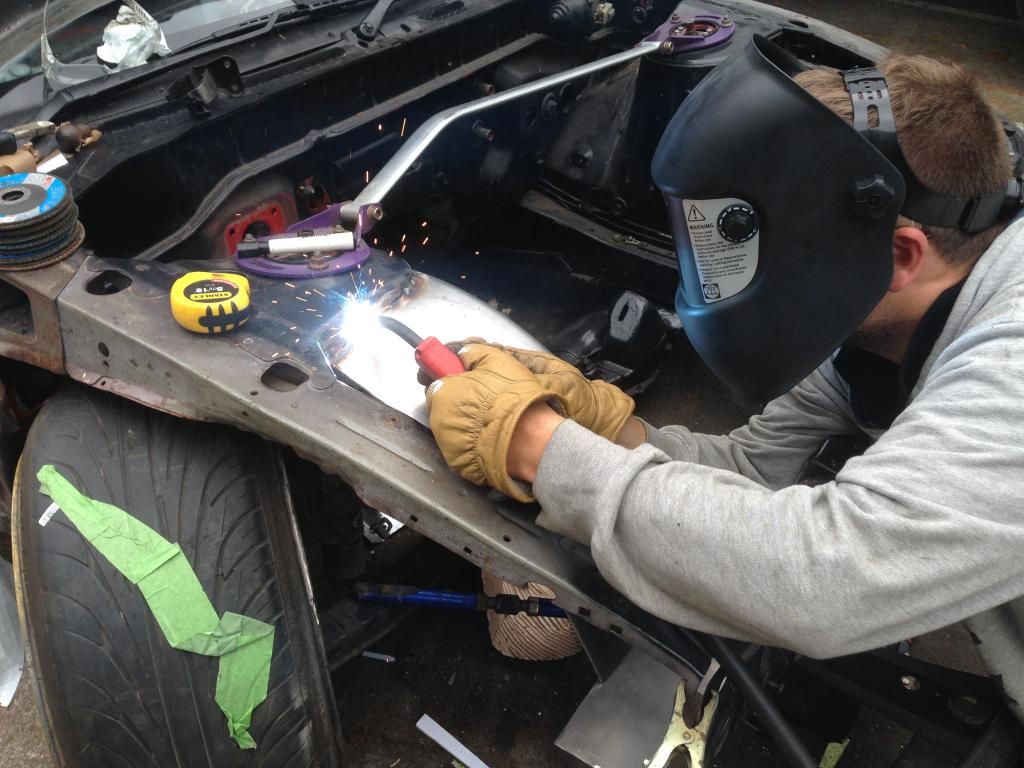
Ian quickly threw down a few tacks to hold the arch in place;


Note how the bottom of the arch slightly flattens due to the design, hopefully something that easily be rectified when it come to making the engine bay look pretty :)

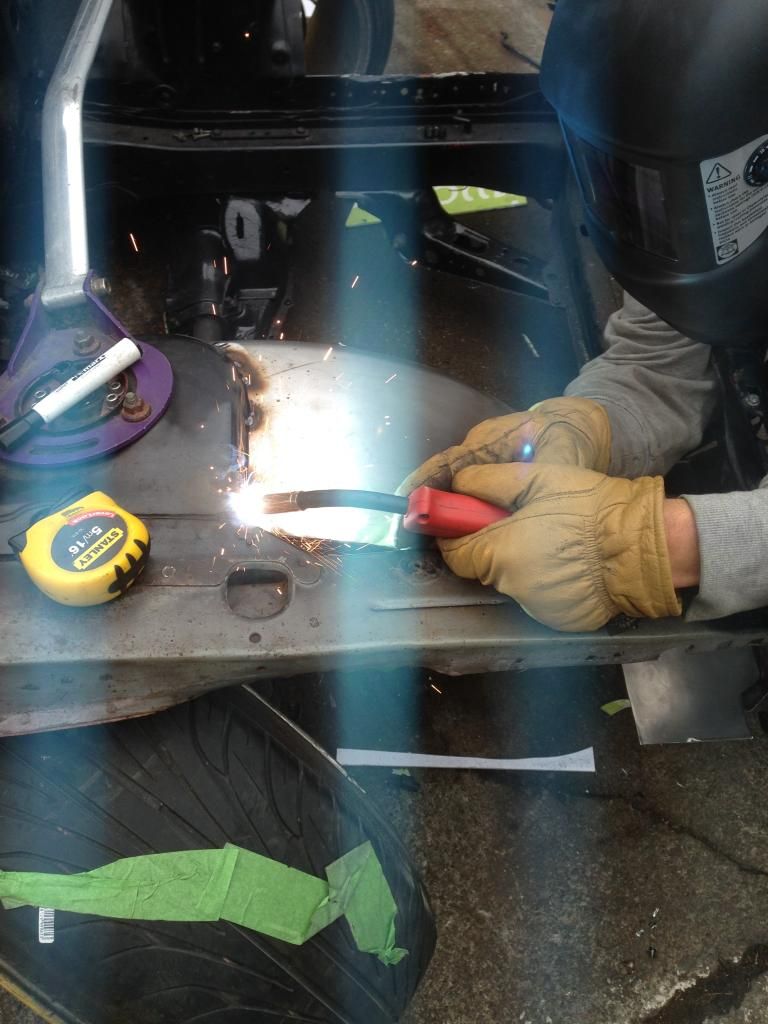
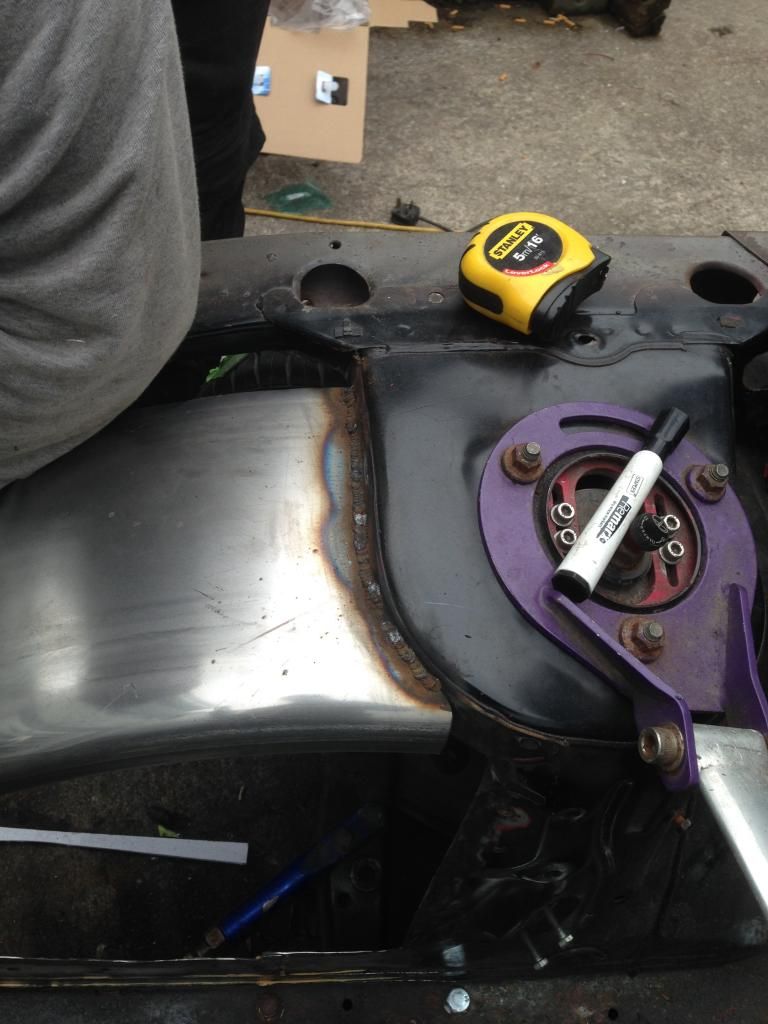
Once we knew the angle the arch had to sit at, Ian quickly welded the top of the arch in;


Not too bad if I do say so myself, welds seem to have penetrated nicely, and wont take too much work to smooth out :)

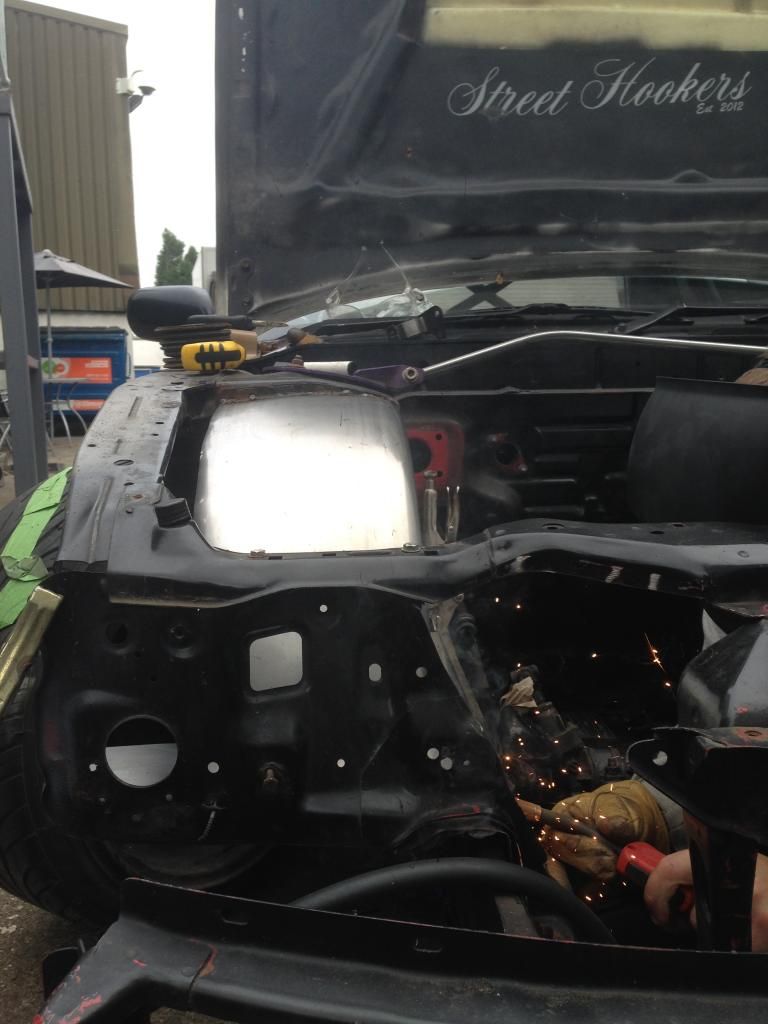
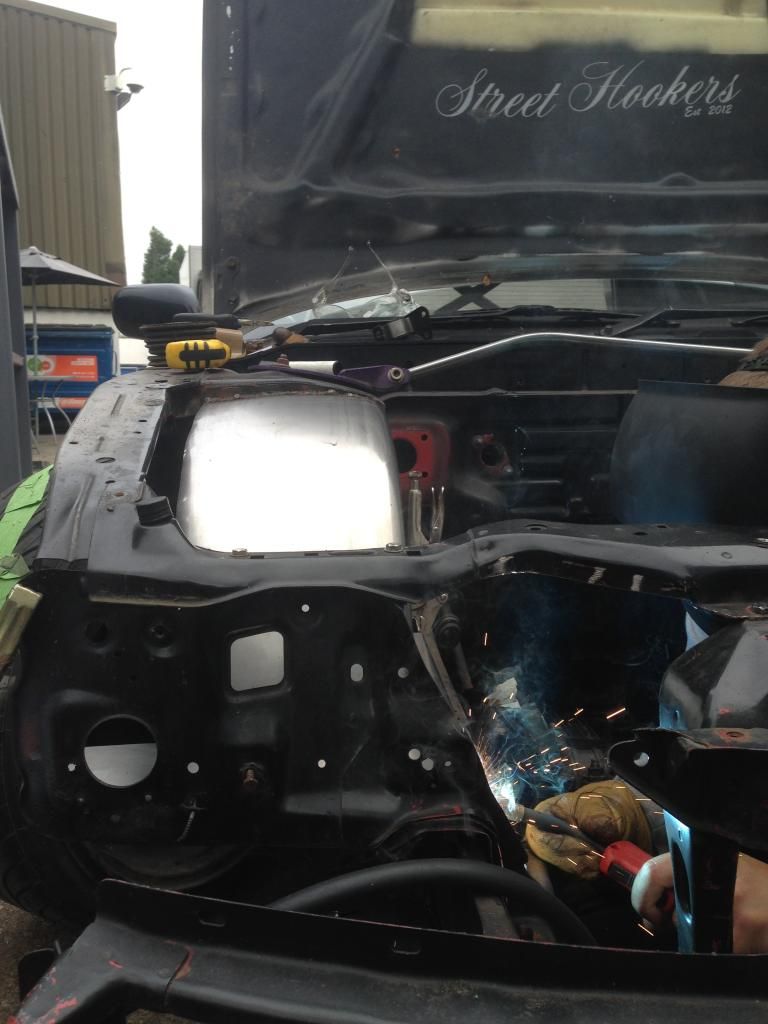
How the arch sits head on whilst Ian welded along the chassis rail seam to secure the bottom plate;


You can't definitely tell I'm the little tea boy during the welding phases :wack: Id love to learn to weld properly though, would be so useful when making little things in the build.
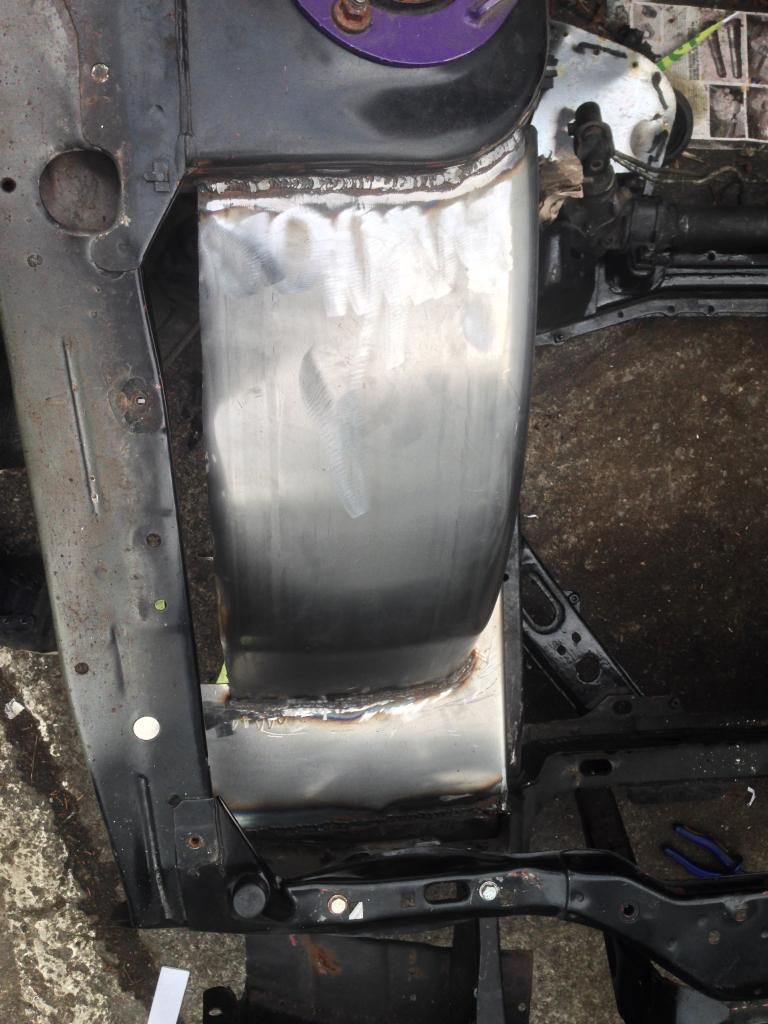
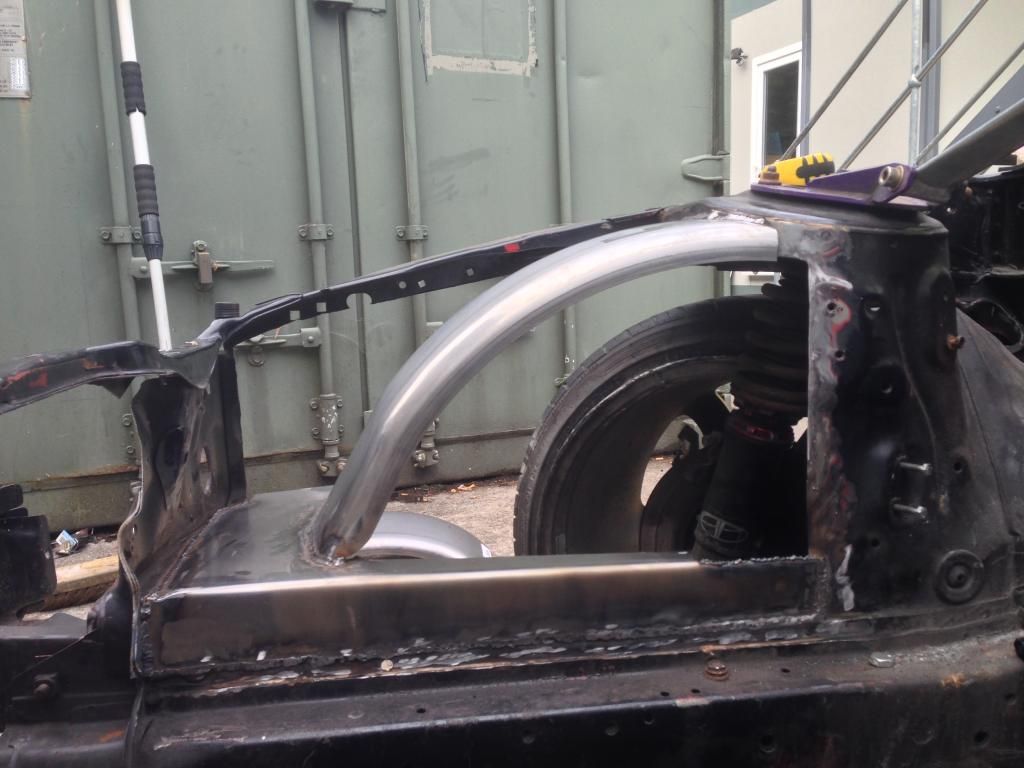
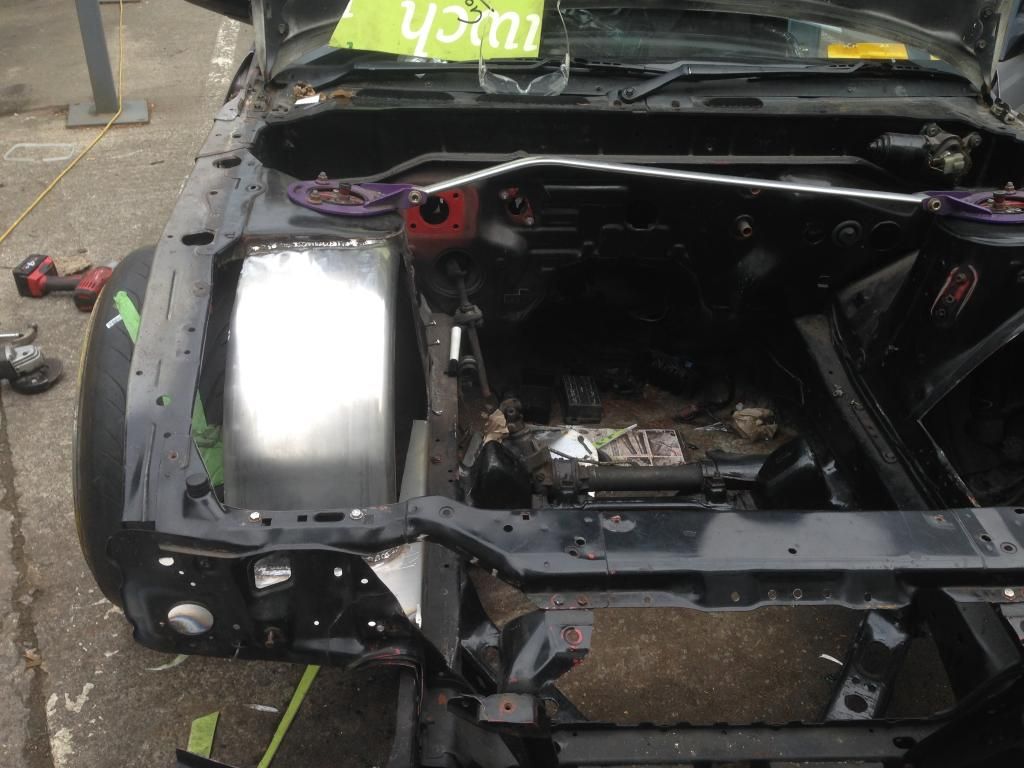
Quick look at how things are currently looking with the arch and lower plate welded in;


I threw the spare 18's up front so we can make sure I have enough clearance as I may be planning to switch to 18's all round in the new year, and maintain the correct fitment with them, which most people don't and end up with a 4x4 ;)


And thats how the car is currently sitting. 99% sure on the direction I want to head in terms of the roll cage scenario. Got a few more tricks up my sleeve, so can't wait to finally reveal them all when I get the ball rolling in the next week or so pending on when parts arrive ;)
 
The tubs look good.

Good work on them tubs [emoji106]

Cheers guys! Hopefully when Ian gets another free day with the welder I'm sure we'll crack on and start making some real progress with them as we know what we have to do now, instead of faffing around making templates ;)


Had the day off Uni today, weather was nice and these finally turned up from a member off here;


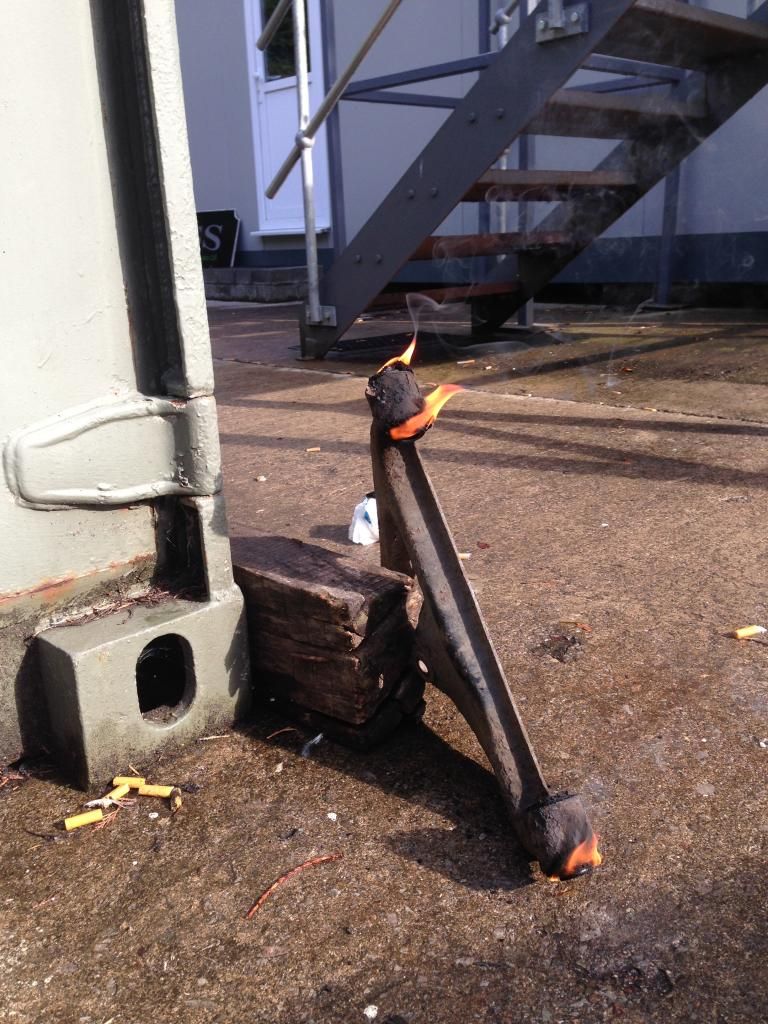
So I made no delay in going to get a small can of gas for the blow torch and set about burning the standard bushes out. Theres always the pyromanic inside me that comes alive when I start playing with fire :wack:


And within no time at all with my amazing fire skills the insert were ready to get pushed out by hand :thumbs:


Now it was time for the dreaded part everyone hates.


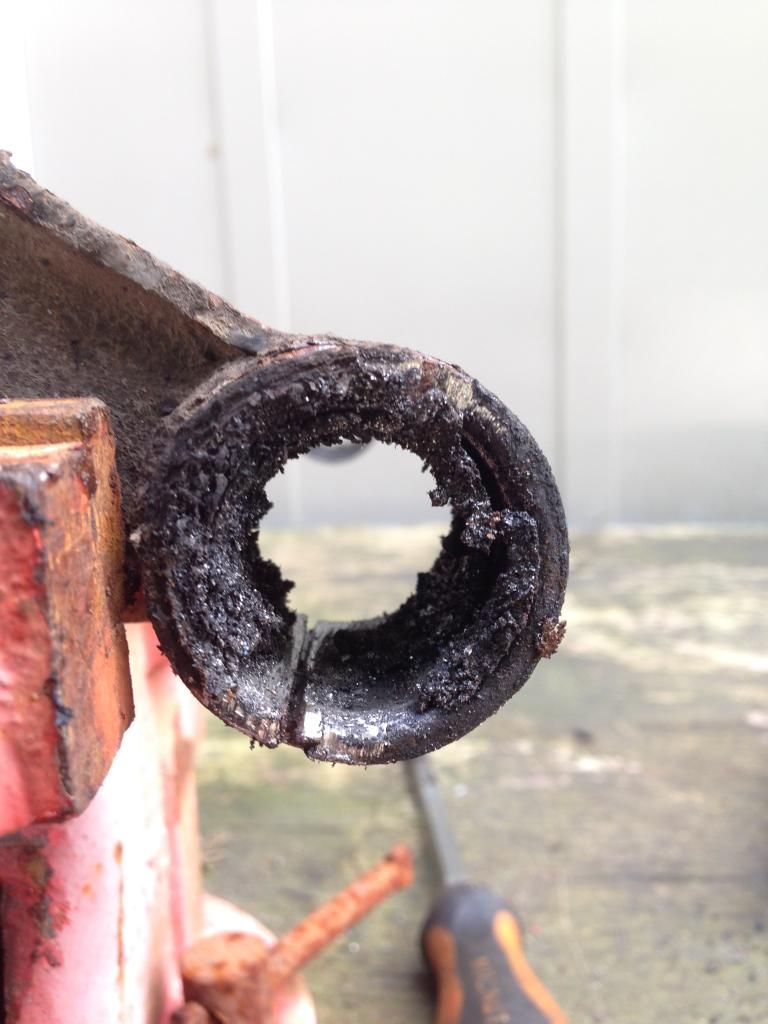
I made a slight mess of one as I kept using a blunt hacksaw blade :wack: changed that an managed to make some smooth cuts into the sleeve which simply allowed it to fold in on itself.
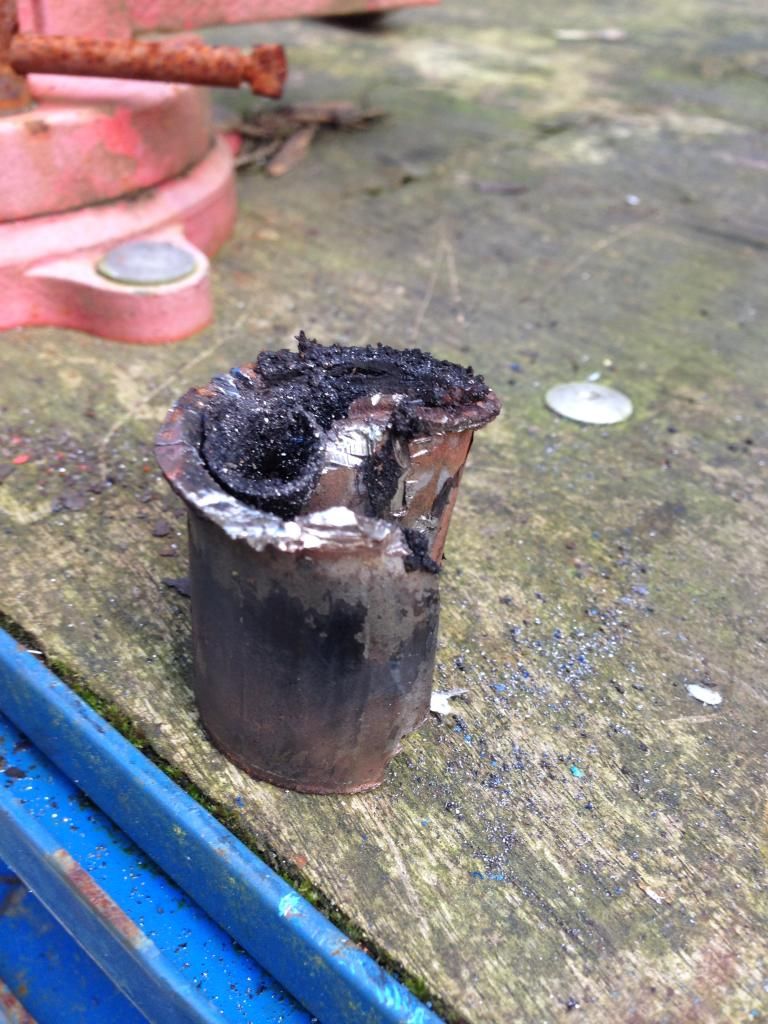
Picture of the messy one ;)


Time for removing the balljoints now, some people have luck with brute force and a hammer but it wasn't budging at all today, so i'll ask a friend if he can do it or possibly see if a local garage can quickly pop them out for me. :) Hopefully when they've had a quick lick of paint, it'll be almost time to start building my rear subframe up ready to go back on the car :) well I say this but no doubt something else will go wrong haha.
 
Yuk. Remember that job well

Progress looking good tho

Yeah it's not a horrible job, but it's nicer than subframe bushes ;)

Progress will be made soon, just waiting on some parts to come in and finish the tubs before real progress can begin ;)

Teaser of the new clutch ;)

 
Looking forward to seeing this finished at finalboss matsuri next year... Looks like its going to turn out a real nice one. :)
 
Back
Top